Border OptionsHugging border, circle, square, or rectangle — with a 3mm satin stitch.
Backing OptionsAvailable with iron-on, sew-on, or velcro backing.
Fast ShippingShipped quickly from the USA.
Free Online Tools
Powerful embroidery utilities that save time and prevent costly mistakes.
Stitch AssistantRECOMMENDED
Get the exact stabilizer, machine settings, needle, and thread color sequence for every embroidery design you purchase — based on that design's stitch density, dimensions, and color count.
(This project uses the Cat motif from A Time to Stitch's Primitive Country Collection).
Step 1:
All seam allowances are 1/4".
From the basket fabric, cut
7 pieces 2 1/4" x 15"
5 pieces 2 1/4" x 18"
4 pieces 2 1/4" x 22"
Step 2:
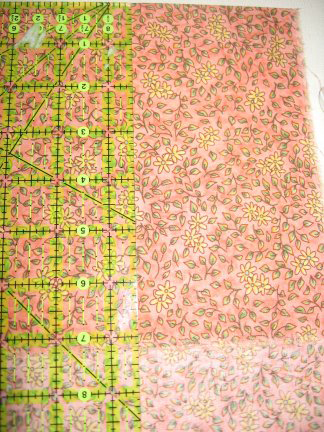
From the coordinating print fabric, cut
2 pieces 11 1/2" x 18"
1 piece 5" x 7"
Step 3:
From Floriani Stitch N Shape Double Sided Fusible, cut
7 pieces 3/4" x 15"
5 pieces 3/4" x 18"
4 pieces 3/4" x 22"
Step 4:
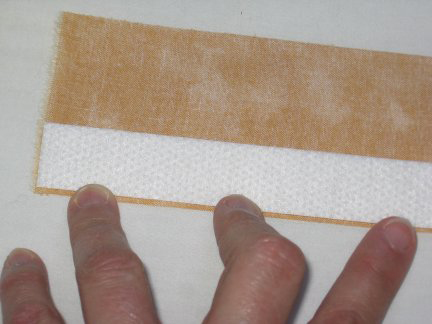
To prepare the basket pieces, match the basket fabric strips with Stitch N Shape strips of the same length. Lay the first fabric strip on the pressing surface, wrong side up, and position the corresponding Stitch N Shape strip along one edge.
Step 5:
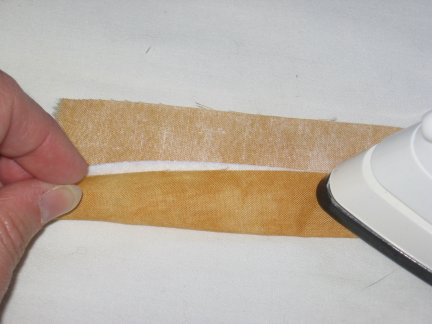
Flip the Stitch N Shape and fabric over, folding the Stitch N Shape inside the fabric. Press to fuse.
Step 6:
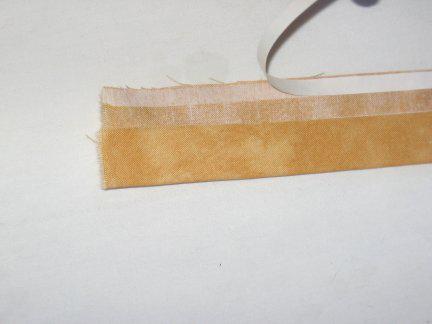
Cut several 1/4" wide strips of Appli-Kay Wonder. Press one Appli-Kay Wonder strip along the basket strip's extended edge. (If the Appli-Kay Wonder
strip isn't long enough, abut a second strip to fill the gap. If the
strip is too long, just cut away the excess, reserving it for later
use.)
Step 7:
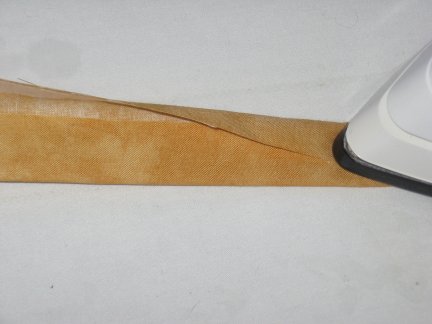
Remove the Appli-Kay Wonder's paper backing. Fold the fabric over the fused portion of the strip and press to fuse, covering the Stitch N Shape completely. Repeat for all the basket strips.
Step 8:
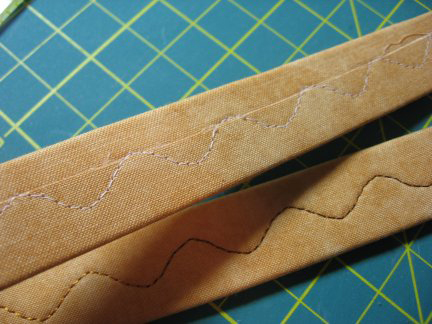
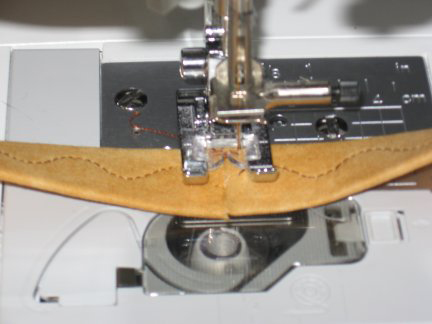
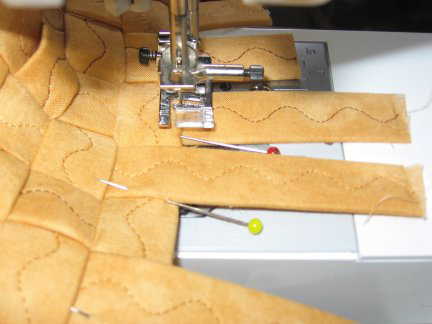
Set the sewing machine for a serpentine or other decorative stitch 7.0mm
wide and 2.0mm long. (Alter the settings as desired for other
stitches.) Thread the machine with variegated Floriani Embroidery Thread.
Wind the bobbin with matching thread or use embroidery bobbin thread.
Stitch along the length of each strip. This will also secure the raw
edge on the strip wrong side.
Step 9:
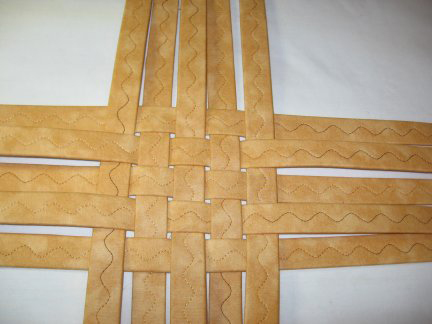
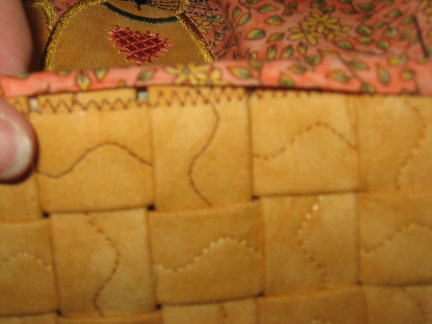
Lay the 18" strips side by side on the work surface with wrong sides up
(the wrong side is the one with the raw edge). Weave the 15" strips
through the 18" strips in a simple over one, under one pattern. Begin
with the central strip. Use a ruler to ensure the strips stay centered
and at right angles to the crossing strips.
Step 10:
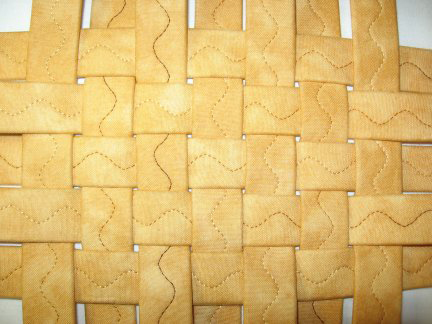
Continue until all seven 15" strips are in place. Carefully
straighten the strips and tighten the weave as much as possible. Be sure
all the strips are wrong side up.
NOTE: Some space will always remain between the strips and has been allowed for in the fabric measurements.
Step 11:
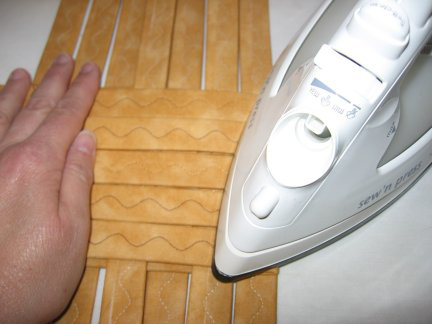
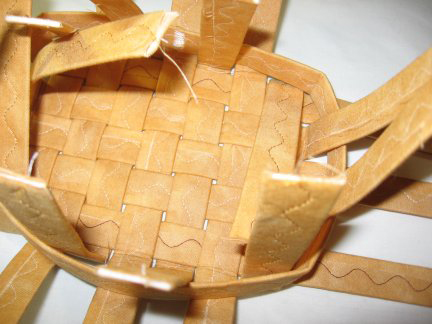
Fold the strips along one side toward the center and press to crease.
Repeat for the other three sides, so the strip ends stand up vertically
around the woven base.
Step 12:
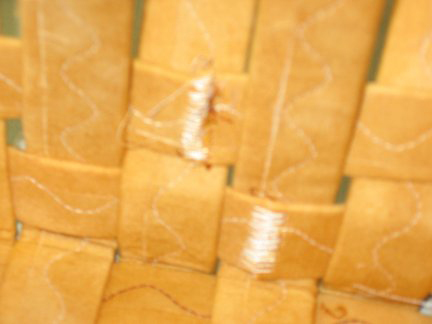
Bend each 22" strip into a circle so the ends lie side by side. Join the ends with a short, wide zigzag stitch.
Step 13:
Continuing the over and under pattern already established, weave the
first circular strip into the basket. Keep the wrong side facing inward,
and hide the zigzagged join behind one of the vertical spokes.
NOTE: Weaving this first strip of the basket's
side is the most difficult step in the project. It may help to pin the
circular strip to the vertical strips at the corners to hold their
positions as you work. You can also use clothespins to clip the strips
together. Once the second circular strip is in place, the work becomes
much easier.
Step 14:
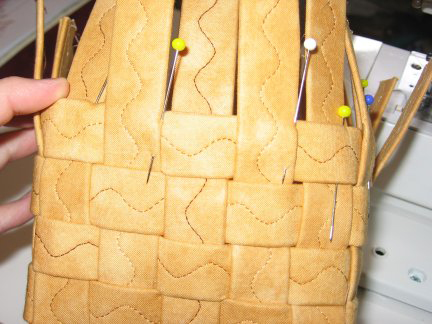
Repeat with the remaining three circular strips. Pinch each at the
corners to maintain the basket shape, and stagger the zigzag stitch
joins behind adjacent spokes.
Step 15:
Gently pull on each vertical spoke to tighten the basket weave. Use pins
to hold the uppermost circular strip in place against the vertical
strips.
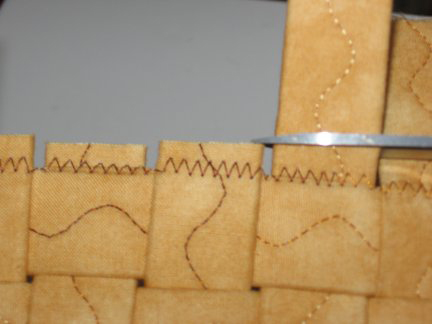
Step 16:
Zigzag around the basket's upper edge to hold the strips in place.
Position the stitch so it just catches the upper edge of the top
circular strip, so the stitches will be hidden in the finished purse.
NOTE: The free arm configuration available on many sewing machines makes this step easier.
Step 17:
Trim the vertical strips 1/4" above the top horizontal strip.
The basket is complete; set it aside while you make the upper bag and lining.
Step 18:
(Click Image to Enlarge)
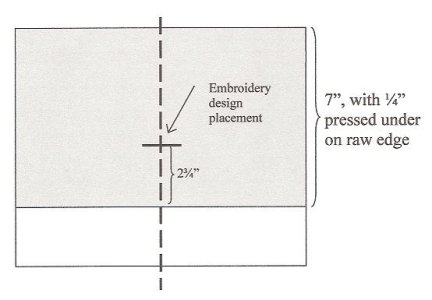
The two contrasting fabric rectangles will form the upper sides of the
purse and the lining. The 11 1/2" dimension of each piece runs side to
side; the 18" edges will be joined in the side seams. Press 7 1/4" to
the wrong side of one 11 1/2" edge of a contrasting fabric rectangle and
crease firmly.
Step 19:
Press under 1/4" on the same raw edge. Repeat with the second rectangle.
Step 20:
For embroidery, find and mark the vertical center of one rectangle. Draw a cross mark 2 3/4" above the 1/4" pressed hem.
Step 21:
Hoop Floriani Wet N Stick and moisten. Open out the folds and
attach the fabric to the stabilizer, centering the marks. The first fold
pressed in Step 18 will be the top of the purse; be sure the motif is
oriented correctly. Embroider the design, remove the excess stabilizer,
and press the design from the wrong side.
Step 22:
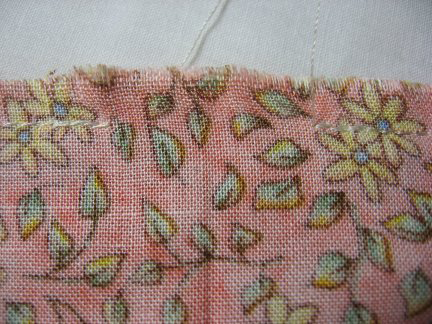
Place the two rectangles right sides together and stitch the side edges.
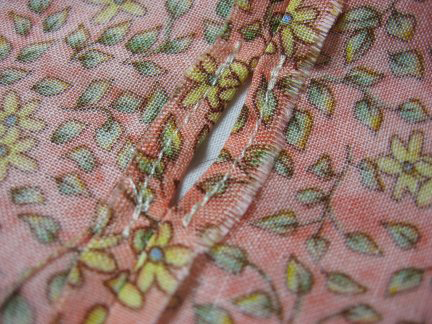
Break the stitching and backstitch 1/2" to either side of the fold,
leaving a 1" gap in the seams.
Step 23:
Press the seams open. Stitch the seam allowances in place beside the 1" openings.
Refold and press the hems from Step 18 again.
Step 24:
(Click Image to Enlarge)
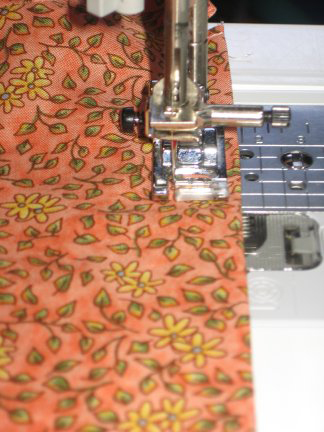
Stitch 1/2" from the top fold through both thicknesses to form the drawstring casing.
The gaps left in the seamlines form openings for inserting the drawstring.
Step 25:
(Click Image to Enlarge)
Stitch
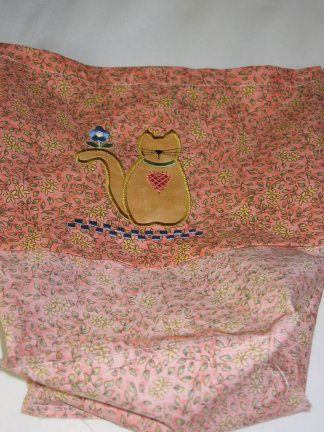
the 5" x 7" rectangle to the purse and lining unit, right sides
together. Match the side seams to the midpoints of the 5" sides, and
match the center front and center back to the midpoints of the 7" sides.
Clip into the lining fabric at the corners as you stitch around the
rectangle. The lining (wrong side out) will extend below the bag (right
side out).
Step 26:
Slip the lining into the basket. The pressed 1/4" hem will fit over the basket, just covering the zigzag stitches from Step 15.
Pin the pressed edge in place and stitch invisibly by hand.
Step 27:
Cut the cord or ribbon in half. Insert one piece into the drawstring
channel from the opening in the right side seam. Go all the way around
the bag and exit from the same opening.
Step 28:
Repeat with the second piece of cord, this time beginning and ending
at the left side seam. Tie the ends of each cord together to secure.
Rebecca Kemp Brent regularly designs projects on behalf of RNK Distributing, the supplier of Floriani Embroidery Products. She is a designer, educator, and freelance author with vast experience in the field of embroidery. She is a regular contributor to Creative Machine Embroidery, Quilting & Embroidery, Paper & Embroidery, and Holiday Embroidery magazines, among others. She has designed several collections of machine embroidery designs for Sudberry House, plus the 2-4-6-8 Pocket Bag Collection pattern. Her career stems from a Ph.D. from the University of Tennessee, Knoxville, with concentrations in Textiles and Clothing and Educational Curriculum and Instruction. With a 30-year career in teaching sewing, Rebecca often appears these days as a teacher at consumer and trade conferences and events and has been organizing and presenting monthly sewing and embroidery clubs at local dealership since 1996.