Border OptionsHugging border, circle, square, or rectangle — with a 3mm satin stitch.
Backing OptionsAvailable with iron-on, sew-on, or velcro backing.
Fast ShippingShipped quickly from the USA.
Free Online Tools
Powerful embroidery utilities that save time and prevent costly mistakes.
Stitch AssistantRECOMMENDED
Get the exact stabilizer, machine settings, needle, and thread color sequence for every embroidery design you purchase — based on that design's stitch density, dimensions, and color count.
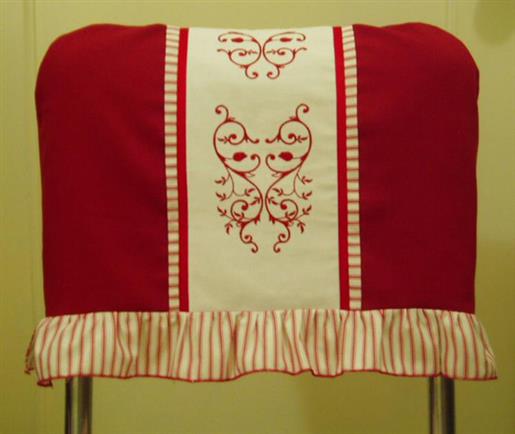
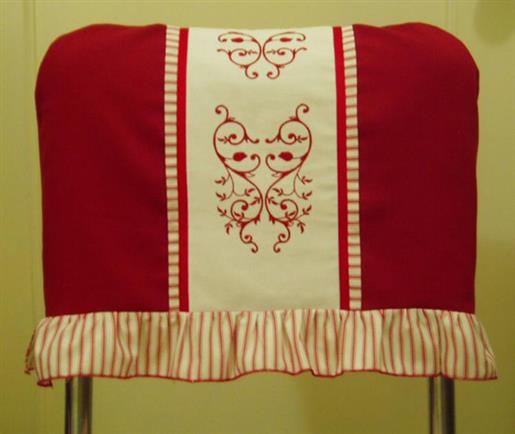
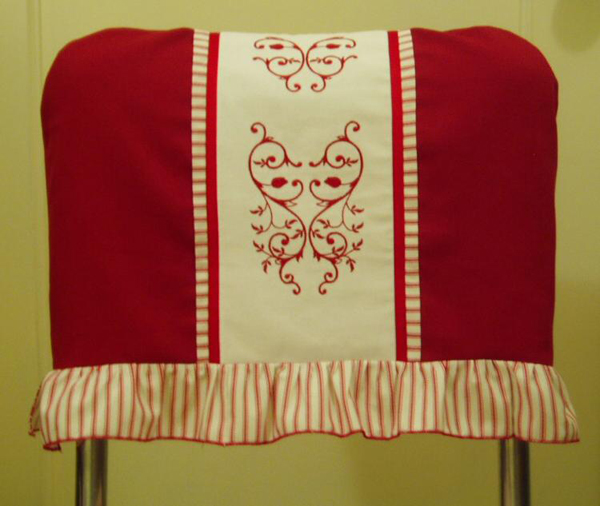
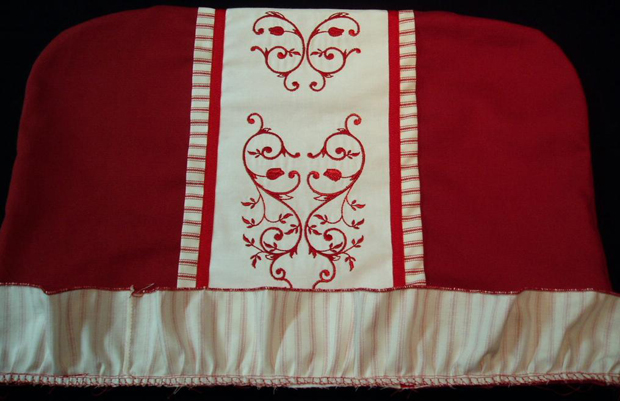
Transform your chairs with these charming quilted covers featuring a heart motif design. Perfect for adding a touch of elegance and comfort to any room. Step-by-step instructions are included.
Step
of
Quilt Quilted Chair Covers with Heart Motif
By Shelly Smola
¼ yard of patterned fabric for accents and ruffles
3 ½ yards of 1/8” grosgrain ribbon
Tear-Away Stabilizer
Embroidery thread
Bobbin thread
Sewing thread
Serger thread (optional)
Embroidery and sewing needles
Serger needles (optional)
Victorian Trellis Bridal Collection and Victorian Trellis Bridal Companions from My Fair Lady Designs (www.myfairladydesigns.com)
Final Product: What You Will Create
Step 1:
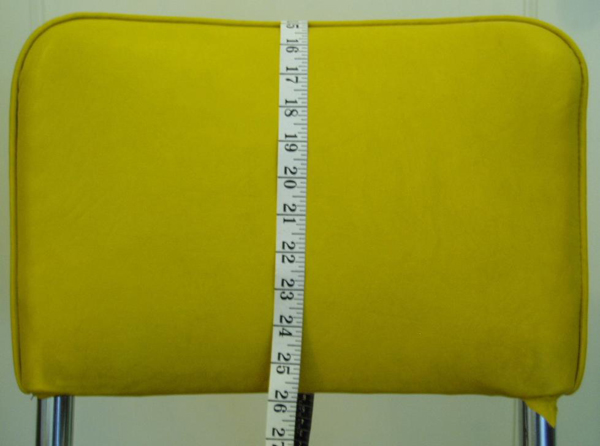
Measure Chair Back
Measure the back of the chair you would like to
cover. This chair cover will be made from one piece of fabric and folded
in half, so start measuring from the bottom of the back to the bottom
of the front as shown. Add 1 inch to the length and width for a ½ inch
seam allowance. When measuring, add extra width for the thickness of the
chair, or if the back of the chair curves at all.
(Click Image to Enlarge)
Step 2:
Cut and Prepare the Fabric
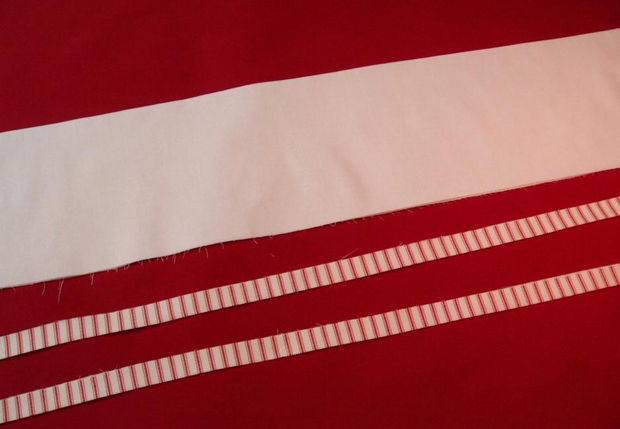
Cut one piece to size measured for chair back from the solid fabric. This will be referred to as the main fabric. Press.
(Click Image to Enlarge)
Step 3:
Cut one 7” strip from the coordinating fabric for the embroidery. The
length should be the same as the main fabric. Turn the long sides under
¼” and press.
(Click Image to Enlarge)
Step 4:
Cut two 1 ½” strips from the patterned fabric. Their length should be the same as the main fabric. Fold in half and press.
Step 5:
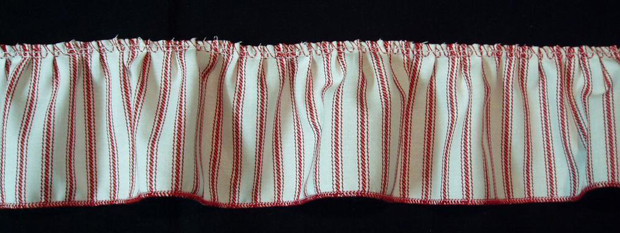
Cut one 3” strip from the patterned fabric. This will form the ruffle.
The length should be approximately twice the distance around the back of
the chair.
Step 6:
Prepare for Embroidery
Determine where you would like the embroidery to be
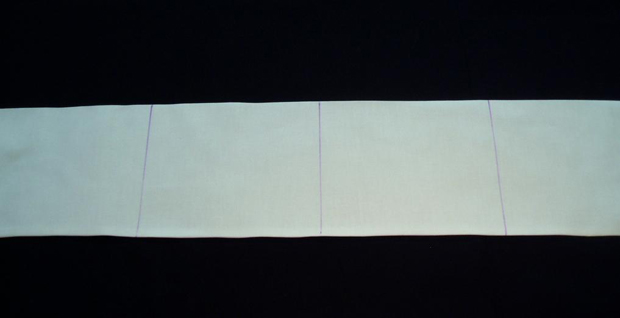
placed. Mark the 7” embroidery strip in fourths using tailor’s chalk,
disappearing ink, etc.
(Click Image to Enlarge)
Step 7:
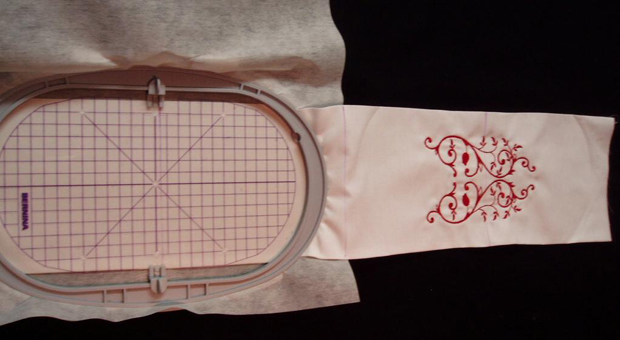
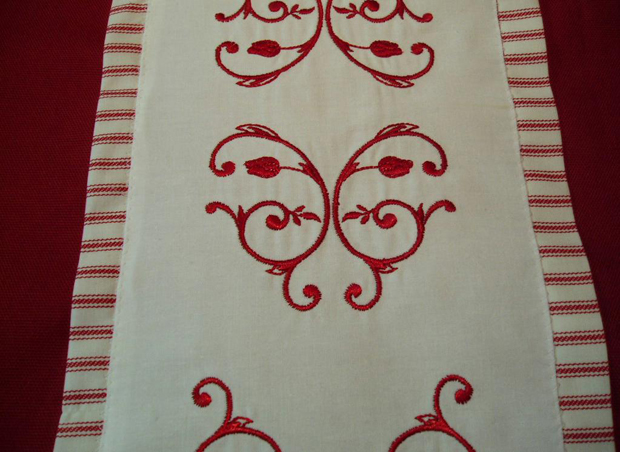
Hoop the fabric with tear-away stabilizer and embroider. Remember that
the strip will fold over the top of the chair, so the embroidery on one
half should be opposite the embroidery on the other half. If your hoop
is too large to comfortably hoop a 7” piece of fabric like the one
shown, you can use spray adhesive to attach the fabric to the tear-away
stabilizer. Hoop the stabilizer with the attached fabric, catching the
top and bottom of the fabric in the hoop. Three separate hoopings were
used in this chair cover.
(Click Image to Enlarge)
Step 8:
Once all of the embroidery is done, cut the threads, tear away the excess stabilizer, and press.
Step 9:
Put it Together
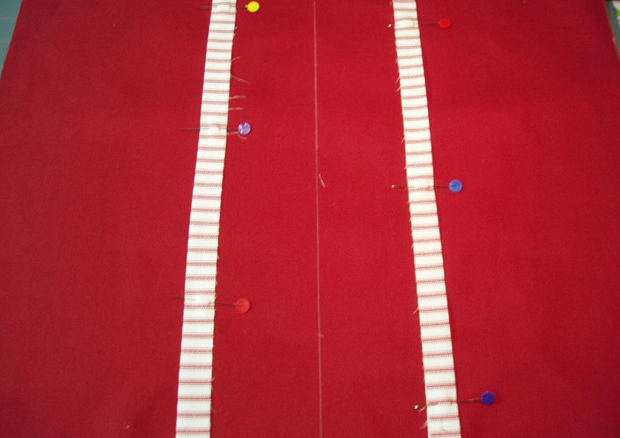
Mark the vertical center of the main fabric. Mark a vertical line 3” away from either side of the center mark.
(Click Image to Enlarge)
Step 10:
Center the folded patterned strip on the outside marks and pin in place.
Step 11:
Baste the accent strips to the main fabric.
Step 12:
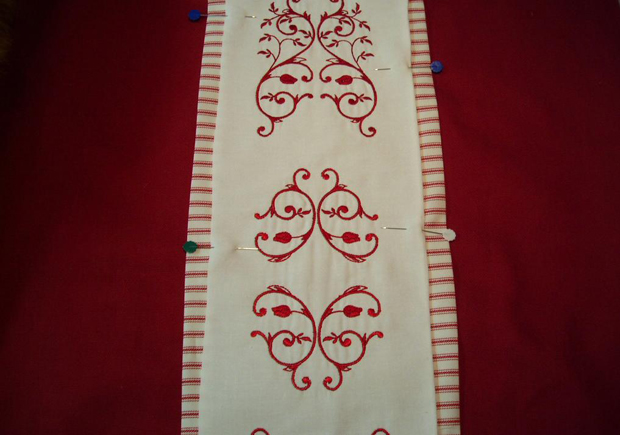
Center the embroidered strip between the accent strips and pin in place.
(Click Image to Enlarge)
Step 13:
Baste the embroidered strip in place using a long, narrow zig-zag.
(Click Image to Enlarge)
Step 14:
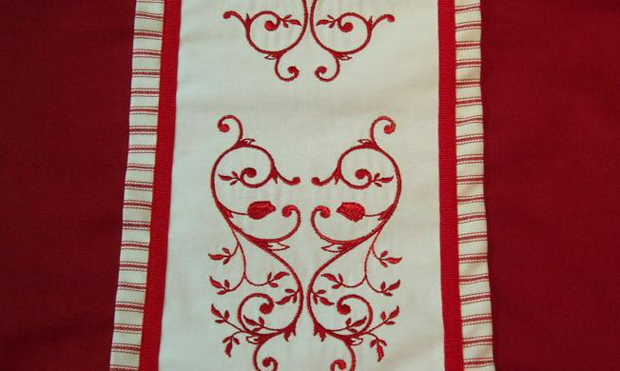
Top-stitch both sides of the grosgrain ribbon so that it covers the zig-zag stitch.
(Click Image to Enlarge)
Step 15:
Sew the Sides
Fold the chair cover in half with the right sides
together. Place over the chair and pin the sides. Mark any curves that
you would like to include in the side seam.
(Click Image to Enlarge)
Step 16:
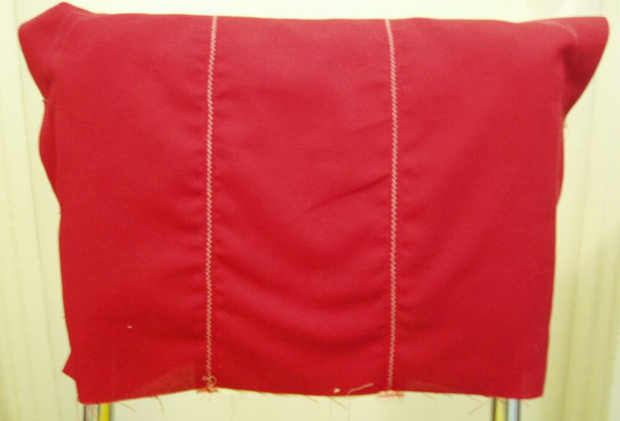
Remove chair cover and baste side seams. Turn right side out and check
the fit. Make adjustments if necessary. When the chair cover fits
snugly, serge around the edges to finish the seams. If using a sewing
machine, finish with a straight stitch and trim excess fabric.
Step 17:
Turn the chair cover right side out.
Step 18:
Prepare the Ruffle
On one long edge of the 3” strip of patterned fabric, sew or serge a rolled hem.
Step 19:
Ruffle the other edge using a serger and ruffling foot. If you are using
a sewing machine, baste along one edge. Take the fabric out of the
machine, and gently pull the bobbin thread. Slide the fabric along the
bobbin thread until the fabric has the amount of ruffle you prefer. Or,
sew a long zig-zag stitch over a piece of fishing line or dental floss.
Pull the fishing line or floss and slide fabric until you have the
desired amount of ruffle. Pin in place.
(Click Image to Enlarge)
Step 20:
Pin ruffle to chair cover, right sides together. Serge or
straight-stitch ruffle in place. Make sure that the ends of the ruffle
meet at one of the side seams.
(Click Image to Enlarge)
Step 21:
Turn ruffle down and press. Now you can try a new look on your chairs!
Shelly teaches mathematics in Pocatello, Idaho. In her spare time, she sews, crochets, and digitizes, and serves as a scratching post for Pelé the Cat.