Border OptionsHugging border, circle, square, or rectangle — with a 3mm satin stitch.
Backing OptionsAvailable with iron-on, sew-on, or velcro backing.
Fast ShippingShipped quickly from the USA.
Free Online Tools
Powerful embroidery utilities that save time and prevent costly mistakes.
Stitch AssistantRECOMMENDED
Get the exact stabilizer, machine settings, needle, and thread color sequence for every embroidery design you purchase — based on that design's stitch density, dimensions, and color count.
Vintage Square Companions and Buttonhole Companions from My Fair Lady Designs (www.myfairladydesigns.com)
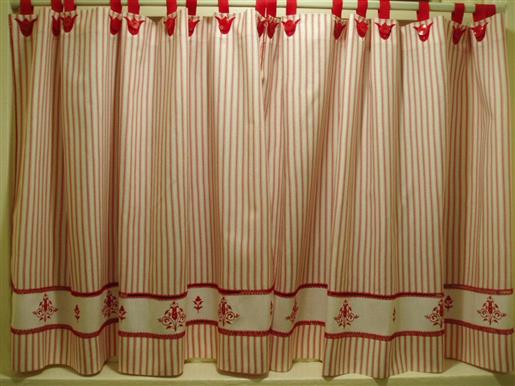
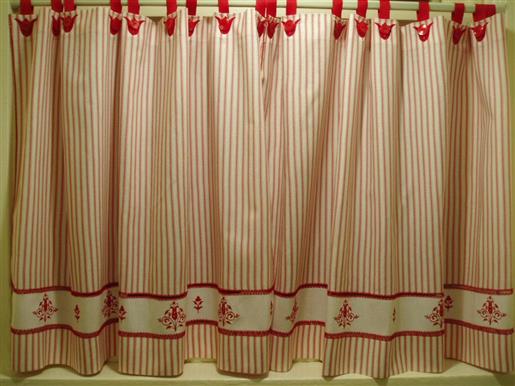
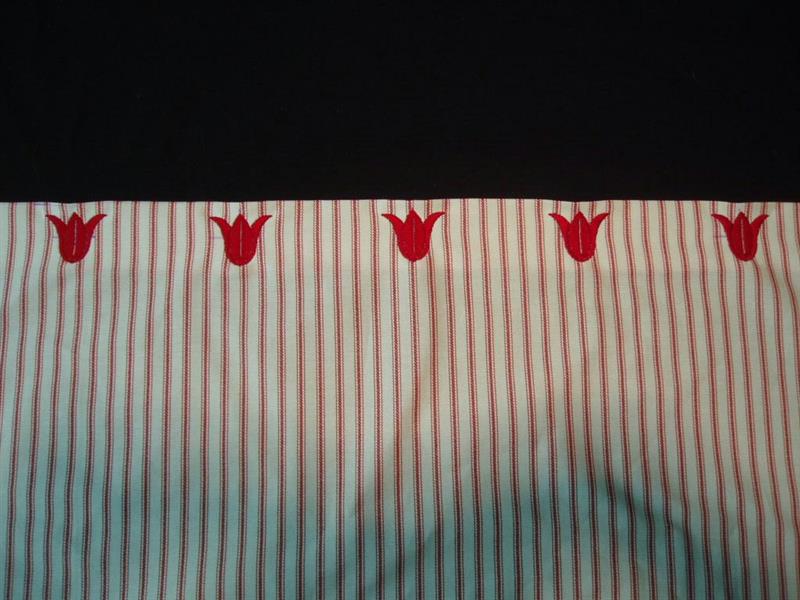
Final Product: What You Will Create
Step 1:
(Click Image to Enlarge)
Cut the Fabric
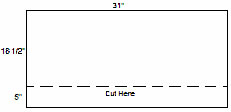
Cut two 31” x 23 ½ ” panels from the patterned
fabric. Cut a 5” strip off of the long side of each panel. The two 5”
strips will form the hem of the curtain.
Cut two 3” x 31” strips from the coordinating fabric. These will be the embroidered insertions.
Step 2:
Finish the Edges
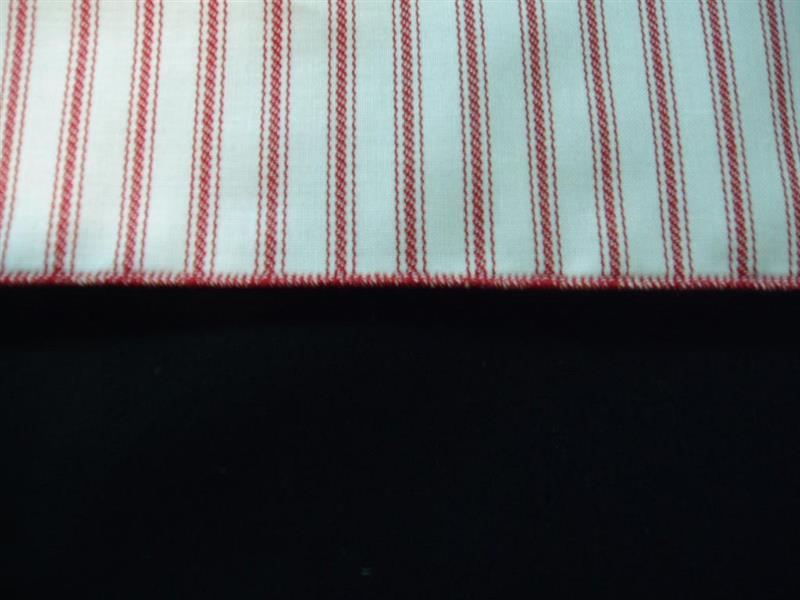
On the long edges of both panels and both insertions (3” strips), serge or machine-stitch a rolled hem as shown.
Alternately, turn under ¼” twice and press. Edgestitch the hem using a straight stitch.
(Click Image to Enlarge)
Step 3:
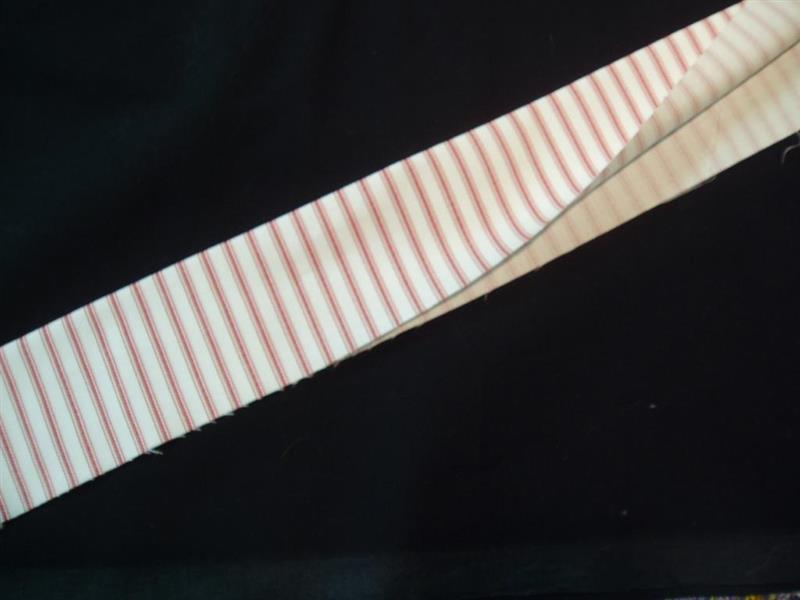
Fold each of the 5” strips in half with the wrong sides together and
press. Serge or machine-stitch a rolled hem. These pieces will form the
hem of the curtains.
Alternately, turn both raw edges under ¼” twice and press. Edgestitch each hem, and baste edges together.
Leave the short sides unfinished until the end of the project.
(Click Image to Enlarge)
Step 4:
(Click Image to Enlarge)
Prepare for the Buttonhole Embroidery
On one long side of each panel, turn fabric under
1½” and press. This will be the top of the curtain panels, and the
buttonholes will be embroidered here.
Step 5:
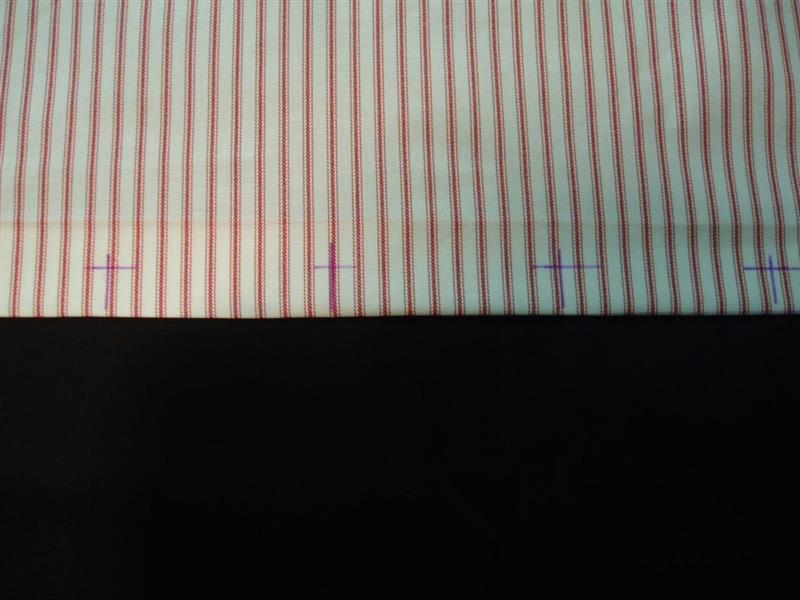
Use a removable marker to mark the placement of the buttonholes. Mark a
vertical line 1” from each edge on the right side of the fabric. Space
the rest of the marks about 3¼” apart. There will be 9 buttonholes
total. Do this for both panels.
Draw a horizontal line ¾” from the top of the fabric through all of the buttonholes to mark the center for embroidery.
(Click Image to Enlarge)
Step 6:
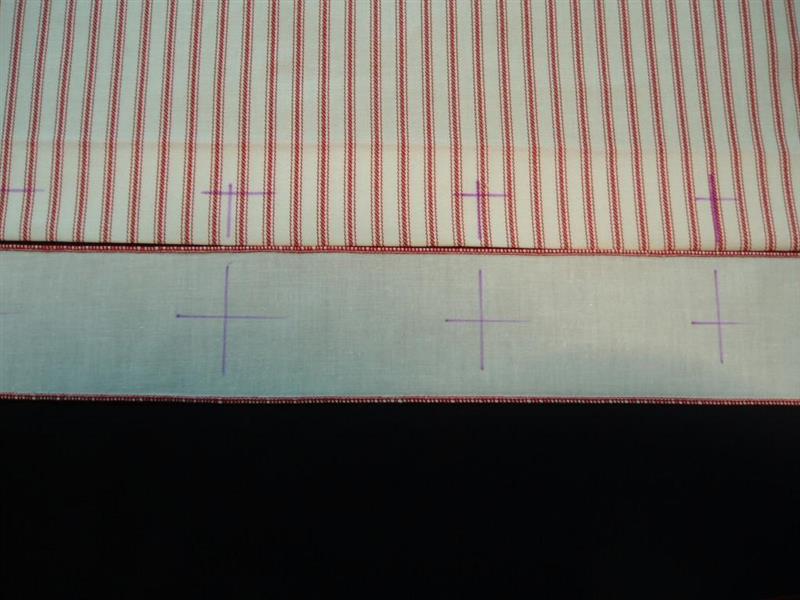
Place the insertion fabric next to the marked buttonholes. Draw the same
vertical placement lines on the strip. Draw a horizontal line 1” from
the long edge of the insertion fabric to mark the center for embroidery.
(Click Image to Enlarge)
Step 7:
Embroider Buttonholes and Insertions
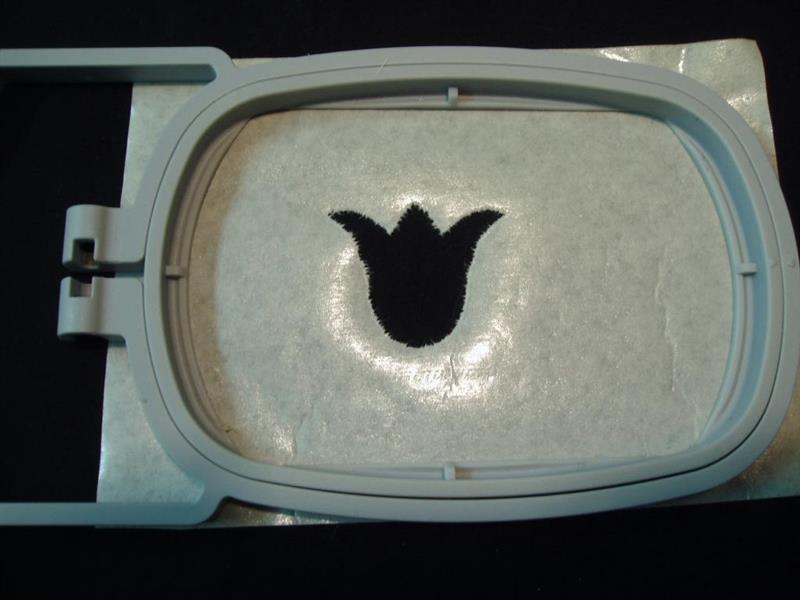
Use a self-adhesive tear-away stabilizer. Remove paper
backing. Adhere the stabilizer to the back of the smallest hoop in which
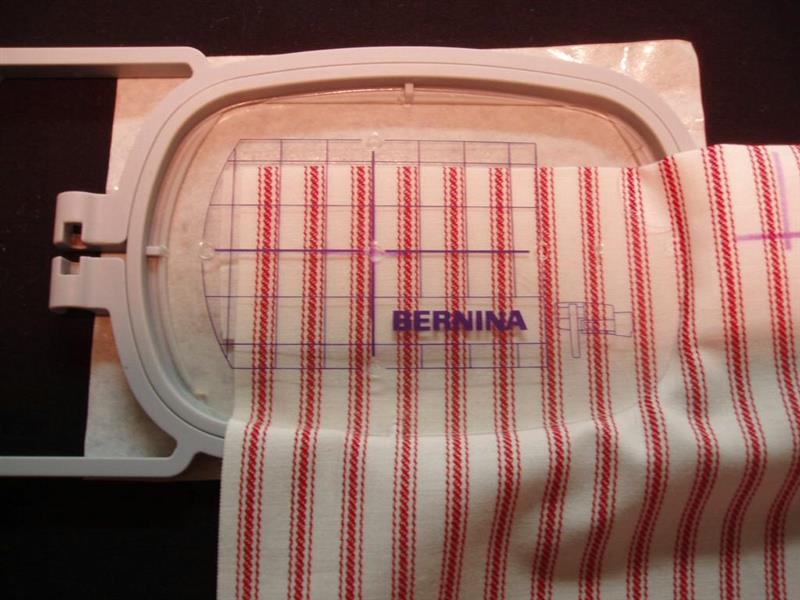
the buttonhole design will fit. Place hoop template over placement mark
on fabric and align the template center with the fabric markings. Lift
fabric and template, and place it in the hoop. Gently press down to
secure fabric to stabilizer. Embroider the design.
(Click Image to Enlarge)
Step 8:
Gently tear the embroidery away from the stabilizer. You will be left
with a small hole. Cut a small piece of stabilizer (just a little bigger
than the buttonhole), and “patch” the hole. Place the fabric in the
hoop again with the center marks aligned, and embroider the next
buttonhole. Remove the remains of the “patch” before preparing for the
next design, otherwise the area can become bulky. Continue until all
nine buttonholes have been stitched.
(Click Image to Enlarge)
Step 9:
Tip: If you prefer, you can also use a larger hoop with
self-adhesive tear-away stabilizer to embroider several buttonholes at
once. Just move the design in your machine to the desired position for
each buttonhole. I prefer the smaller hoop as less stabilizer is used,
and placement is quick and easy.
(Click Image to Enlarge)
Step 10:
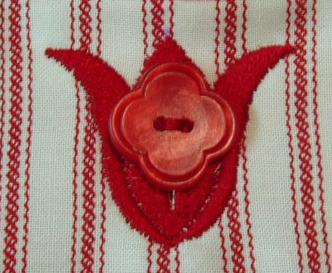
On the wrong side of the buttonholes, apply a tiny amount of Fray Check.
Let dry, then use an X-Acto knife or very sharp seam-ripper to open
buttonholes.
(Click Image to Enlarge)
Step 11:
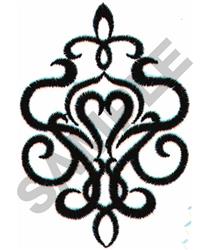
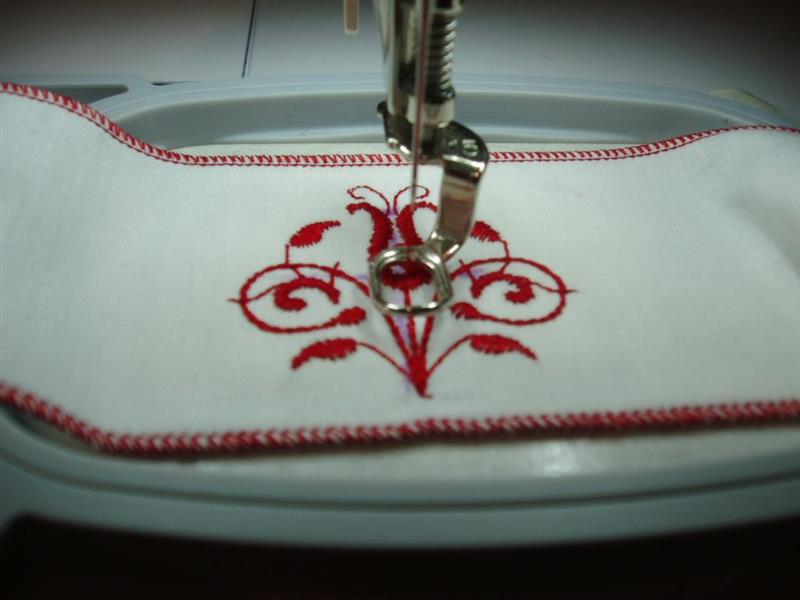
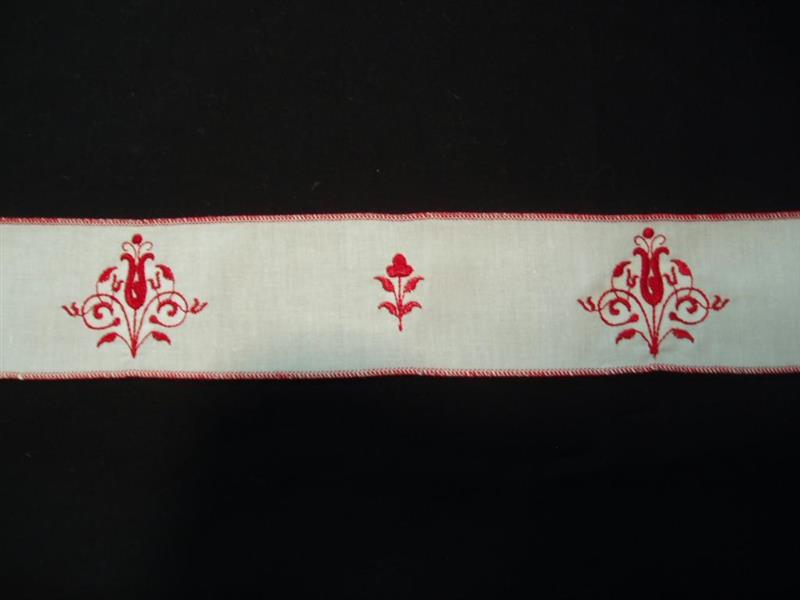
Use the same method to embroider each of the decorative designs on the
insertion fabric. I have alternated two different designs and stitched
them in one color.
(Click Image to Enlarge)
Step 12:
Attach Insertions and Hem
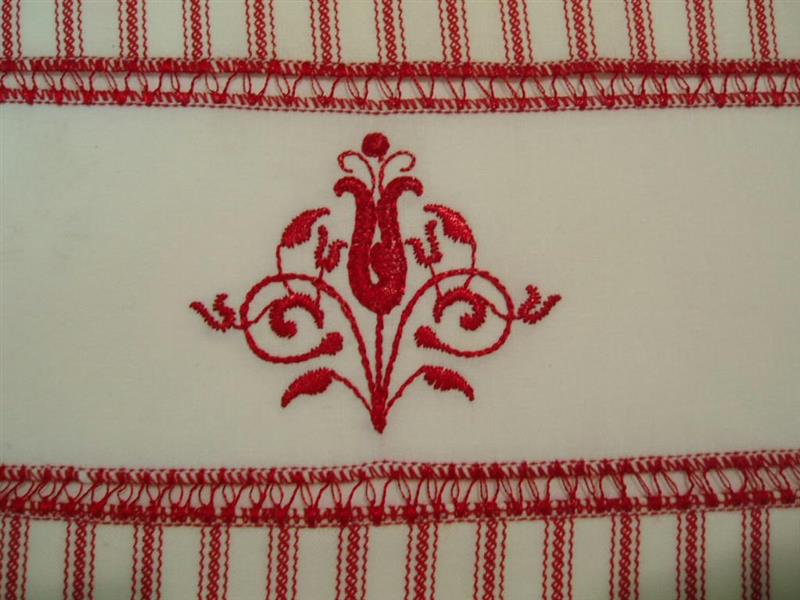
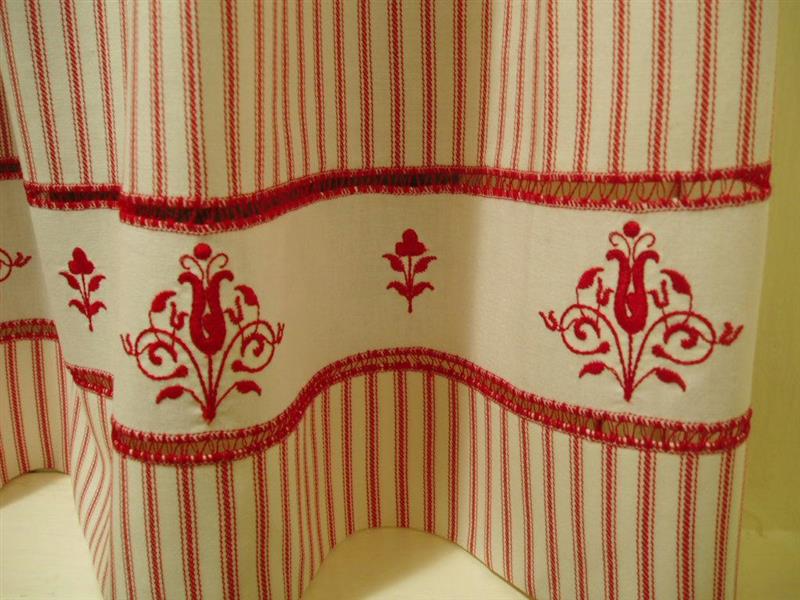
I have used an heirloom technique called fagoting to join
the curtain panel, embroidered insertion, and hem. When fagoting, a
space is left between two joined pieces of fabric to create a
decorative, airy look. If you have never used this method before, I
recommend a few practice runs!
(Click Image to Enlarge)
Step 13:
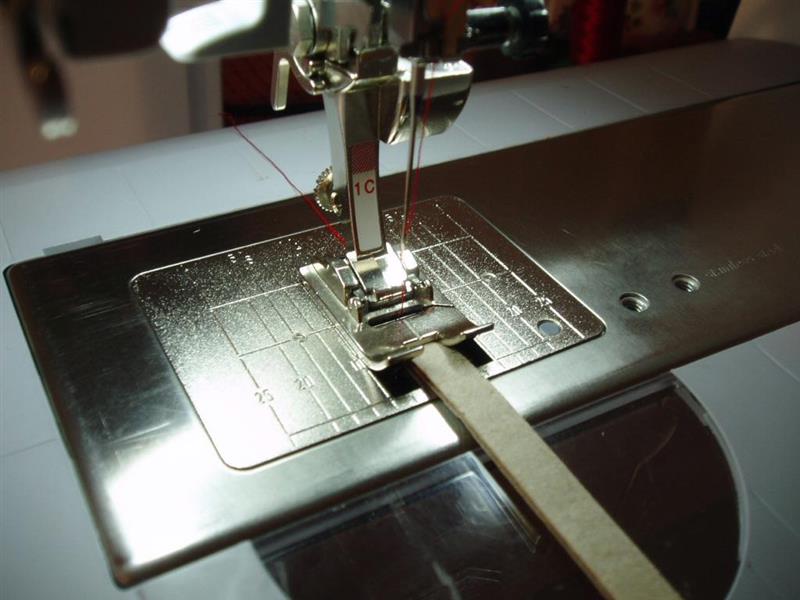
Create a spacer for the fabric. Any number of items will work. I have
used a piece of cardboard cut to the width of the space between the
fabric. Double-sided tape holds it in place. The cardboard ends just
short of the stitch area. This will keep the fabric spaced evenly until
it is stitched.
(Click Image to Enlarge)
Step 14:
(Click Image to Enlarge)
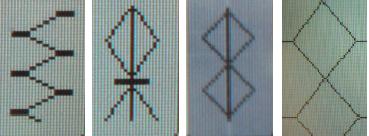
Choose a stitch. There are several stitches built into most
sewing/embroidery machines that are used for hemstitching that work well
for fagoting. Experiment to see which stitch you like the best. The
first stitch to the left was used on this project.
Step 15:
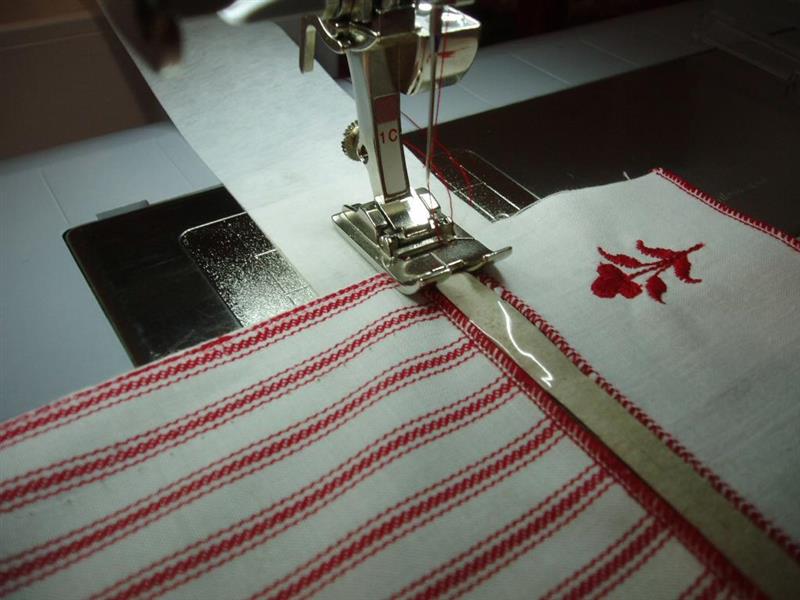
Place the curtain panel and insertion in the machine. Slide a small
piece of tear-away stabilizer under the end of the fabric to help feed
it through. This is only needed for the first few stitches and can be
cut away later. Do not tear it, as this will distort the stitching. Sew
the pieces together. Attach the hem in the same way. The pressed fold of
the hem should hang at the bottom of the curtain.
(Click Image to Enlarge)
Step 16:
Finish the Sides
On the short sides of the curtains, serge or machine- stitch a rolled hem.
Alternately, turn under ¼” twice and press. Edgestitch the hem using a straight stitch.
(Click Image to Enlarge)
Step 17:
Make the Ribbon Tabs
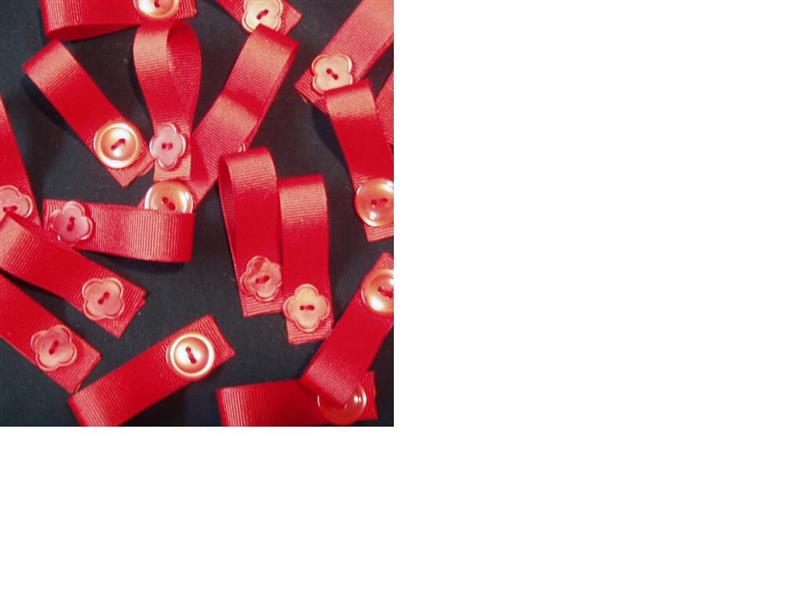
Cut 18 – 5” pieces of grosgrain ribbon. Fold in half. Sew
a button on the end, securing both ends together. Make longer tabs if
needed. Button tabs through buttonholes and hang!
Shelly teaches mathematics in Pocatello, Idaho. In her spare time, she sews, crochets, and digitizes, and serves as a scratching post for Pelé the Cat.