Border OptionsHugging border, circle, square, or rectangle — with a 3mm satin stitch.
Backing OptionsAvailable with iron-on, sew-on, or velcro backing.
Fast ShippingShipped quickly from the USA.
Free Online Tools
Powerful embroidery utilities that save time and prevent costly mistakes.
Stitch AssistantRECOMMENDED
Get the exact stabilizer, machine settings, needle, and thread color sequence for every embroidery design you purchase — based on that design's stitch density, dimensions, and color count.
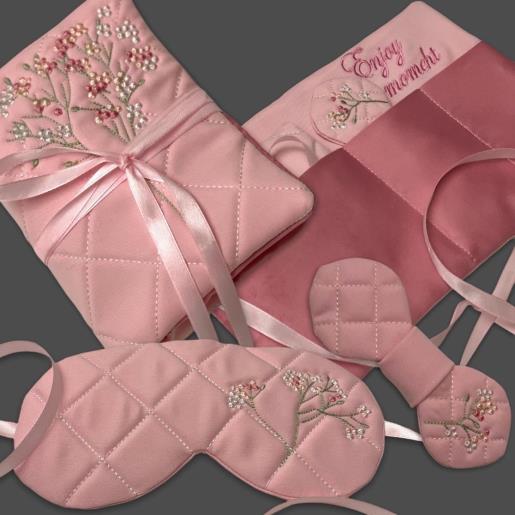
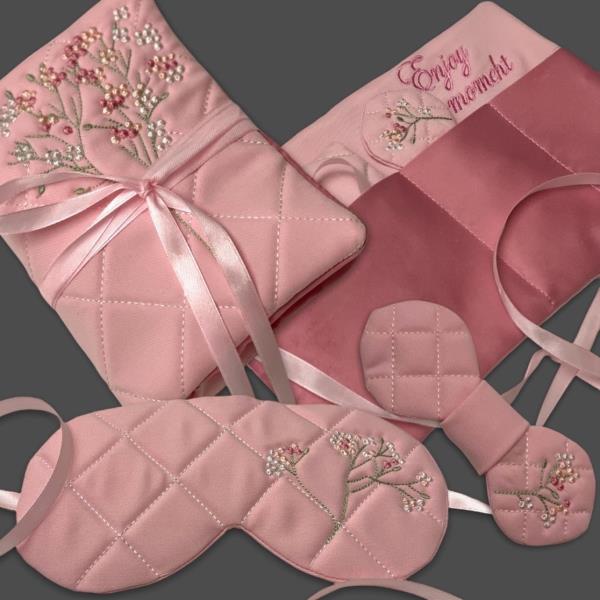
Create a luxurious sleep mask and matching accessories set, perfect for relaxation and travel. The elegant quilted design features delicate floral accents, adding a touch of sophistication. Ideal for personal use or as a thoughtful gift. Step-by-step instructions are included.
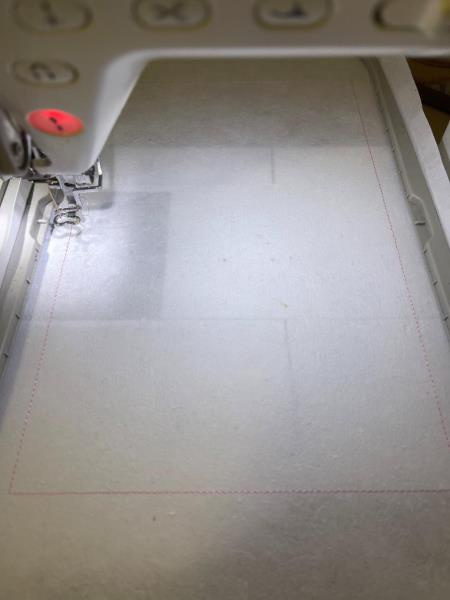
Hoop a thick tear-off stabilizer and embroider the first color (file IB415-1), which will indicate the location of the design
(Click Image to Enlarge)
Step 2:
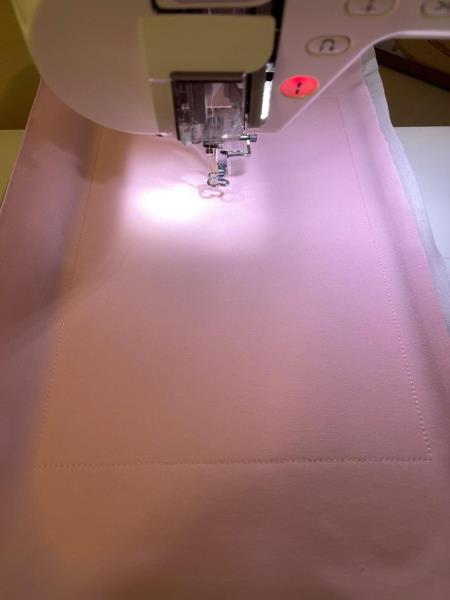
Fix the fabric on top with spray glue and embroider the second color, wich will be connect the fabric with stabilizer.
(Click Image to Enlarge)
Step 3:
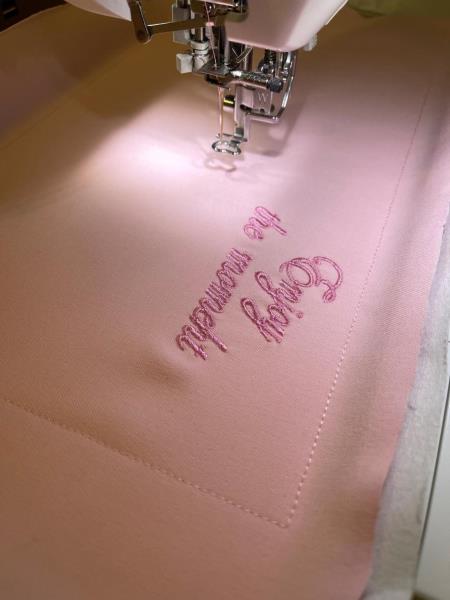
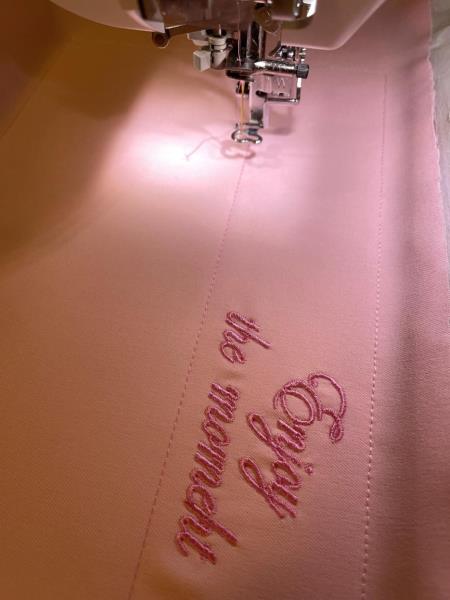
. Embroider the inscription.
(Click Image to Enlarge)
Step 4:
Embroider the next stitch, to see the place where the top edge of the pockets is.
(Click Image to Enlarge)
Step 5:
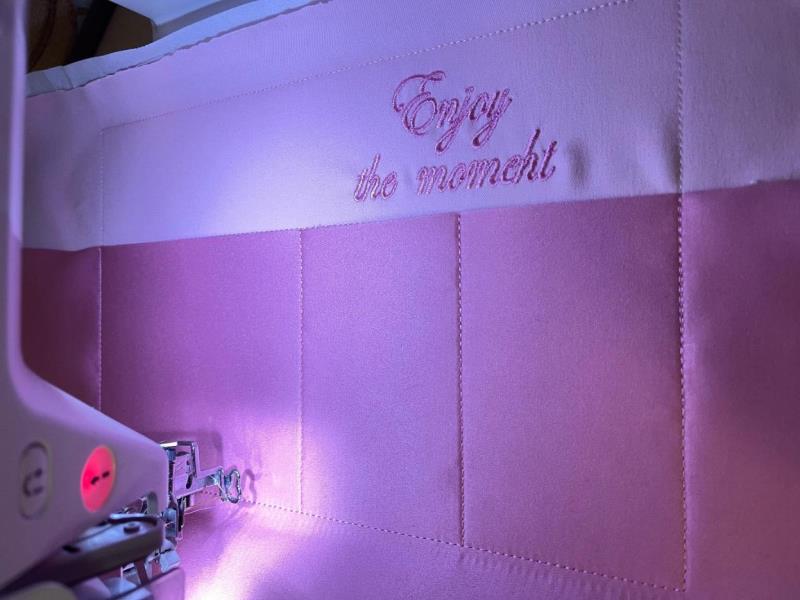
Fold the fabric for pockets in half. Place the pocket fabric over the stitching and secure the fabric with spray-glue or double-sided tape (the fold should be near the stitching).
Step 6:
Embroider the stitches that will sew the pockets and delimit the compartments of the pockets.
(Click Image to Enlarge)
Step 7:
Take out the embroidery from the hoop and tear off the stabilizer.
Hoop a thick tear-off stabilizer and embroider the first color (file IB415-2), which will indicate the location of the design
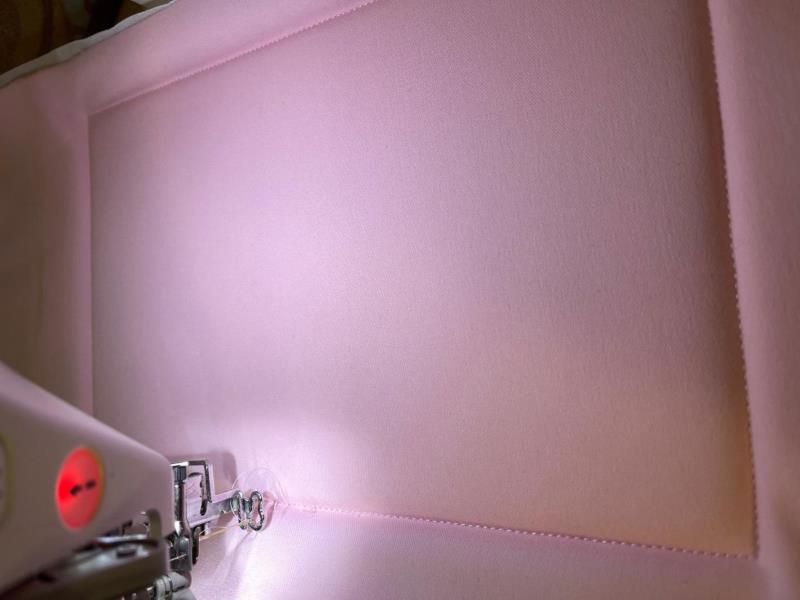
Fasten the foam rubber on top with spray glue and embroider the second line. Gently stick the foam to keep it from shifting and sew at low speed. After embroidering the second line, remove the hoop from the machine and trim the foam near to the line. Fix the fabric on top with spray glue and embroider the third color that the fabric will sew on.
(Click Image to Enlarge)
Step 8:
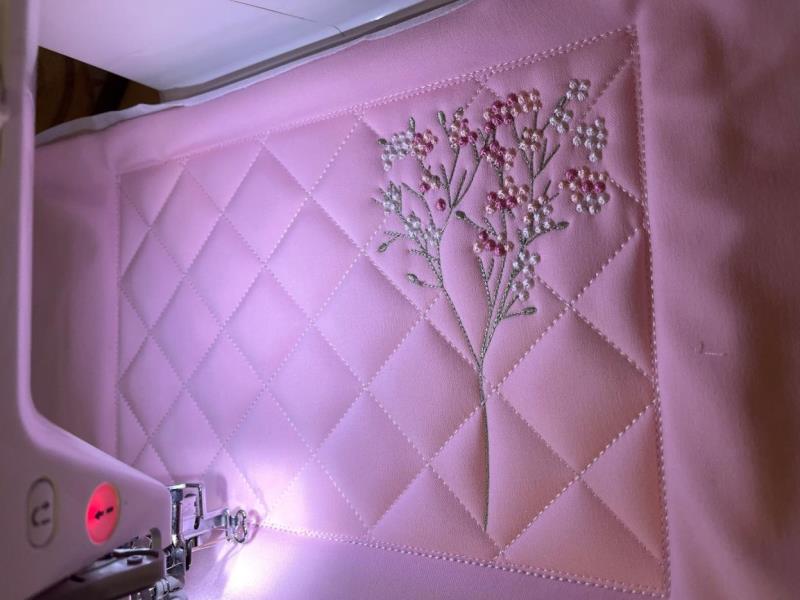
Embroider the pattern.
(Click Image to Enlarge)
Step 9:
Take out the hoop from the machine and fasten the ribbons at both ends of the pouch parts (approximately in the center of the pouch height)
The ribbons should be quite long so that you can wrap your purse nicely a couple of times and tie a bow.
If you are using satin ribbons that have slip properties, also leave some ribbon on the inside of the bag so that you can tie aknot so the ribbon does not slip out of the seam during use. In the photo you can see that the long end of the tape needs to be laid and secured inside the embroidery, and a small piece of the tape should be left outside.
(Click Image to Enlarge)
Step 10:
Connecting the two parts of the pouch:
Step 11:
Gently put the first part of the pouch (with pockets) with the face down on top. Check that the stitching around the perimeter of the pouch matches the first and second parts. Secure the parts together with spray glue or double-sided tape. Embroider the last color that will sew on both sides of the pouch. Remove the embroidery from the hoop, tear off the excess stabilizer, trim the excess fabric along the contour of the pouch (leaving 0.5-1cm from the stitching), turn out the pouchthrough the remaining hole and sew the hole manually with blind stitches.
If the option of joining the parts of the bag in the hoop seems too difficult for you, you can sew the two parts of the bag on the sewing machine. Then just skip the last color and remove the embroidery from the hoop. Next, you need to cut off the excess stabilizer, cut off the excess fabric, leaving a margin for the seams and sew the parts on the sewing machine.
Step 12:
Mask for sleep
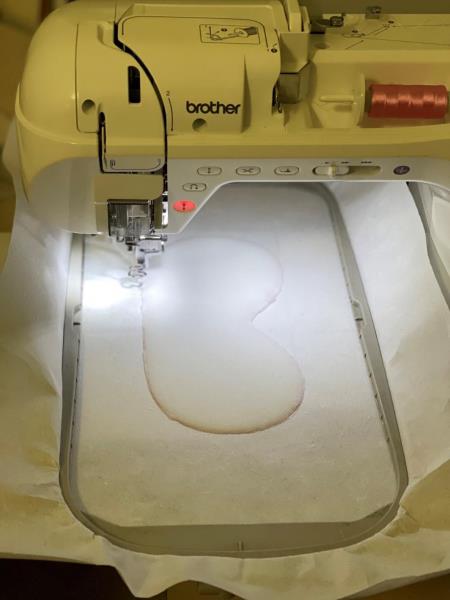
Hoop a thick tear-off stabilizer and embroider the first color (file IB415-3), which will indicate the location of the design
(Click Image to Enlarge)
Step 13:
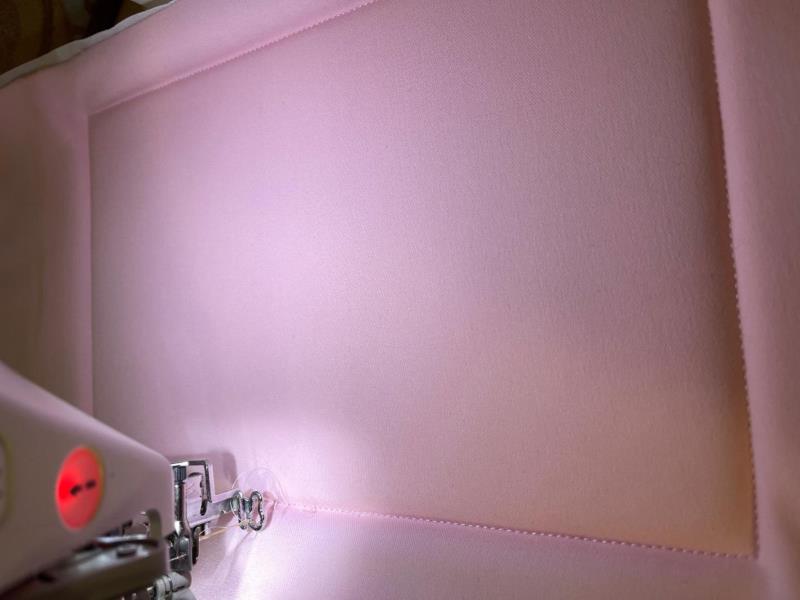
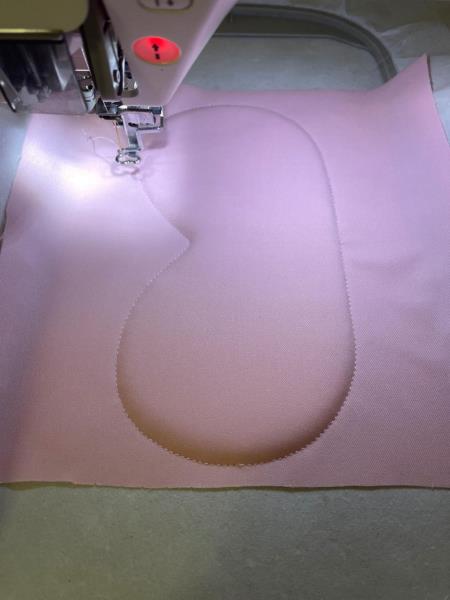
Fasten the foam rubber on top with spray glue and embroider the second line. Gently stick the foam to keep it from shifting and sew at low speed. After embroidering the second line, remove the hoop from the machine and trim the foam near to the line. Fix the fabric on top with spray glue and embroider the third color that the fabric will sew on.
(Click Image to Enlarge)
Step 14:
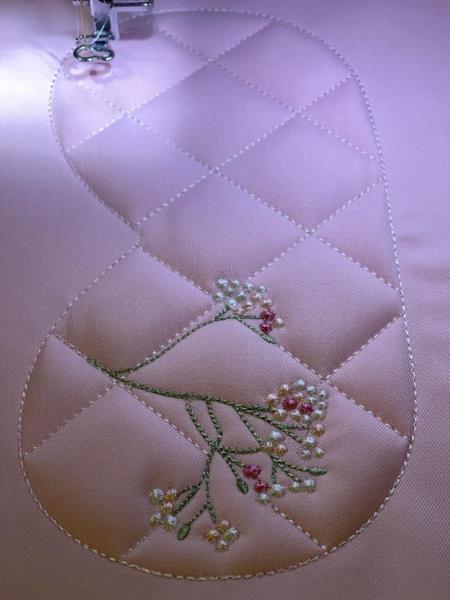
Embroider the pattern
(Click Image to Enlarge)
Step 15:
Take out the hoop from the machine and fasten the ribbons at both ends of the mask parts (approximately in the center of the mask height) If you are using satin ribbons that have slip properties, also leave some ribbon on the inside of the bag so that you can tie a knot so the ribbon does not slip out of the seam during use.
Step 16:
Attach the fabric for the wrong side of the mask (face down)on top and sew the last color that will sew the parts of the mask.
Step 17:
Remove the embroidery from the hoop, tear off the excess stabilizer, trim the excess fabric around the mask (leaving 0.5 cm), turn out the mask through the remaining hole, and sewthe hole manually with blind stitches.
Step 18:
Ears for hair ties
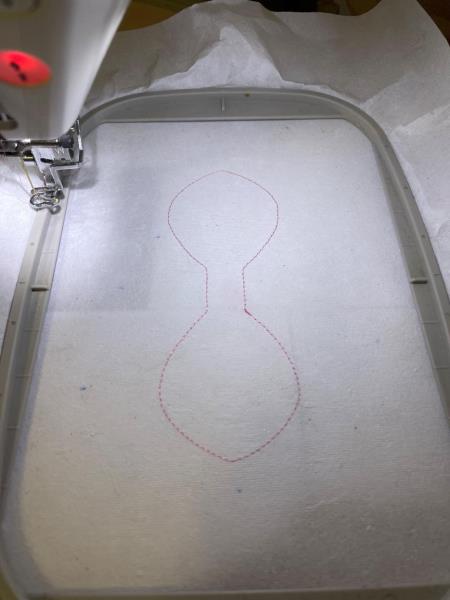
Hoop a thick tear-off stabilizer and embroider the first color (file IB415-4), which will indicate the location of the design
(Click Image to Enlarge)
Step 19:
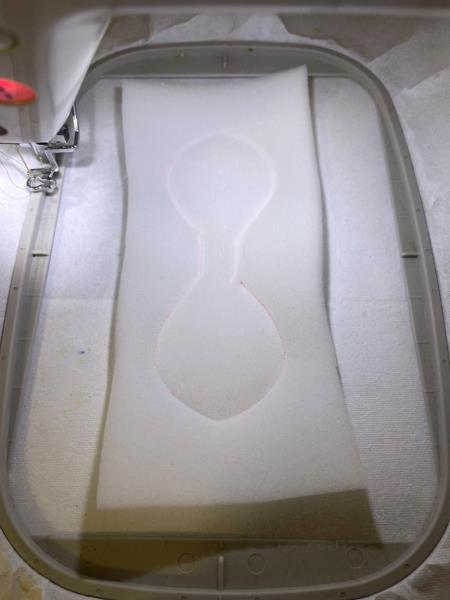
Fasten the foam rubber on top with spray glue and embroider the second line. Gently stick the foam to keep it from shifting and sew at low speed. After embroidering the second line, remove the hoop from the machine and trim the foam near to the line. Fix the fabric on top with spray glue and embroider the third color that the fabric will sew on.
(Click Image to Enlarge)
Step 20:
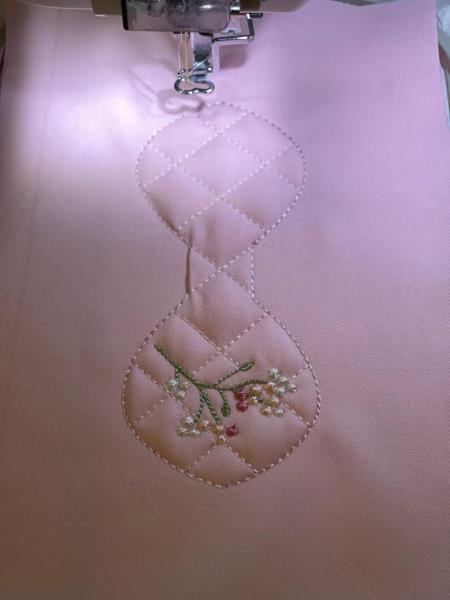
Embroider the pattern
(Click Image to Enlarge)
Step 21:
Attach the fabric for the wrong side (face down) on top and sew the last color that will sew the parts of the mask.
Step 22:
.Remove the embroidery from the hoop, tear off the excess stabilizer, trim the excess fabric around the ears(leaving 0.5 cm), turn out the ears through the remaining hole, and sew the hole manually with blind stitches.
Step 23:
The ears are ready. Cut a strip out of the fabric, about 6- 7 cm wide and about 8 cm long. Fold it in half lengthwise and sew. Make a “ring” out of the strip, through which you will pass your ears and a hair tie. Then the “ring” can be sewn up.
As a result, you will get something like this hair decoration.