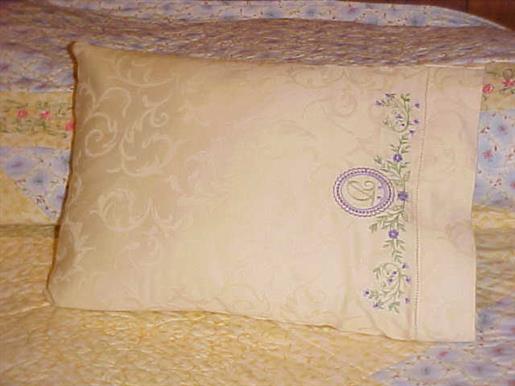
This handy pillowcase for a travel-size pillow incorporates a pocket to keep the pillow form in place. The pillowcase front is a perfect platform for embroidered embellishments.
Sweetheart Borders and Coordinates from My Fair Lady Designs
Monogram alphabet of your choice
Final Product: What You Will Create
Step 1:
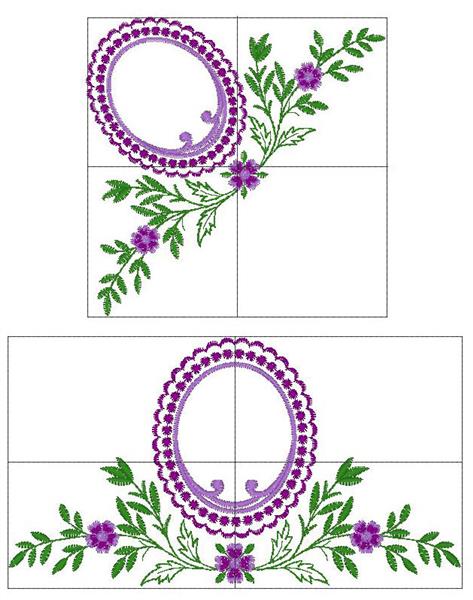
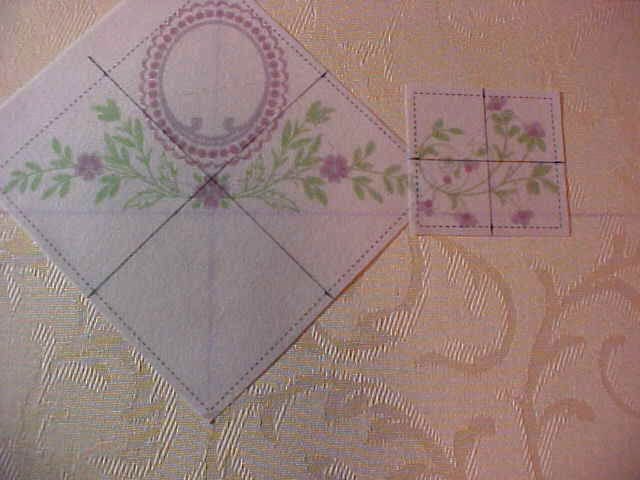
Begin by printing full size templates of the embroidery designs and a
single initial from your monogram font on Floriani Template Tearaway.
Be sure to indicate the horizontal and vertical centerlines on each
template. Trim each template just outside the design area.
The templates are especially useful if you are making
the project with a 4” embroidery hoop; the main design has been rotated
45º so it fits within the small hoop without a great reduction in the
design size.
(Click Image to Enlarge)
Step 2:
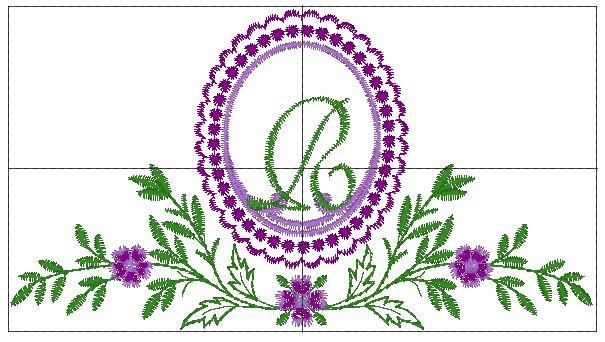
The templates are also useful for locating a script initial within the
embroidered frame, since matching the center points of the initial and
frame does not always create a visually pleasing arrangement.
(Click Image to Enlarge)
Step 3:
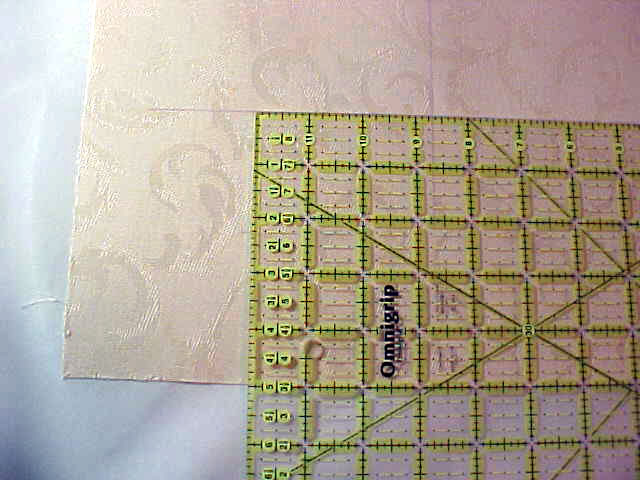
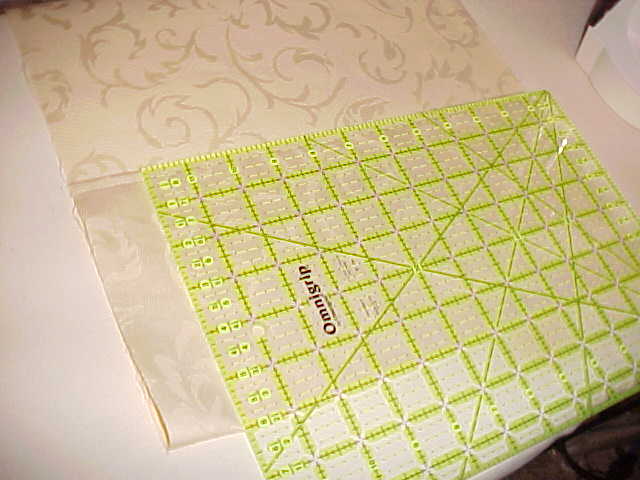
Cut a 13” x 20” rectangle for the pillowcase front and a 13” x 24” rectangle for the pillowcase back.
Step 4:
Cut a piece of Floriani Heat N Sta about 4” wider than the pillowcase
fabric, or big enough to fill a large hoop. Fuse the stabilizer to the
fabric wrong side at one short end of the pillowcase front so the
stabilizer extends 2” beyond the fabric at the sides. (The additional
stabilizer allows hooping near the fabric edges.)
(Click Image to Enlarge)
Step 5:
With a removable marker, draw a line on the pillowcase front 5” from the
stabilized short end. This is the base line (not the centerline) for
the central embroidery. Also draw a line along the vertical center of
the pillowcase front.
(Click Image to Enlarge)
Step 6:
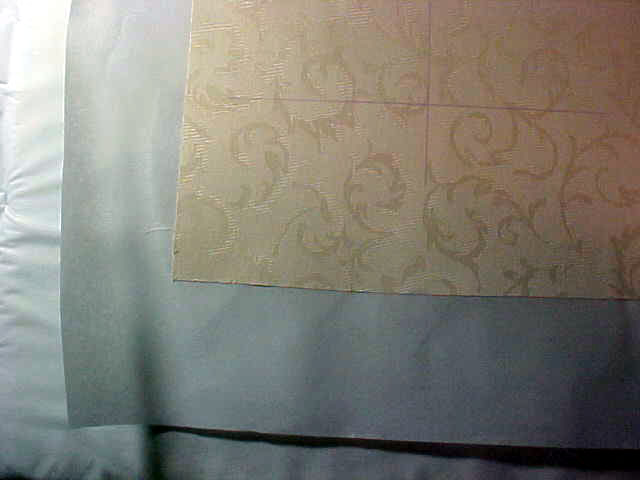
Remove the protective paper backing and position the templates on the
marked fabric, using the centerline and baseline as guides. The center
motif sits on the baseline, while the side motifs extend 1/8" below it.
(Click Image to Enlarge)
Step 7:
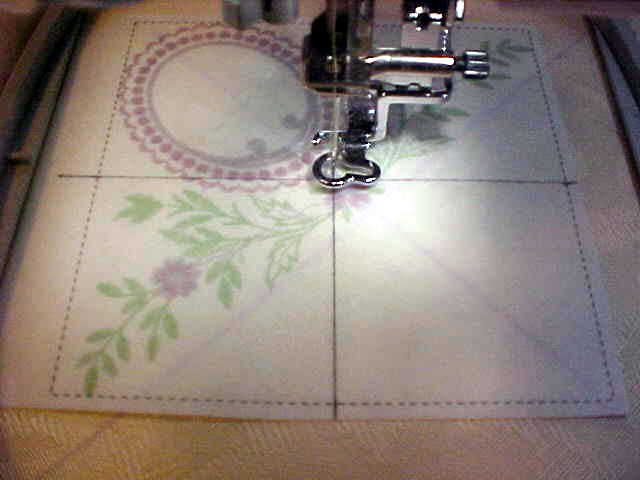
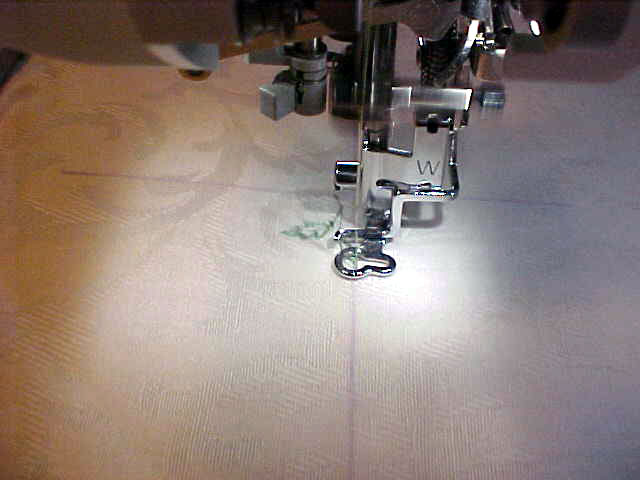
Hoop the fabric at the first embroidery placement. Use the machine controls to position the needle over the design centerlines
(Click Image to Enlarge)
Step 8:
Remove the Template Tearaway and embroider the design.
(Click Image to Enlarge)
Step 9:
Repeat for the remaining floral motifs. If you are using a large hoop,
it may be possible to stitch all the designs without rehooping.
Step 10:
Rehoop the fabric so the central floral motif is within the embroidery
field. Use the template of the monogram initial to position the monogram
within the embroidered frame. Locate the needle over the letter’s
center, remove the Template Tearaway, and stitch the monogram.
Step 11:
When embroidery is complete, remove the markings and as much Heat N Sta
as possible. Lay the embroidered fabric face down on a thick towel and
carefully press from the wrong side.
Step 12:
Set the sewing machine for a regular straight stitch. On one short end
of the pillowcase back, turn under ¼” twice and press. Edgestitch the
hem.
Step 13:
Fold 6” of the hemmed edge to the wrong side and press.
(Click Image to Enlarge)
Step 14:
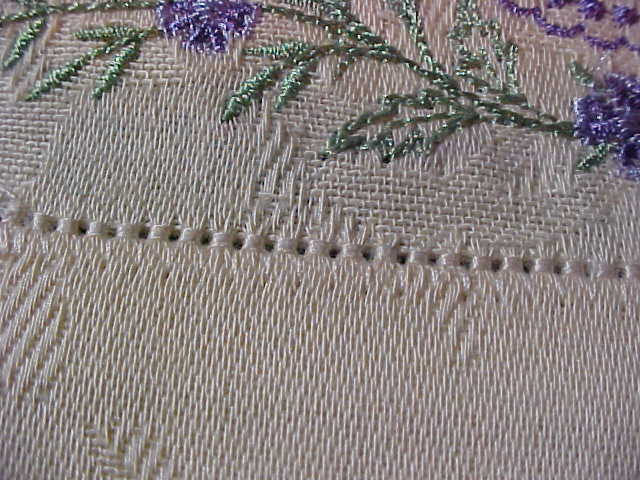
On the embroidered end of the pillowcase front, press under ½”, then 2”,
to create the hem. Edgestitch through all layers with a regular
straight stitch, or set the machine for an entredeux stitch, insert a
wing needle, and stitch the hem in place.
(Click Image to Enlarge)
Step 15:
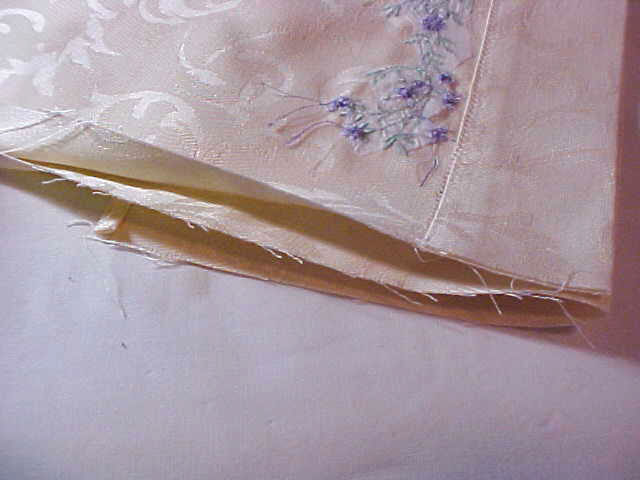
Lay the pillowcase front on the pillowcase back, right sides together.
Stitch the sides and the unfinished end with a ½” seam. Use a serger, or
set the machine for an overcasting stitch to finish the seam edges.
(Click Image to Enlarge)
Step 16:
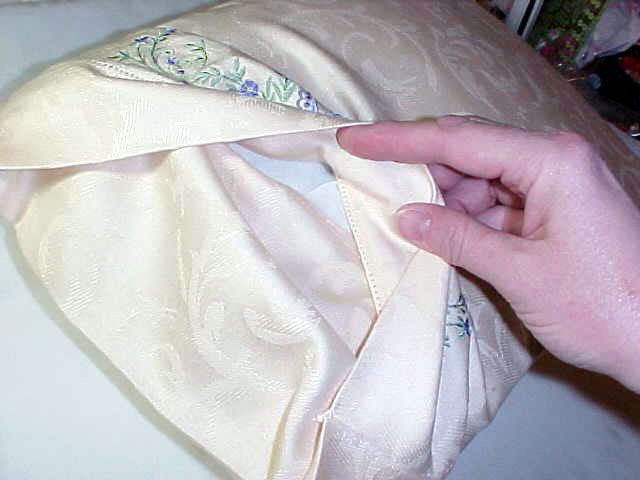
Turn the pillowcase right side out. The fold on the pillowcase back will lie between the fabric layers.
Step 17:
Insert the pillow form, tucking it inside the pocket of the pillowcase back.
Rebecca Kemp Brent regularly designs projects on behalf of RNK Distributing, the supplier of Floriani Embroidery Products. She is a designer, educator, and freelance author with vast experience in the field of embroidery. She is a regular contributor to Creative Machine Embroidery, Quilting & Embroidery, Paper & Embroidery, and Holiday Embroidery magazines, among others. She has designed several collections of machine embroidery designs for Sudberry House, plus the 2-4-6-8 Pocket Bag Collection pattern. Her career stems from a Ph.D. from the University of Tennessee, Knoxville, with concentrations in Textiles and Clothing and Educational Curriculum and Instruction. With a 30-year career in teaching sewing, Rebecca often appears these days as a teacher at consumer and trade conferences and events and has been organizing and presenting monthly sewing and embroidery clubs at local dealership since 1996.