Border OptionsHugging border, circle, square, or rectangle — with a 3mm satin stitch.
Backing OptionsAvailable with iron-on, sew-on, or velcro backing.
Fast ShippingShipped quickly from the USA.
Free Online Tools
Powerful embroidery utilities that save time and prevent costly mistakes.
Stitch AssistantRECOMMENDED
Get the exact stabilizer, machine settings, needle, and thread color sequence for every embroidery design you purchase — based on that design's stitch density, dimensions, and color count.
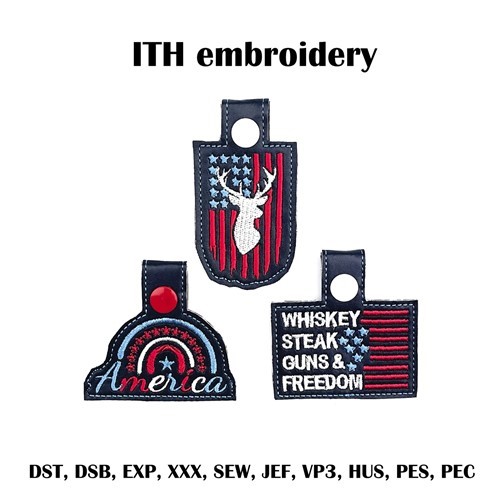
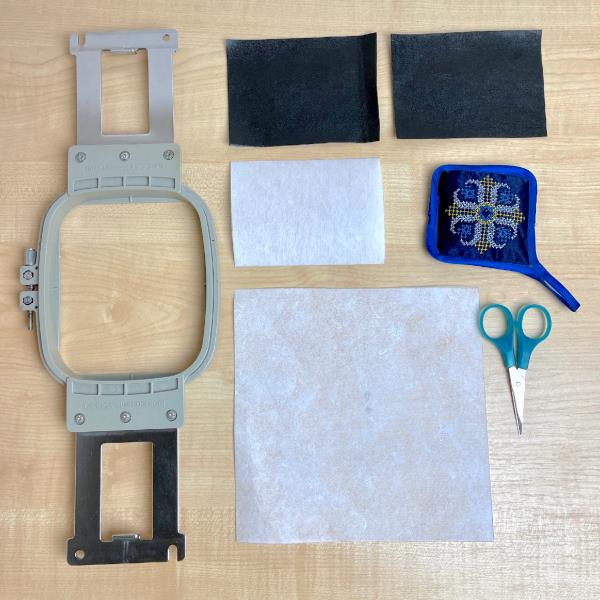
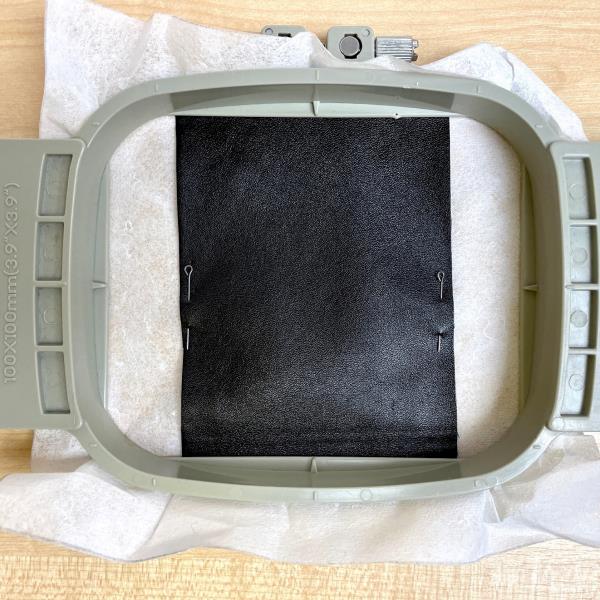
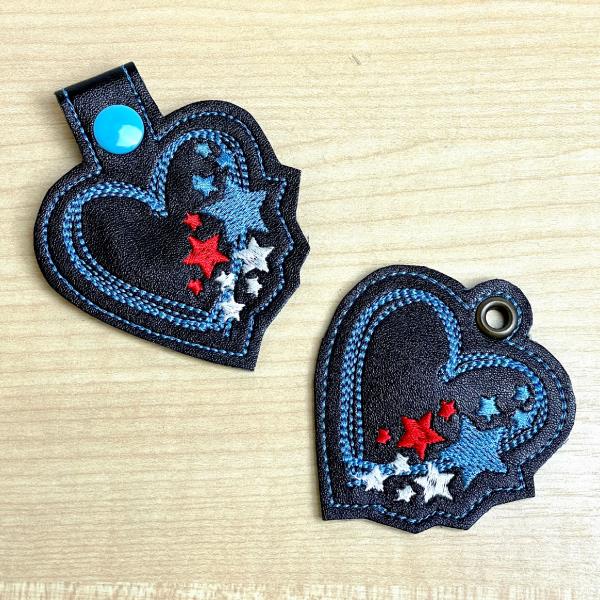
Create a set of patriotic keychains with bold designs featuring American themes. Perfect for adding a touch of national pride to your keys. Suitable for 4x4 and 5x7 hoops, using materials like felt and leather substitute. Step-by-step instructions are included.
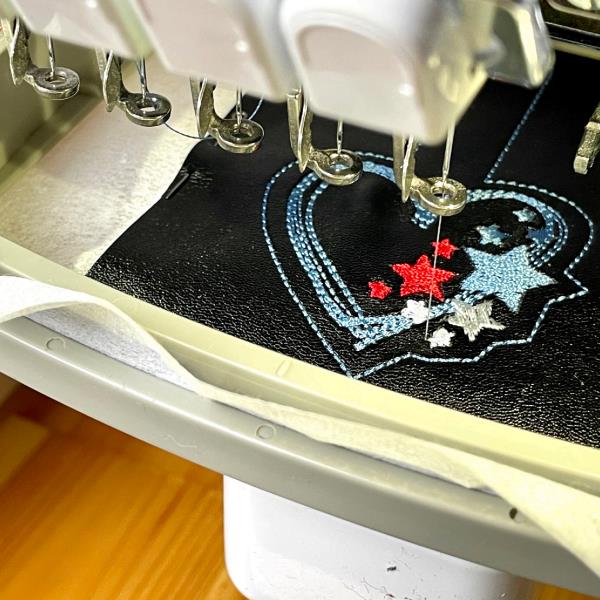
We embroider the design to the beginning of the last element. Before embroidering this element, stop the embroidery machine
(Click Image to Enlarge)
Step 3:
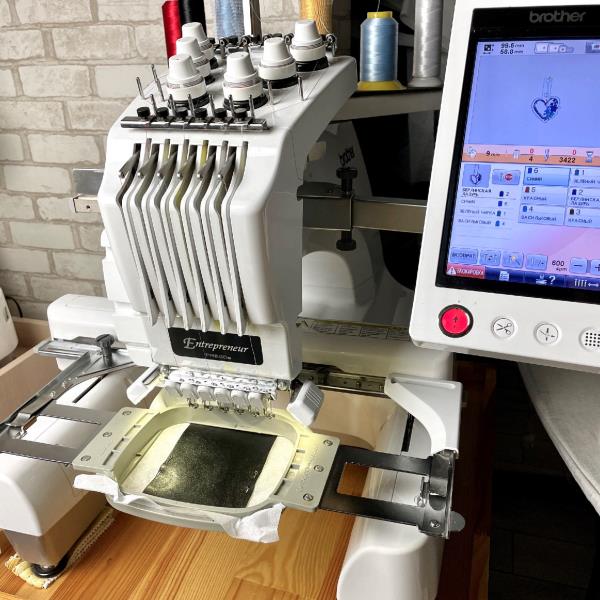
OPEN THE PROGRAM IN THE EMBROIDERY MACHINE
(Click Image to Enlarge)
Step 4:
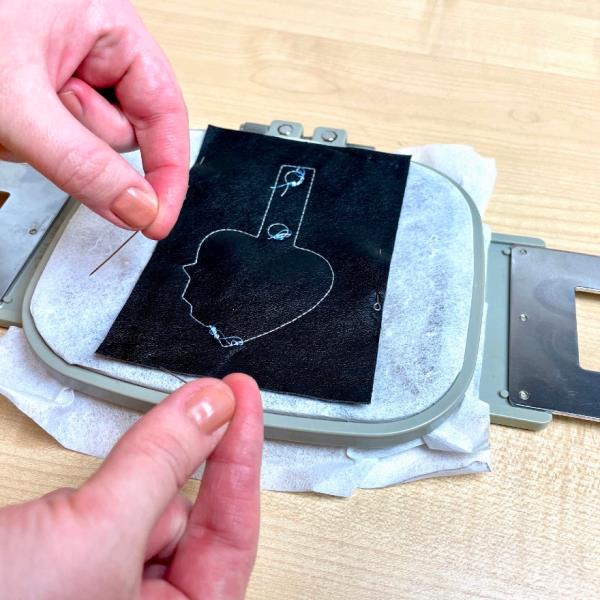
We embroider the design to the beginning of the last element.
(Click Image to Enlarge)
Step 5:
Before embroidering this element, stop the embroidery machine.
(Click Image to Enlarge)
Step 6:
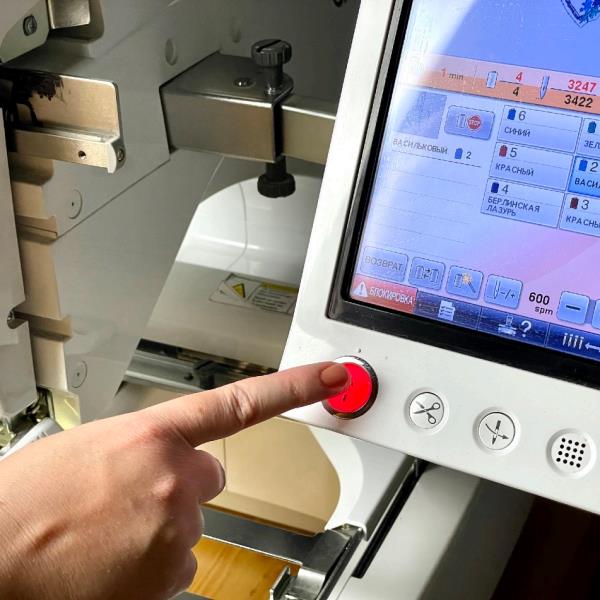
After pressing the "Stop" button on the embroidery machine:
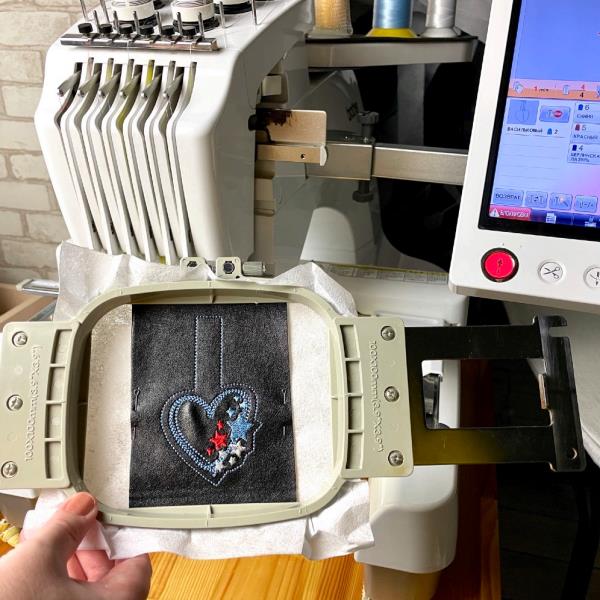
Carefully remove the hoops.
(Click Image to Enlarge)
Step 7:
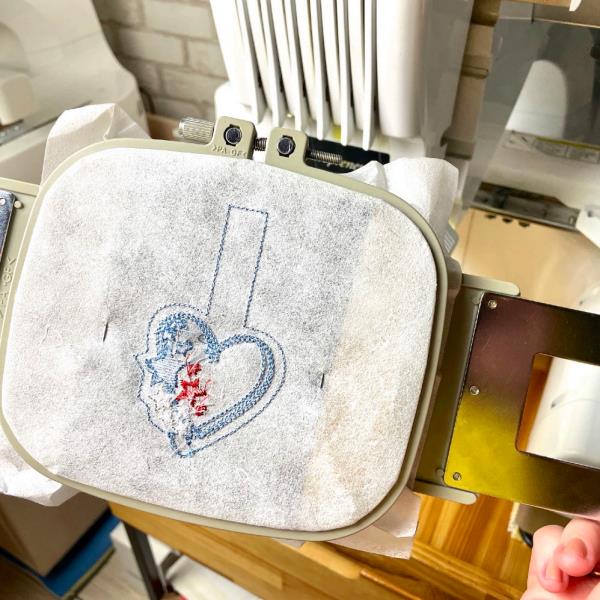
Turn inside out.
(Click Image to Enlarge)
Step 8:
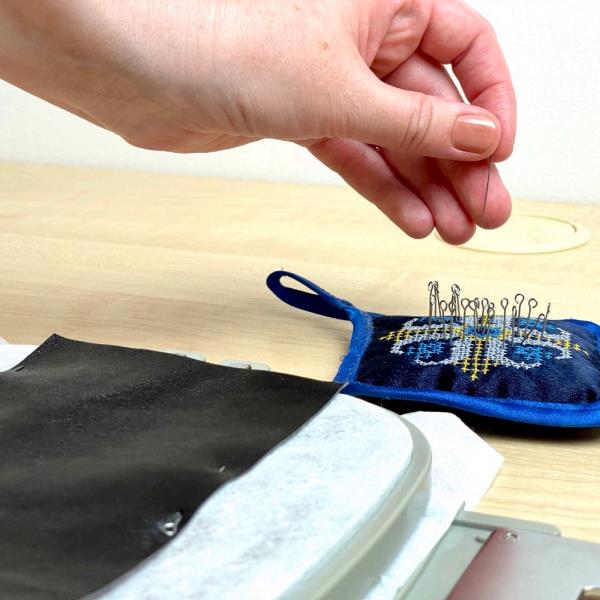
Attach the second piece of leather. Attach with pins or spray as shown in the photo
(Click Image to Enlarge)
Step 9:
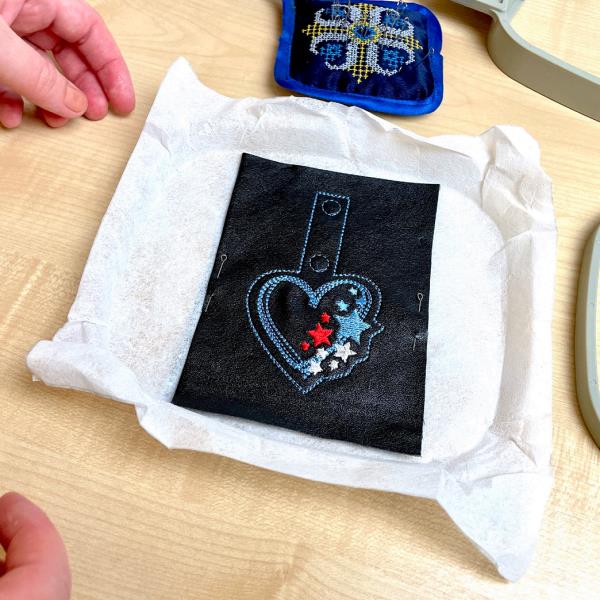
Finish embroidering all the elements and remove the embroidery from the embroidery machine.
(Click Image to Enlarge)
Step 10:
Remove the pins, remove the remnants of the stabilizer
(Click Image to Enlarge)
Step 11:
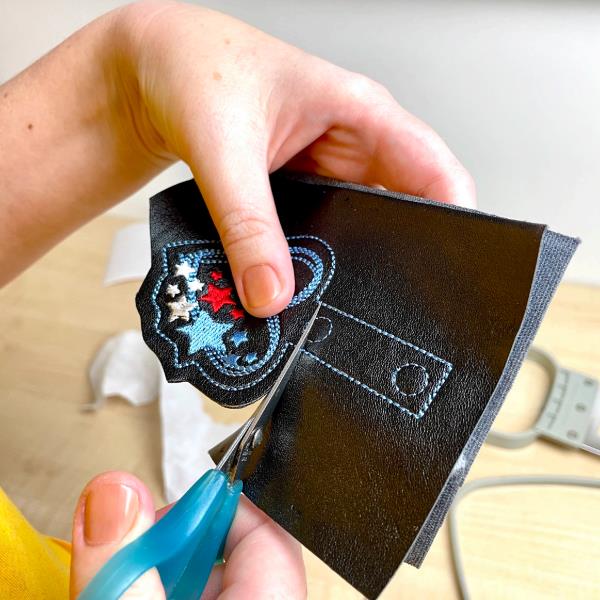
Carefully make a contour cut of the design. while retreating 0.2 inches from the line
(Click Image to Enlarge)
Step 12:
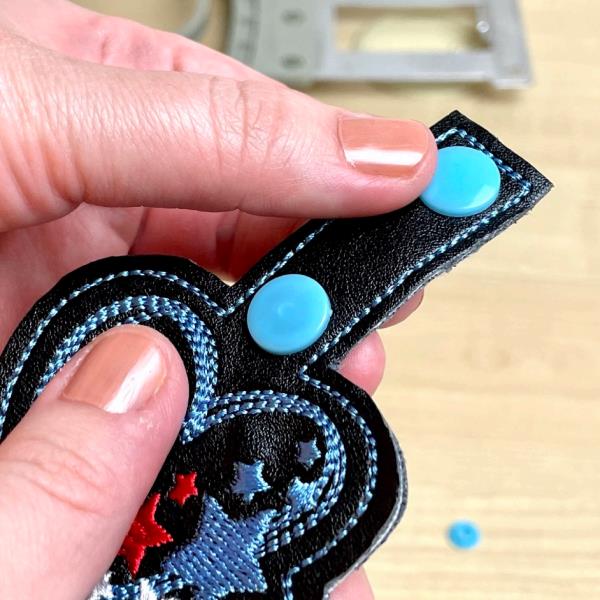
The final stage of the product - insert a button or block. And then a ring or carbine. (How to insert the correct fittings is clearly seen in the photo below)