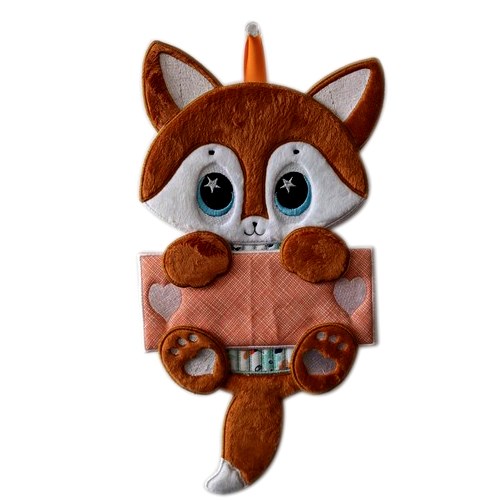
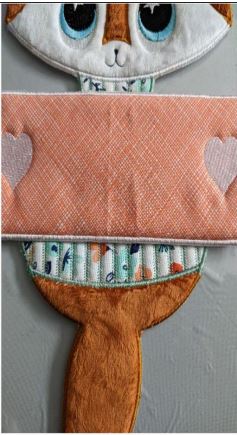
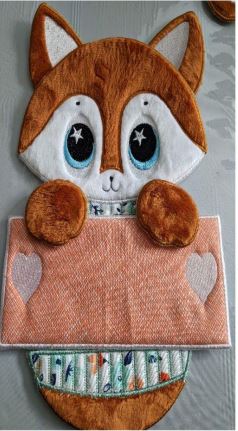
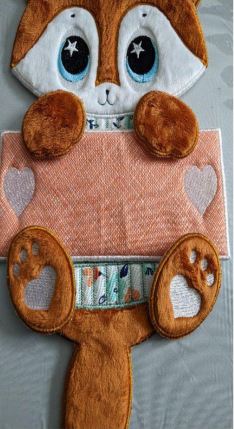
PERSONALIZED DECORATION FOX
Zoom Watch Video View Larger
View Project Instructions
PERSONALIZED DECORATION FOX Embroidery Project
Description
PERSONALIZED DECORATION FOX
Jump to
PERSONALIZED DECORATION FOX
By Sew Chic
Materials
Print Materials
Materials .
Designs used in this project
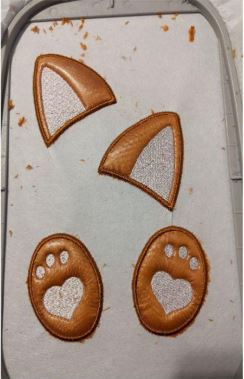
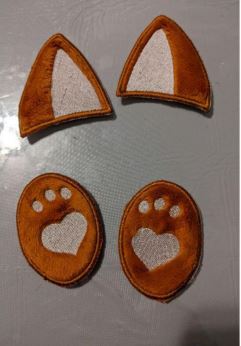
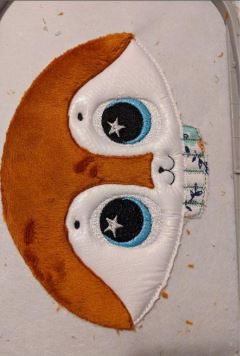
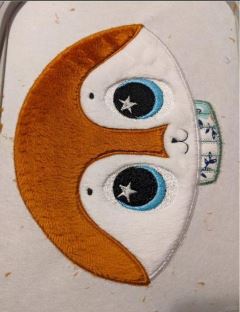
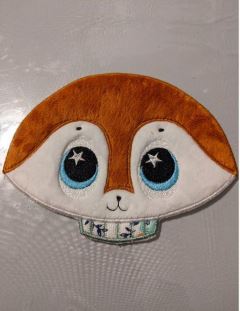
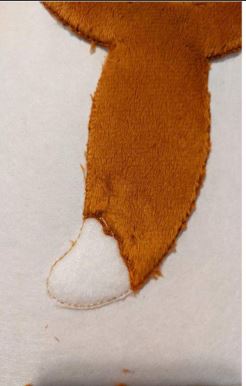
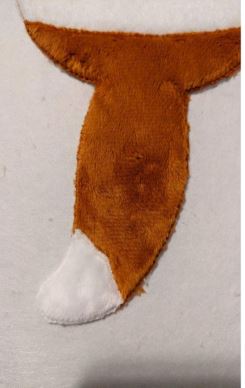
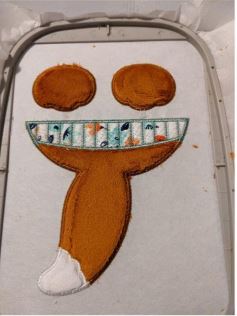
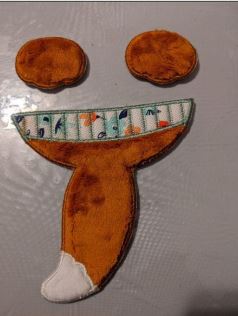
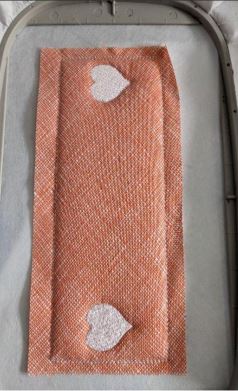
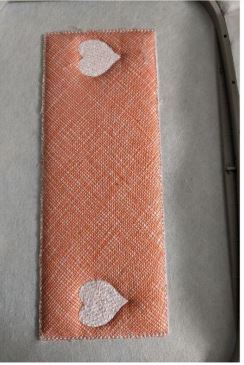
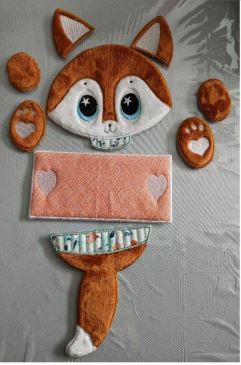
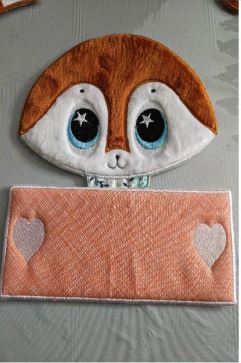
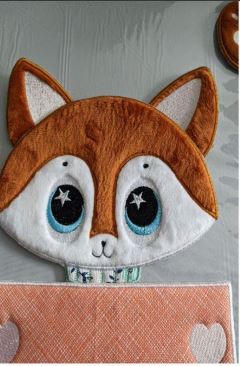
Final Product: What You Will Create
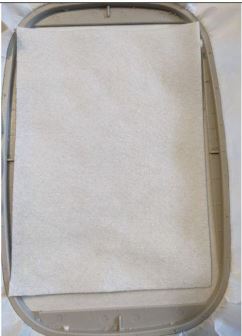
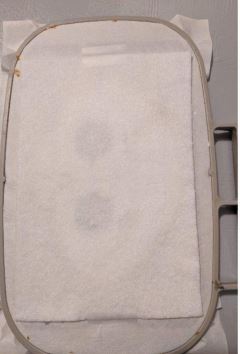
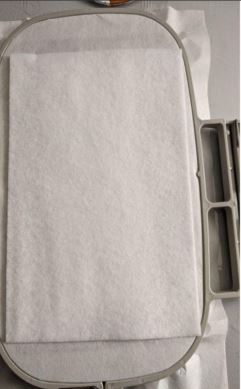
Step 1: (Click Image to Enlarge)
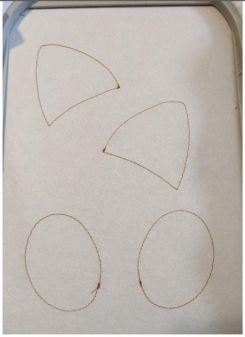
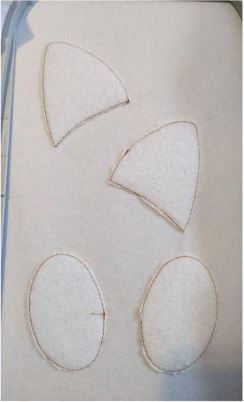
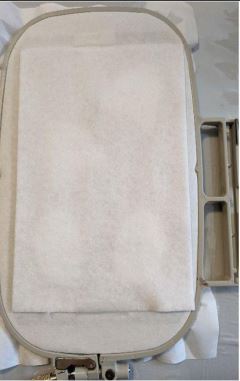
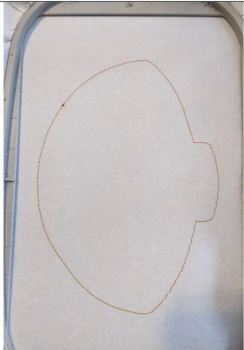
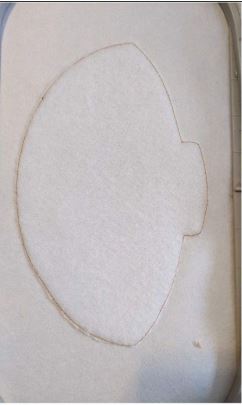
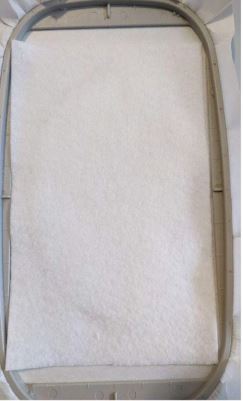
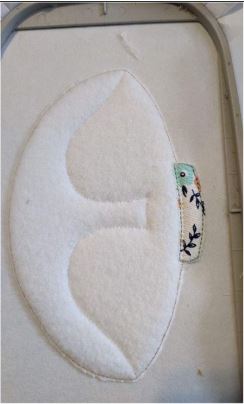
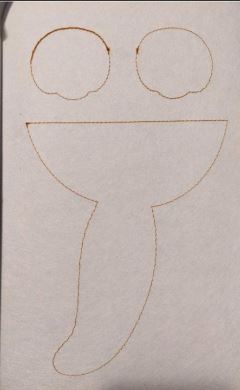
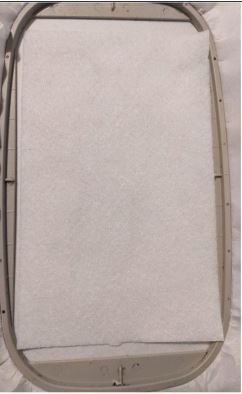
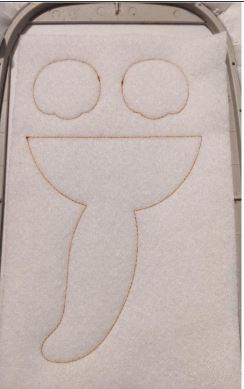
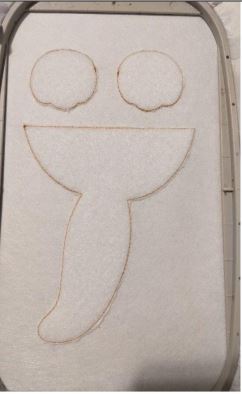
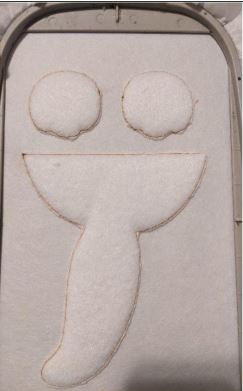
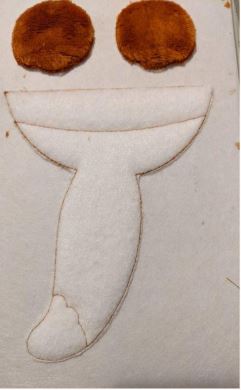
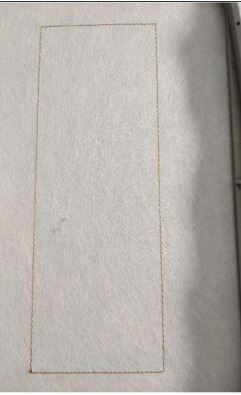
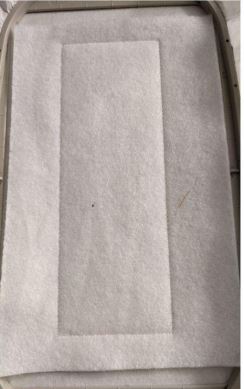
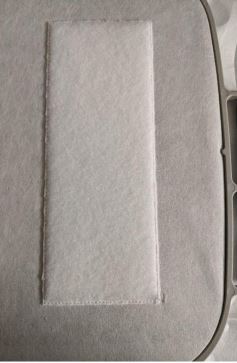
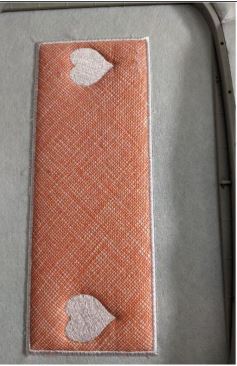
Seam 1:this seam is done on your stabilizer to indicate the location of your fleece
Step 2: (Click Image to Enlarge)
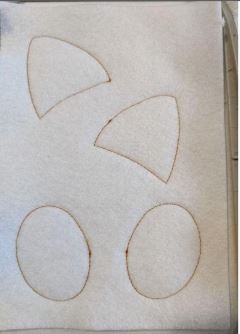
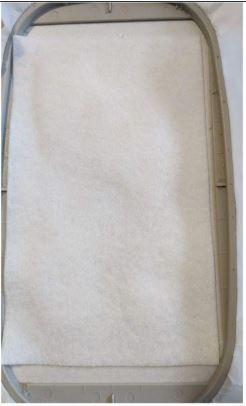
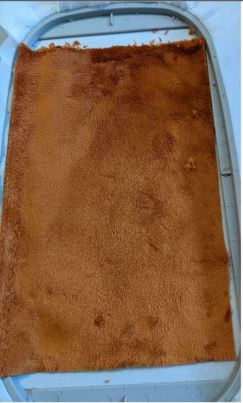
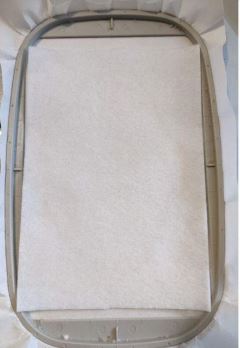
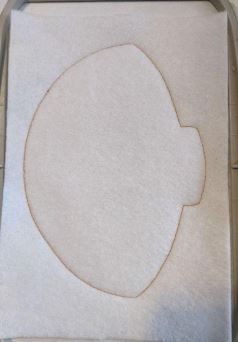
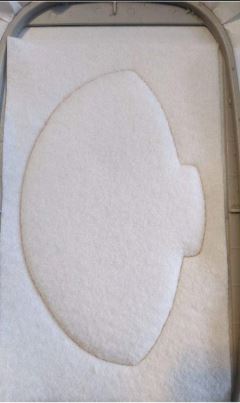
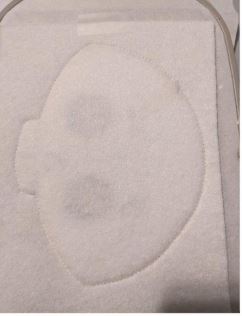
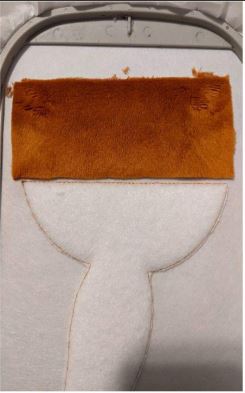
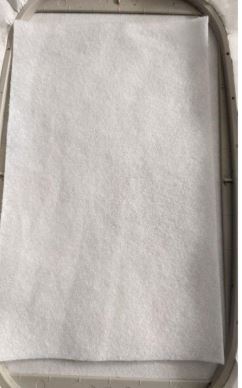
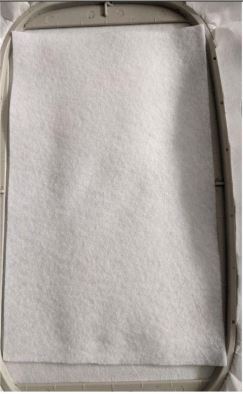
Put your fleece on the seam,take care to hide all the seams
Step 3: (Click Image to Enlarge)
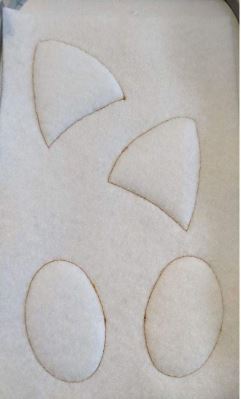
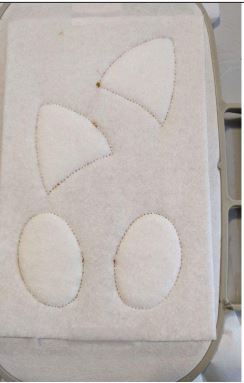
Seam 2: this seam will hold your fleece in place
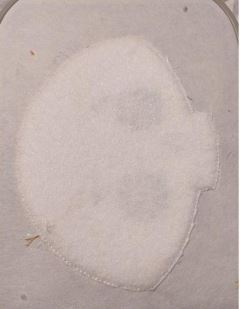
Step 4: (Click Image to Enlarge)
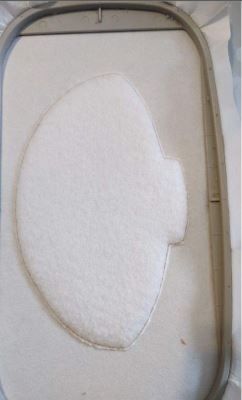
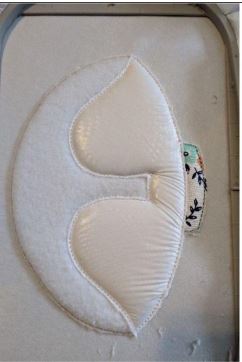
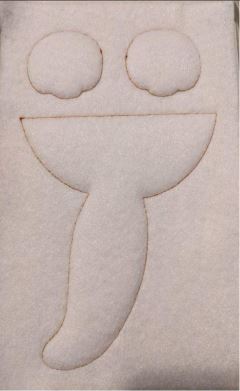
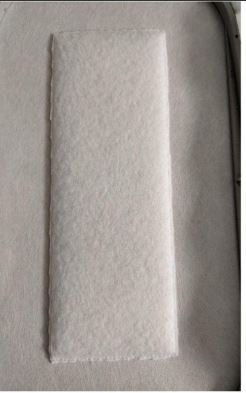
Cut excess fleece all the way around
Step 5: (Click Image to Enlarge)
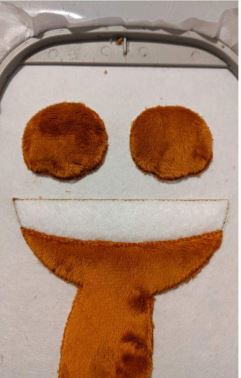
Put your Acrylic felt piece taking care to hide all the fleece parts
Step 6: (Click Image to Enlarge)
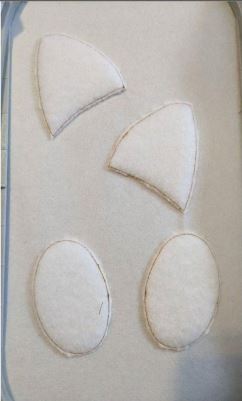
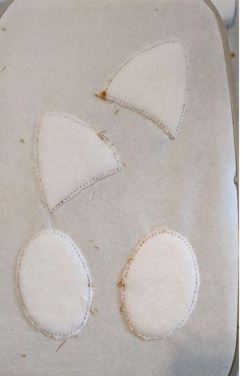
Seam 3:This seam will hold your feltin place
Step 7: (Click Image to Enlarge)
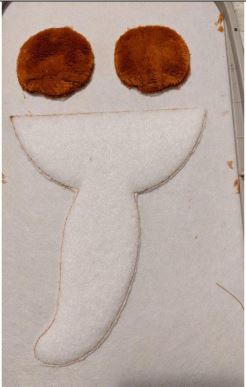
Cut excess felt all the way around
Step 8: (Click Image to Enlarge)
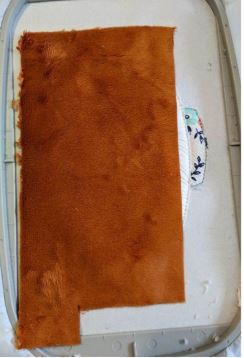
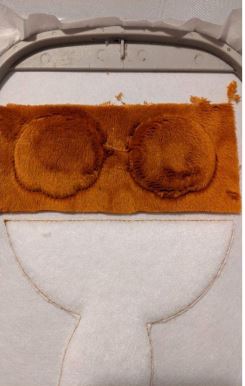
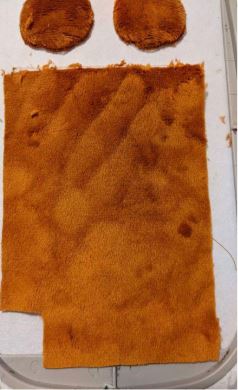
Put on your Minky,taking care to cover all the pieces with felt
Step 9: (Click Image to Enlarge)
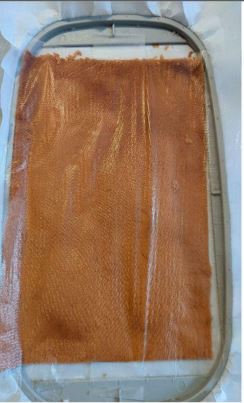
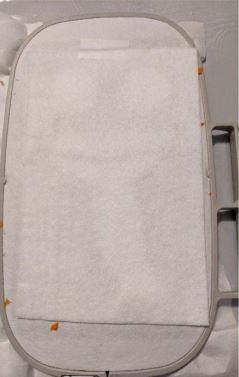
Put on your water-soluble stabilizer
Step 10: (Click Image to Enlarge)
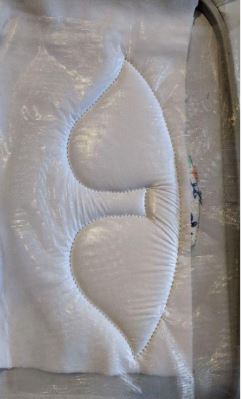
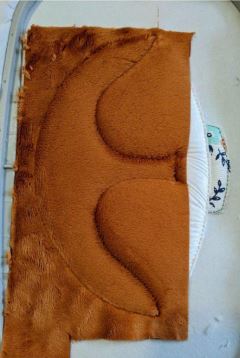
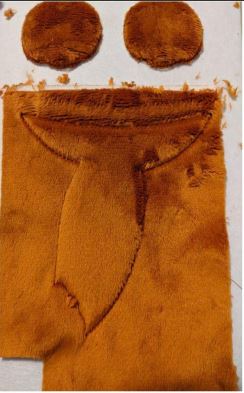
Seam 4: this seam will hold your stabilizer and Minky in place
Step 11: (Click Image to Enlarge)
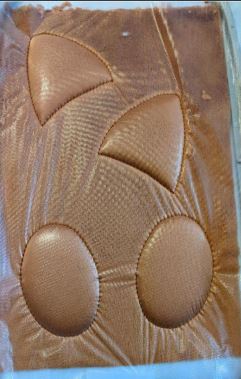
Sewing 5: embroidery stitches
Step 12: (Click Image to Enlarge)
Put your Acrylic felt piece on the back of your project (back of the frame) well hold in place
Step 13: (Click Image to Enlarge)
this seam will join your front fabric with your felt on the back of your frame
Step 14: (Click Image to Enlarge)
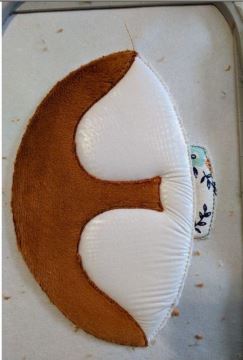
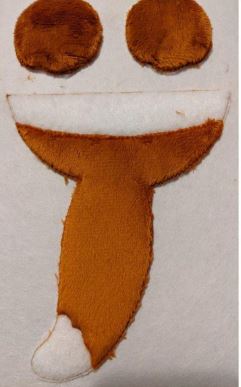
Cut excess felt on the back of your frame and excess fabric on the front of your frame
Step 15: (Click Image to Enlarge)
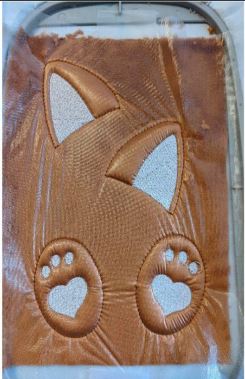
Sewing 7:Embroidery stitches
Step 16: (Click Image to Enlarge)
Get out of the frame, remove your stabilizer and set aside until mounting
Step 17: (Click Image to Enlarge)
Seam 1:this seam is done on your stabilizer to indicate the location of your fleece
Step 18: (Click Image to Enlarge)
Put your fleece on the seam,take care to hide all the seams
Step 19: (Click Image to Enlarge)
this seam will hold your fleece in place
Step 20: (Click Image to Enlarge)
cut excess fleece allt the way around
Step 21: (Click Image to Enlarge)
Put your Acrylic felt piece taking care to hide all the fleece parts
Step 22: (Click Image to Enlarge)
Seam 3:This seam will hold your feltin place
Step 23: (Click Image to Enlarge)
Cut excess felt all the way around
Step 24: (Click Image to Enlarge)
this stitch tells you the location for tne sweater collat
Step 25: (Click Image to Enlarge)
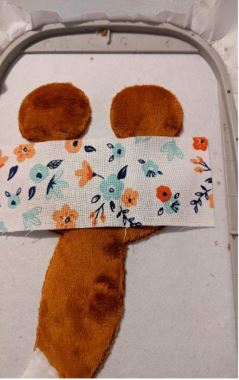
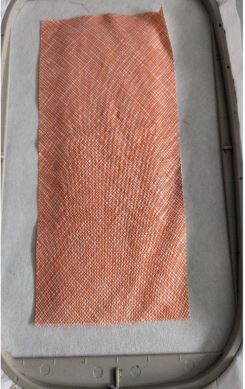
Put your fabric on the seam
Step 26: (Click Image to Enlarge)
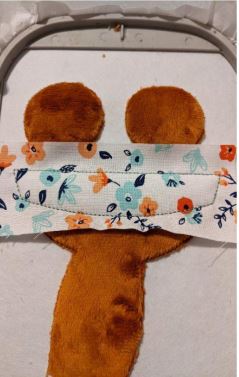
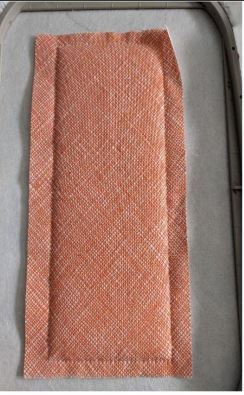
this seam will hold your fabricin place
Step 27: (Click Image to Enlarge)
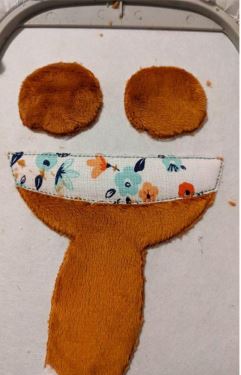
Cut excess fabric all around
Step 28: (Click Image to Enlarge)
this seam tells you the location of your white Minky
Step 29: (Click Image to Enlarge)
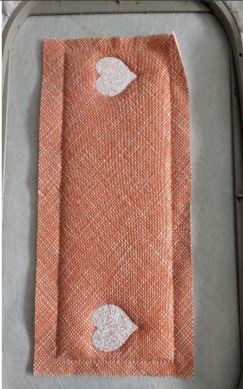
Put your white Minky on the seam
Step 30: (Click Image to Enlarge)
Put your water-soluble stabilizer on top of your Minky
Step 31: (Click Image to Enlarge)
Seam 7: this seam will hold your Minky and stabilizer in place
Step 32: (Click Image to Enlarge)
Turn off excess Minky and stabilizer
Step 33: (Click Image to Enlarge)
Put your Minky on the seam
Step 34: (Click Image to Enlarge)
Seam 9: this seam will hold your Minky in place
Step 35: (Click Image to Enlarge)
Cut off excess Minky all around
Step 36: (Click Image to Enlarge)
Sewing10-11-12-13-14: embroidery stitches
Step 37: (Click Image to Enlarge)
Put your Acrylic felt piece on the back of your project (back of the frame) well hold in place
Step 38: (Click Image to Enlarge)
Seam 15:this seam will join your front fabric with your felt on the back of your frame
Step 39: (Click Image to Enlarge)
Cut excess felt all the way around
Step 40: (Click Image to Enlarge)
Sewing 16-17-18:satin stitches
Step 41: (Click Image to Enlarge)
Get out of the frame, remove the stabilizers,set aside until mounting
Step 42: (Click Image to Enlarge)
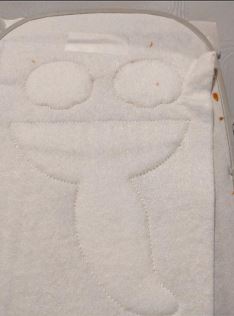
Seam 1:this seam is done on your stabilizer to indicate the location of your fleece
Step 43: (Click Image to Enlarge)
Put your fleece on the seam,take care to hide all the seams
Step 44: (Click Image to Enlarge)
Seam 2: this seam will hold your fleece in place
Step 45: (Click Image to Enlarge)
Cut excess fleece all the way around
Step 46: (Click Image to Enlarge)
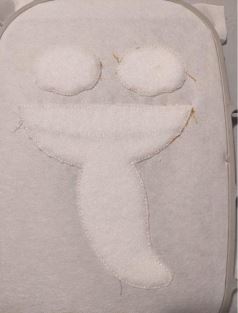
Put your Acrylic felt piece taking care to hide all the fleece parts
Step 47: (Click Image to Enlarge)
Seam 3:This seam will hold your felt in place
Step 48: (Click Image to Enlarge)
Cut excess felt all the way around
Step 49: (Click Image to Enlarge)
Put your Minky on the legs
Step 50: (Click Image to Enlarge)
Seam 4: this seam will hold your Minky in place
Step 51: (Click Image to Enlarge)
Cut off excess Minky all around
Step 52: (Click Image to Enlarge)
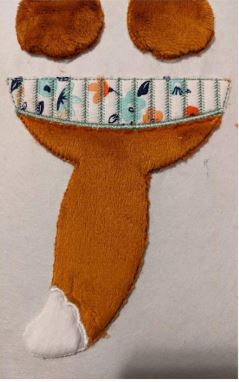
Seam 5:this seam tells you the location for your orange Minky for the tail part
Step 53: (Click Image to Enlarge)
Put your Minky on the seam
Step 54: (Click Image to Enlarge)
this seam will hold your Minkyin place
Step 55: (Click Image to Enlarge)
Cut off excess all around
Step 56: (Click Image to Enlarge)
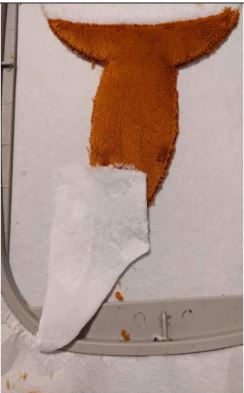
This seam tells you the location of your white Minky for the tail
Step 57: (Click Image to Enlarge)
Put your Minky on the seam
Step 58: (Click Image to Enlarge)
this seam will hold your Minky in place
Step 59: (Click Image to Enlarge)
Cut off excess Minky all around
Step 60: (Click Image to Enlarge)
Seam 9: This seam tells you the location of your fabric for the sweater
Step 61: (Click Image to Enlarge)
Step 62: (Click Image to Enlarge)
this seam will hold your fabricinplace
Step 63: (Click Image to Enlarge)
Cut excess fabric all around
Step 64: (Click Image to Enlarge)
Sewing 11-12:embroidery stitches
Step 65: (Click Image to Enlarge)
Put your Acrylic felt piece on the back of your project (back of the frame)well hold in place
Step 66: (Click Image to Enlarge)
Seam 13:this seam will join your front fabric with your felt on the back of your frame
Step 67: (Click Image to Enlarge)
Remove excess felt all the way around
Step 68: (Click Image to Enlarge)
Sewing 14-15-16:satin stitches
Step 69: (Click Image to Enlarge)
Get out of the frame, remove your stabilizer and set aside until mounting
Step 70: (Click Image to Enlarge)
this seam is done on your stabilizer to indicate the location of your fleece
Step 71: (Click Image to Enlarge)
Put your fleece on the seam, take care to hide all the seams
Step 72: (Click Image to Enlarge)
this seam will hold your fleece in place
Step 73: (Click Image to Enlarge)
Cut excess fleece all the way around
Step 74: (Click Image to Enlarge)
Put your Acrylic felt piece taking care to hide all the fleece parts
Step 75: (Click Image to Enlarge)
This seam will hold your felt in place
Step 76: (Click Image to Enlarge)
Cut excess felt all the way around
Step 77: (Click Image to Enlarge)
Put your fabric on the seam
Step 78: (Click Image to Enlarge)
Seam 4: this seam will hold your fabricinplace
Step 79: (Click Image to Enlarge)
Step 80: (Click Image to Enlarge)
Put your Acrylic felt piece on the back of your project (backof the frame) well hold in place
Step 81: (Click Image to Enlarge)
this seam will join your front fabric with your felt on the back of your frame
Step 82: (Click Image to Enlarge)
Cut excess fabric on the front
Step 83: (Click Image to Enlarge)
Cut excess felt on the back
Step 84: (Click Image to Enlarge)
Step 85: (Click Image to Enlarge)
You should have all these parts to do the assembly
Step 86: (Click Image to Enlarge)
With your hot glue gun,stick your fox's neck on the backof the sign
Step 87: (Click Image to Enlarge)
Stick the ears on the back of the head
Step 88: (Click Image to Enlarge)
Stick the lower body on the back of the sign
Step 89: (Click Image to Enlarge)
stick the small paws ofthe top,a part on the sign and a part on the bottom of the face
Step 90: (Click Image to Enlarge)
stick the bottom legs,a small part on the sign and a part on the lower body
Feedback
Please Login to Submit a Feedback
Invalid Characters, Please enter a valid Comment
Please enter a valid Comment
LOG IN
Submit
Link is Broken, Please check the URL