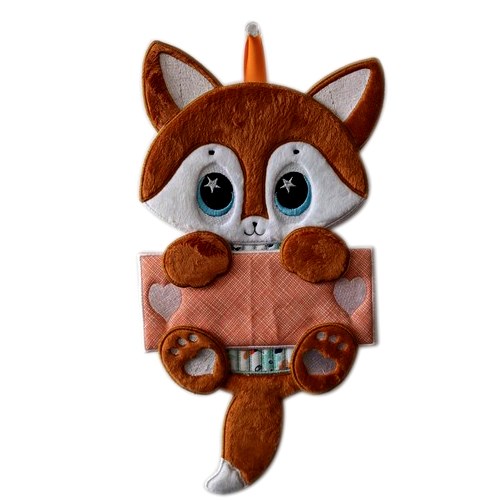
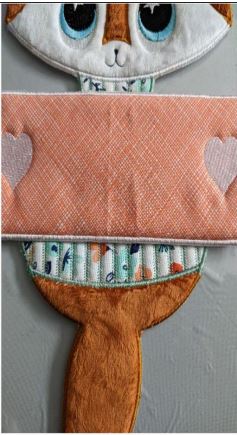
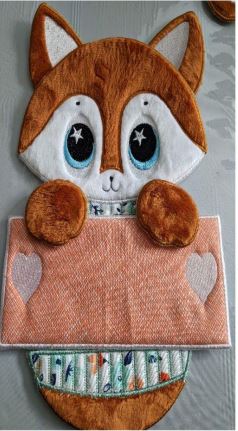
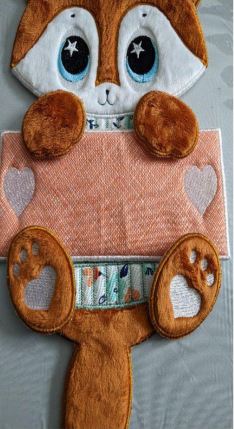
ITH Fox Wall Decoration
Zoom Watch Video View Larger
View Project Instructions
ITH Fox Wall Decoration Embroidery Project
Description
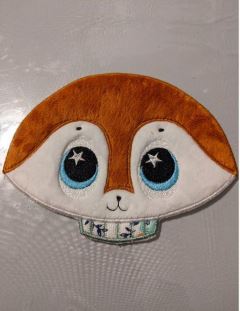
Create a charming fox decoration with this in-the-hoop project. Perfect for adding a touch of whimsy to any room, this fox features large, expressive eyes and a soft, plush body. Step-by-step instructions are included.
Jump to
ITH Fox Wall Decoration
By Sew Chic
Materials
Print Materials
Materials .
Designs used in this project
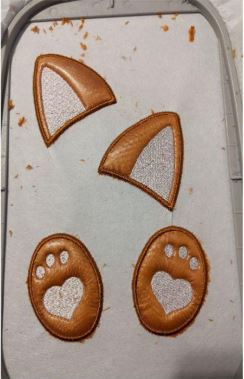
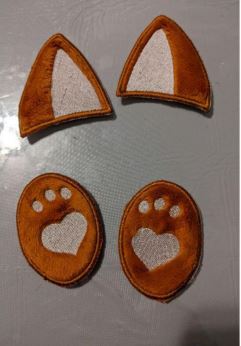
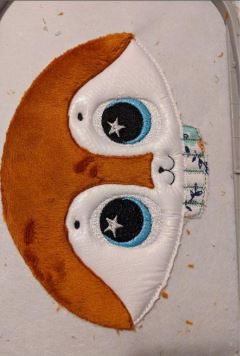
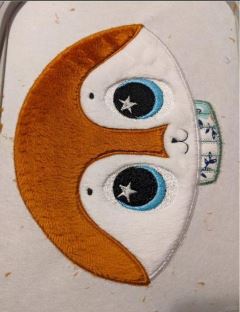
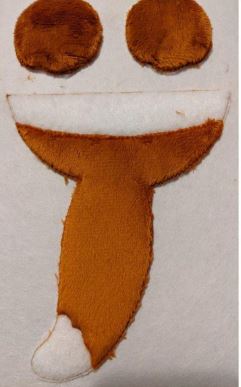
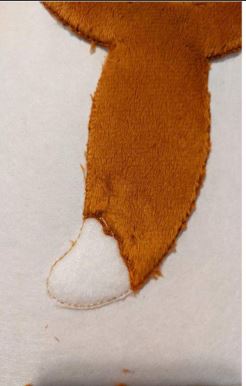
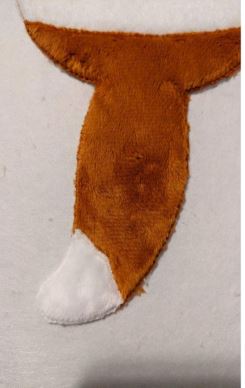
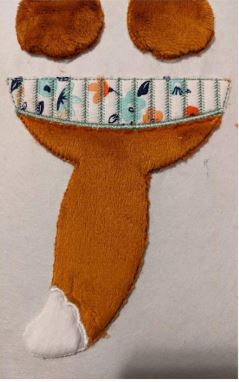
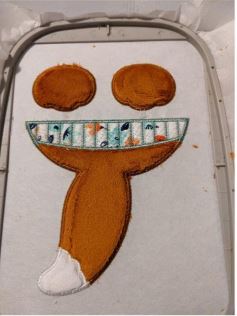
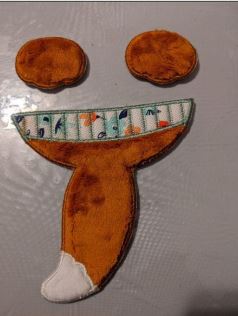
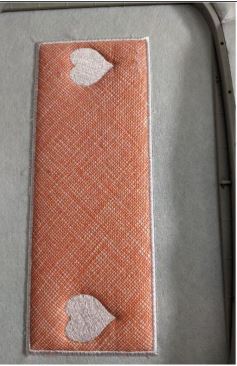
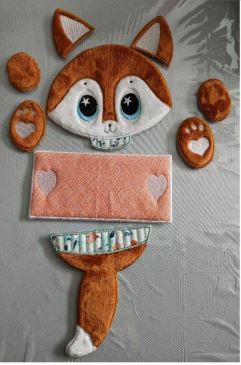
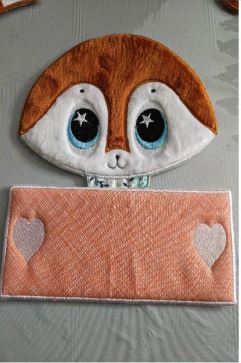
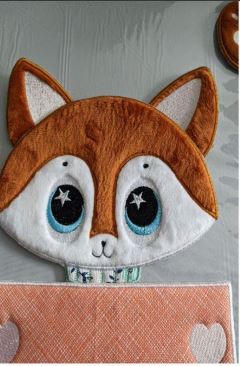
Final Product: What You Will Create
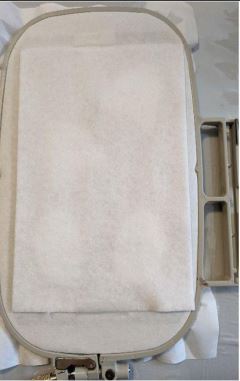
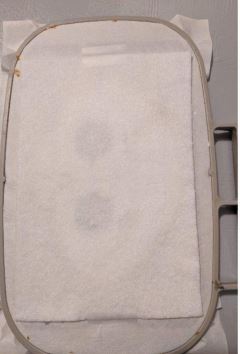
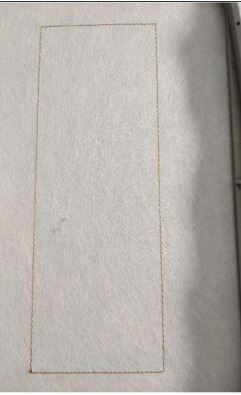
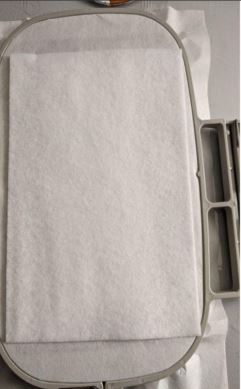
Step 1: (Click Image to Enlarge)
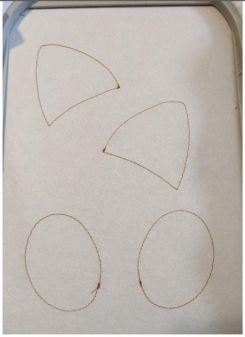
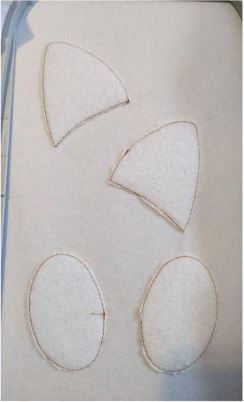
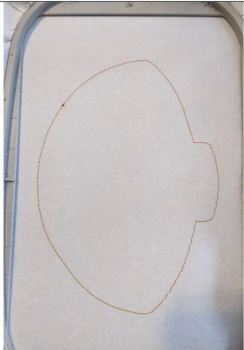
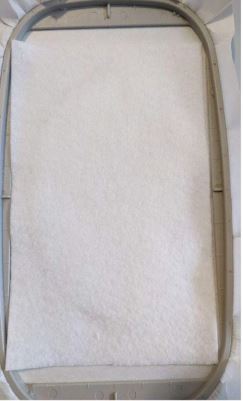
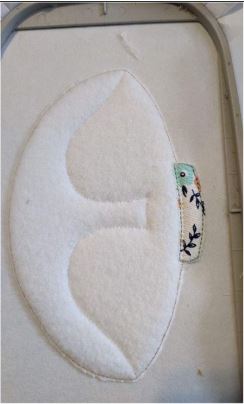
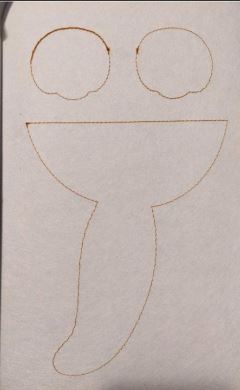
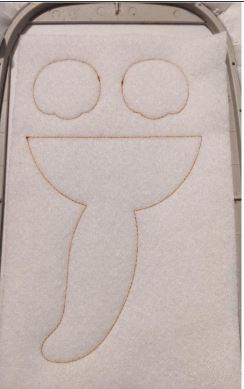
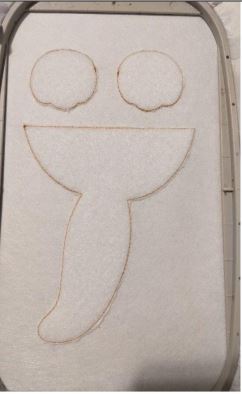
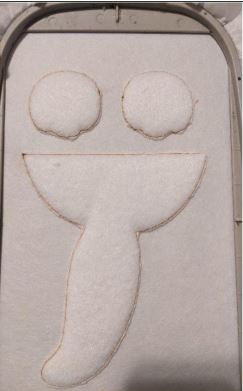
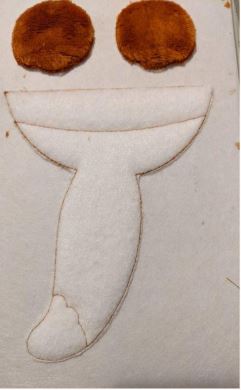
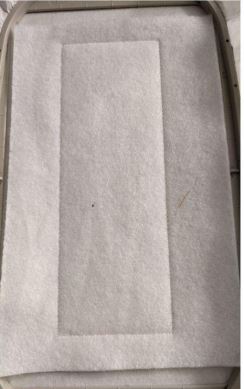
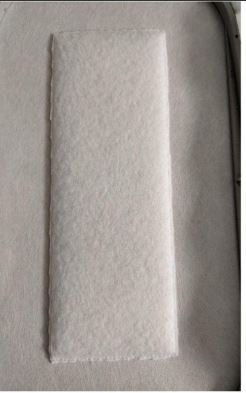
Seam 1:this seam is done on your stabilizer to indicate the location of your fleece
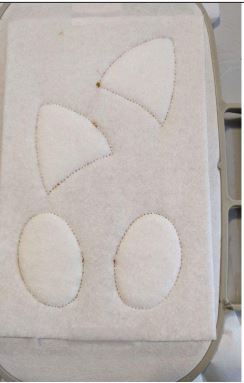
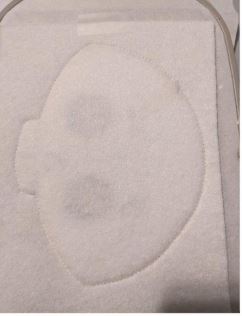
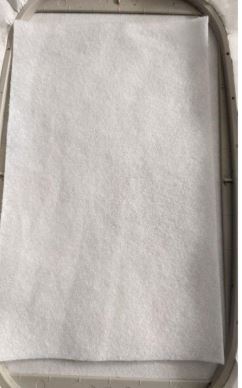
Step 2: (Click Image to Enlarge)
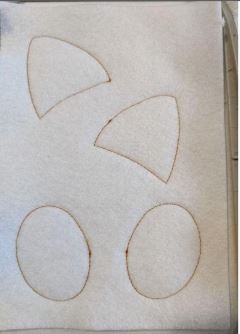
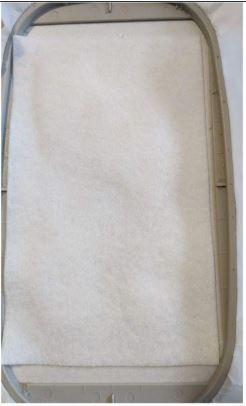
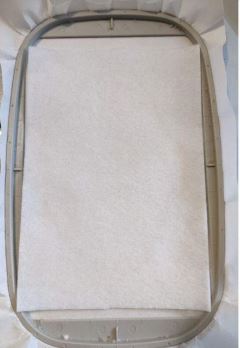
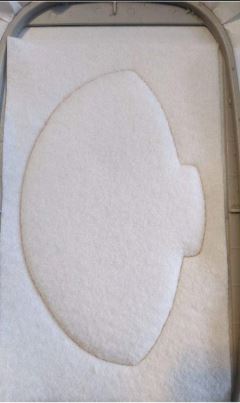
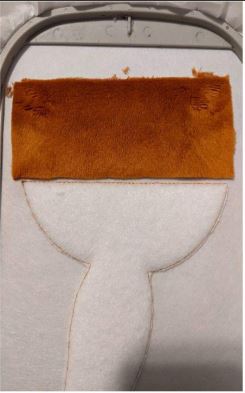
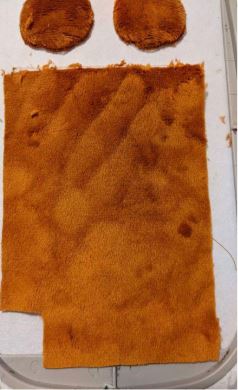
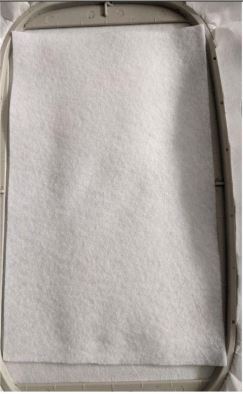
Put your fleece on the seam,take care to hide all the seams
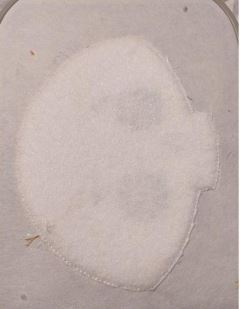
Step 3: (Click Image to Enlarge)
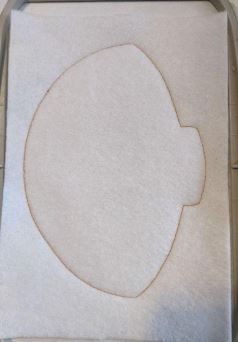
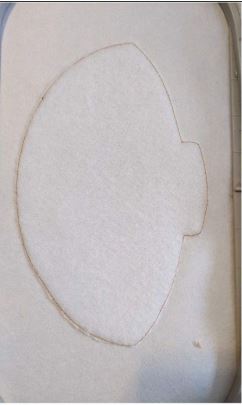
Seam 2: this seam will hold your fleece in place
Step 4: (Click Image to Enlarge)
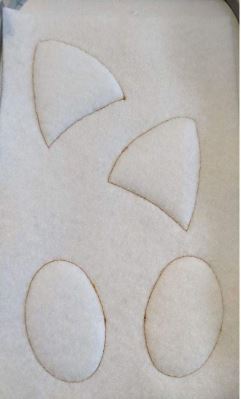
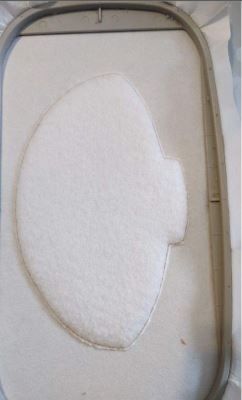
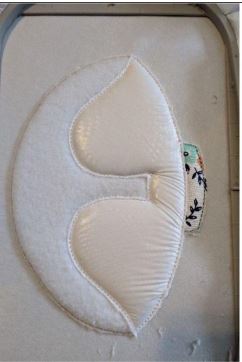
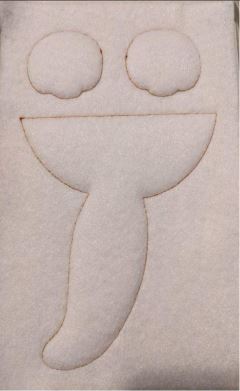
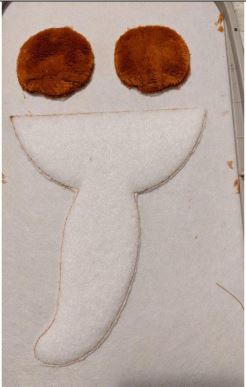
Cut excess fleece all the way around
Step 5: (Click Image to Enlarge)
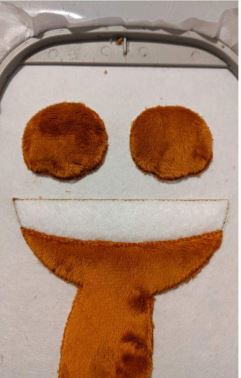
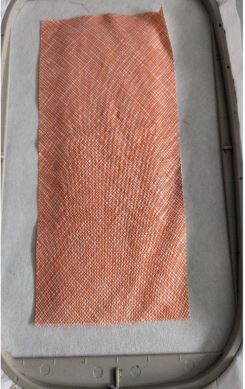
Put your Acrylic felt piece taking care to hide all the fleece parts
Step 6: (Click Image to Enlarge)
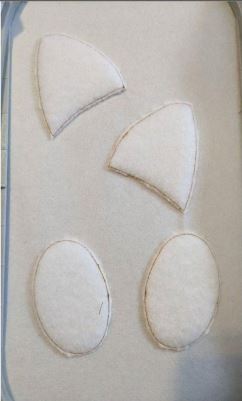
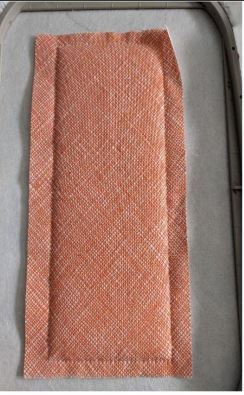
Seam 3:This seam will hold your feltin place
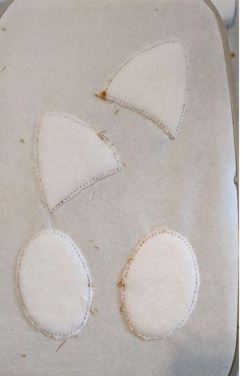
Step 7: (Click Image to Enlarge)
Cut excess felt all the way around
Step 8: (Click Image to Enlarge)
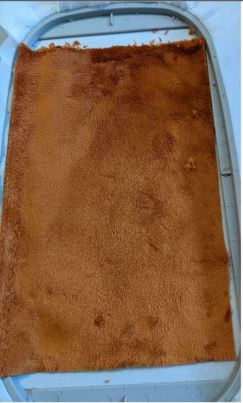
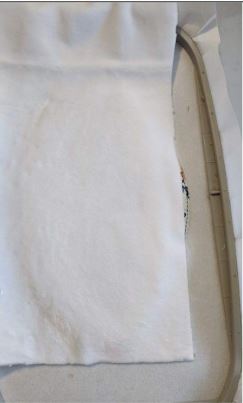
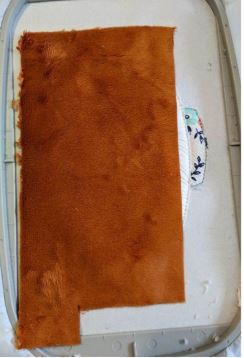
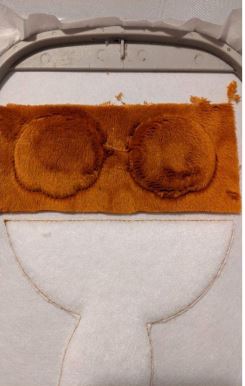
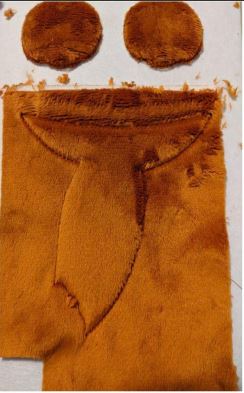
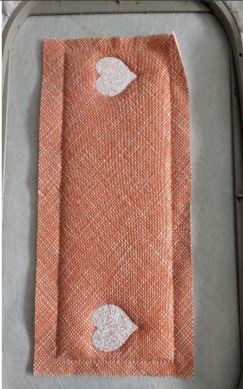
Put on your Minky,taking care to cover all the pieces with felt
Step 9: (Click Image to Enlarge)
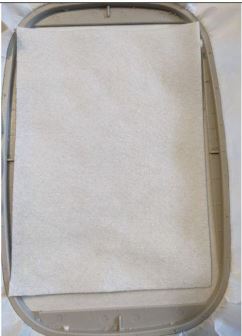
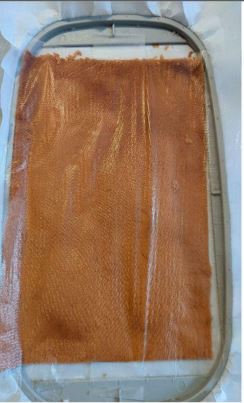
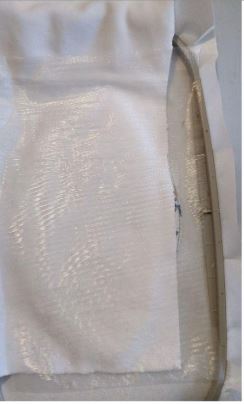
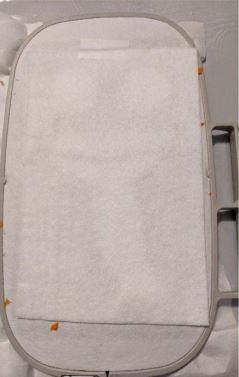
Put on your water-soluble stabilizer
Step 10: (Click Image to Enlarge)
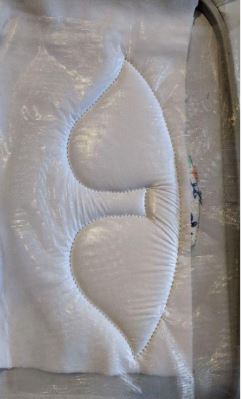
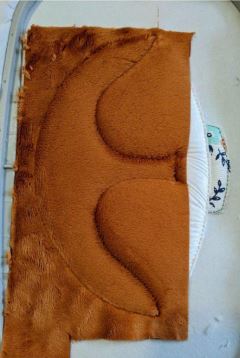
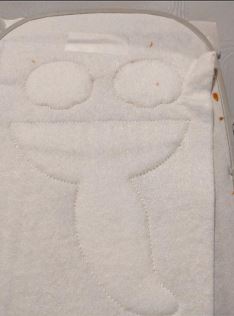
Seam 4: this seam will hold your stabilizer and Minky in place
Step 11: (Click Image to Enlarge)
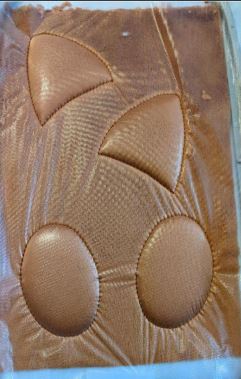
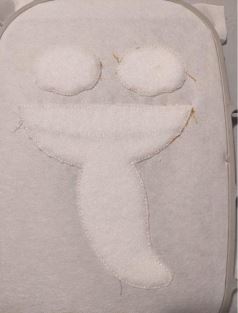
Sewing 5: embroidery stitches
Step 12: (Click Image to Enlarge)
Put your Acrylic felt piece on the back of your project (back of the frame) well hold in place
Step 13: (Click Image to Enlarge)
this seam will join your front fabric with your felt on the back of your frame
Step 14: (Click Image to Enlarge)
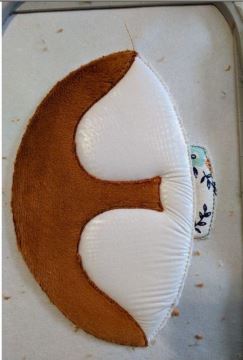
Cut excess felt on the back of your frame and excess fabric on the front of your frame
Step 15: (Click Image to Enlarge)
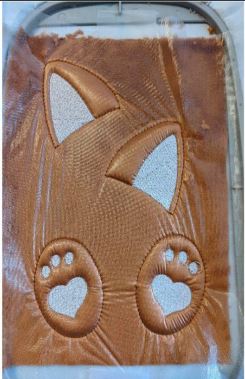
Sewing 7:Embroidery stitches
Step 16: (Click Image to Enlarge)
Get out of the frame, remove your stabilizer and set aside until mounting
Step 17: (Click Image to Enlarge)
Seam 1:this seam is done on your stabilizer to indicate the location of your fleece
Step 18: (Click Image to Enlarge)
Put your fleece on the seam,take care to hide all the seams
Step 19: (Click Image to Enlarge)
this seam will hold your fleece in place
Step 20: (Click Image to Enlarge)
cut excess fleece allt the way around
Step 21: (Click Image to Enlarge)
Put your Acrylic felt piece taking care to hide all the fleece parts
Step 22: (Click Image to Enlarge)
Seam 3:This seam will hold your feltin place
Step 23: (Click Image to Enlarge)
Cut excess felt all the way around
Step 24: (Click Image to Enlarge)
this stitch tells you the location for tne sweater collat
Step 25: (Click Image to Enlarge)
Put your fabric on the seam
Step 26: (Click Image to Enlarge)
this seam will hold your fabricin place
Step 27: (Click Image to Enlarge)
Cut excess fabric all around
Step 28: (Click Image to Enlarge)
this seam tells you the location of your white Minky
Step 29: (Click Image to Enlarge)
Put your white Minky on the seam
Step 30: (Click Image to Enlarge)
Put your water-soluble stabilizer on top of your Minky
Step 31: (Click Image to Enlarge)
Seam 7: this seam will hold your Minky and stabilizer in place
Step 32: (Click Image to Enlarge)
Turn off excess Minky and stabilizer
Step 33: (Click Image to Enlarge)
Put your Minky on the seam
Step 34: (Click Image to Enlarge)
Seam 9: this seam will hold your Minky in place
Step 35: (Click Image to Enlarge)
Cut off excess Minky all around
Step 36: (Click Image to Enlarge)
Sewing10-11-12-13-14: embroidery stitches
Step 37: (Click Image to Enlarge)
Put your Acrylic felt piece on the back of your project (back of the frame) well hold in place
Step 38: (Click Image to Enlarge)
Seam 15:this seam will join your front fabric with your felt on the back of your frame
Step 39: (Click Image to Enlarge)
Cut excess felt all the way around
Step 40: (Click Image to Enlarge)
Sewing 16-17-18:satin stitches
Step 41: (Click Image to Enlarge)
Get out of the frame, remove the stabilizers,set aside until mounting
Step 42: (Click Image to Enlarge)
Seam 1:this seam is done on your stabilizer to indicate the location of your fleece
Step 43: (Click Image to Enlarge)
Put your fleece on the seam,take care to hide all the seams
Step 44: (Click Image to Enlarge)
Seam 2: this seam will hold your fleece in place
Step 45: (Click Image to Enlarge)
Cut excess fleece all the way around
Step 46: (Click Image to Enlarge)
Put your Acrylic felt piece taking care to hide all the fleece parts
Step 47: (Click Image to Enlarge)
Seam 3:This seam will hold your felt in place
Step 48: (Click Image to Enlarge)
Cut excess felt all the way around
Step 49: (Click Image to Enlarge)
Put your Minky on the legs
Step 50: (Click Image to Enlarge)
Seam 4: this seam will hold your Minky in place
Step 51: (Click Image to Enlarge)
Cut off excess Minky all around
Step 52: (Click Image to Enlarge)
Seam 5:this seam tells you the location for your orange Minky for the tail part
Step 53: (Click Image to Enlarge)
Put your Minky on the seam
Step 54: (Click Image to Enlarge)
this seam will hold your Minkyin place
Step 55: (Click Image to Enlarge)
Cut off excess all around
Step 56: (Click Image to Enlarge)
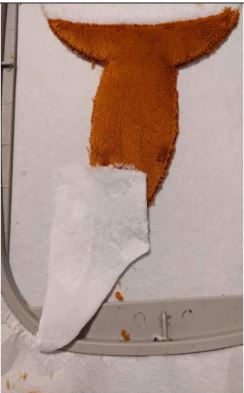
This seam tells you the location of your white Minky for the tail
Step 57: (Click Image to Enlarge)
Put your Minky on the seam
Step 58: (Click Image to Enlarge)
this seam will hold your Minky in place
Step 59: (Click Image to Enlarge)
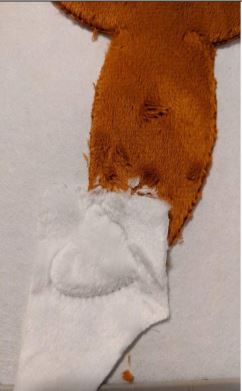
Cut off excess Minky all around
Step 60: (Click Image to Enlarge)
Seam 9: This seam tells you the location of your fabric for the sweater
Step 61: (Click Image to Enlarge)
Step 62: (Click Image to Enlarge)
this seam will hold your fabricinplace
Step 63: (Click Image to Enlarge)
Cut excess fabric all around
Step 64: (Click Image to Enlarge)
Sewing 11-12:embroidery stitches
Step 65: (Click Image to Enlarge)
Put your Acrylic felt piece on the back of your project (back of the frame)well hold in place
Step 66: (Click Image to Enlarge)
Seam 13:this seam will join your front fabric with your felt on the back of your frame
Step 67: (Click Image to Enlarge)
Remove excess felt all the way around
Step 68: (Click Image to Enlarge)
Sewing 14-15-16:satin stitches
Step 69: (Click Image to Enlarge)
Get out of the frame, remove your stabilizer and set aside until mounting
Step 70: (Click Image to Enlarge)
this seam is done on your stabilizer to indicate the location of your fleece
Step 71: (Click Image to Enlarge)
Put your fleece on the seam, take care to hide all the seams
Step 72: (Click Image to Enlarge)
this seam will hold your fleece in place
Step 73: (Click Image to Enlarge)
Cut excess fleece all the way around
Step 74: (Click Image to Enlarge)
Put your Acrylic felt piece taking care to hide all the fleece parts
Step 75: (Click Image to Enlarge)
This seam will hold your felt in place
Step 76: (Click Image to Enlarge)
Cut excess felt all the way around
Step 77: (Click Image to Enlarge)
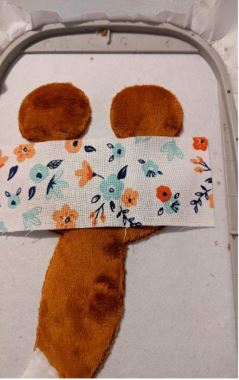
Put your fabric on the seam
Step 78: (Click Image to Enlarge)
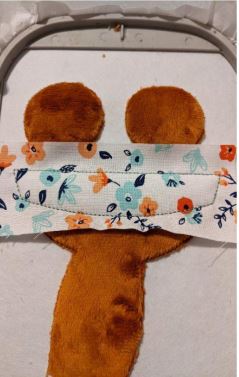
Seam 4: this seam will hold your fabricinplace
Step 79: (Click Image to Enlarge)
Step 80: (Click Image to Enlarge)
Put your Acrylic felt piece on the back of your project (backof the frame) well hold in place
Step 81: (Click Image to Enlarge)
this seam will join your front fabric with your felt on the back of your frame
Step 82: (Click Image to Enlarge)
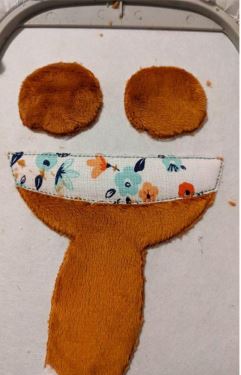
Cut excess fabric on the front
Step 83: (Click Image to Enlarge)
Cut excess felt on the back
Step 84: (Click Image to Enlarge)
Step 85: (Click Image to Enlarge)
You should have all these parts to do the assembly
Step 86: (Click Image to Enlarge)
With your hot glue gun,stick your fox's neck on the backof the sign
Step 87: (Click Image to Enlarge)
Stick the ears on the back of the head
Step 88: (Click Image to Enlarge)
Stick the lower body on the back of the sign
Step 89: (Click Image to Enlarge)
stick the small paws ofthe top,a part on the sign and a part on the bottom of the face
Step 90: (Click Image to Enlarge)
stick the bottom legs,a small part on the sign and a part on the lower body
Feedback
Please Login to Submit a Feedback
Invalid Characters, Please enter a valid Comment
Please enter a valid Comment
LOG IN
Submit
Link is Broken, Please check the URL