Border OptionsHugging border, circle, square, or rectangle — with a 3mm satin stitch.
Backing OptionsAvailable with iron-on, sew-on, or velcro backing.
Fast ShippingShipped quickly from the USA.
Free Online Tools
Powerful embroidery utilities that save time and prevent costly mistakes.
Stitch AssistantRECOMMENDED
Get the exact stabilizer, machine settings, needle, and thread color sequence for every embroidery design you purchase — based on that design's stitch density, dimensions, and color count.
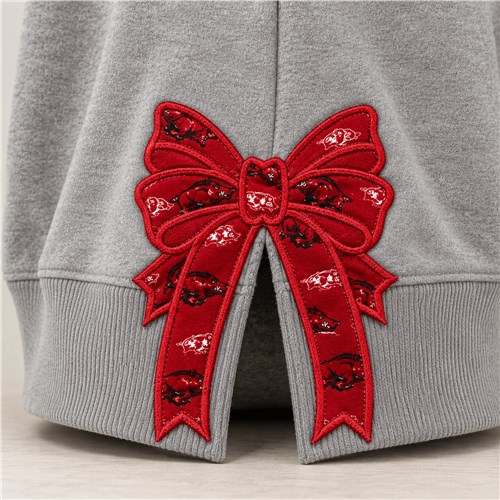
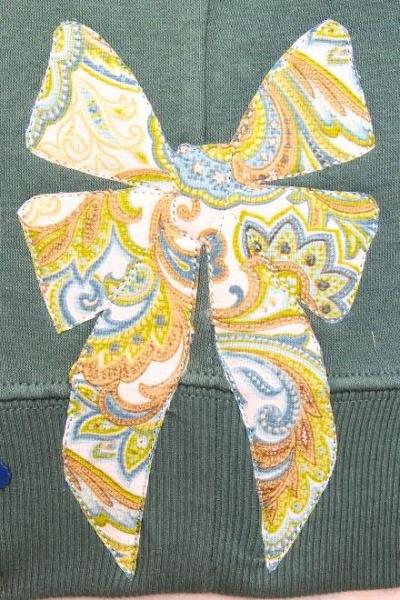
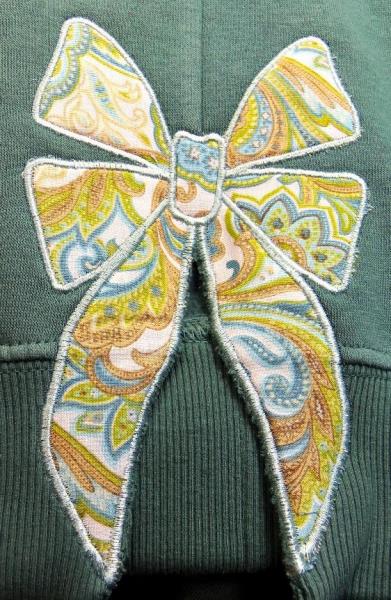
Enhance your sweatshirt with this elegant applique bow accent, perfect for adding a touch of style to casual wear. This applique design features a detailed bow that can be easily attached to any sweatshirt. Step-by-step instructions are included.
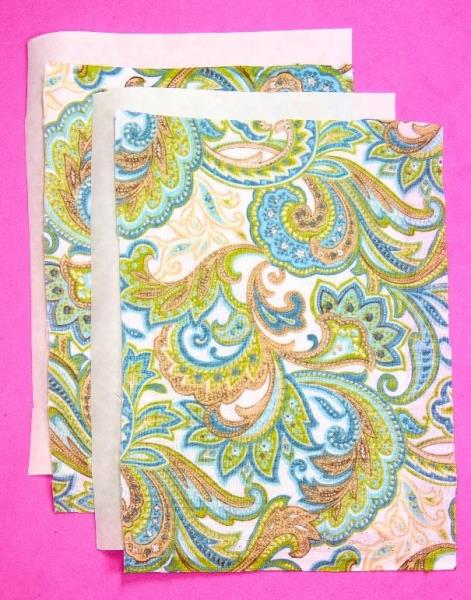
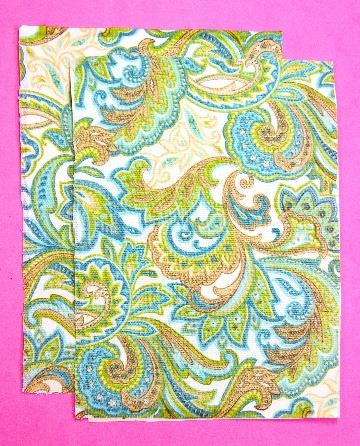
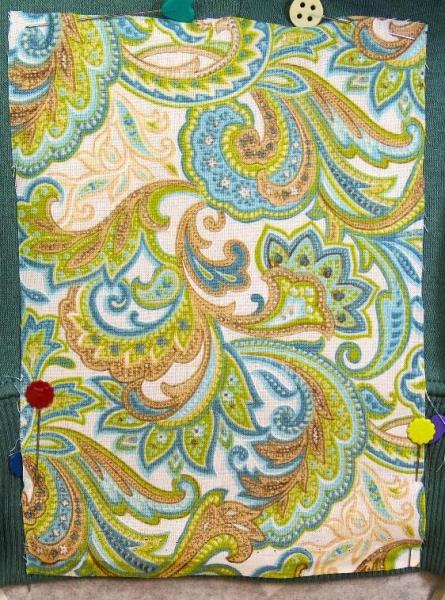
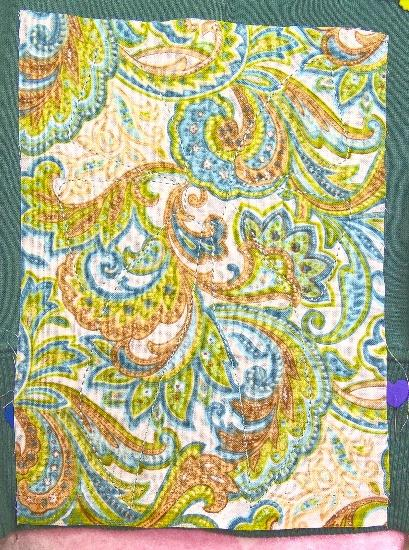
Fuse Heat-N-Bond pieces to backs of fabric pieces.
Step 3:
Press the sides of the sweatshirt where the
seams are located from the bottom of the
band to about 7.5 inches upward.
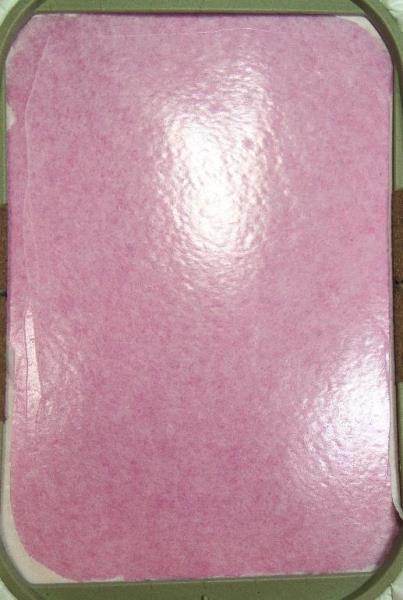
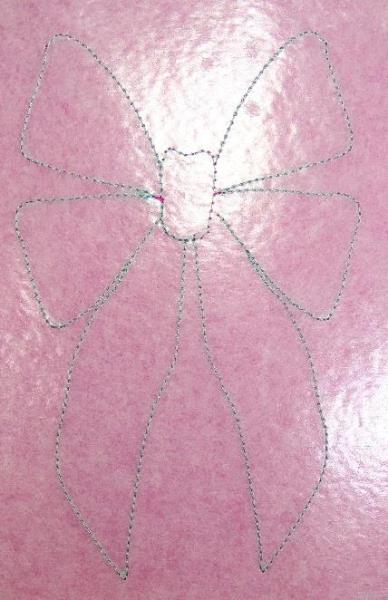
Hoop the Peel ‘n Stick stabilizer in the 5x7 inch embroidery hoop.
Score and remove the center portion of the stabilizer in the hoop.
Transfer the design le to the embroidery machine.
Hoop shows Stick-N-Peel stabilizer in hoop
with center section removed. (Shiny part is sticky).
(Click Image to Enlarge)
Step 4:
(Click Image to Enlarge)
Select a thread color that matches the selected applique fabric to use for both bobbin and needle.
Thread needle and bobbin thread with selected threads.
Attach hoop to machine and sew #1 in the Color Sequence Chart. These stitches will create the placement stitches for the bow.
Step 5:
Print out the Color Sequence Chart and trim
around template (second page of Color
Sequence Chart).
Remove hoop, place on a at surface.
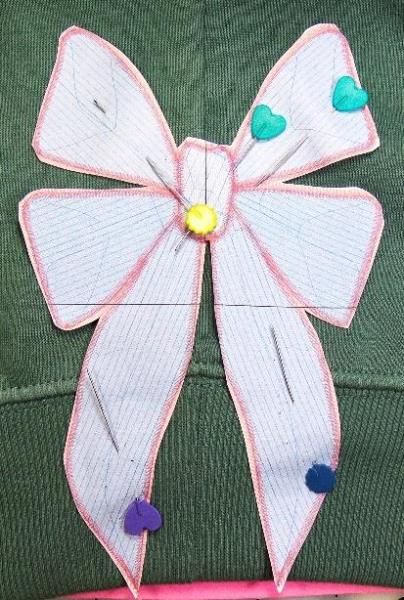
Using the bow template as a guide, place the sweatshirt on the sticky stabilizer. Press in place.
Mark center and remove template.
Center
(Click Image to Enlarge)
Step 6:
(Click Image to Enlarge)
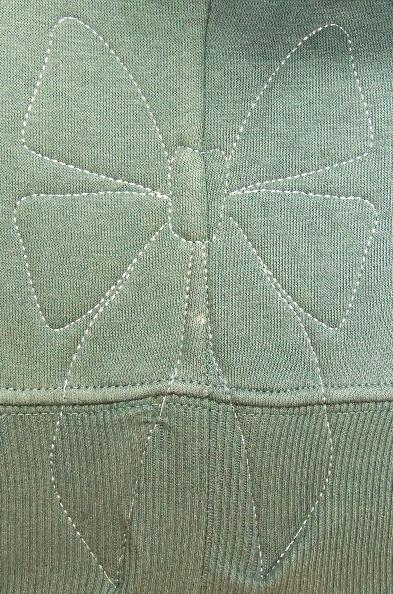
Return hoop to machine. Use directional arrows on embroidery machine to navigate to “center” and sew #2 in the Color Sequence Chart. These stitches will attach the sweatshirt to the stabilizer.
Step 7:
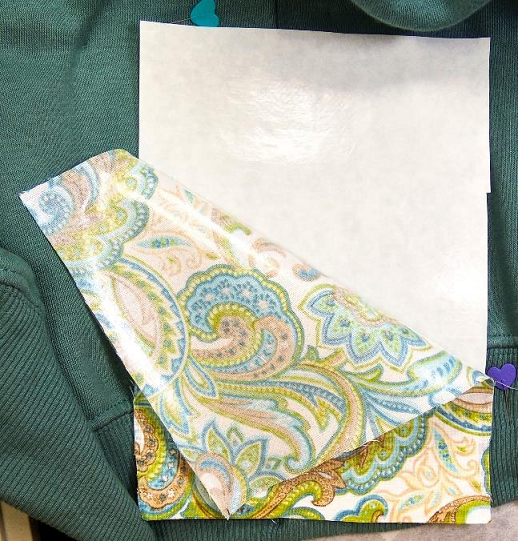
Remove paper backing from one of the fabric pieces,
(Click Image to Enlarge)
Step 8:
Place the applique fabric piece over the top of the sweatshirt (which is still in the hoop).
Make sure the entire design is covered by the applique fabric. Pin in place, but don’t pin in the sewing area.
(It would be useful to use a thread color in needle that will contrast with the fabric to make it more visible when cutting.)
(Click Image to Enlarge)
Step 9:
Return hoop to machine and sew #3 in the Color Sequence Chart. These stitches will attach the applique fabric to the sweatshirt.
It is diicult to see the thread in this photo, but it was visible enough to guide my cutting.
(Click Image to Enlarge)
Step 10:
Remove hoop from machine and carefully cut away the applique fabric around the outside of the design.
(Click Image to Enlarge)
Step 11:
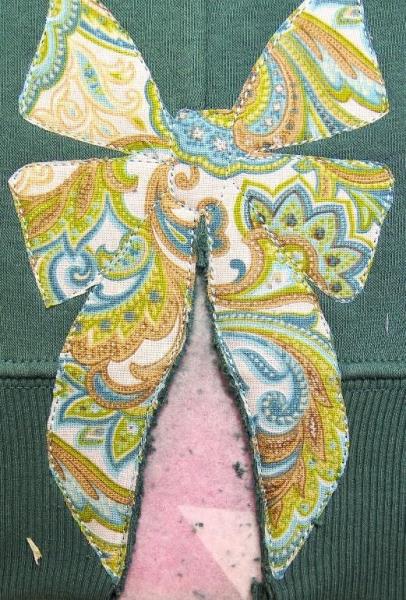
Trim the sweatshirt area inside the bow area as shown in the photo. (This step requires heavy duty, very sharp scissors. Cut close to stitching, but do not cut the stitching or the stabilizer.)
(Click Image to Enlarge)
Step 12:
(Click Image to Enlarge)
Return hoop to machine and sew #4 in the Color Sequence Chart. These stitches will create the satin stitches around the bow,
Remove design from hoop, press bow from front of sweatshirt using a pressing cloth to adhere applique fabric to sweatshirt.
Design is nished, Tear away the stabilizer and wash sweatshirt to remove any remaining stabilizer. Bow may need to be pressed on the back side after being washed,-or the front side using a pressing cloth.