Border OptionsHugging border, circle, square, or rectangle — with a 3mm satin stitch.
Backing OptionsAvailable with iron-on, sew-on, or velcro backing.
Fast ShippingShipped quickly from the USA.
Free Online Tools
Powerful embroidery utilities that save time and prevent costly mistakes.
Stitch AssistantRECOMMENDED
Get the exact stabilizer, machine settings, needle, and thread color sequence for every embroidery design you purchase — based on that design's stitch density, dimensions, and color count.
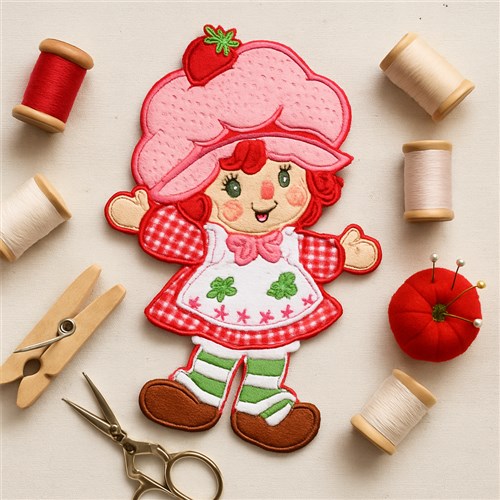
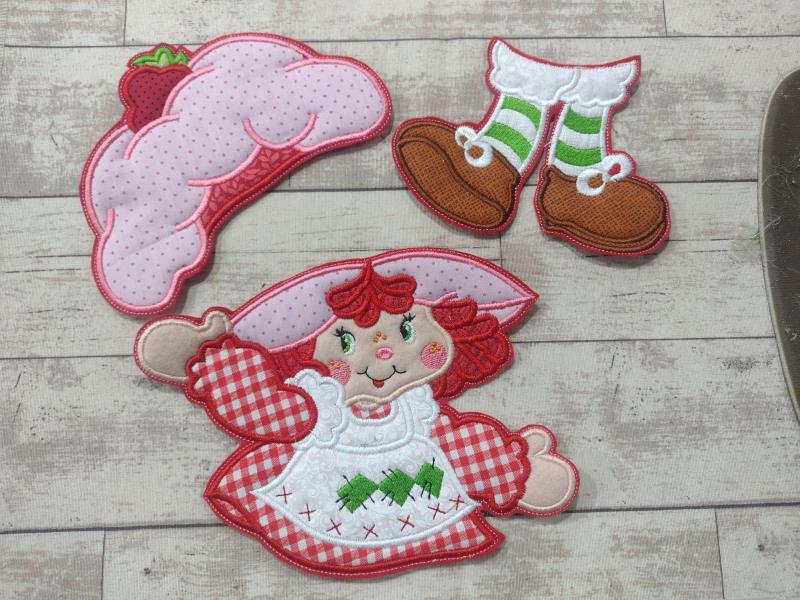
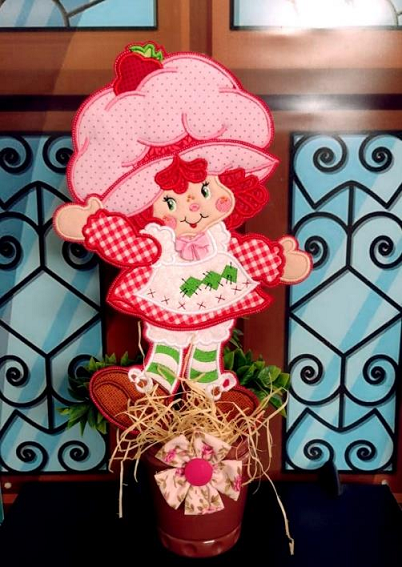
Create a charming in-the-hoop Strawberry Girl applique featuring a delightful character in bright colors. Perfect for adding a touch of whimsy to children's items or seasonal decorations. Step-by-step instructions are included.
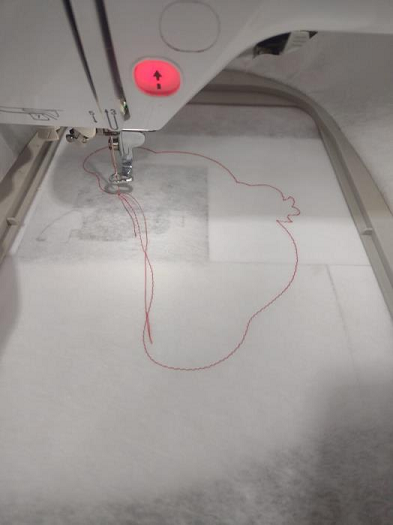
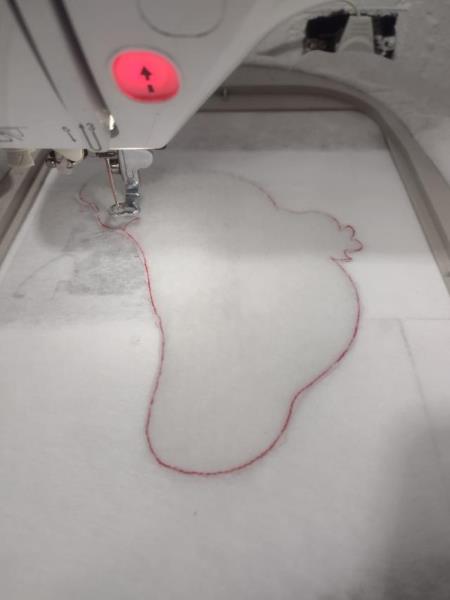
Hoop stabilizer and stitch out the placement line.
Step 2:
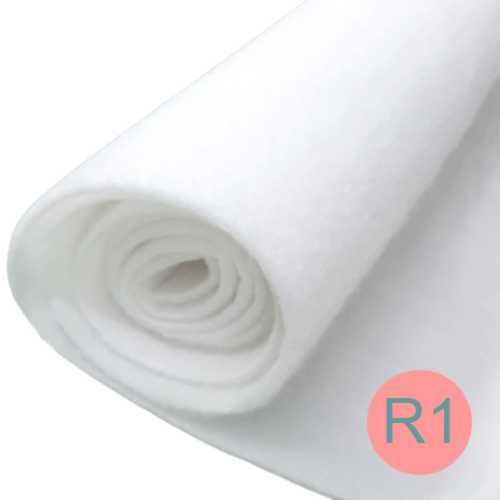
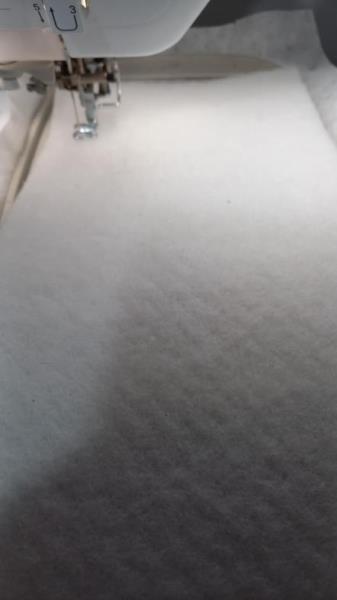
Place Batting (or Padding) R1
Step 3:
(Click Image to Enlarge)
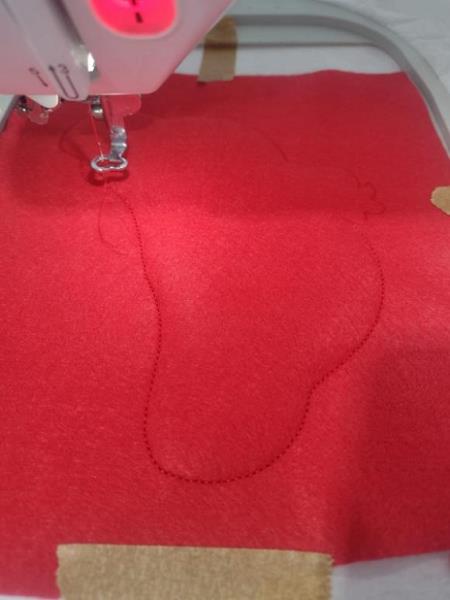
R2 over the placement line you stitched before and stitch.
Step 4:
Trim the batting as close as you can to the stitching without cutting the stitching.
(Click Image to Enlarge)
Step 5:
Place the felt right side up covering the batting. Stitch down.
(Click Image to Enlarge)
Step 6:
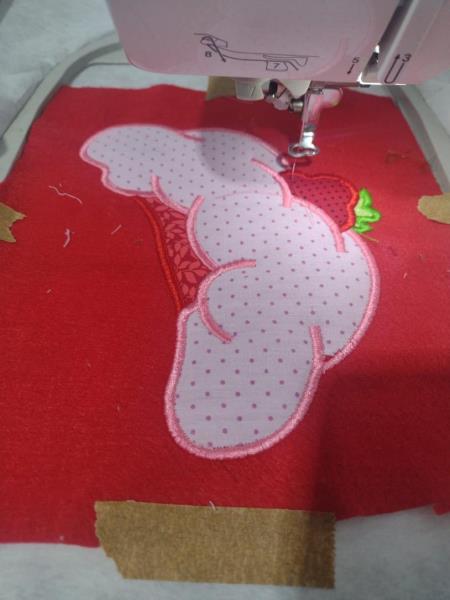
Continue the appliqués process following the machine order until the penultimate step.
(Click Image to Enlarge)
Step 7:
(THE LAST STEP OF THE MACHINE): Leave your work in the hoop.
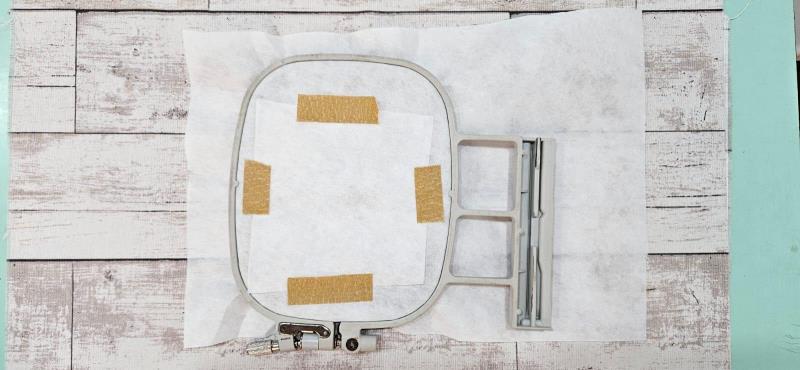
Remove the hoop from your machine and turn the hoop over so the wrong side of the hoop is up.
Place the fabric on the wrong side of the hoop covering all the stitch lines.
Tape in place with sticky tape or masking tape.
Put the hoop in the machine and stitch.
(Click Image to Enlarge)
Step 8:
Remove the hoop from the machine and remove your work from the hoop. Trim as close as you can. Be careful to not cut the stitches.
(Click Image to Enlarge)
Step 9:
Repeat the above process for all available parts of this project. Once all the pieces are finished, you can put togheter with a glue gun (the most recommended and that's what I use) or you can also put together using a sewing machine or hand sewing.