ITH Animal Mitten Ornaments Set
Zoom Watch Video View Larger
View Project Instructions
ITH Animal Mitten Ornaments Set Embroidery Project
Description
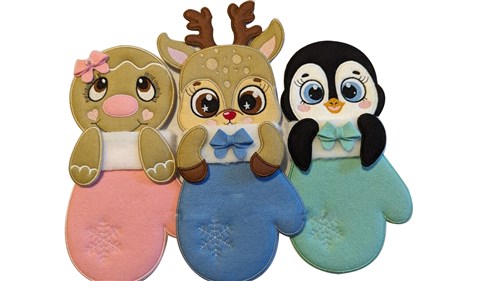
Create a charming set of mitten ornaments featuring a deer, reindeer, and penguin, all crafted entirely in the hoop. These delightful decorations are perfect for enhancing your Christmas tree, adding a special touch to gifts, or sharing as handmade holiday treasures. Step-by-step instructions are included.
Jump to
ITH Animal Mitten Ornaments Set
By Sew Chic
Materials
Print Materials
Materials 7 pieces of fleece of 13x18cm
7 pieces of white felt for the back
3 pieces of 3.8cm wide x 22cm of imitation fur felt loin
1 piece of felt in each colour of 24x30cm
Tear-off stabilizer, hot glue gun
Designs used in this project
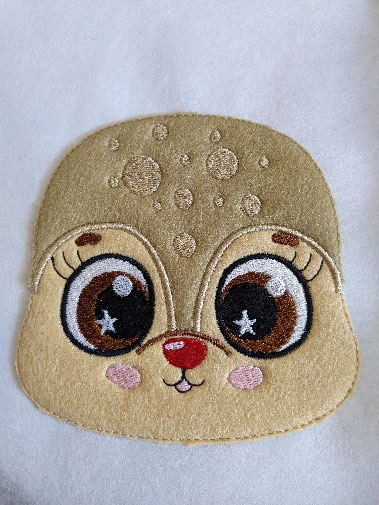
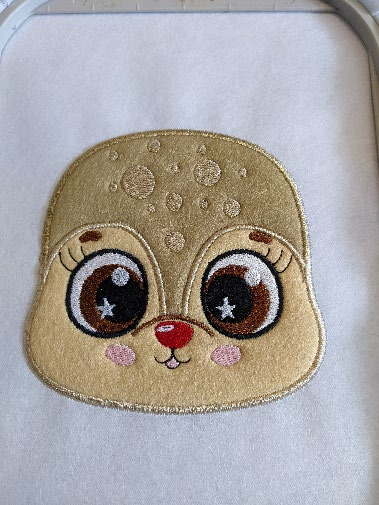
Final Product: What You Will Create
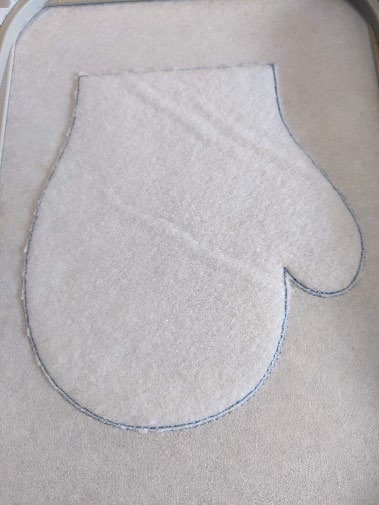
Step 1: (Click Image to Enlarge)
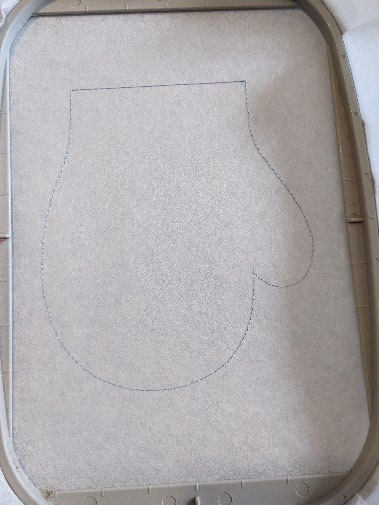
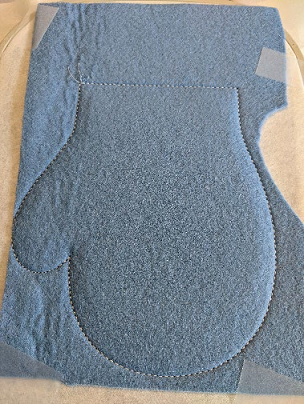
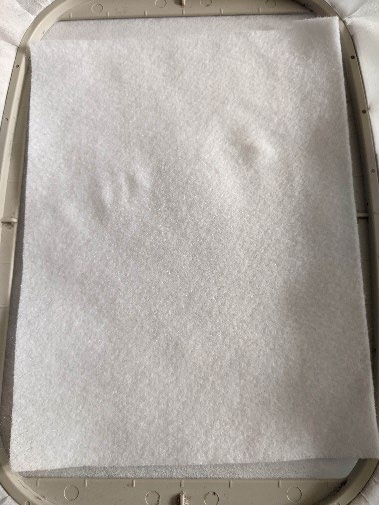
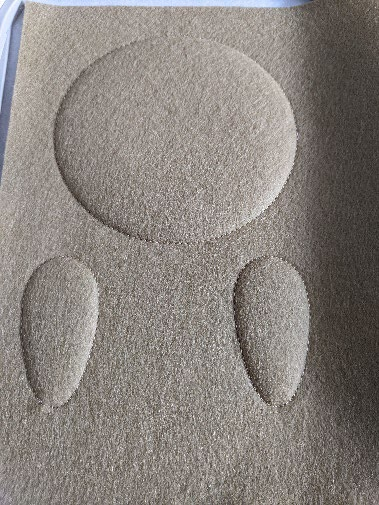
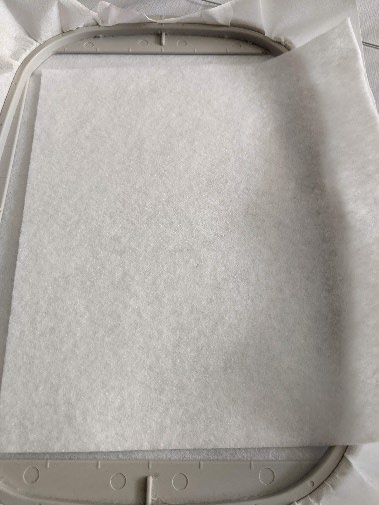
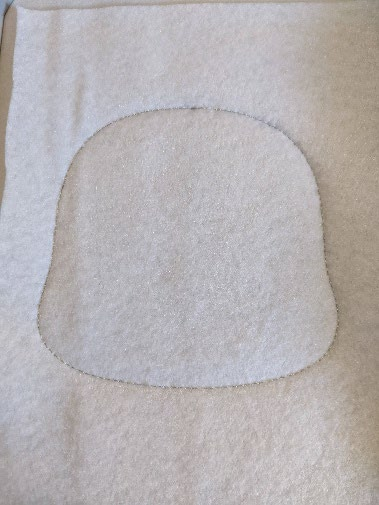
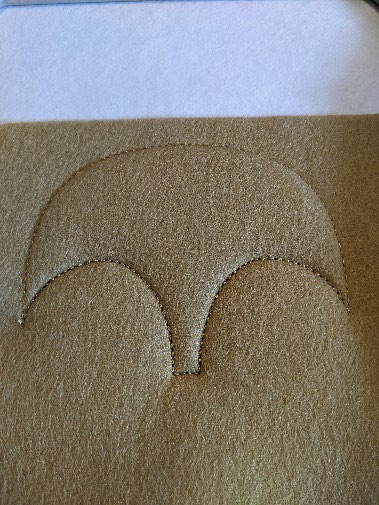
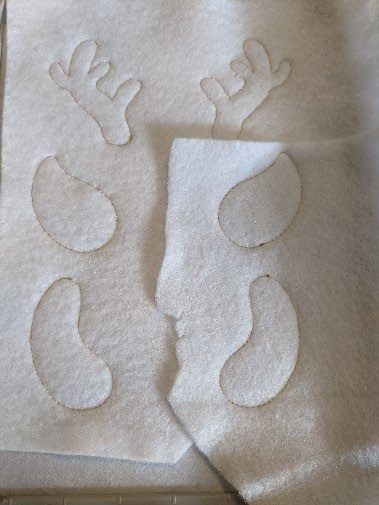
This seam is done on your stabilizer to tell you the location of your fleece
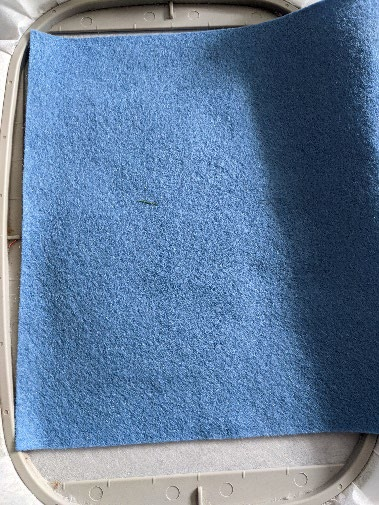
Step 2: (Click Image to Enlarge)
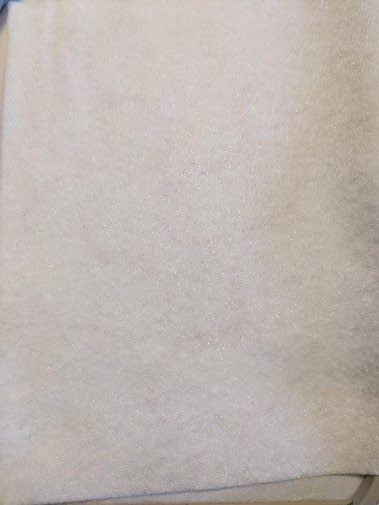
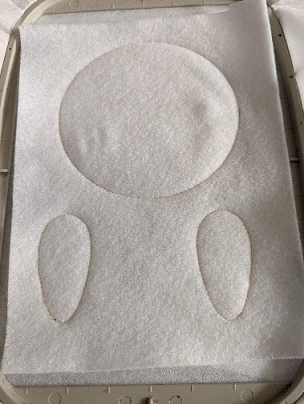
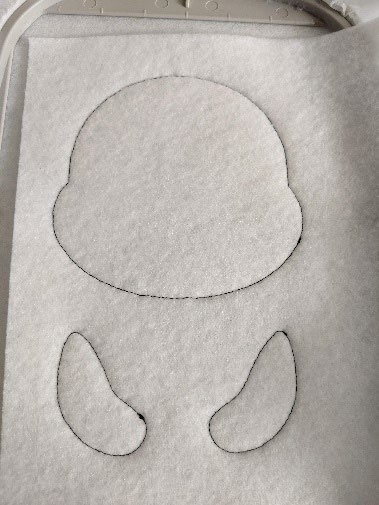
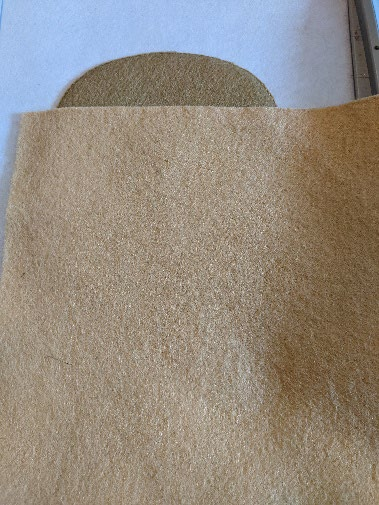
Putting your fleece on the seam
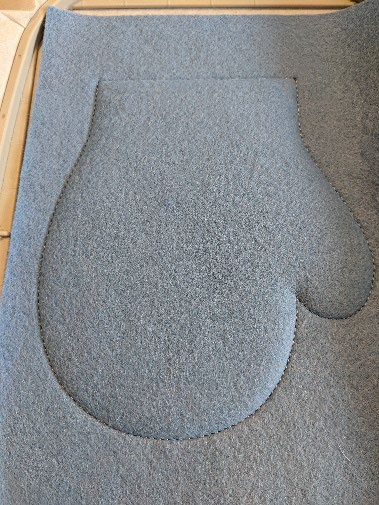
Step 3: (Click Image to Enlarge)
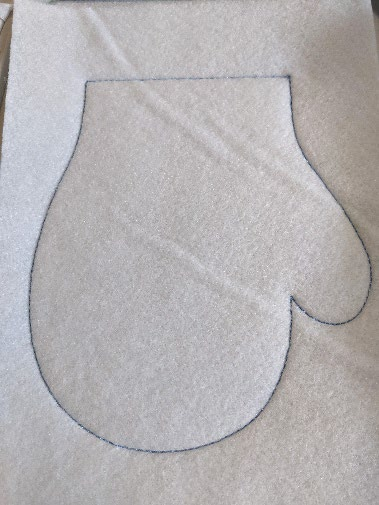
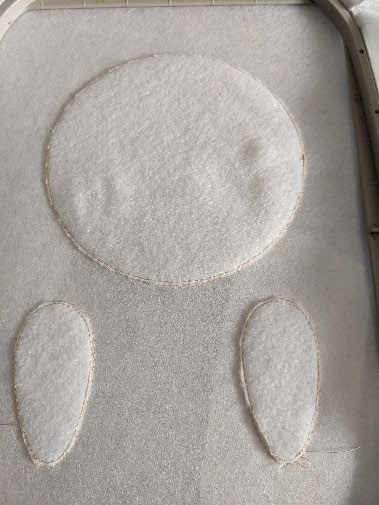
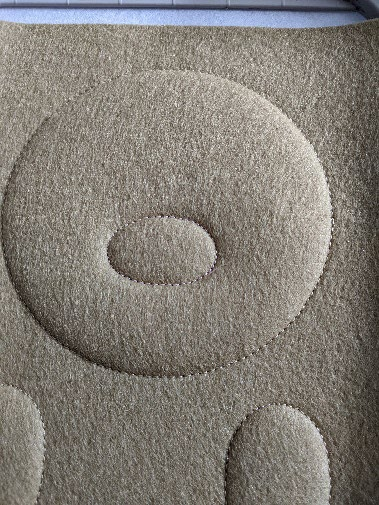
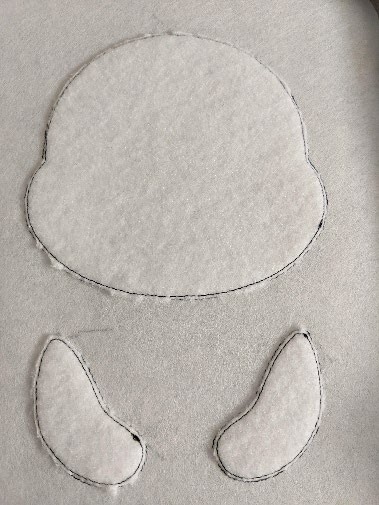
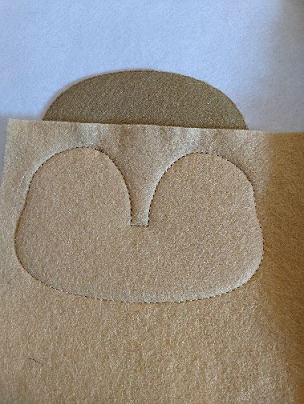
This seam will keep your fleece in place
Step 4: (Click Image to Enlarge)
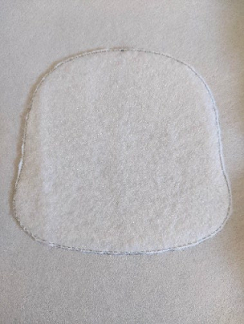
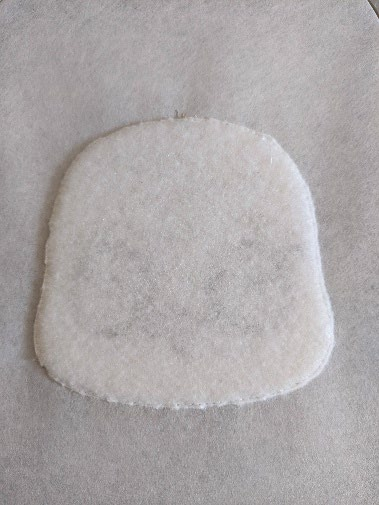
Trim off the excess fleece
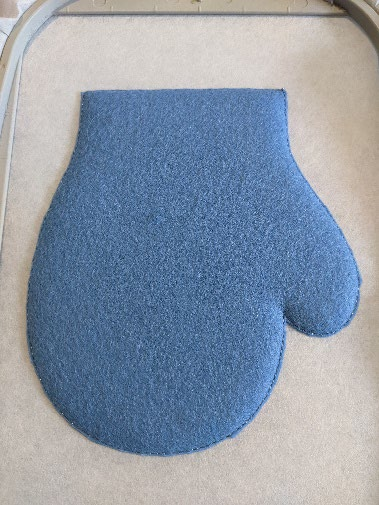
Step 5: (Click Image to Enlarge)
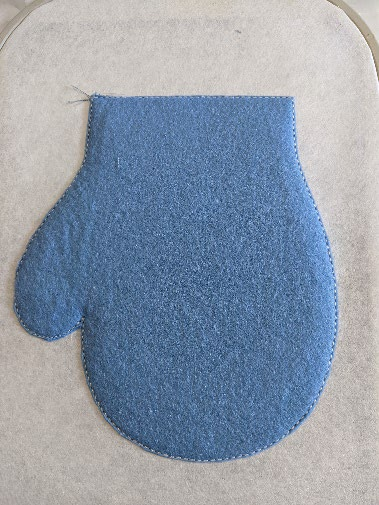
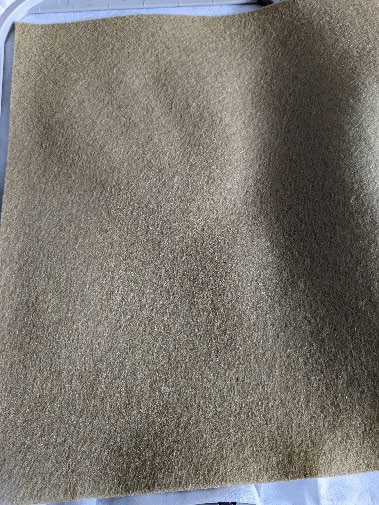
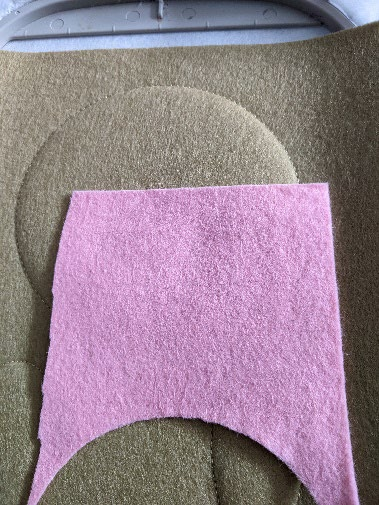
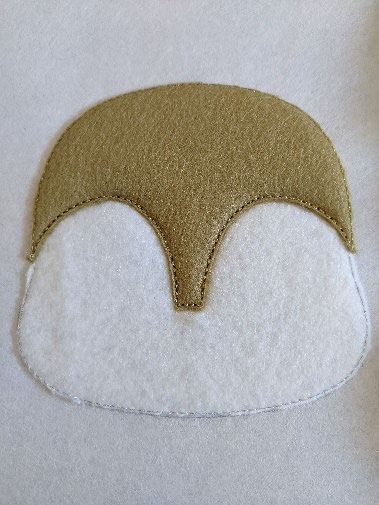
Put your coloured felt on the fleece
Step 6: (Click Image to Enlarge)
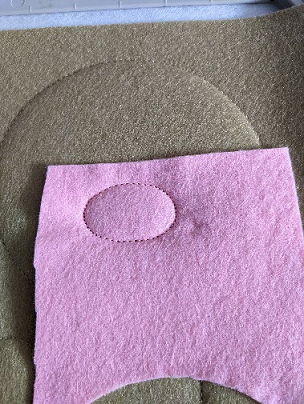
This seam will hold your felt in place
Step 7: (Click Image to Enlarge)
Trim off the excess all the way around
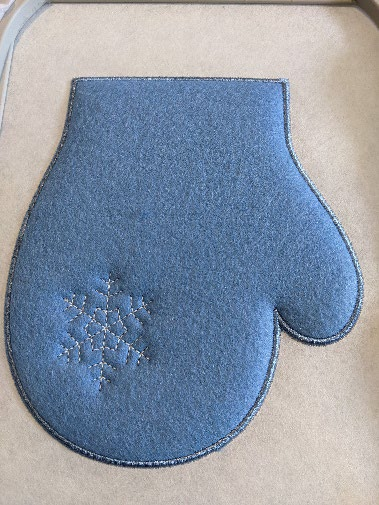
Seam 4: embroidery stitch (here I forgot to take the picture)
Step 8: (Click Image to Enlarge)
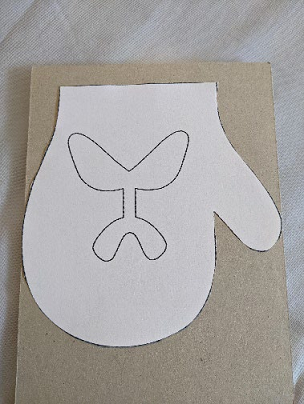
Print your pdf of the mitten and buckle
Step 9: (Click Image to Enlarge)
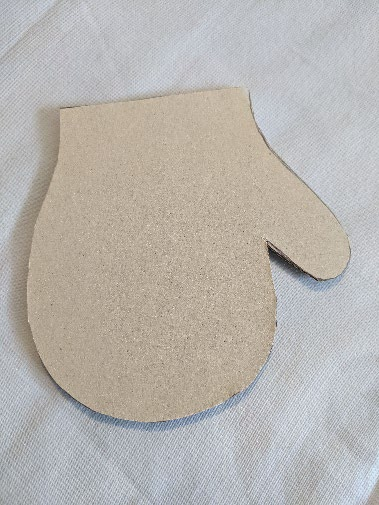
Trace and cut the mitt out of rigid cardboard
Step 10: (Click Image to Enlarge)
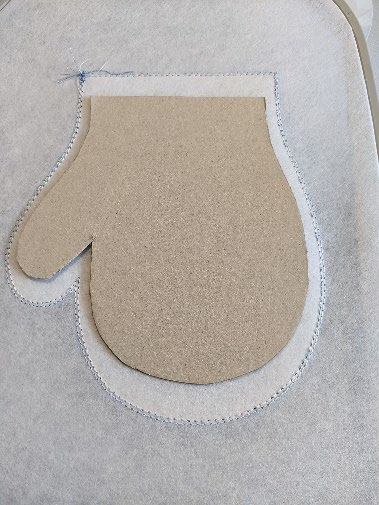
Glue the cardboard to the back of your work (back of the frame), center in the mitt
Step 11: (Click Image to Enlarge)
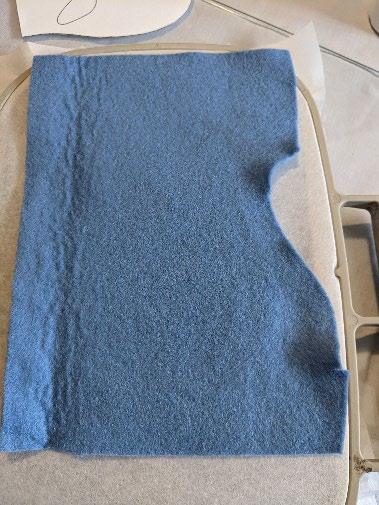
Put your felt on top of the cardboard (you can also do it with the white felt on the back)
Step 12: (Click Image to Enlarge)
This seam will join your front felt with the back felt
Step 13: (Click Image to Enlarge)
Step 14: (Click Image to Enlarge)
Bumblebee stitches
Exit the frame, remove your stabilizer and set aside until mounting
Step 15: (Click Image to Enlarge)
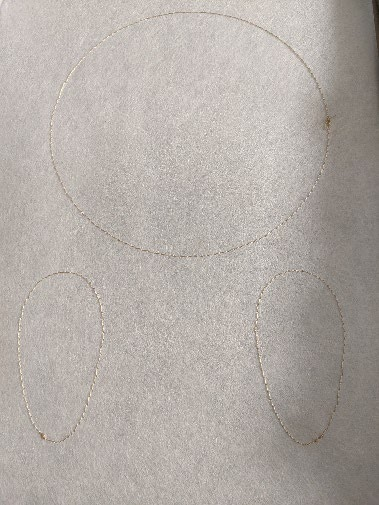
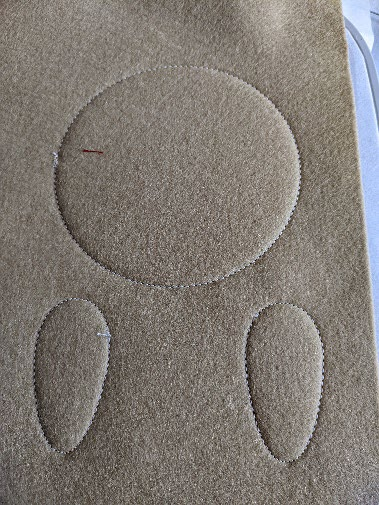
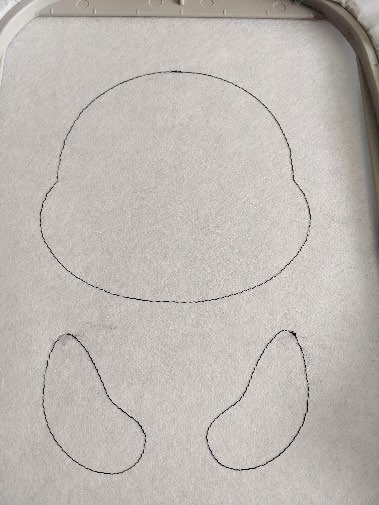
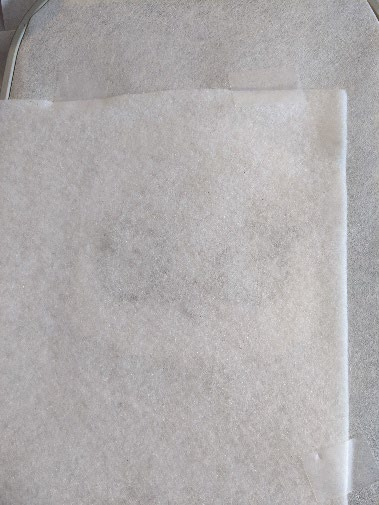
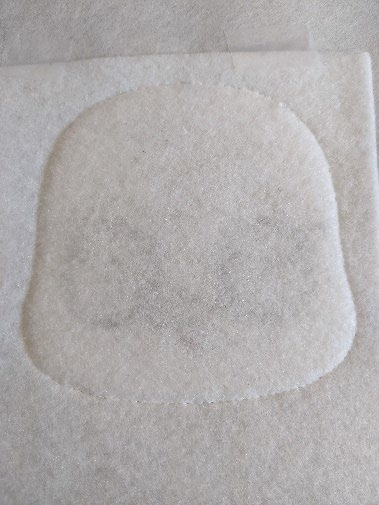
This seam is done on your stabilizer to tell you the location of your fleece
Step 16: (Click Image to Enlarge)
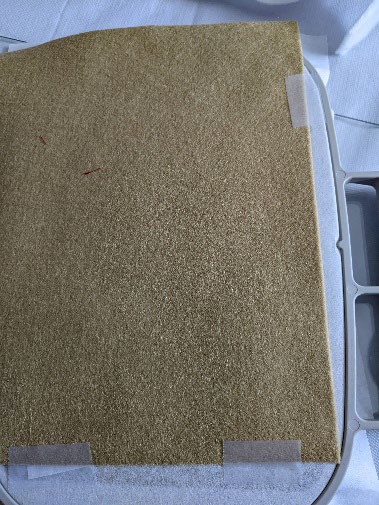
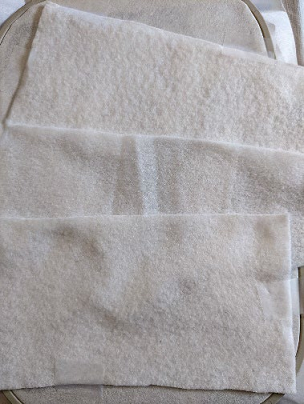
Putting your fleece on the seam
Step 17: (Click Image to Enlarge)
Putting your fleece on the seam
Step 18: (Click Image to Enlarge)
Trim off the excess fleece
Step 19: (Click Image to Enlarge)
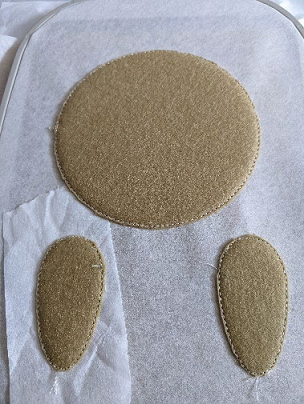
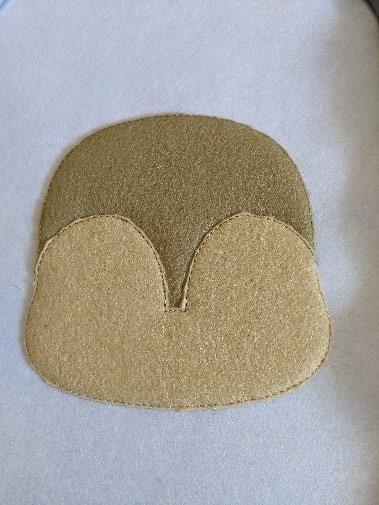
Put on your felt to cover the entire fleece
Step 20: (Click Image to Enlarge)
This seam will hold your felt in place
Step 21: (Click Image to Enlarge)
This seam shows you the location for your nose felt
Step 22: (Click Image to Enlarge)
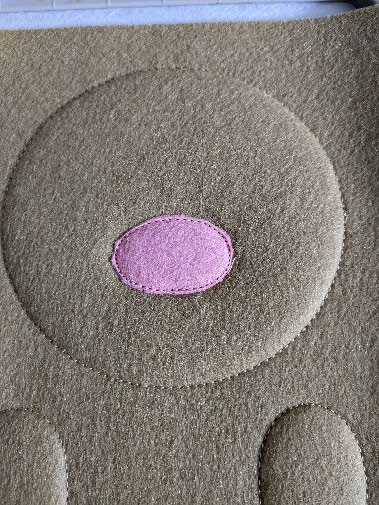
Put your felt on the seam
Step 23: (Click Image to Enlarge)
This seam will hold your felt in place
Step 24: (Click Image to Enlarge)
Trim off the excess all the way around
Step 25: (Click Image to Enlarge)
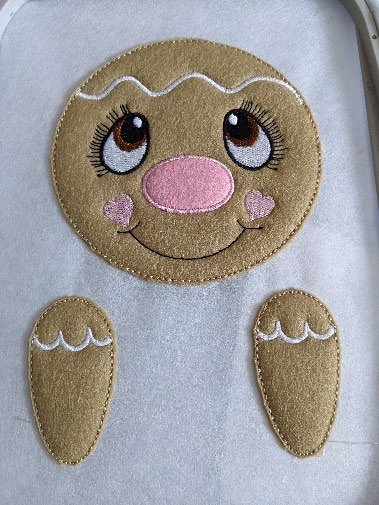
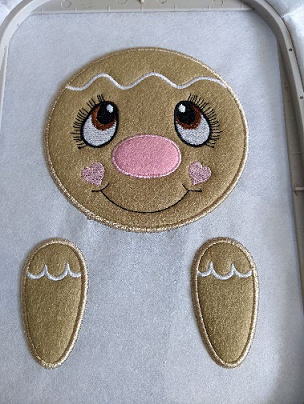
Sewing 6-7-8-9- 10: embroidery stitches
Step 26: (Click Image to Enlarge)
Put your felt on the back of your project (back of the frame) you can put white felt because it can't be seen
Step 27: (Click Image to Enlarge)
this seam will hold your felt from the front with the one from the back
Step 28: (Click Image to Enlarge)
Trim off the excess all the way around the back of your work
Step 29: (Click Image to Enlarge)
Trim off the excess all the way around the front of your work
Step 30: (Click Image to Enlarge)
Step 31: (Click Image to Enlarge)
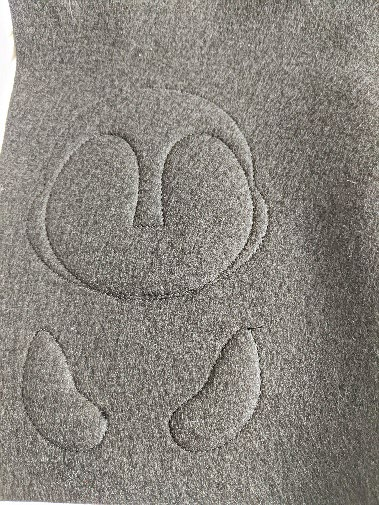
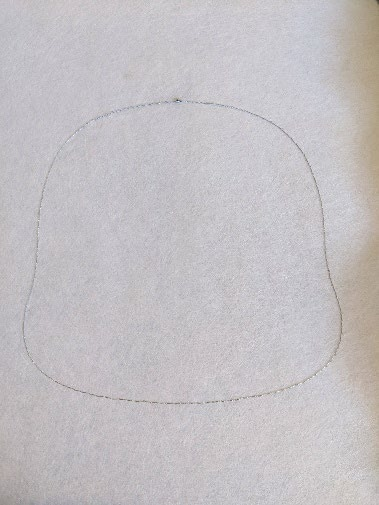
This seam is done on your stabilizer to tell you the location of your fleece
Step 32: (Click Image to Enlarge)
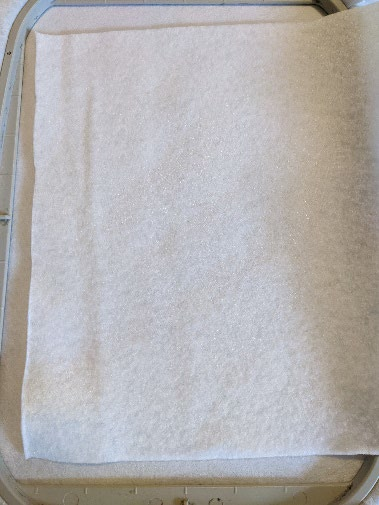
Putting your fleece on the seam
Step 33: (Click Image to Enlarge)
This seam will keep your fleece in place
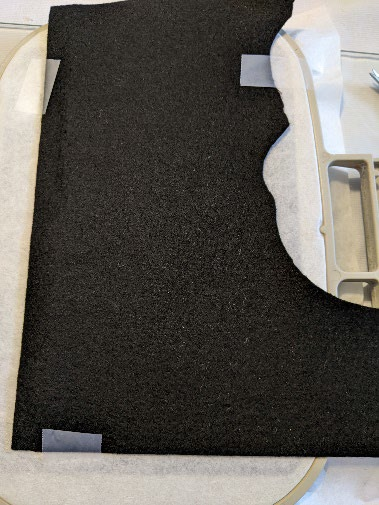
Step 34: (Click Image to Enlarge)
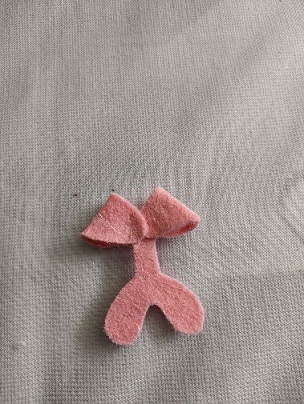
Trim off the excess fleece
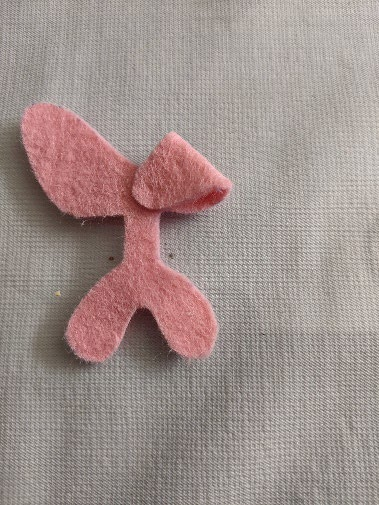
Step 35: (Click Image to Enlarge)
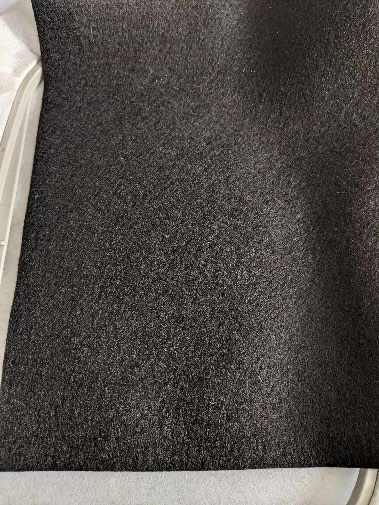
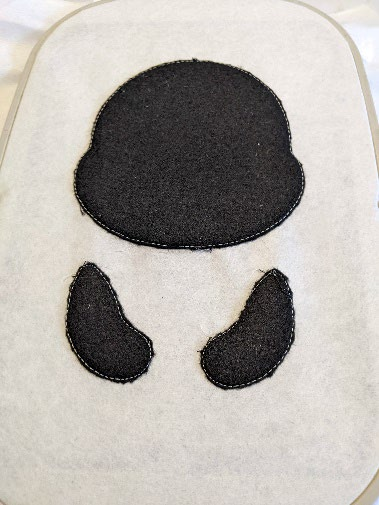
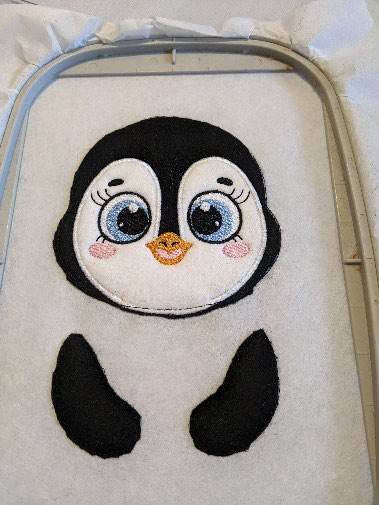
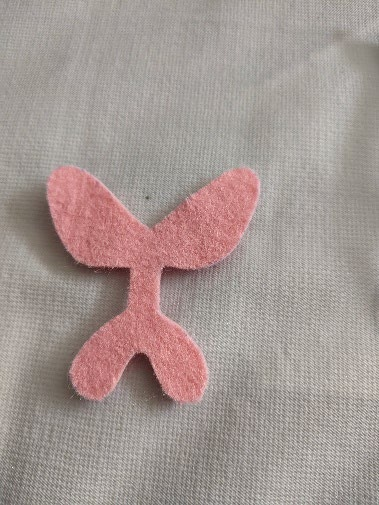
Put your black felt all over the fleece
Step 36: (Click Image to Enlarge)
This seam will hold your felt in place
Step 37: (Click Image to Enlarge)
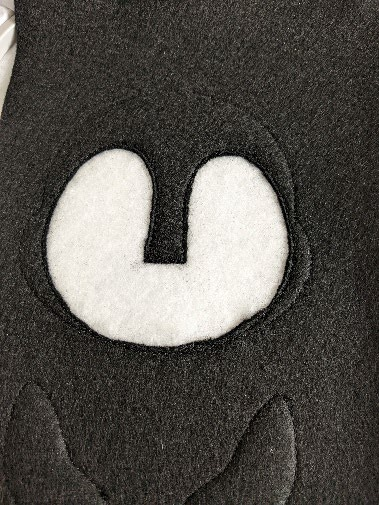
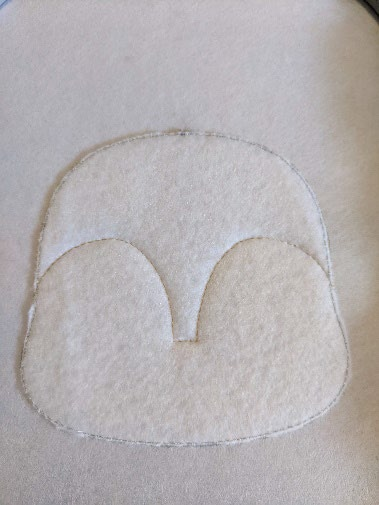
Cut the felt from the inside of the face
Step 38: (Click Image to Enlarge)
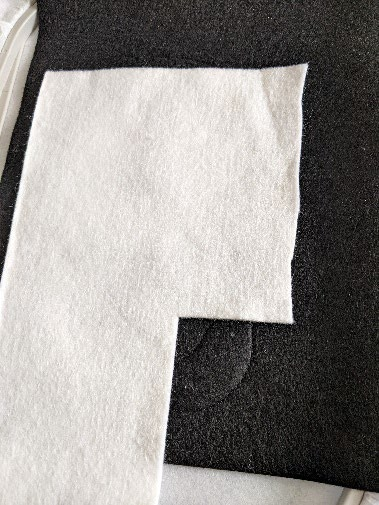
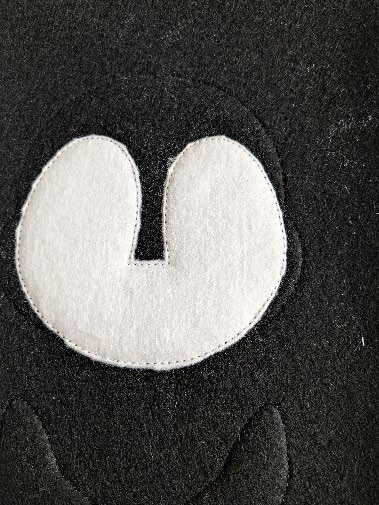
Put your white felt on the part you just cut
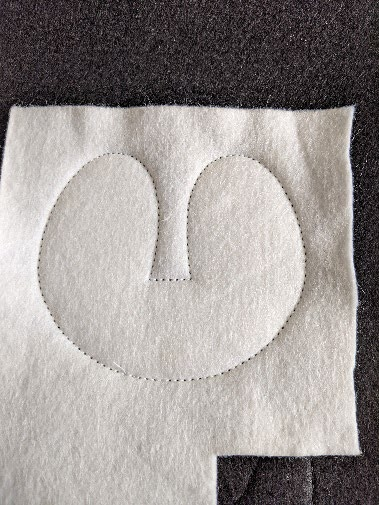
Step 39: (Click Image to Enlarge)
This seam will hold your felt in place
Step 40: (Click Image to Enlarge)
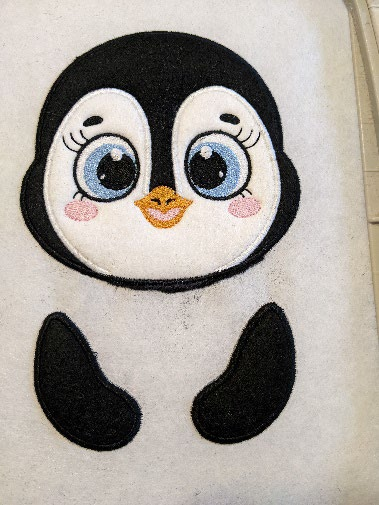
Trim off the excess all the way around
Step 41: (Click Image to Enlarge)
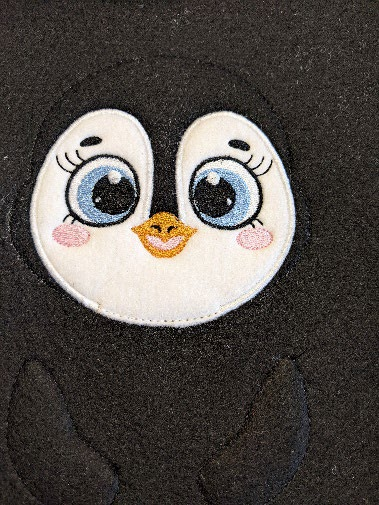
Sewing 5-6-7-8-9- 10: embroidery stitches
Step 42: (Click Image to Enlarge)
Put your felt on the back of your work (back of the frame), keep it in place
Step 43: (Click Image to Enlarge)
this seam will join your front felt with the back felt of your frame Trim off the excess all the way around the back
Step 44: (Click Image to Enlarge)
Trim off the excess all the way around the front
Step 45: (Click Image to Enlarge)
Step 46: (Click Image to Enlarge)
This seam is done on your stabilizer to tell you the location of your fleece
Step 47: (Click Image to Enlarge)
Putting your fleece on the seam
Step 48: (Click Image to Enlarge)
This seam will keep your fleece in place
Step 49: (Click Image to Enlarge)
Trim off the excess fleece
Step 50: (Click Image to Enlarge)
This seam shows you the location of your felt for the top of the head
Step 51: (Click Image to Enlarge)
Put your felt to cover the seam you just made
Step 52: (Click Image to Enlarge)
This seam will hold your felt in place
Step 53: (Click Image to Enlarge)
Trim off the excess all the way around
Step 54: (Click Image to Enlarge)
Put your felt on the lower face
Step 55: (Click Image to Enlarge)
This seam will hold your felt in place
Step 56: (Click Image to Enlarge)
Trim off the excess all the way around
Step 57: (Click Image to Enlarge)
Sewing 6-7-8-9- 10-11-12-13: embroidery stitches
Step 58: (Click Image to Enlarge)
Put your felt on the back of your work
Step 59: (Click Image to Enlarge)
This seam will join your front with the back of your work
Step 60: (Click Image to Enlarge)
Trim off the excess all the way around
Step 61: (Click Image to Enlarge)
Sewing 15-16: Embroidery stitches
Step 62: (Click Image to Enlarge)
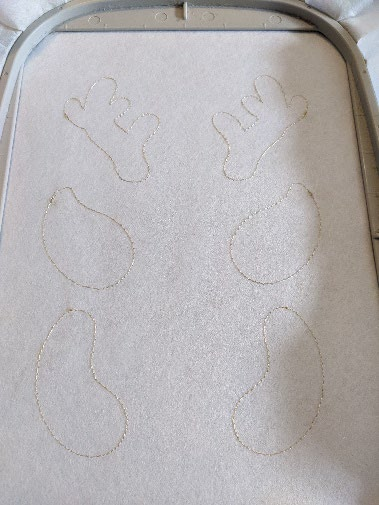
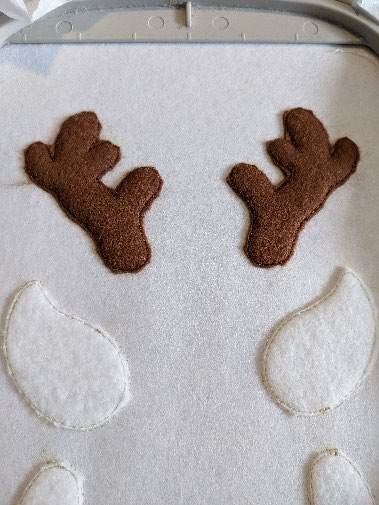
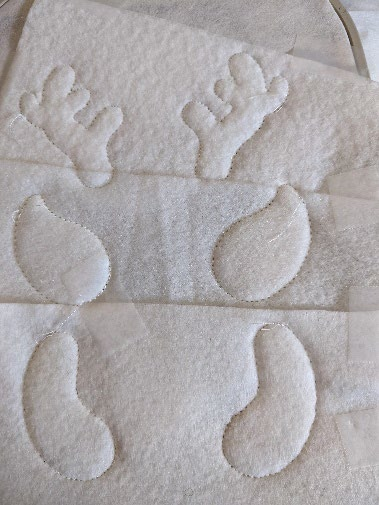
This seam is done on your stabilizer to tell you the location of your fleece
Step 63: (Click Image to Enlarge)
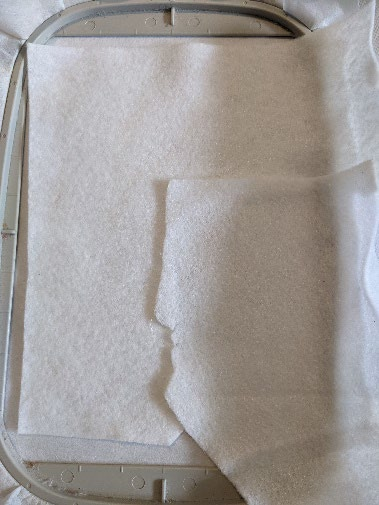
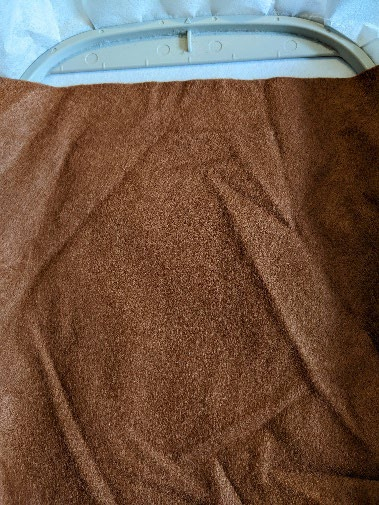
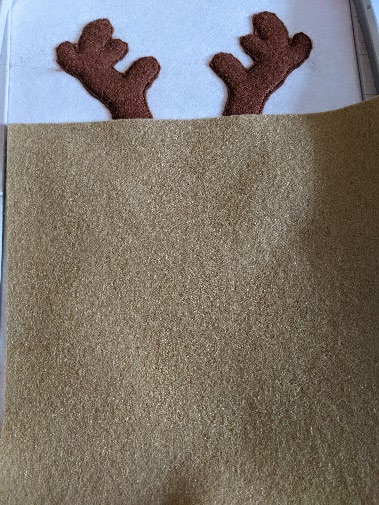
Putting your fleece on the seam
Step 64: (Click Image to Enlarge)
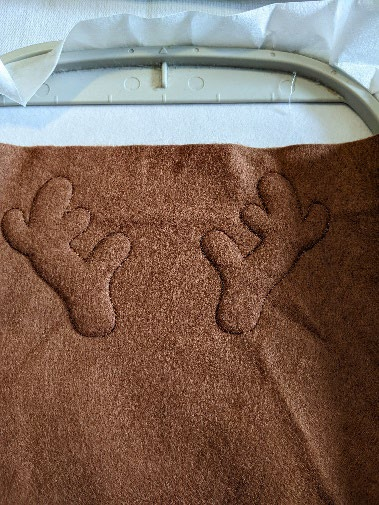
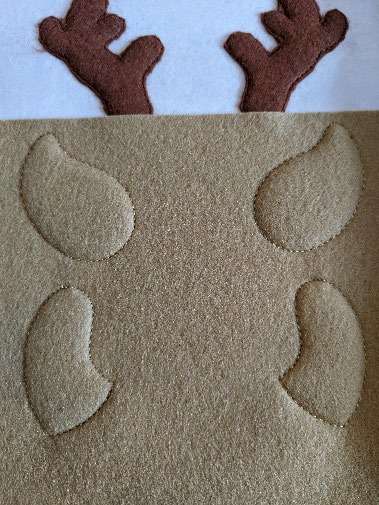
This seam will keep your fleece in place
Step 65: (Click Image to Enlarge)
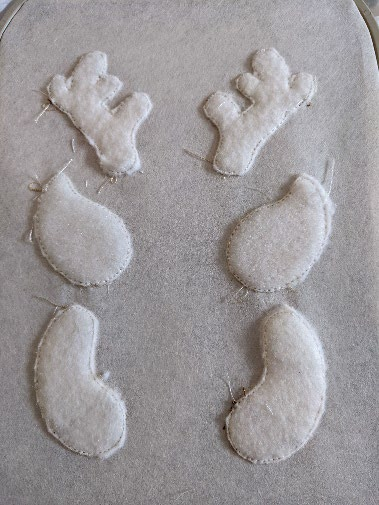
Trim off the excess fleece
Step 66: (Click Image to Enlarge)
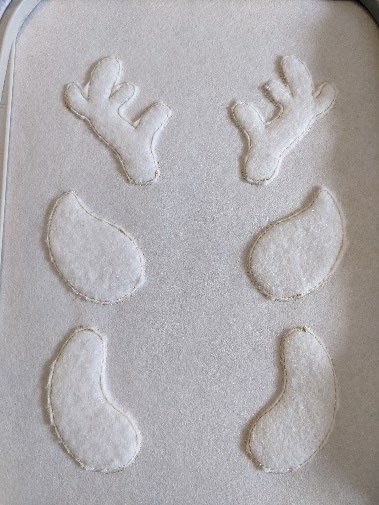
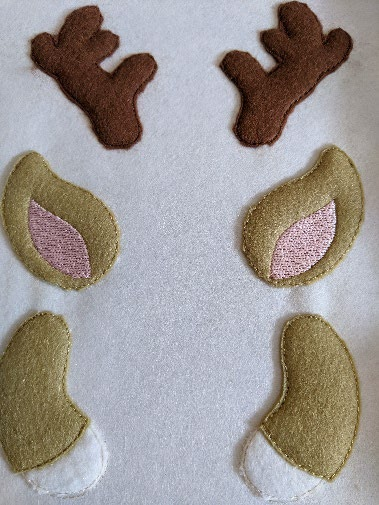
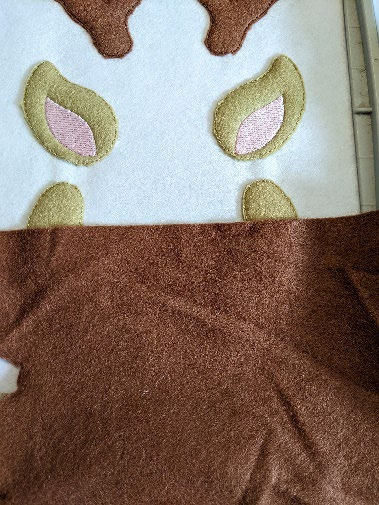
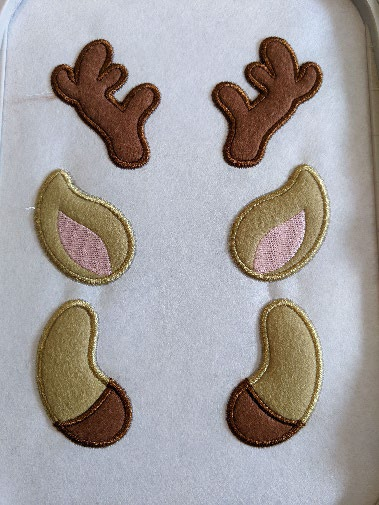
Put your felt on the part of the antlers
Step 67: (Click Image to Enlarge)
This seam will hold your felt in place
Step 68: (Click Image to Enlarge)
Trim off the excess all the way around
Step 69: (Click Image to Enlarge)
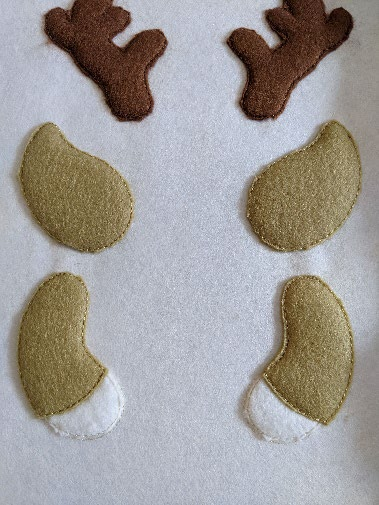
Put your felt on the ears and paws
Step 70: (Click Image to Enlarge)
This seam will hold your felt in place
Step 71: (Click Image to Enlarge)
Trim off the excess all the way around
Step 72: (Click Image to Enlarge)
Embroidery stitches in the ears
Step 73: (Click Image to Enlarge)
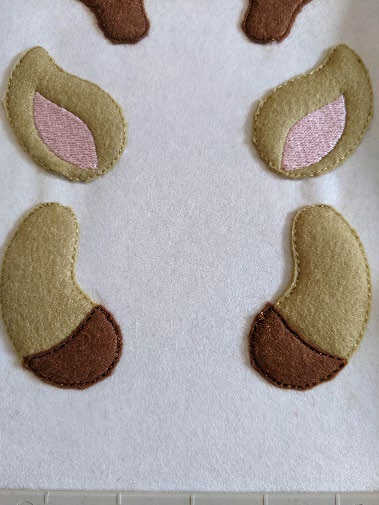
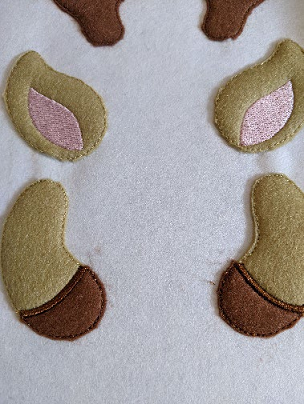
Put your felt to make the bottom of the legs
Step 74: (Click Image to Enlarge)
This seam will hold your felt in place Trim off the excess all the way around
Step 75: (Click Image to Enlarge)
Embroidery stitches in the tabs
Step 76: (Click Image to Enlarge)
Put your felt on the back of your work (back of the frame
Step 77: (Click Image to Enlarge)
This s eam will join your front with the back of your work
Step 78: (Click Image to Enlarge)
Trim off the excess all the way around
Step 79: (Click Image to Enlarge)
9-10-11 Sewing: Embroidery Stitches
Step 80: (Click Image to Enlarge)
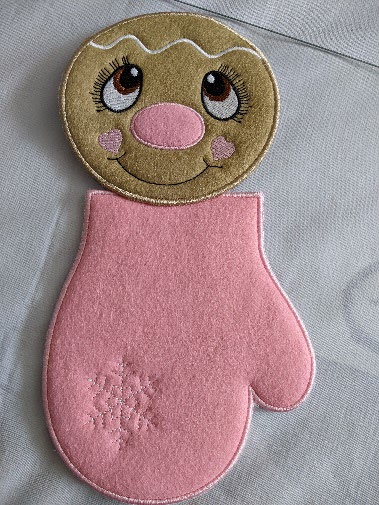
Glue the head to the top of the mitt
Step 81: (Click Image to Enlarge)
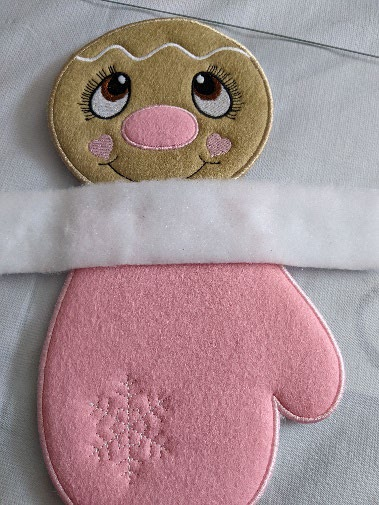
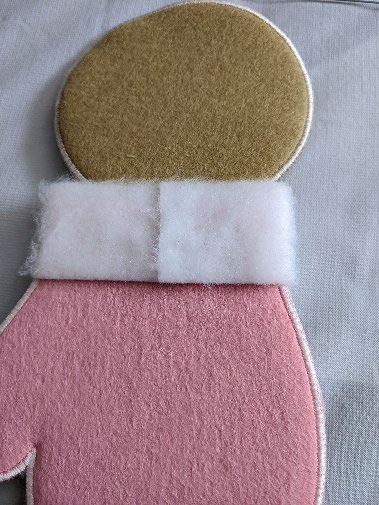
Glue the fur-style felt all the way around the mitt
Step 82: (Click Image to Enlarge)
Step 83: (Click Image to Enlarge)
Step 84: (Click Image to Enlarge)
For the loop, you with the pattern when you p rint the pattern of the mitten cardboard
Step 85: (Click Image to Enlarge)
With a small dot of glue, glue the top of the mouth to the center of the mouth
Step 86: (Click Image to Enlarge)
Glue the other part towards the center
Step 87: (Click Image to Enlarge)
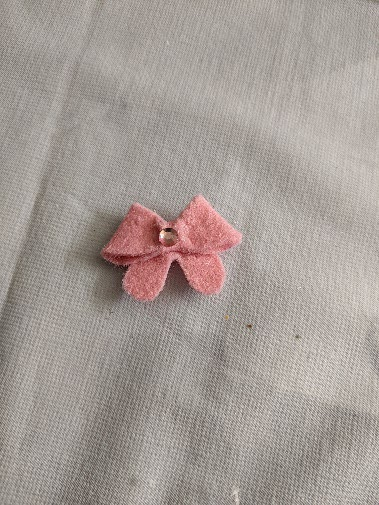
With the small part of the bottom, go around and glue on the back
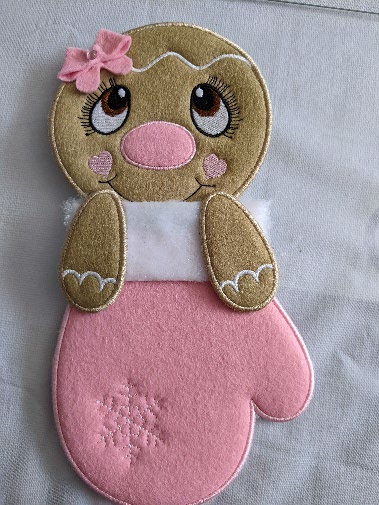
Here is the final Project
Feedback
Please Login to Submit a Feedback
Invalid Characters, Please enter a valid Comment
Please enter a valid Comment
LOG IN
Submit
Link is Broken, Please check the URL