Border OptionsHugging border, circle, square, or rectangle — with a 3mm satin stitch.
Backing OptionsAvailable with iron-on, sew-on, or velcro backing.
Fast ShippingShipped quickly from the USA.
Free Online Tools
Powerful embroidery utilities that save time and prevent costly mistakes.
Stitch AssistantRECOMMENDED
Get the exact stabilizer, machine settings, needle, and thread color sequence for every embroidery design you purchase — based on that design's stitch density, dimensions, and color count.
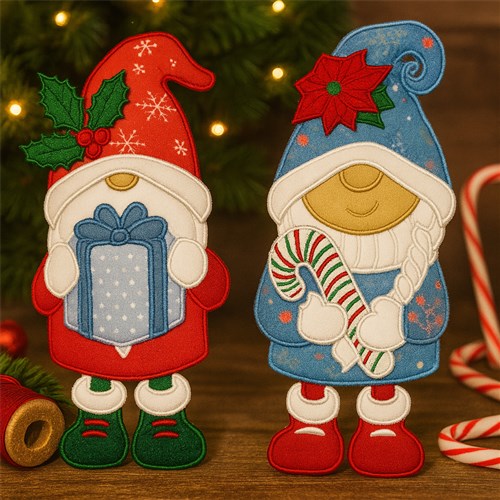
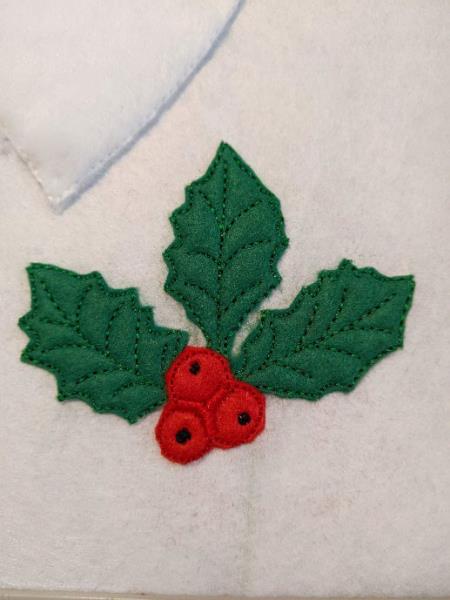
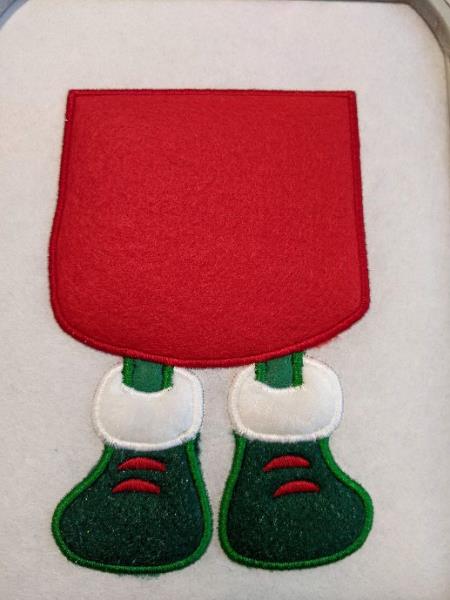
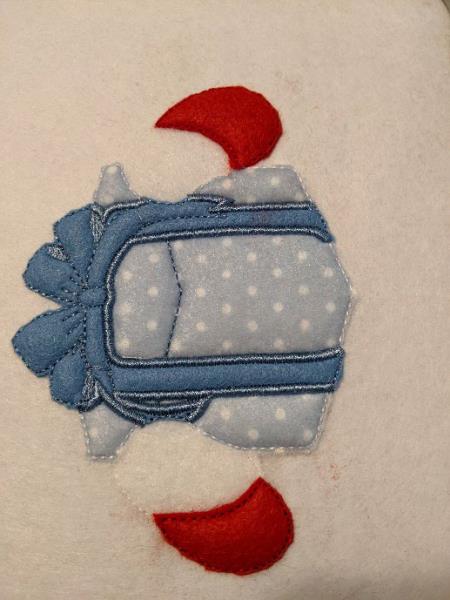
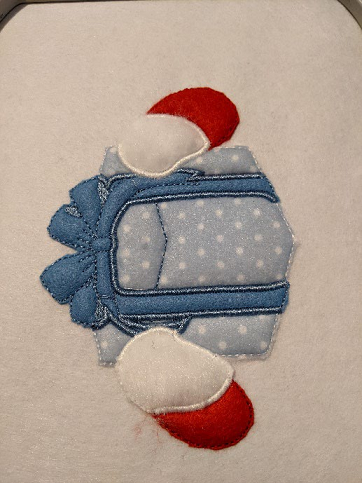
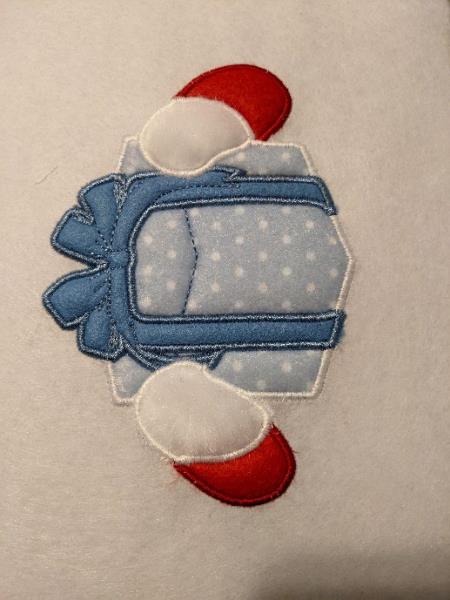
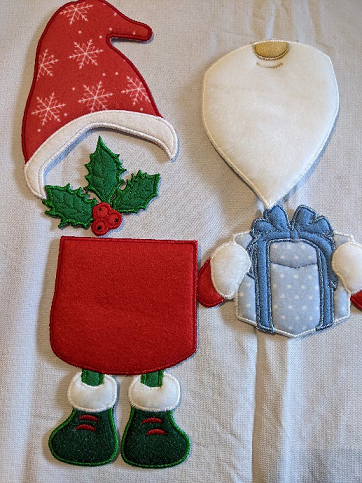
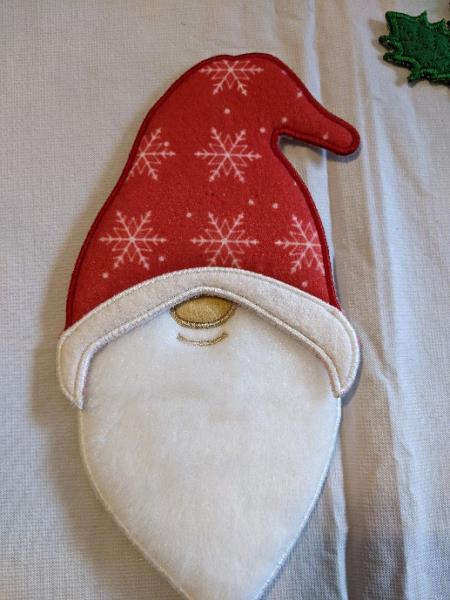
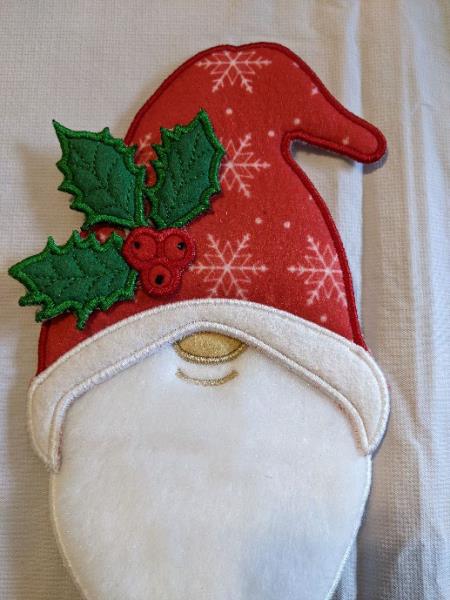
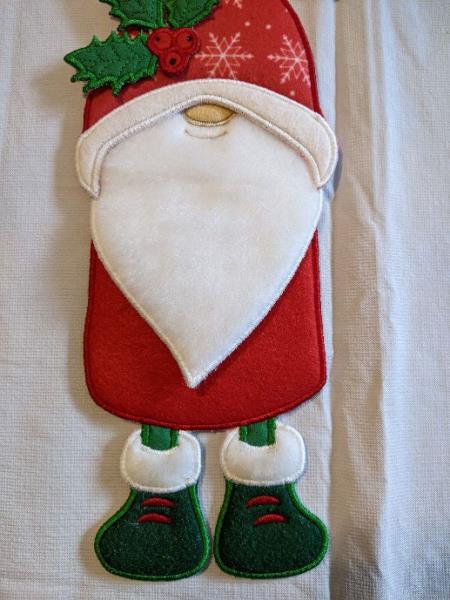
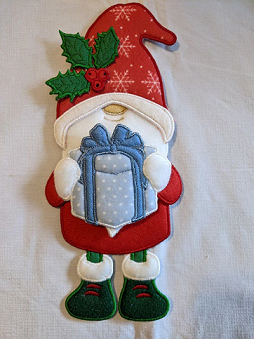
Create festive holiday gnome ornaments in the hoop with detailed appliqué embellishments. One gnome holds a candy cane while the other presents a gift, making them perfect for tree decor or gift accents. Step-by-step instructions are included.
Step
of
ITH Holiday Gnome Ornaments with Appliqué
By Sew Chic
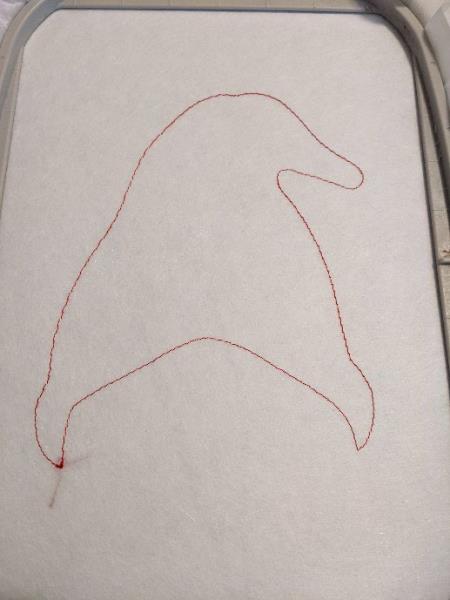
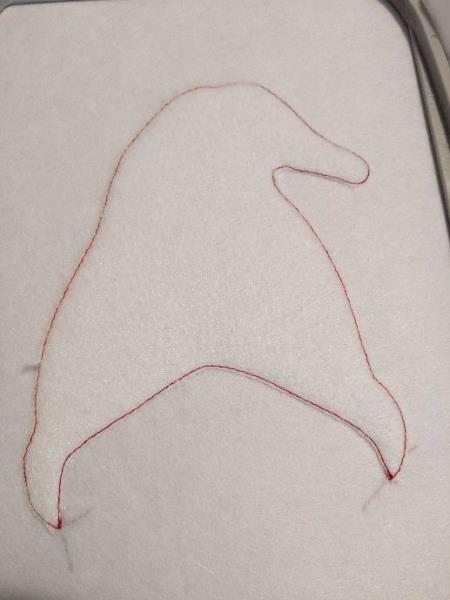
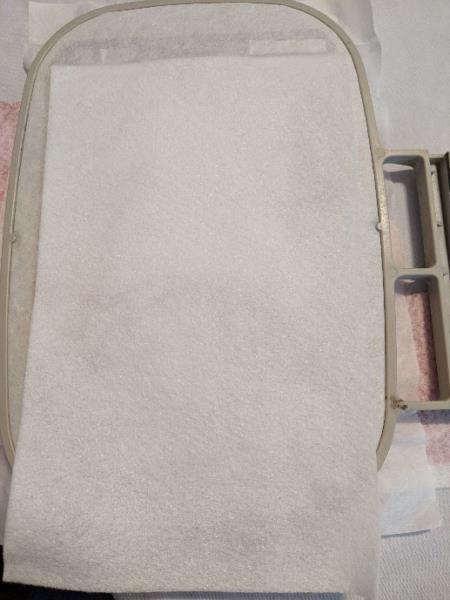
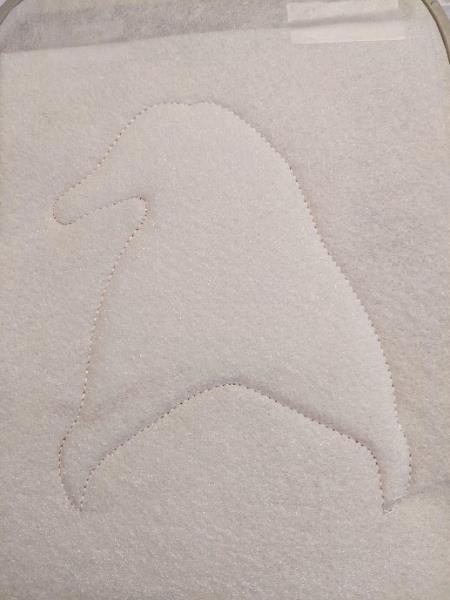
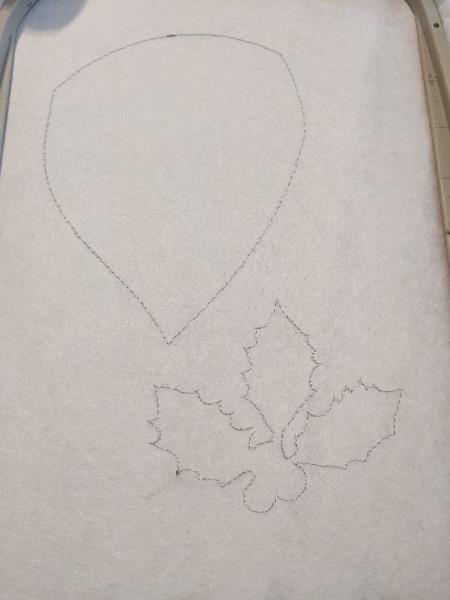
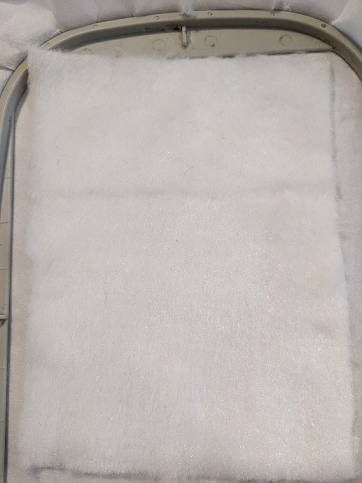
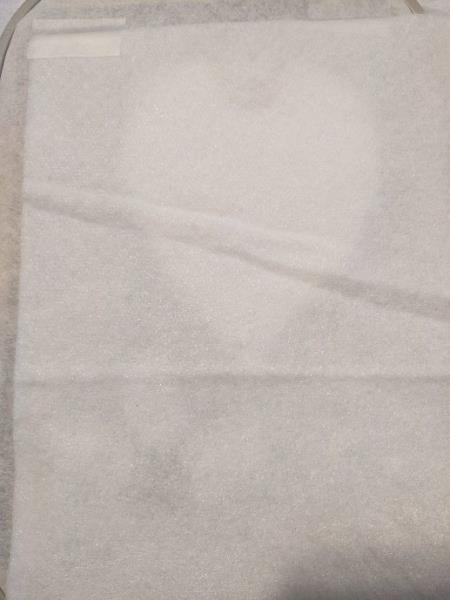
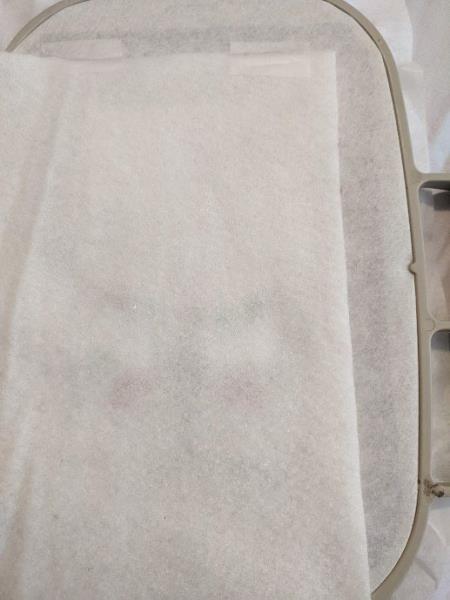
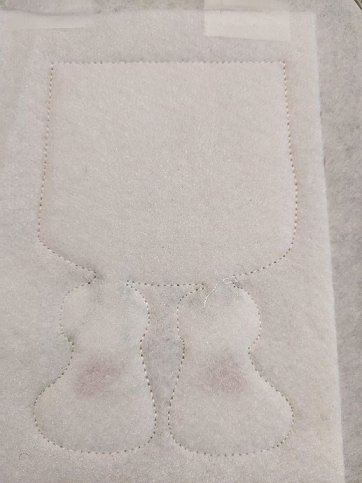
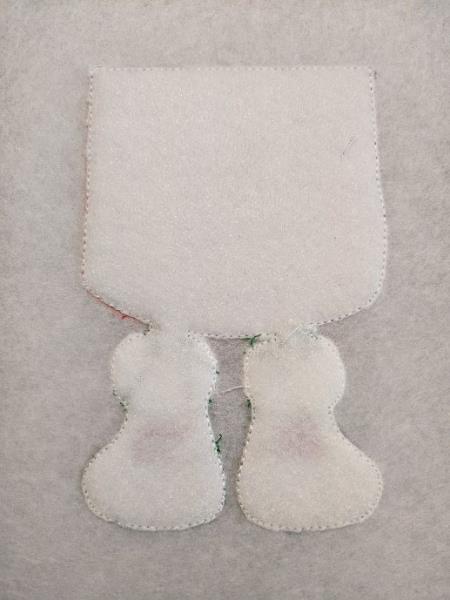
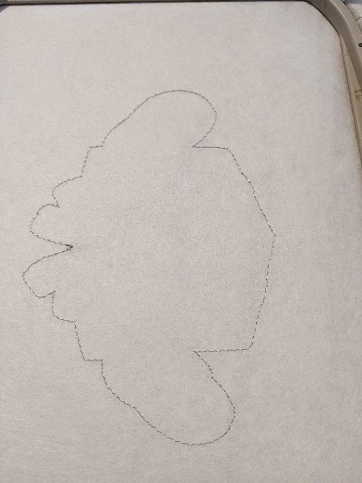
Seam 1: this seam is done on your stabilizer to tear
(Click Image to Enlarge)
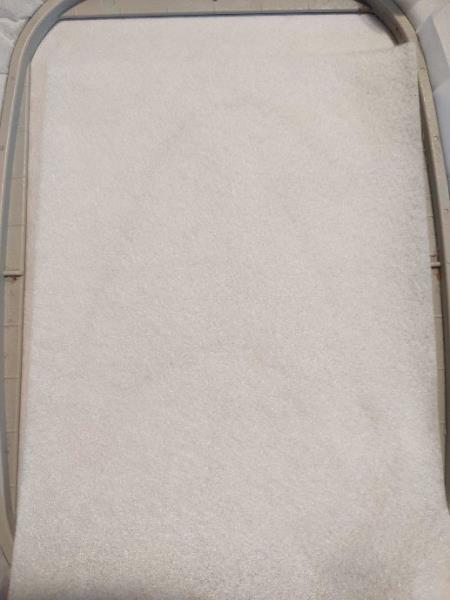
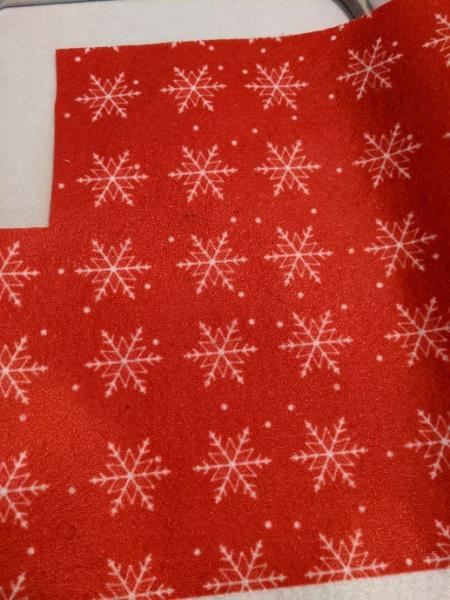
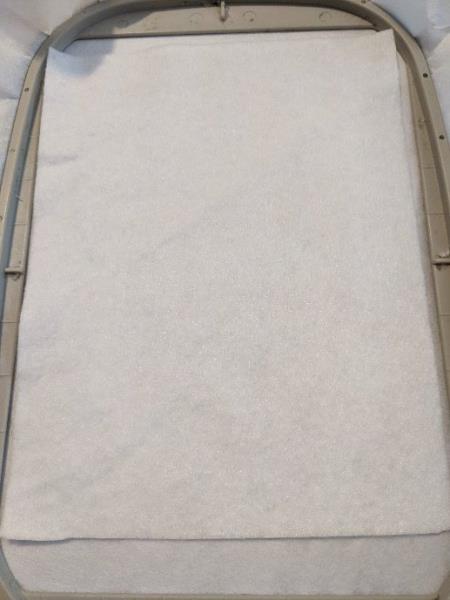
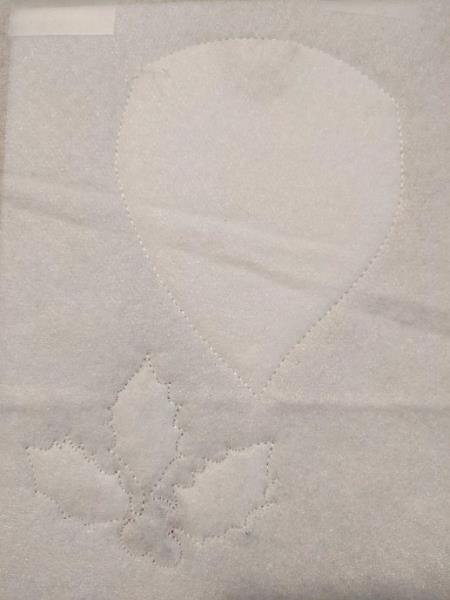
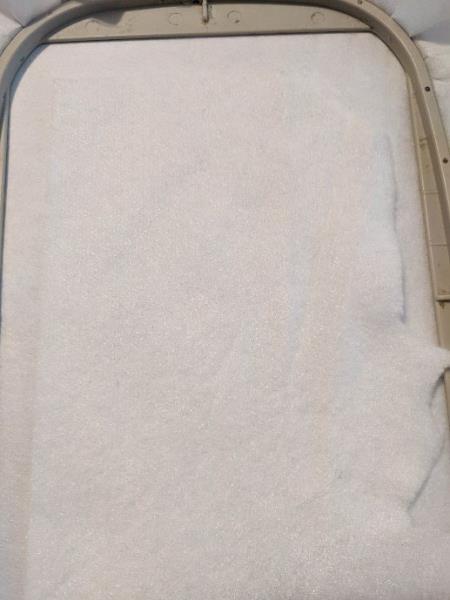
Step 2:
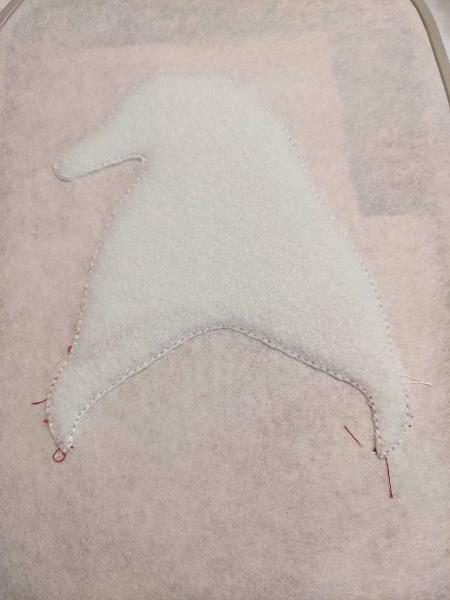
Put your fleece piece on the seam taking care to hide the entire seam
(Click Image to Enlarge)
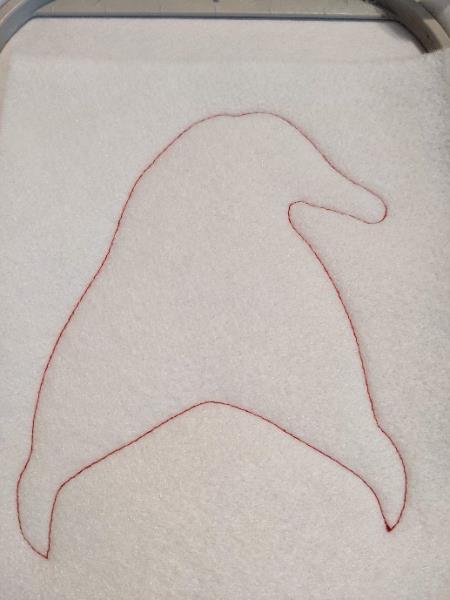
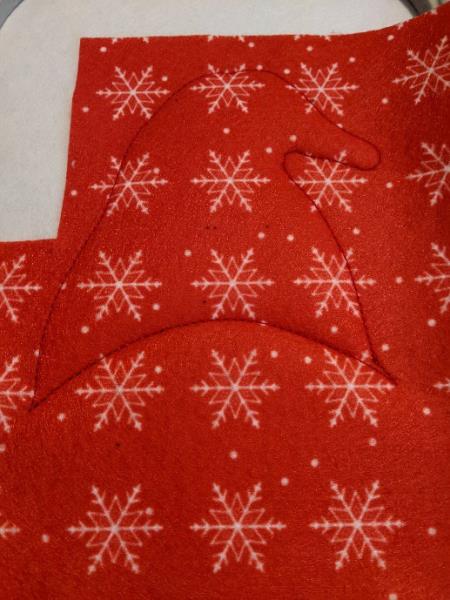
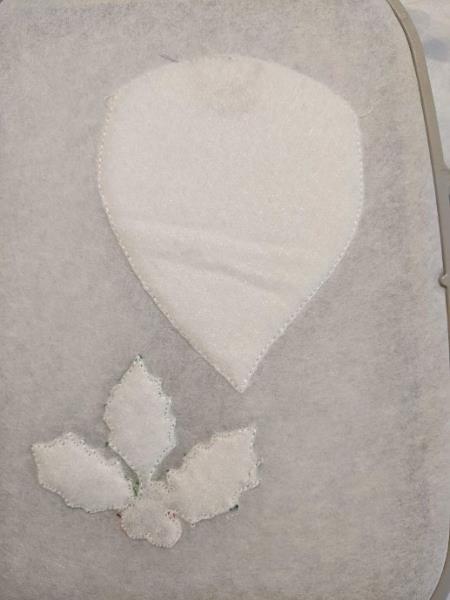
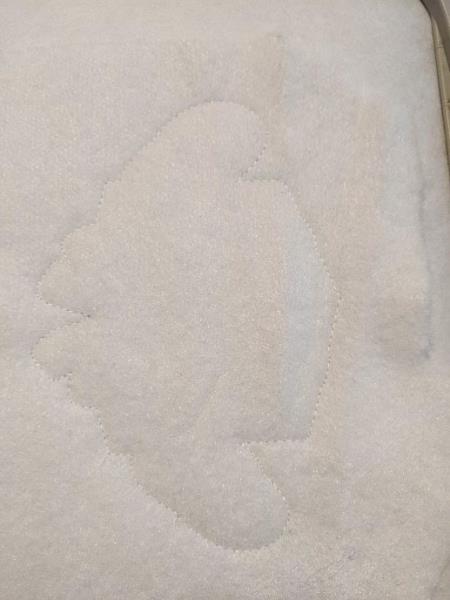
Step 3:
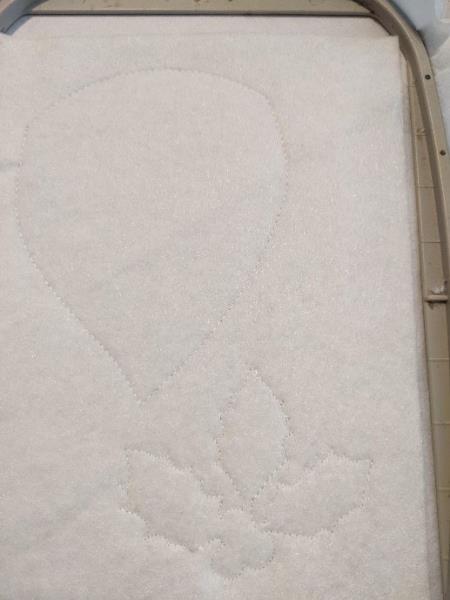
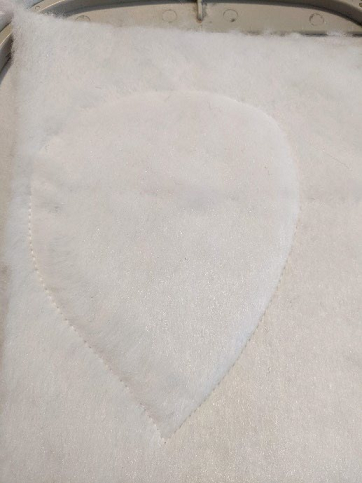
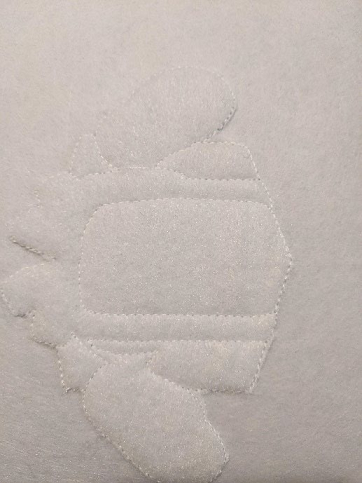
Seam 2: this seam will hold your fleece in place
(Click Image to Enlarge)
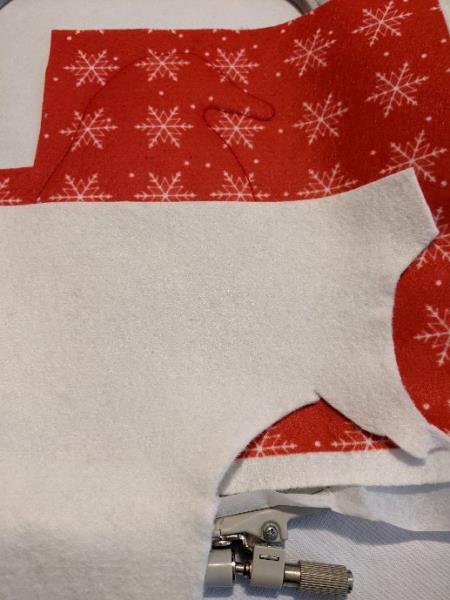
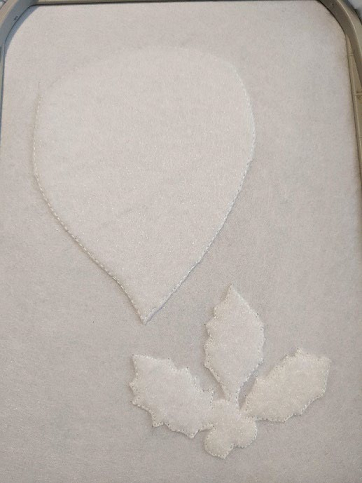
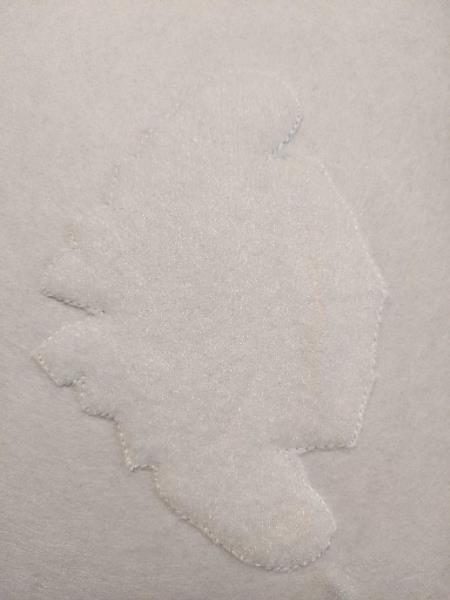
Step 4:
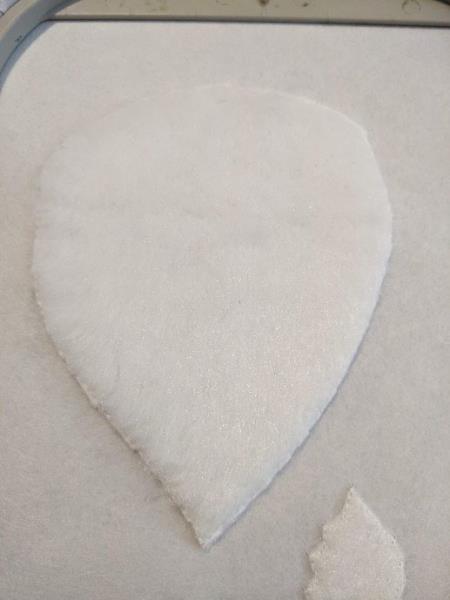
Cut the excess fleece all around
(Click Image to Enlarge)
Step 5:
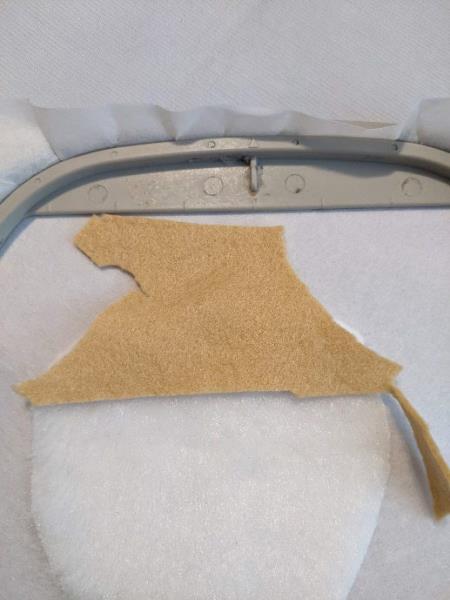
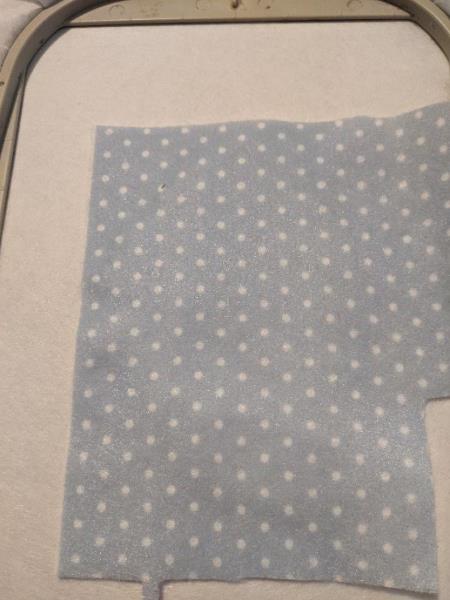
Put your felt for the hat
(Click Image to Enlarge)
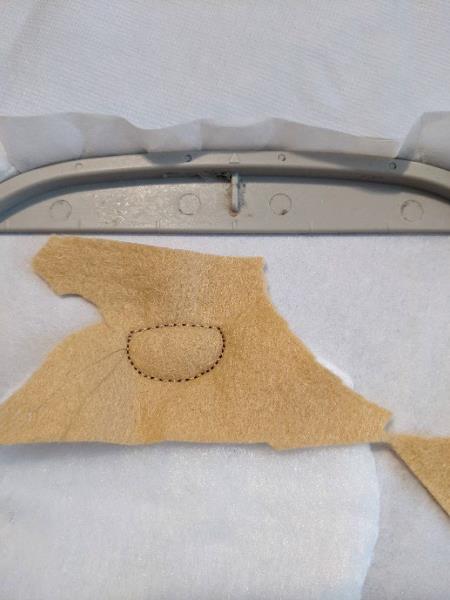
Step 6:
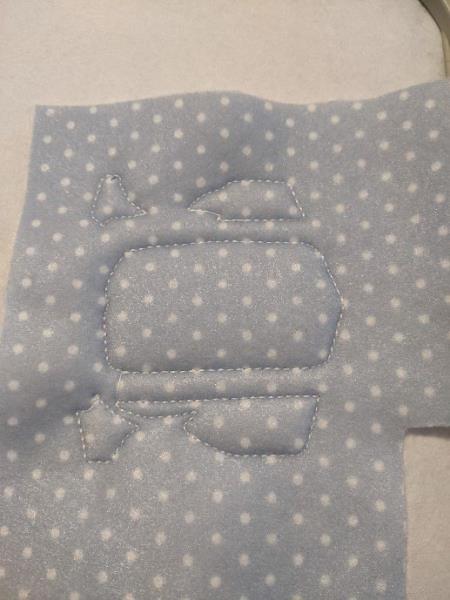
Seam 3: this seam will hold your felt in place ***I suggest you cut your felt as a result of this sewing*** I had not done and it is more difficult after
(Click Image to Enlarge)
Step 7:
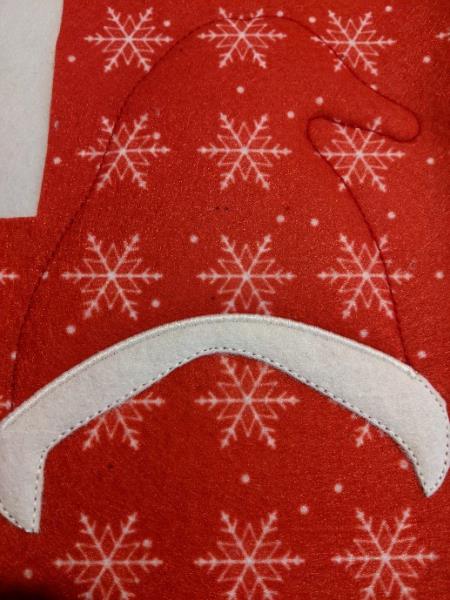
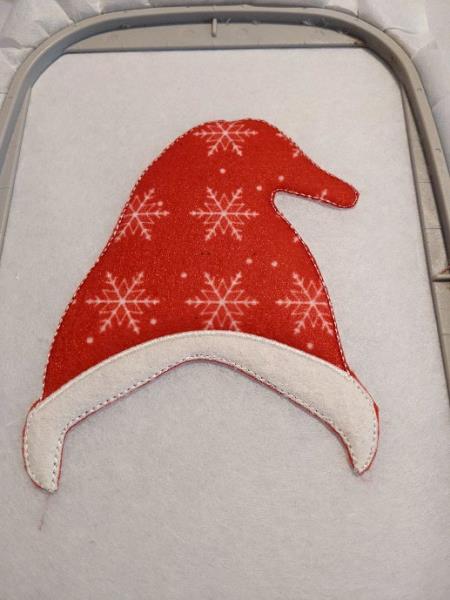
Put your white felt for the brim of the hat
(Click Image to Enlarge)
Step 8:
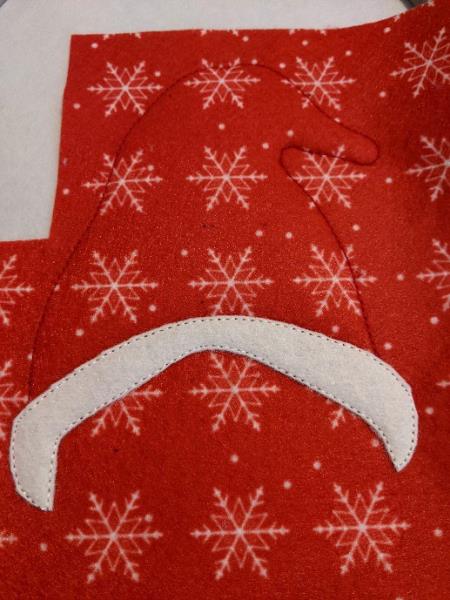
Seam 4: this seam will hold your felt in place
(Click Image to Enlarge)
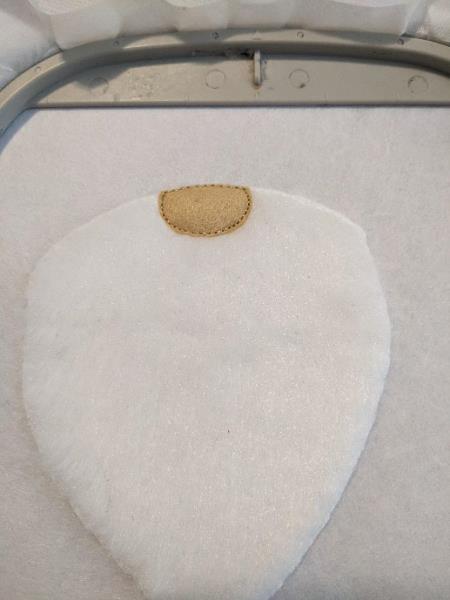
Step 9:
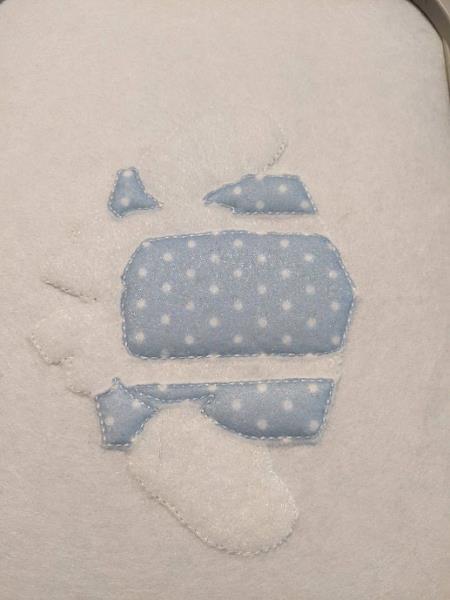
Cut the excess all around
(Click Image to Enlarge)
Step 10:
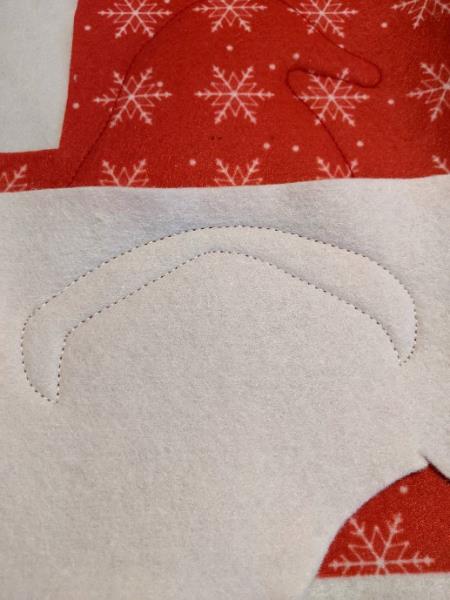
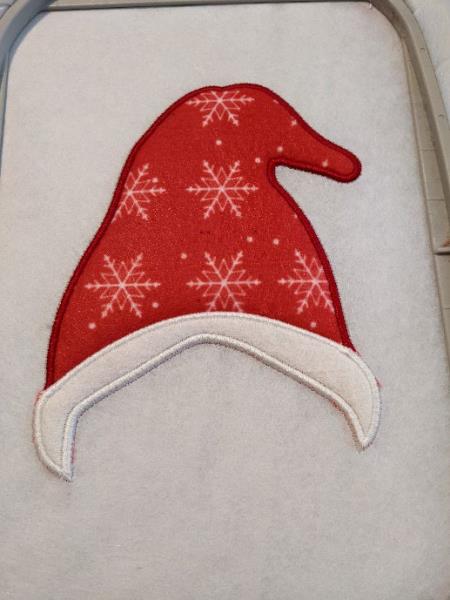
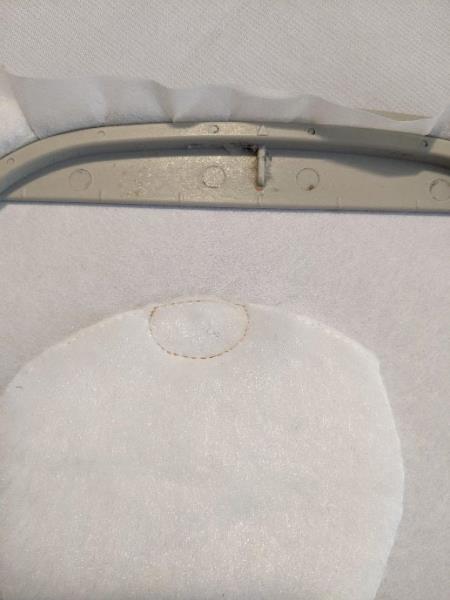
Seam 5: embroidery stitches at the top of the hat border
(Click Image to Enlarge)
Step 11:
Put your piece of white felt on the back of your work (back of your frame), keep in place
(Click Image to Enlarge)
Step 12:
Seam 6: this seam will join the front with the back of your hat
(Click Image to Enlarge)
Step 13:
Cut the excess all around
(Click Image to Enlarge)
Step 14:
If you did not cut the felt all the way around the front, you need to do it now
(Click Image to Enlarge)
Step 15:
Sewing 7-8: embroidery stitchesGet out of the frame, remove your stabilizer and set aside until mounting
(Click Image to Enlarge)
Step 16:
THE HEAD AND HAT DECORATION
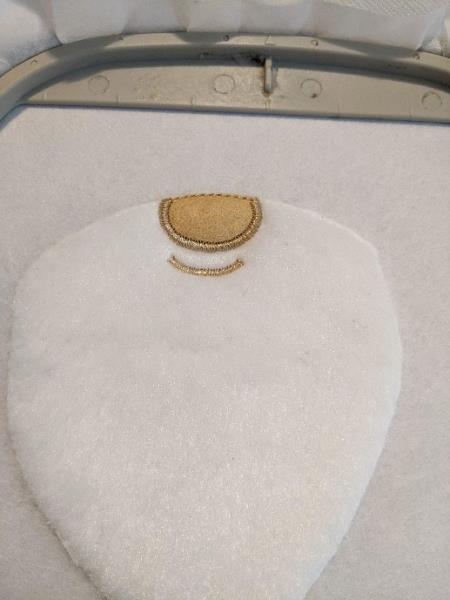
Seam 1: this seam is done on your stabilizer to tear
(Click Image to Enlarge)
Step 17:
Put your fleece piece on the seam taking care to hide the entire seam
(Click Image to Enlarge)
Step 18:
Seam 2: this seam will hold your fleece in place
(Click Image to Enlarge)
Step 19:
(Click Image to Enlarge)
Cut the excess fleece all around
Step 20:
(Click Image to Enlarge)
Put your beard felt on the fleece part of the beard
Step 21:
(Click Image to Enlarge)
Seam 3: this seam will hold your felt in place
Step 22:
Cut the excess all around
(Click Image to Enlarge)
Step 23:
Seam 4: this seam tells you the location of your felt for the nose
(Click Image to Enlarge)
Step 24:
Put your felt on the seam
(Click Image to Enlarge)
Step 25:
Seam 5: this seam will hold your felt in place
(Click Image to Enlarge)
Step 26:
Cut the excess all around
(Click Image to Enlarge)
Step 27:
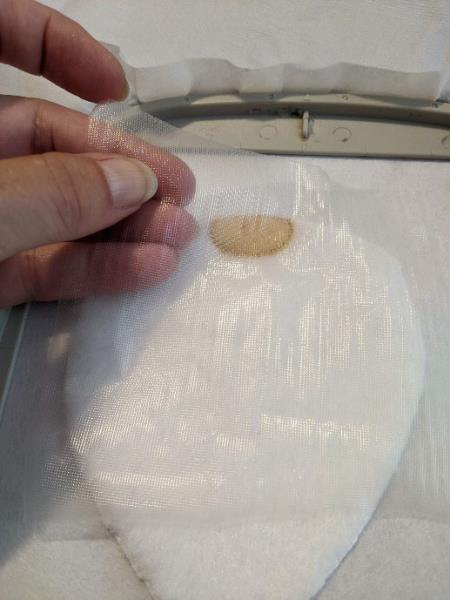
If you have put a fur style felt, put a piece of water-soluble stabilizer before making the next seam
(Click Image to Enlarge)
Step 28:
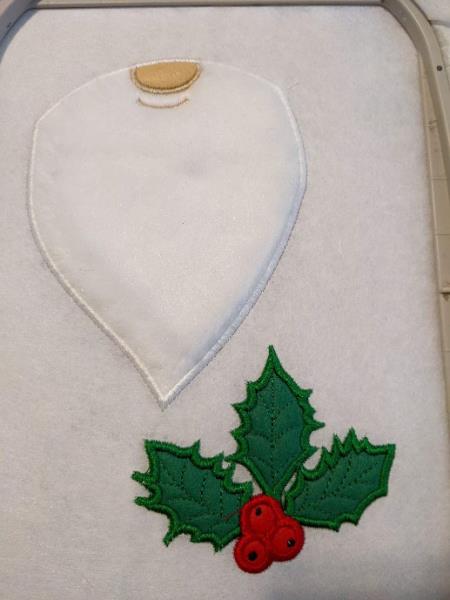
Sewing 6: Embroidery Stitches
(Click Image to Enlarge)
Step 29:
(Click Image to Enlarge)
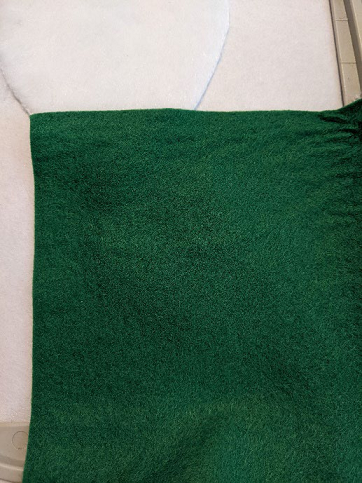
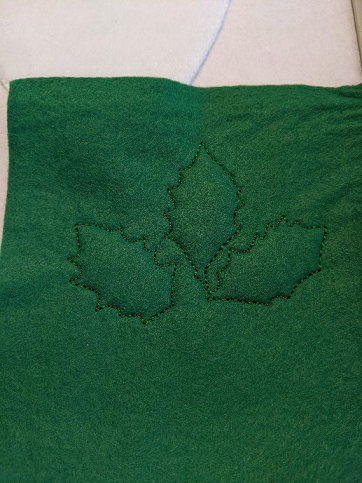
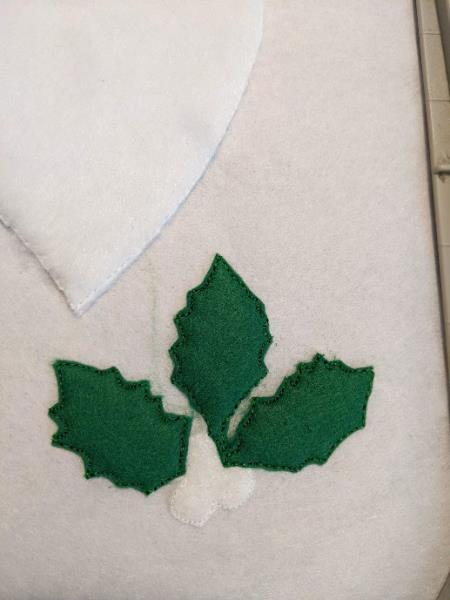
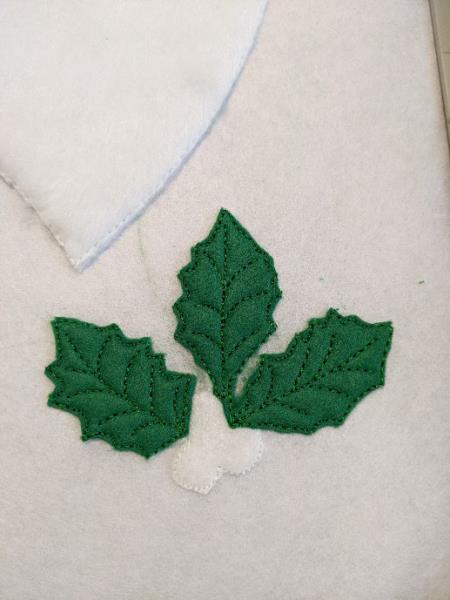
Put your felt for the leaves
Step 30:
(Click Image to Enlarge)
Seam 7: this seam will hold your felt in place
Step 31:
Cut the excess all around
(Click Image to Enlarge)
Step 32:
Seam 8: Embroidery stitches
(Click Image to Enlarge)
Step 33:
(Click Image to Enlarge)
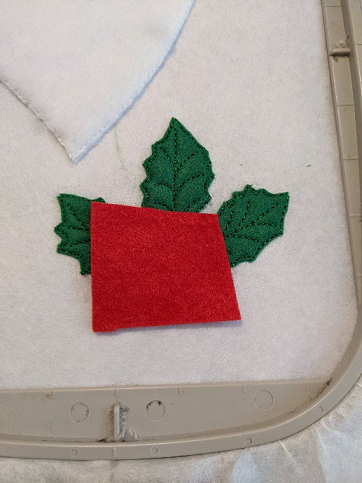
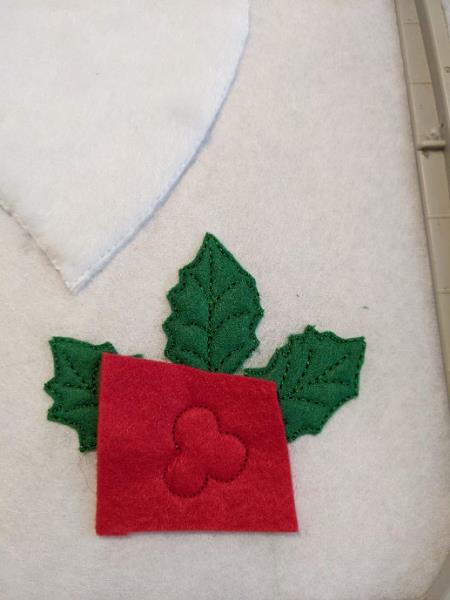
Put your red felt on the berries
Step 34:
Seam 9: this seam will hold your felt in place
(Click Image to Enlarge)
Step 35:
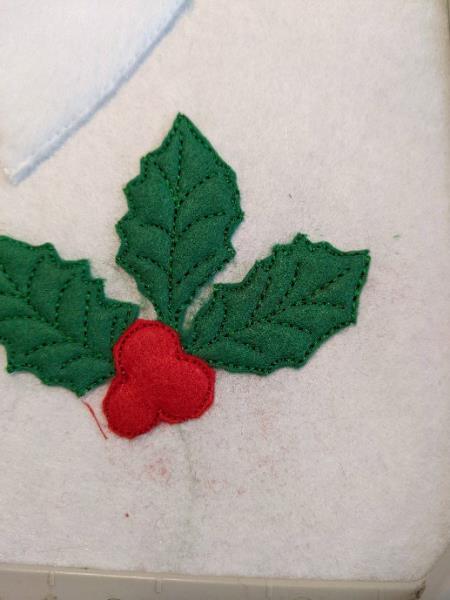
Cut the excess all around
(Click Image to Enlarge)
Step 36:
Sewing 10-11: embroidery stitches
(Click Image to Enlarge)
Step 37:
Put your piece of white felt on the back of your work (back of your frame), keep in place
(Click Image to Enlarge)
Step 38:
Seam 12: this seam will join your front with the back of your project
(Click Image to Enlarge)
Step 39:
Cut the excess all around
(Click Image to Enlarge)
Step 40:
Sewing 13-14-15: embroidery stitches
(Click Image to Enlarge)
Step 41:
THE BODY
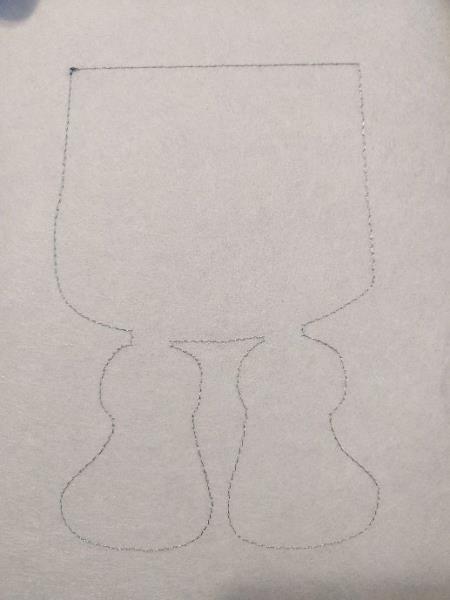
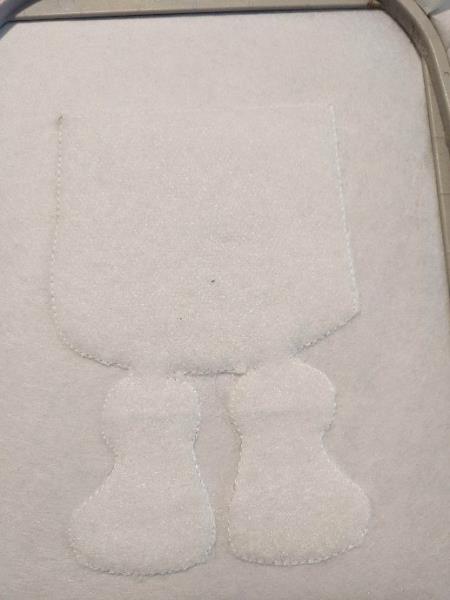
Seam 1: this seam is done on your stabilizer to tear
(Click Image to Enlarge)
Step 42:
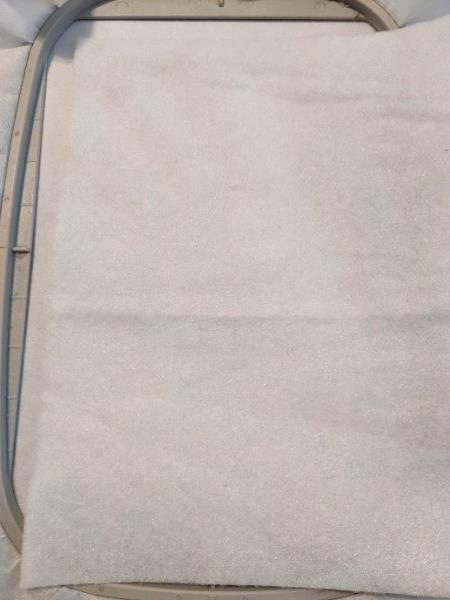
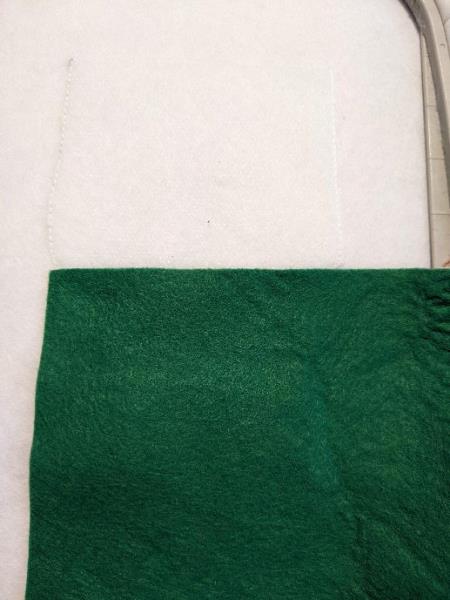
Put your fleece piece on the seam taking care to hide the entire seam
(Click Image to Enlarge)
Step 43:
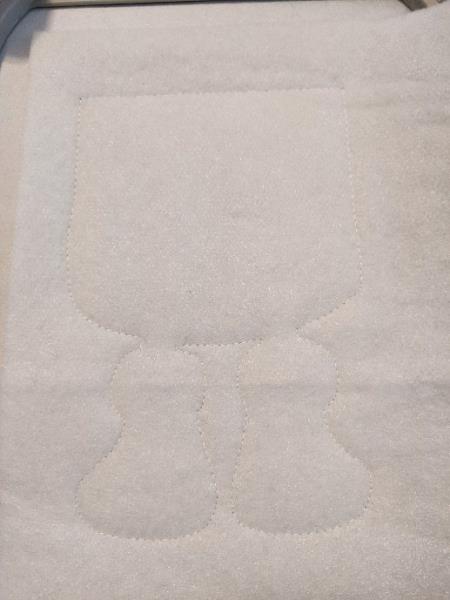
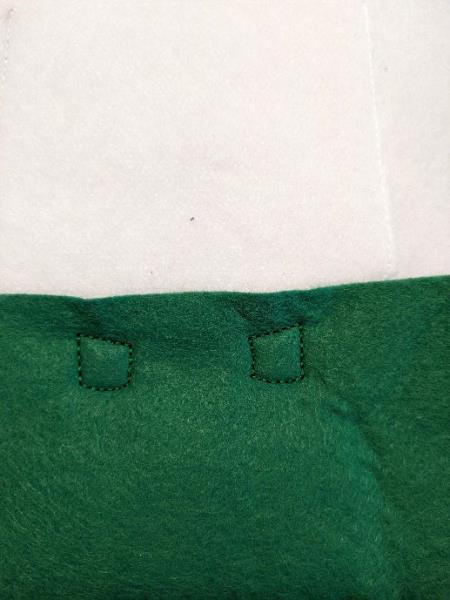
Seam 2: this seam will hold your fleece in place
(Click Image to Enlarge)
Step 44:
Cut the excess fleece all around
(Click Image to Enlarge)
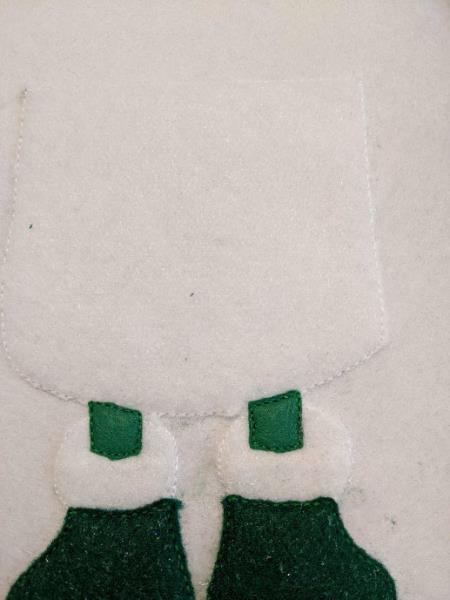
Step 45:
(Click Image to Enlarge)
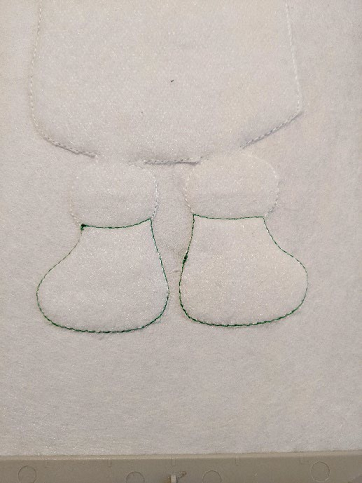
Seam 3: this seam tells you the location for your boots felt
Step 46:
(Click Image to Enlarge)
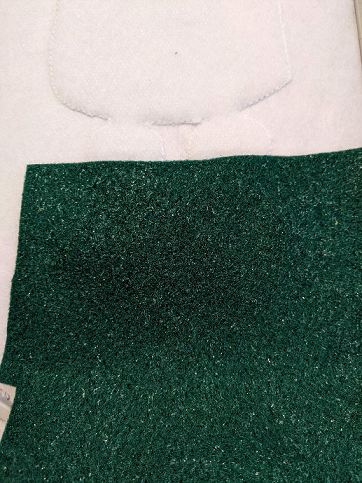
Put your felt in place.
Step 47:
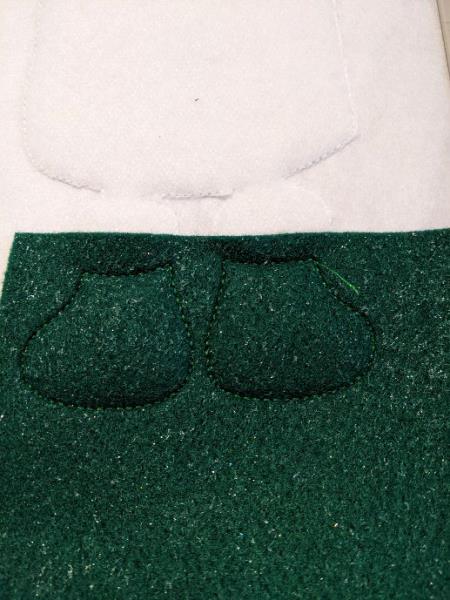
Seam 4: this seam will hold your felt in place
(Click Image to Enlarge)
Step 48:
Cut the excess all around
(Click Image to Enlarge)
Step 49:
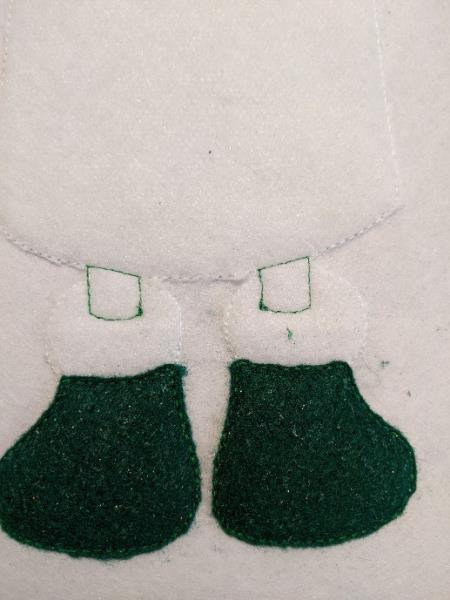
Seam 5: this seam tells you the location for your leg felt
(Click Image to Enlarge)
Step 50:
Put your felt in place
(Click Image to Enlarge)
Step 51:
Seam 6: this seam will hold your felt in place
(Click Image to Enlarge)
Step 52:
Cut the excess all around
(Click Image to Enlarge)
Step 53:
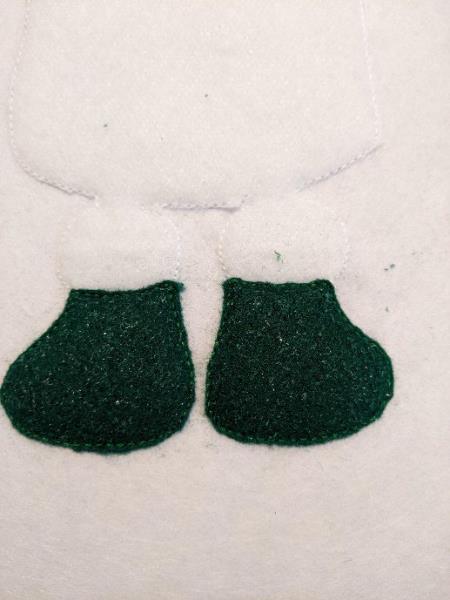
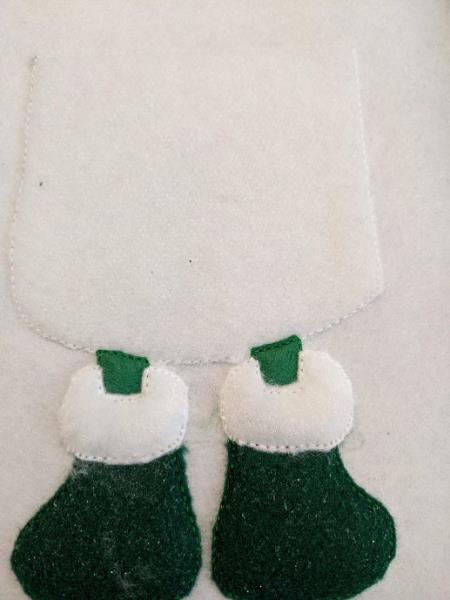
Put your felt between the boots and legs
(Click Image to Enlarge)
Step 54:
Seam 7: this seam will hold your felt in place
(Click Image to Enlarge)
Step 55:
Cut the excess all around
(Click Image to Enlarge)
Step 56:
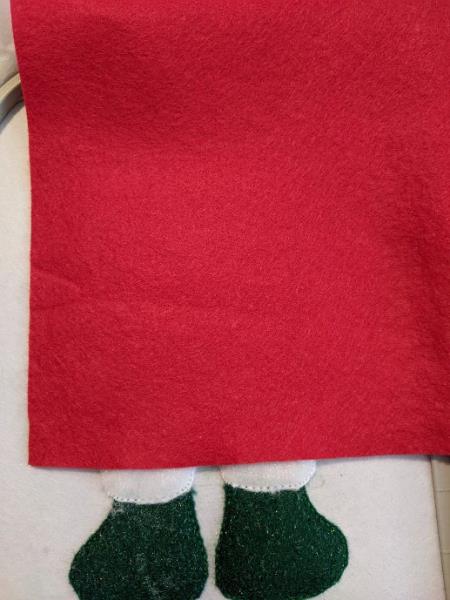
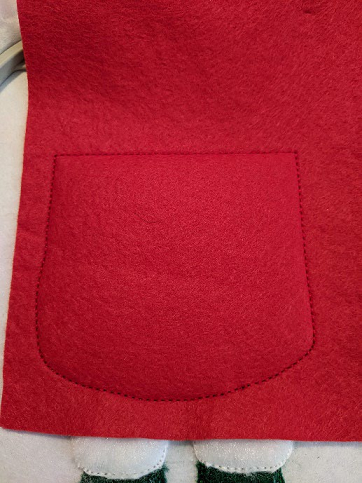
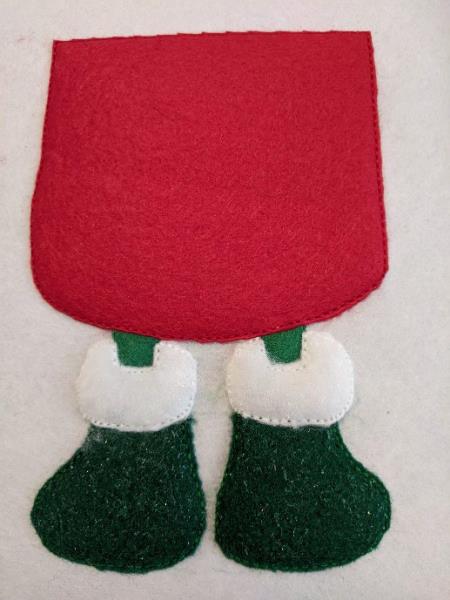
Put your felt on the body
(Click Image to Enlarge)
Step 57:
(Click Image to Enlarge)
Seam 8: this seam will hold your felt in place
Step 58:
Cut the excess all around
(Click Image to Enlarge)
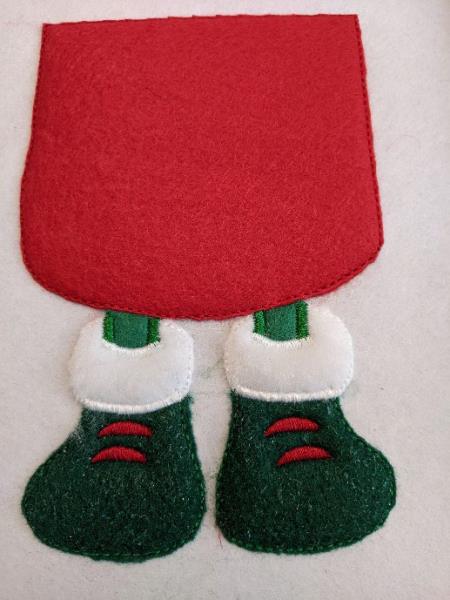
Step 59:
Sewing 9-10-11: embroidery stitches
(Click Image to Enlarge)
Step 60:
Put your piece of white felt on the back of your work (back of your frame), keep in place
(Click Image to Enlarge)
Step 61:
(Click Image to Enlarge)
Seam 12: this seam will join your front with the back of your project
Step 62:
Cut the excess all around
(Click Image to Enlarge)
Step 63:
Sewing 13-14-15-16: embroidery stitches
(Click Image to Enlarge)
Step 64:
(Click Image to Enlarge)
ARMS WITH GIFT
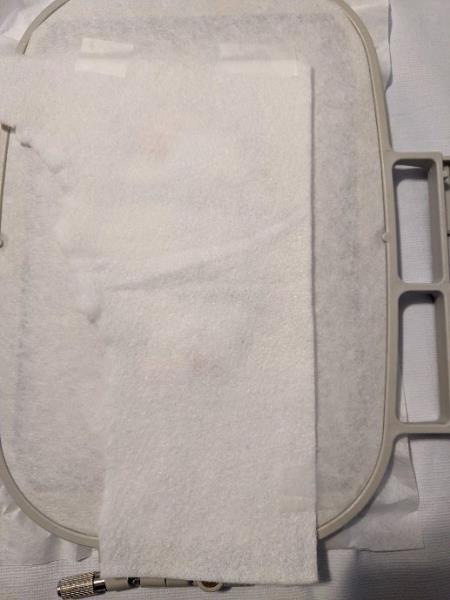
Seam 1: this seam is done on your stabilizer to tear
Step 65:
Put your fleece piece on the seam taking care to hide the entire seam
(Click Image to Enlarge)
Step 66:
Seam 2: this seam will hold your fleece in place
(Click Image to Enlarge)
Step 67:
Cut the excess fleece all around
(Click Image to Enlarge)
Step 68:
(Click Image to Enlarge)
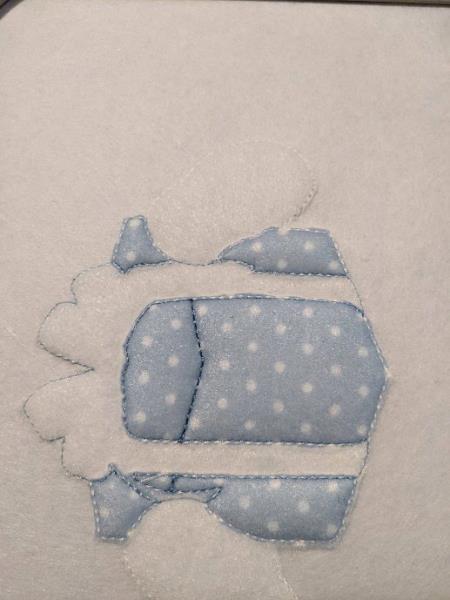
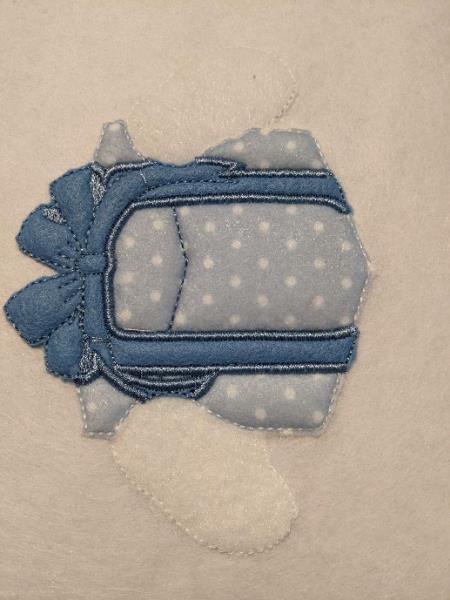
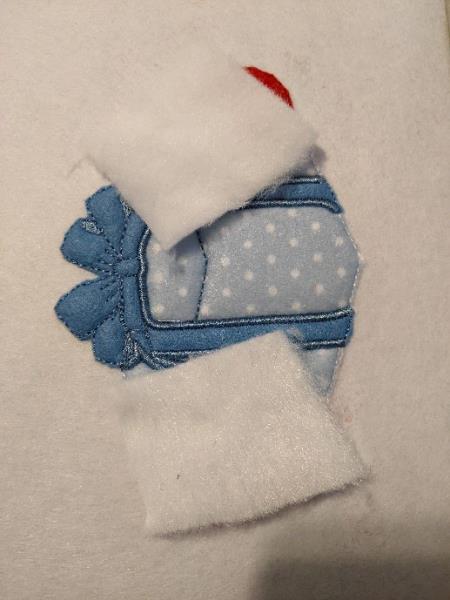
Sewing 3: this sewing tells you the location of your felt for the gift
Step 69:
Put your felt in place.
(Click Image to Enlarge)
Step 70:
Seam 4: this seam will hold your felt in place
(Click Image to Enlarge)
Step 71:
Cut the excess all around
(Click Image to Enlarge)
Step 72:
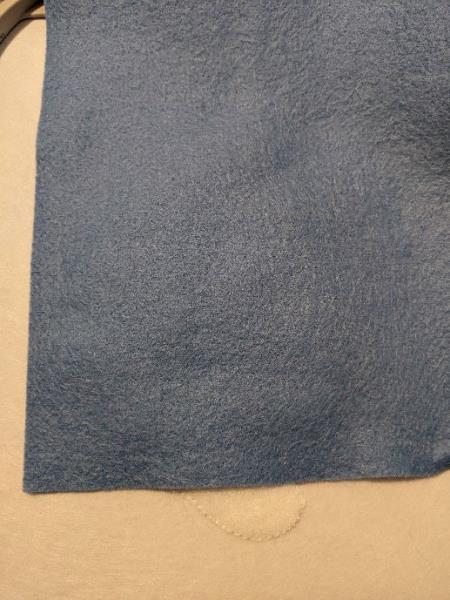
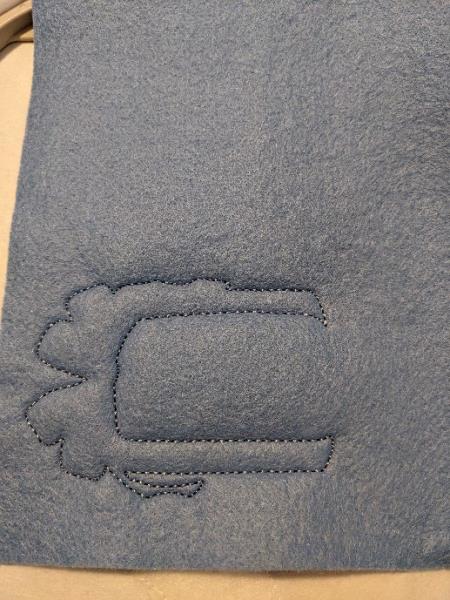
Seam 5: this seam tells you the location for your loop felt
(Click Image to Enlarge)
Step 73:
Put your felt in place.
(Click Image to Enlarge)
Step 74:
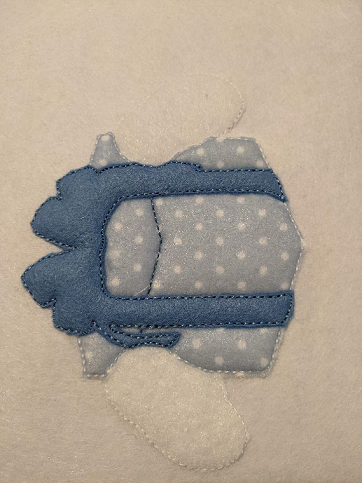
Seam 6: this seam will hold your felt in place
(Click Image to Enlarge)
Step 75:
(Click Image to Enlarge)
Cut the excess all around
Step 76:
Stitching 7: embroidery stitches
(Click Image to Enlarge)
Step 77:
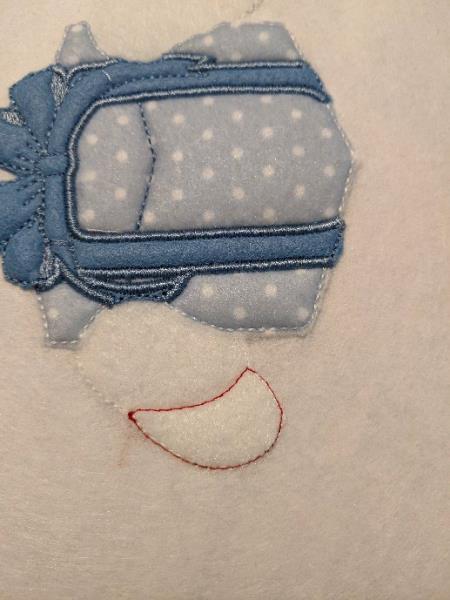
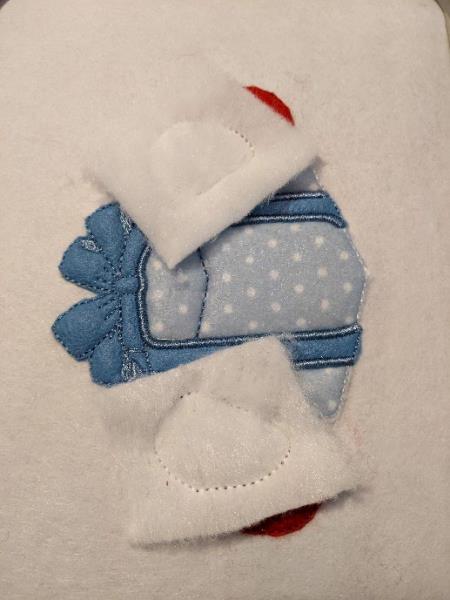
Seam 8: this seam tells you the location of your felt for the arms
(Click Image to Enlarge)
Step 78:
Put your felt in place.
(Click Image to Enlarge)
Step 79:
(Click Image to Enlarge)
Seam 9: this seam will hold your felt in place
Step 80:
Cut the excess all around
(Click Image to Enlarge)
Step 81:
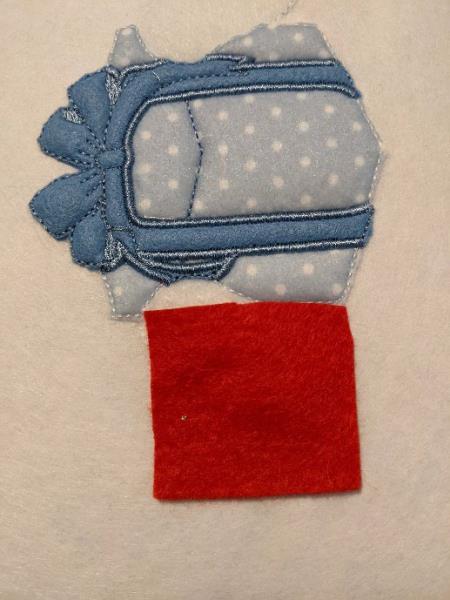
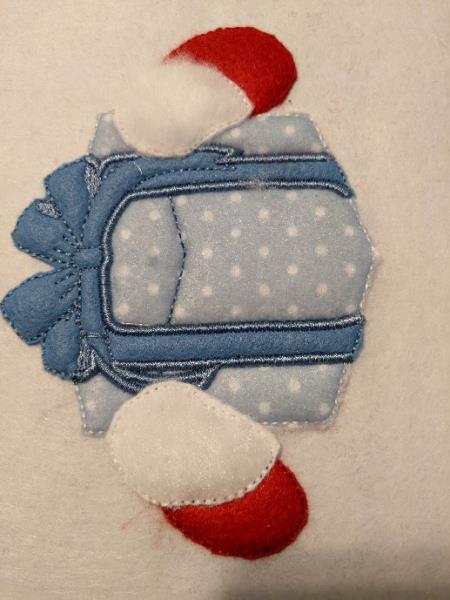
Put your felt for hands.
(Click Image to Enlarge)
Step 82:
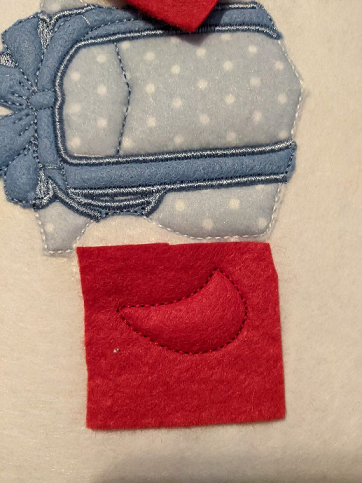
Seam 10: this seam will hold your felt in place
(Click Image to Enlarge)
Step 83:
Cut the excess all around
(Click Image to Enlarge)
Step 84:
(Click Image to Enlarge)
Sewing 11: embroidery stitches
Step 85:
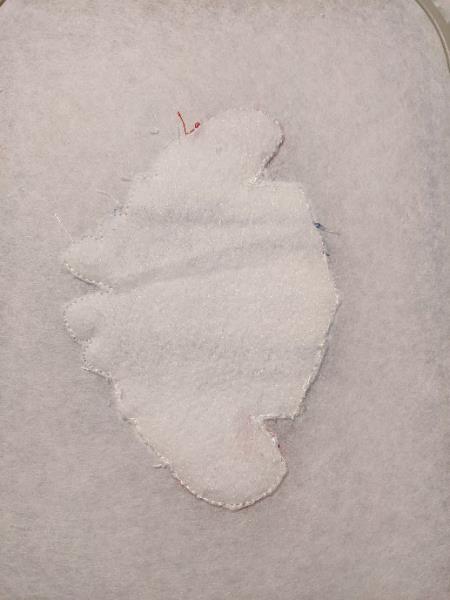
Put your piece of white felt on the back of your work (back of your frame), keep in place
(Click Image to Enlarge)
Step 86:
Seam 12: this seam will join the front with the back of your project Cut the excess all around