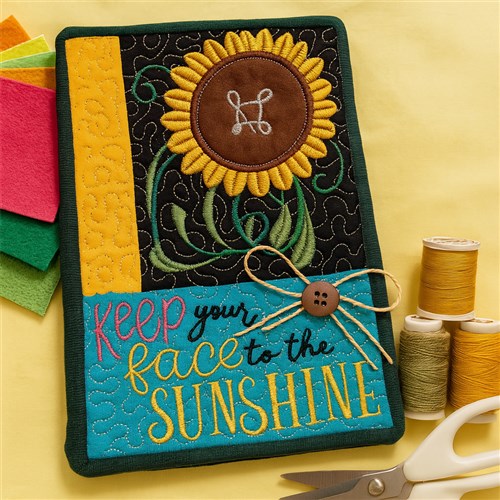
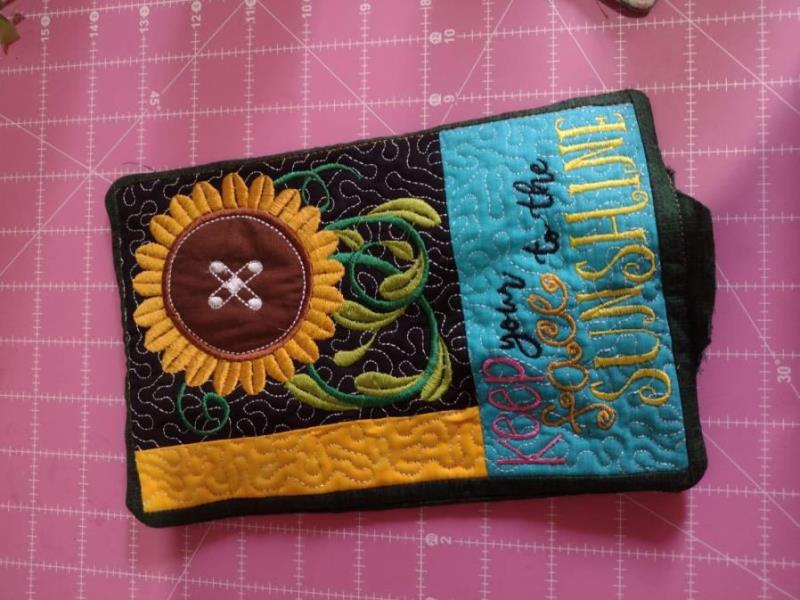
ITH Sunflower Quote Panel

ITH Sunflower Quote Panel Embroidery Project

By   Sew Chic   on   July 31, 2025
  • SKILL LEVELBeginner
  • TIME REQUIRED00:30
Description

This vibrant panel features a cheerful sunflower and the uplifting quote 'Keep your face to the sunshine,' adding warmth and positivity to any space. Ideal for wall decoration or as a journal cover, it brings a touch of color and inspiration. Step-by-step instructions are included.


Step of

Materials

Project Preview Video

Materials
  • Fabric
  • Batting
  • Glue


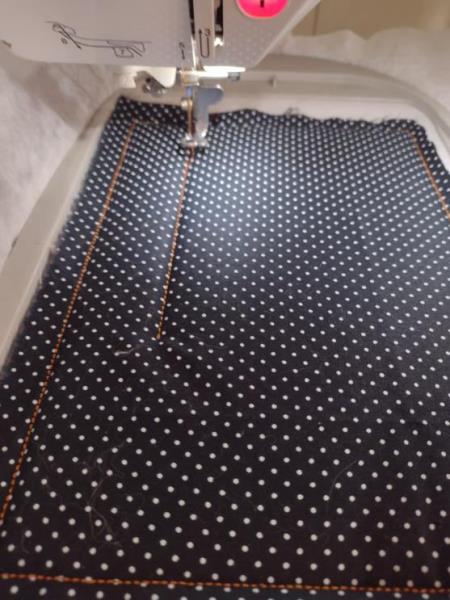
  • Step 1:

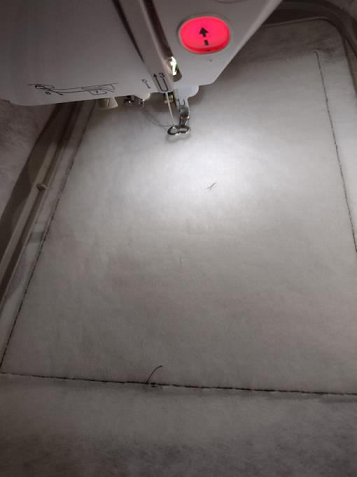
    Stitch the placement line for the batting


    Step 2:

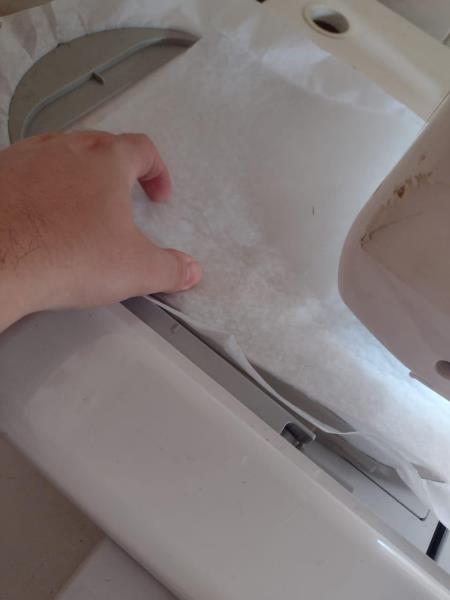
    Place the batting on the top of the hoop

    (Click Image to Enlarge)


    Step 3:
    (Click Image to Enlarge)

    Stitch the batting down and remove the hoop from your machine and trim the batting closeto the stitch


    Step 4:

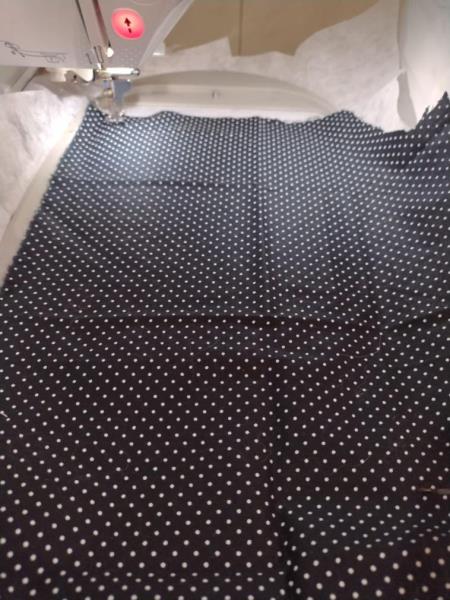
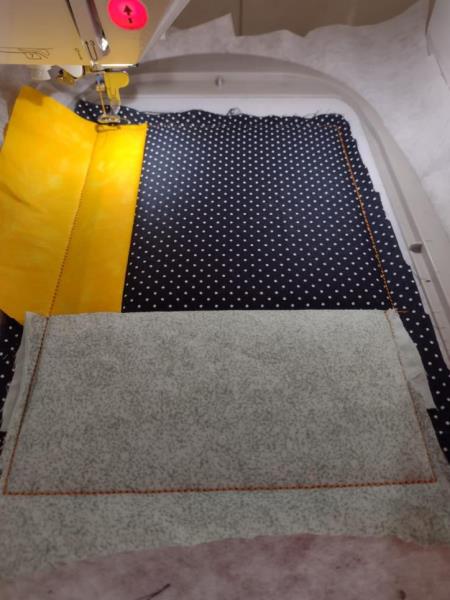
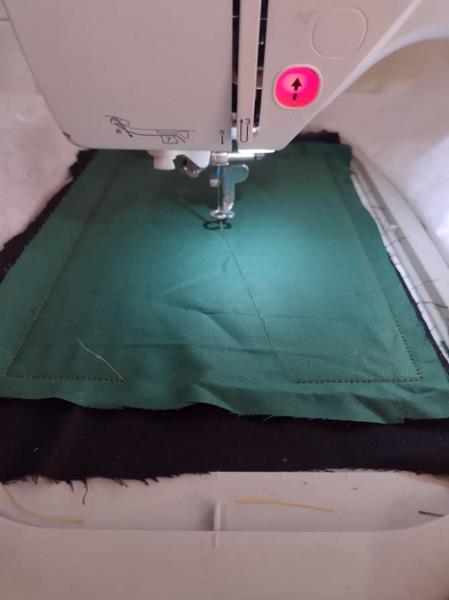
    Place the fabric on top of the hoop covering the placement line, and stitch it

    (Click Image to Enlarge)


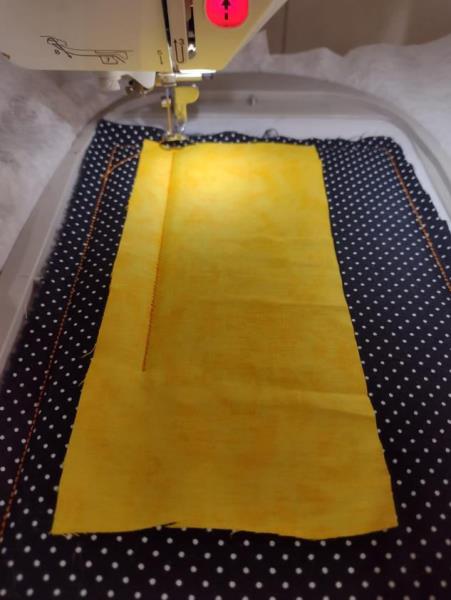
    Step 5:

    Stitch the placement line for the top side fabric

    (Click Image to Enlarge)


    Step 6:

    put the fabric with the print down and stitch it

    (Click Image to Enlarge)


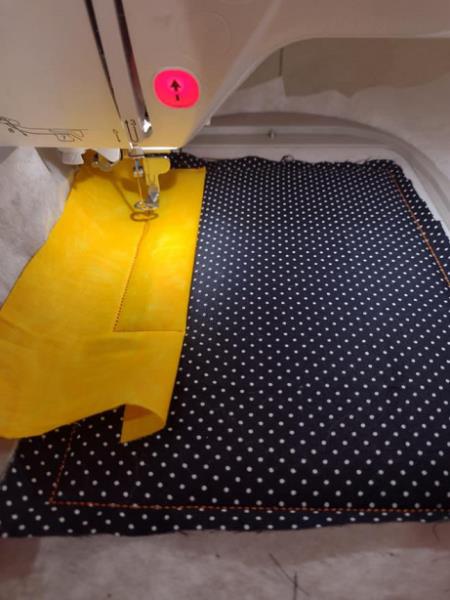
    Step 7:

    Pull the fabric to the other side and stitch it

    (Click Image to Enlarge)


    Step 8:

    Stitch the placement line for the down side fabric, put the fabric with the print down and stitch it.

    (Click Image to Enlarge)


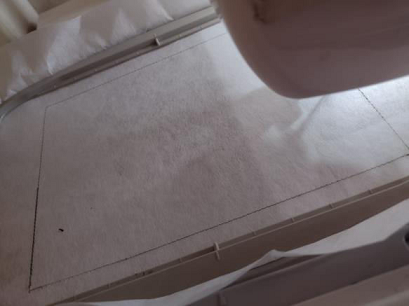
    Step 9:

    Pull the fabric to the other side and stitch it.
    (Click Image to Enlarge)


    Step 10:

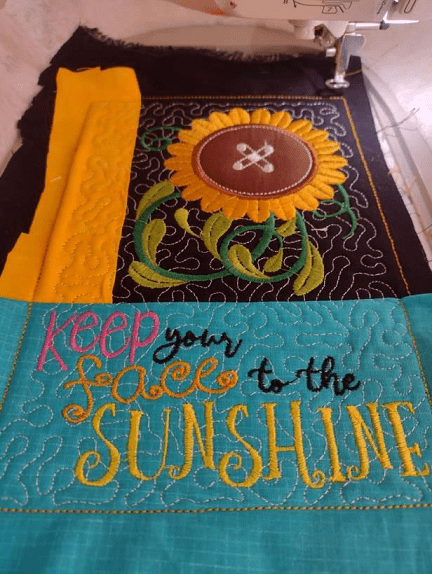
    Follow the machine steps and stitch the appliqués and details until the word sunshine

    (Click Image to Enlarge)


    Step 11:

    Stitch the placement line for the down side fabric, put the fabric with the print down and stitch it.

    (Click Image to Enlarge)


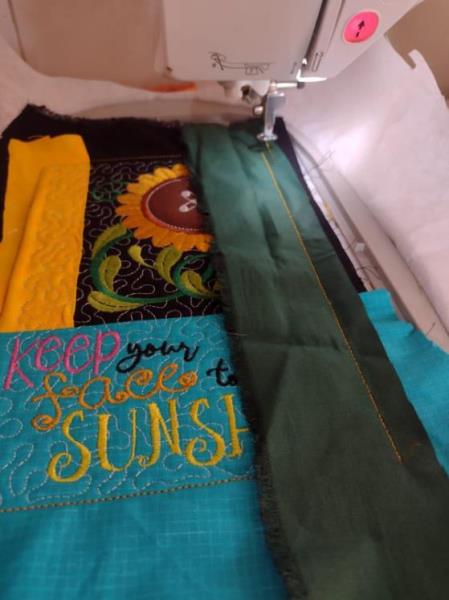
    Step 12:

    Pull the fabric to the other side and stitch it! The same process to the others sides

    (Click Image to Enlarge)


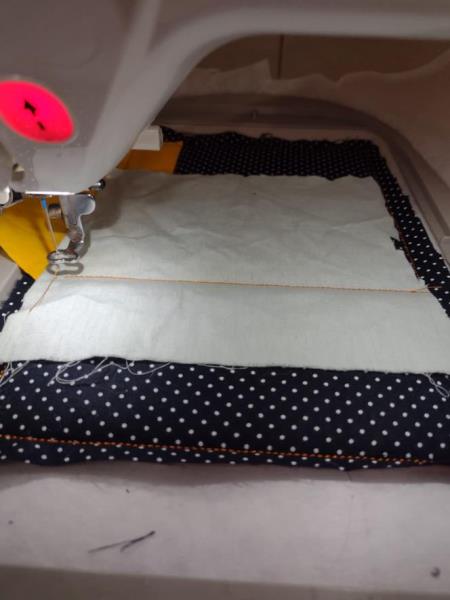
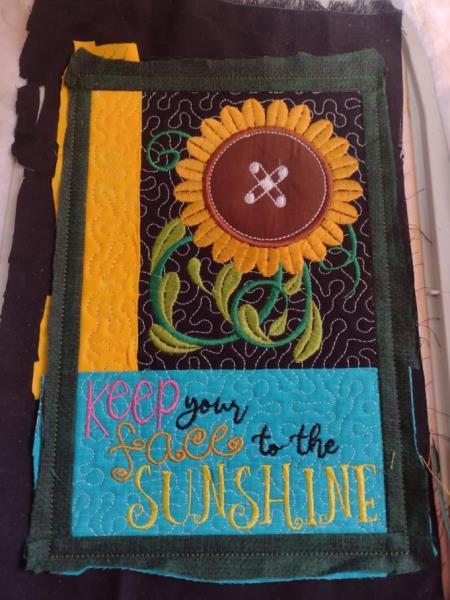
    Step 13:

    Put a piece of fabric over it an stitch the fabric down!

    (Click Image to Enlarge)


    Step 14:

    Remove the hoop from the machine and trim the borders. Turn to the right side! Iron it and finish it with glue!

    (Click Image to Enlarge)

    Meet the Author: Sew Chic
    Sew Chic
    Embroidery Enthusiast
    More From This Author
    Link is Broken, Please check the URL
    Exclusive Embroidery Offers!
    Copyright © {{ currentDate | date:'yyyy'}} - EmbroideryDesigns.com
    GET 50% OFF! ×