Border OptionsHugging border, circle, square, or rectangle — with a 3mm satin stitch.
Backing OptionsAvailable with iron-on, sew-on, or velcro backing.
Fast ShippingShipped quickly from the USA.
Free Online Tools
Powerful embroidery utilities that save time and prevent costly mistakes.
Stitch AssistantRECOMMENDED
Get the exact stabilizer, machine settings, needle, and thread color sequence for every embroidery design you purchase — based on that design's stitch density, dimensions, and color count.
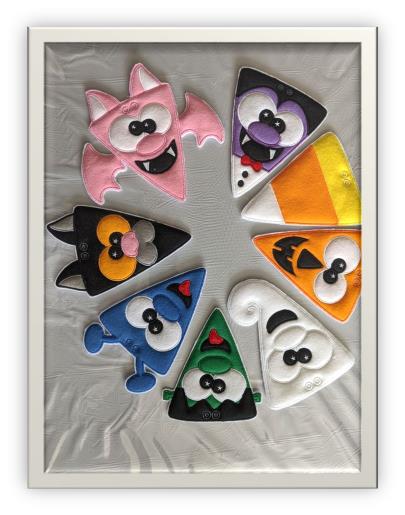
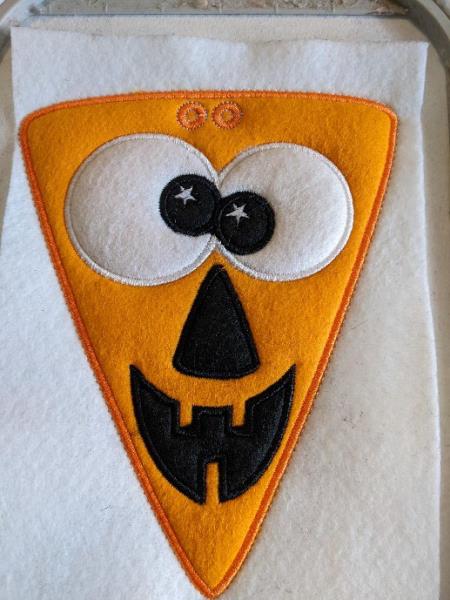
Create a festive Halloween atmosphere with the ITH Halloween Triangle Buddies Garland. Featuring charming characters like a ghost, vampire, pumpkin, and cat, this in-the-hoop project is ideal for decoration or as treat tags. Step-by-step instructions are included.
Step
of
ITH Halloween Triangle Buddies Garland
By Sew Chic
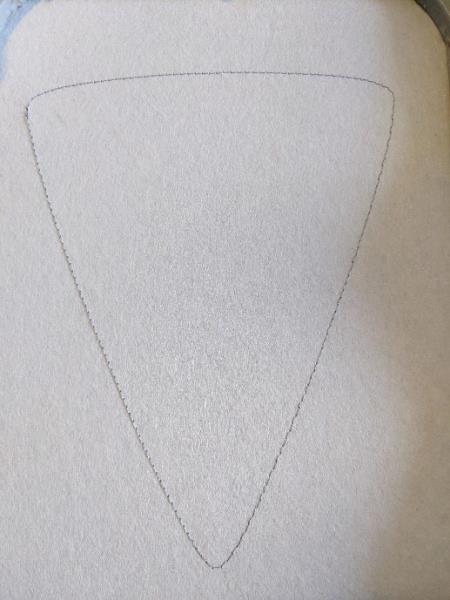
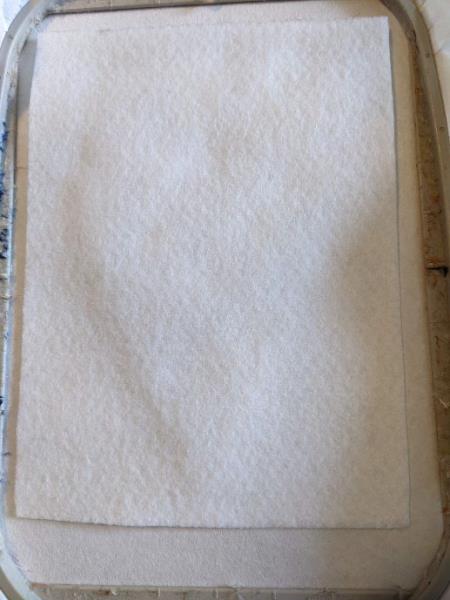
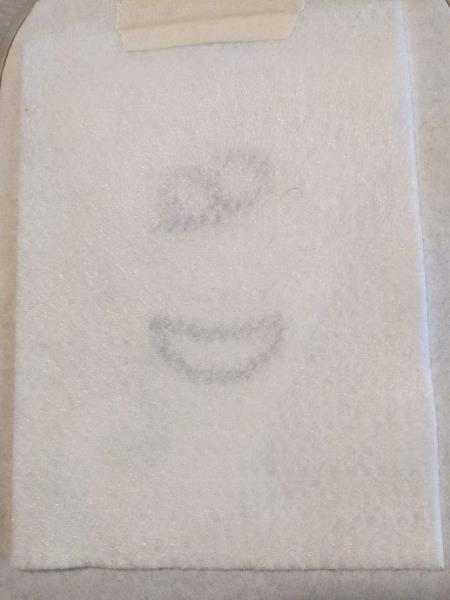
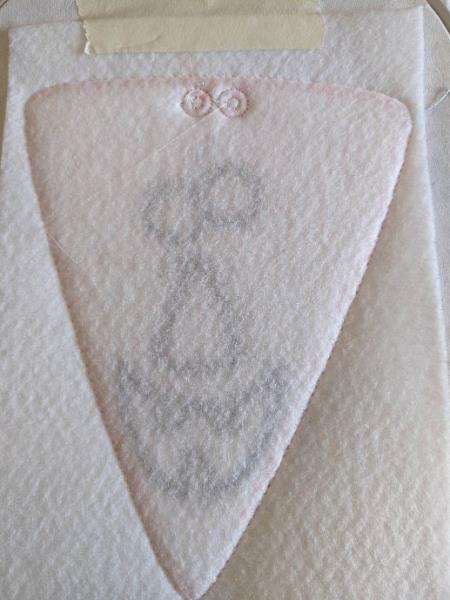
Seam 1: is done on your support to tell you the location of your fleece
(Click Image to Enlarge)
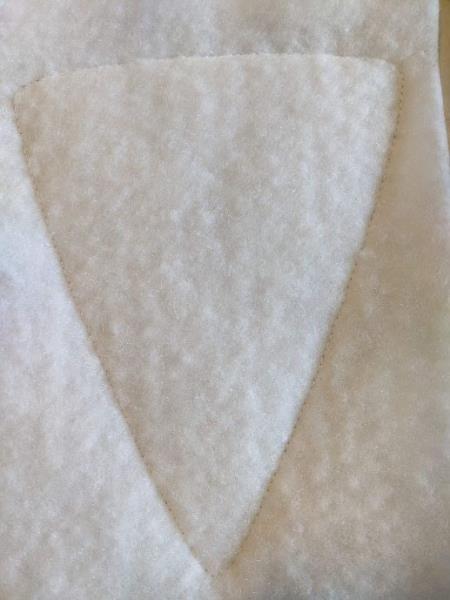
Step 2:
Put your fleece on the seam and make the following seam that will hold your fleece on your support
(Click Image to Enlarge)
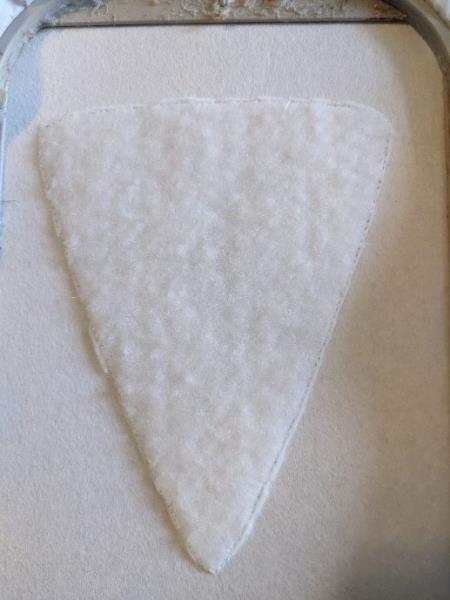
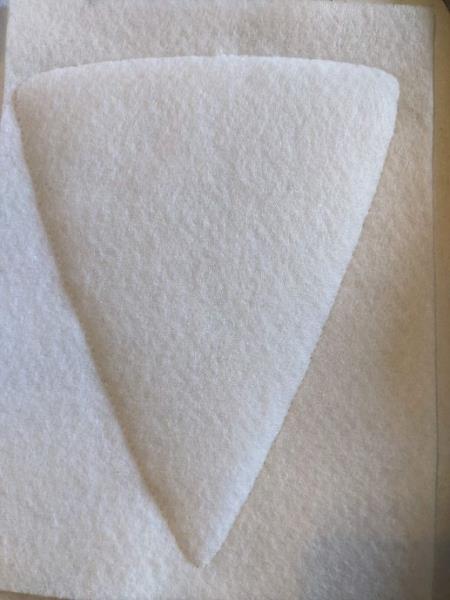
Step 3:
Cut off excess fleece
(Click Image to Enlarge)
Step 4:
Put your basic white felt
(Click Image to Enlarge)
Step 5:
Make the next seam that will hold your felt on your support
(Click Image to Enlarge)
Step 6:
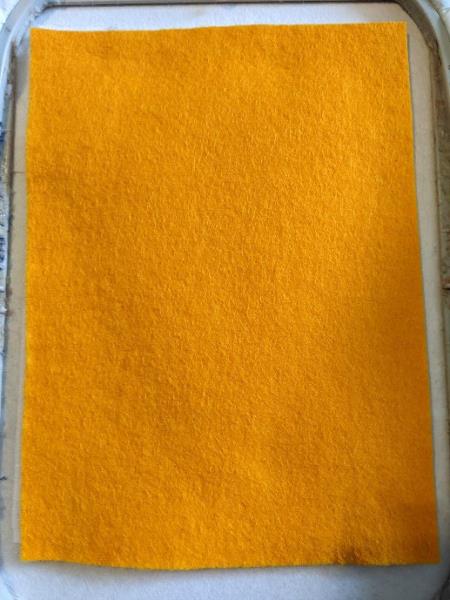
Put your colored felt
(Click Image to Enlarge)
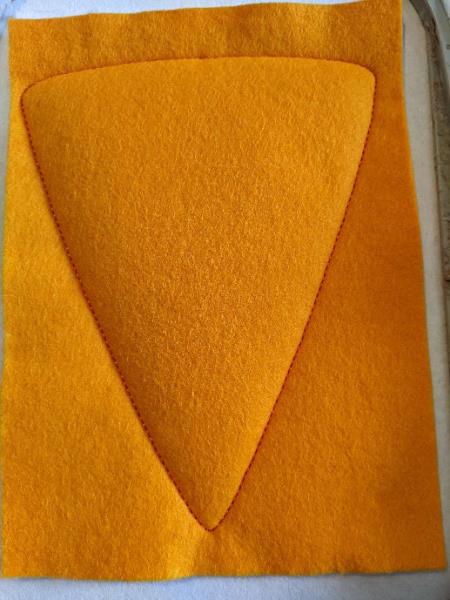
Step 7:
This seam will hold your colored felt on your white felt
(Click Image to Enlarge)
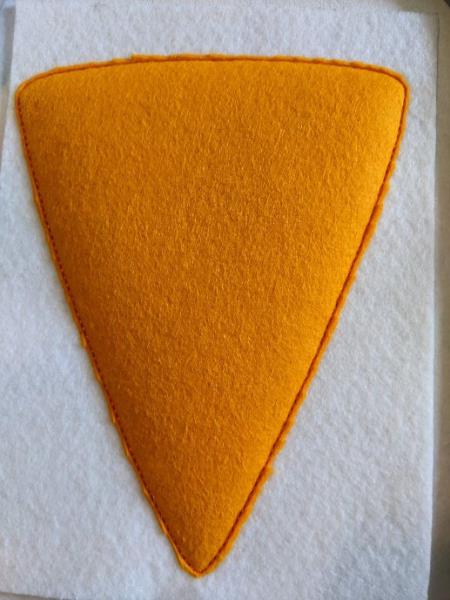
Step 8:
Cut off the excess of your colored felt
(Click Image to Enlarge)
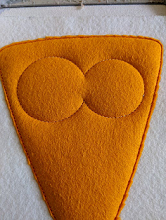
Step 9:
(Click Image to Enlarge)
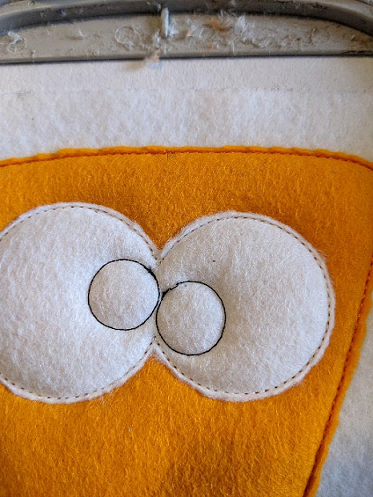
The next seam shows you the location for your felt
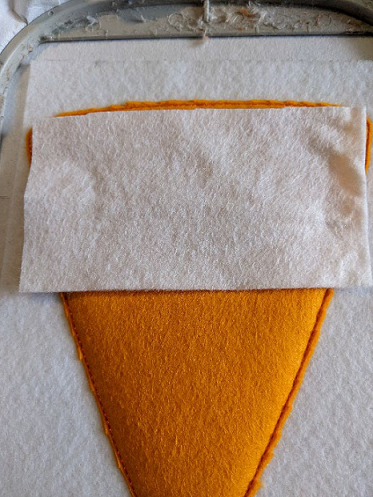
Step 10:
(Click Image to Enlarge)
Put your top quality felt on the seam
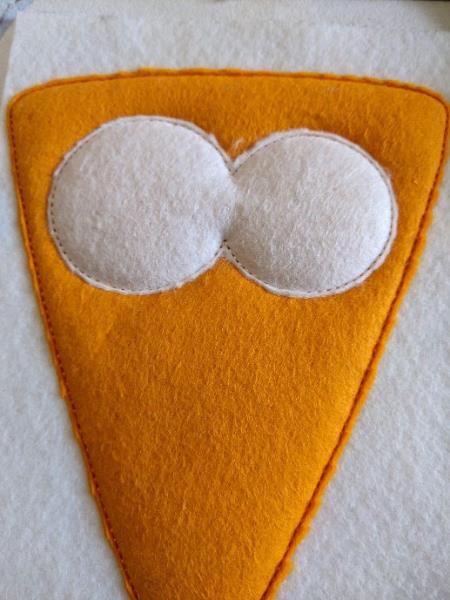
Step 11:
Make the next seam and remove the excess fabric all around
(Click Image to Enlarge)
Step 12:
(Click Image to Enlarge)
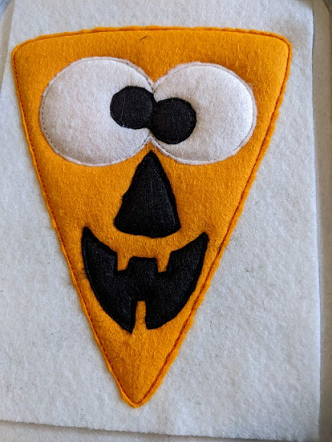
Continue this way for each colored item
Step 13:
(Click Image to Enlarge)
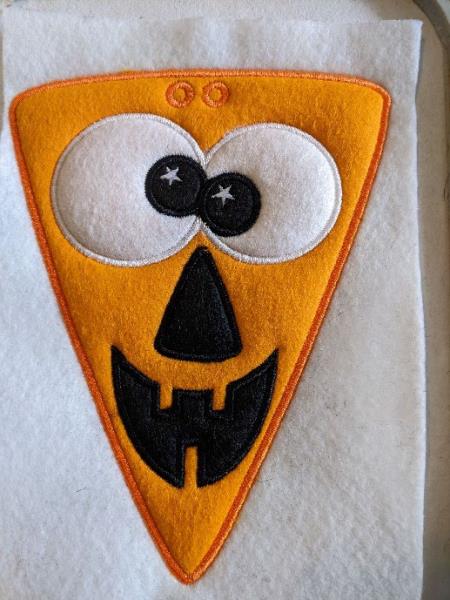
Here all the elements are in place
Step 14:
Make the bourond points for each color
(Click Image to Enlarge)
Step 15:
Once the bumblebee points are finished, take a piece of basic quality white felt and put on the back of your project. Keep in place
(Click Image to Enlarge)
Step 16:
The last seam will cost your 2 basic white felts together with a triple seam.
(Click Image to Enlarge)
Step 17:
You should have this on the other side of your project. Get out of the frame and cut all the way near the triple seam, taking care not to cut the seam.