Border OptionsHugging border, circle, square, or rectangle — with a 3mm satin stitch.
Backing OptionsAvailable with iron-on, sew-on, or velcro backing.
Fast ShippingShipped quickly from the USA.
Free Online Tools
Powerful embroidery utilities that save time and prevent costly mistakes.
Stitch AssistantRECOMMENDED
Get the exact stabilizer, machine settings, needle, and thread color sequence for every embroidery design you purchase — based on that design's stitch density, dimensions, and color count.
This enchanting ITH embroidery project features Santa and his reindeer soaring through a snowy night in a festive sleigh ride. Intricate stitches bring holiday magic to life, making it a decorative piece or heartfelt gift for the Christmas season
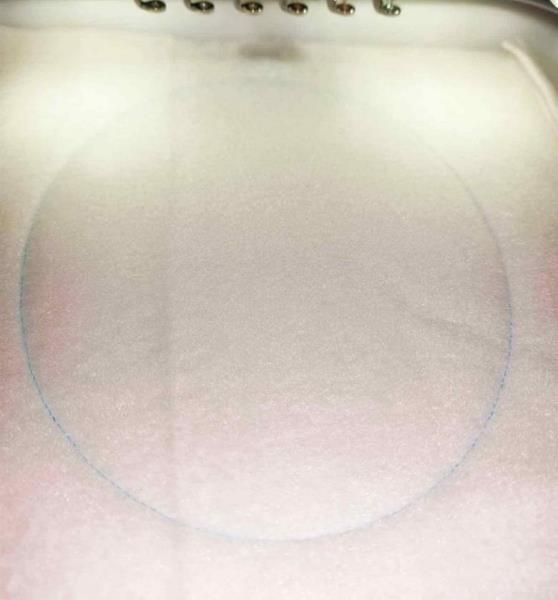
Put the stabilizer on the hoop with fabric or float 1st layer fabric (toy’s front) looking face up to the stabilizer in the hoop and secure it on stabilizer.
(Click Image to Enlarge)
Step 2:
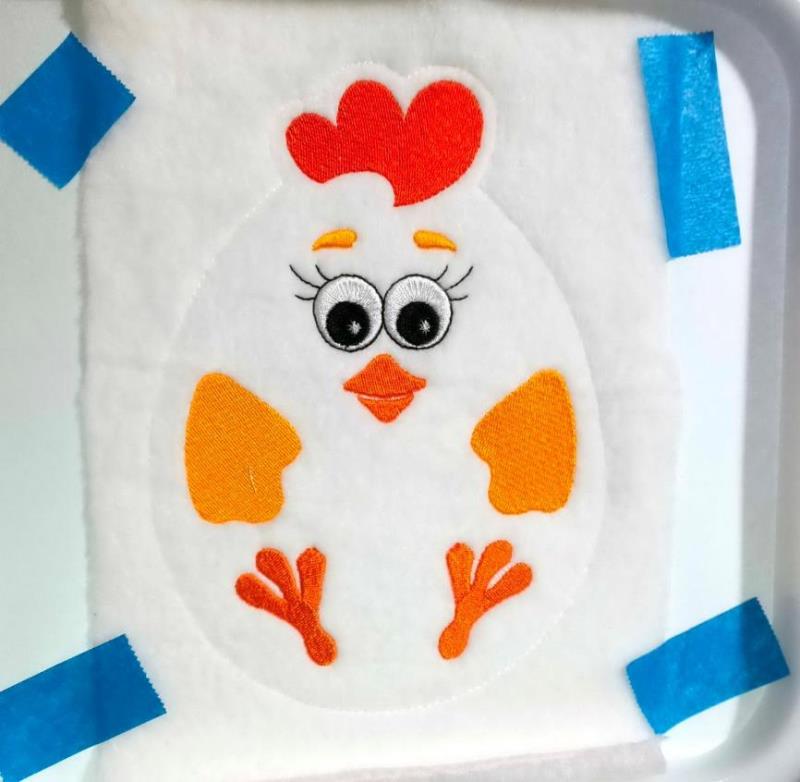
Stitch out all the details according to the design up to the last color
(Click Image to Enlarge)
Step 3:
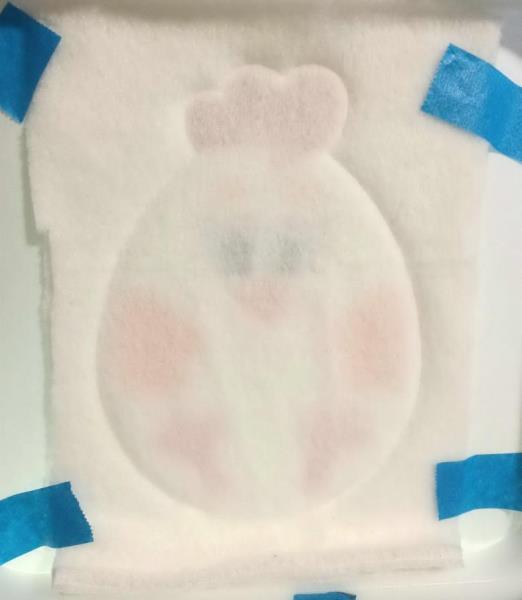
Put the 2nd layer of the fabric face side to the bottom (for a toy back side) over toy’s body and stitch the line (the last color in Colors chart).
(Click Image to Enlarge)
Step 4:
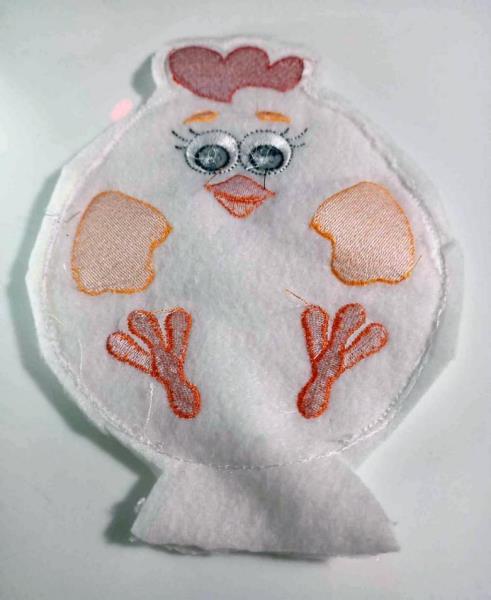
Remove all from hoop and tear away excess stabilizer. Trim excess fabric along the contour of the body. For your convenience, leave bigger seam allowance around slot for stuffing. Make a small cut on the sharp corners.
(Click Image to Enlarge)
Step 5:
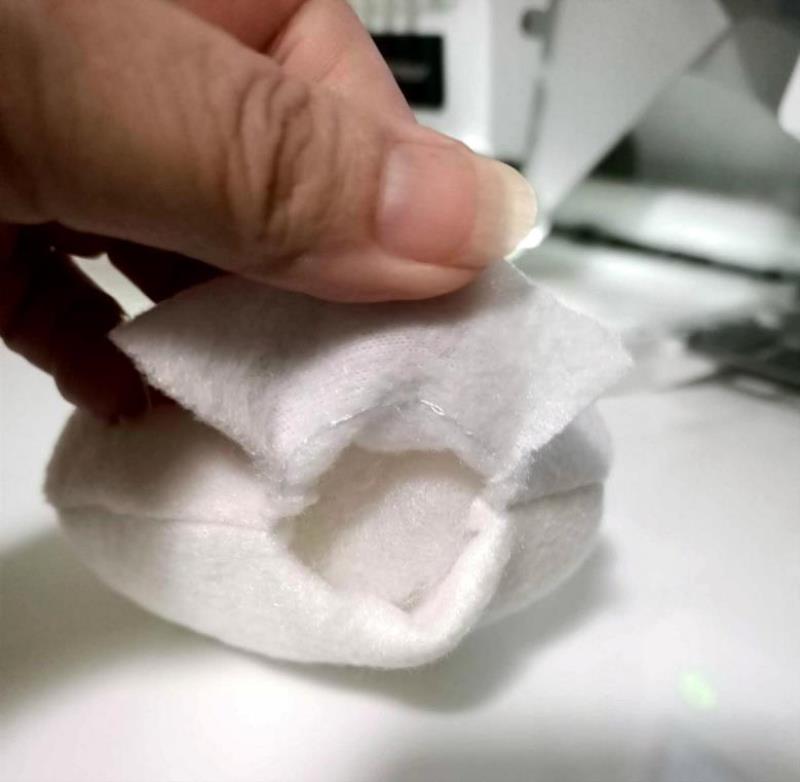
Turn toy out, put the filling and close the hole by hand in the ladder stitches