Border OptionsHugging border, circle, square, or rectangle — with a 3mm satin stitch.
Backing OptionsAvailable with iron-on, sew-on, or velcro backing.
Fast ShippingShipped quickly from the USA.
Free Online Tools
Powerful embroidery utilities that save time and prevent costly mistakes.
Stitch AssistantRECOMMENDED
Get the exact stabilizer, machine settings, needle, and thread color sequence for every embroidery design you purchase — based on that design's stitch density, dimensions, and color count.
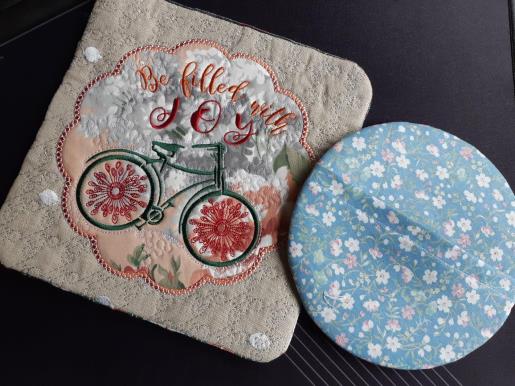
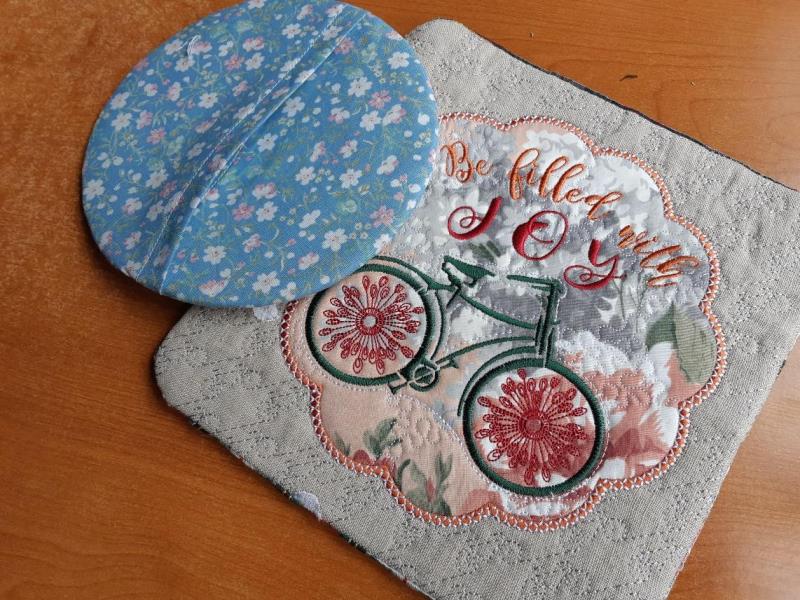
Create a charming coaster featuring a bicycle design with a joyful message, crafted entirely in the hoop. This coaster set is perfect for adding a touch of whimsy to your home decor. Step-by-step instructions are included.
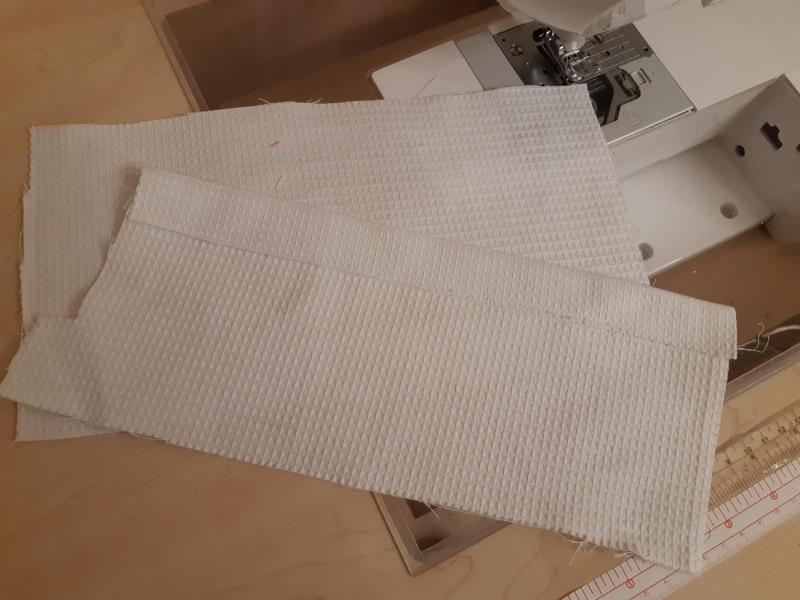
Cut for lining 2 pisses of fabric. Size should be 1-1.5” more than half of the design.
Take each piece of your lining fabric and fold on 0.5-1 inch the long way. Iron / press. If you wish, stitch by hand or sewing machine this folded edges.
(Click Image to Enlarge)
Step 2:
Embroidery and assembling
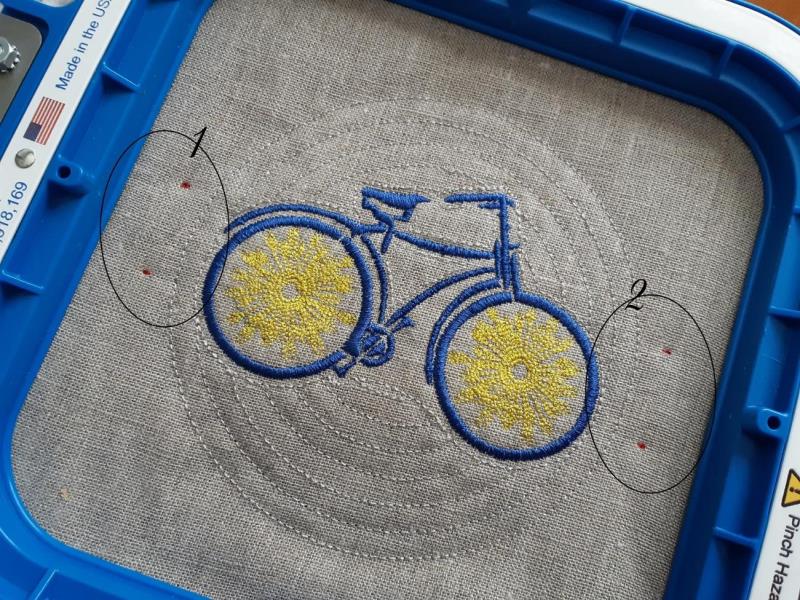
Stitch coaster as regular design up to the last stage. How to recognize there will this stage?
Before last stage you will stitch marks where you will need apply the coaster lining (backing). Se marks on picture.
(Click Image to Enlarge)
Step 3:
Remove hoop from the machine but do not unhoop anything
(Click Image to Enlarge)
Step 4:
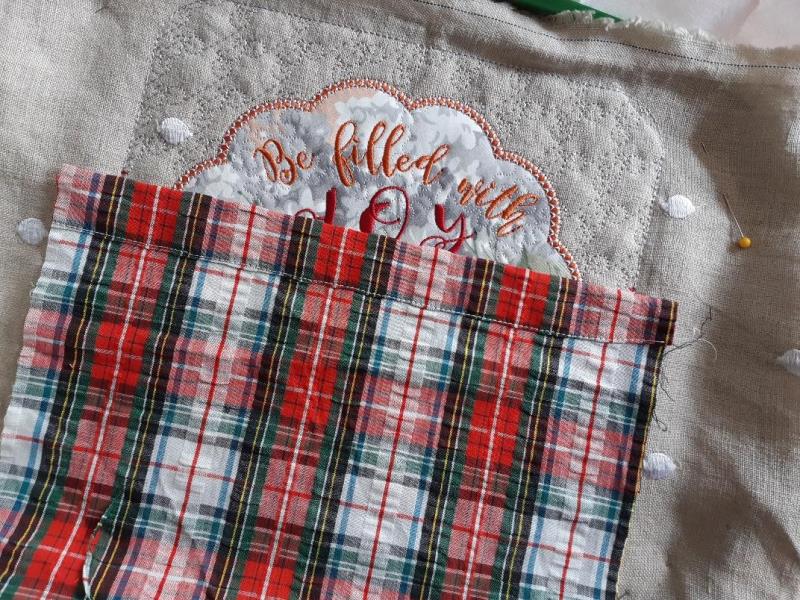
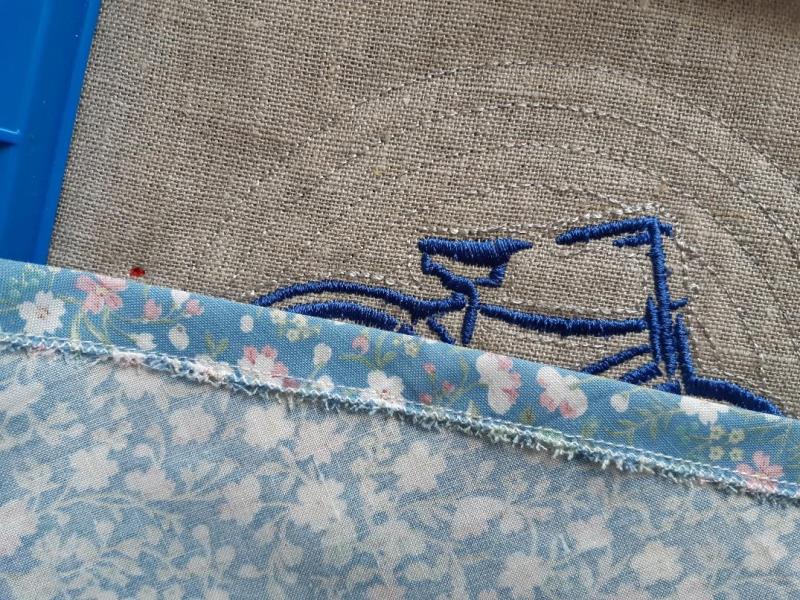
Place one lining with folded edge over the top of the mask as pictured. You can start to do it from any sites top or bottom, it’s doesn’t matter.
(Click Image to Enlarge)
Step 5:
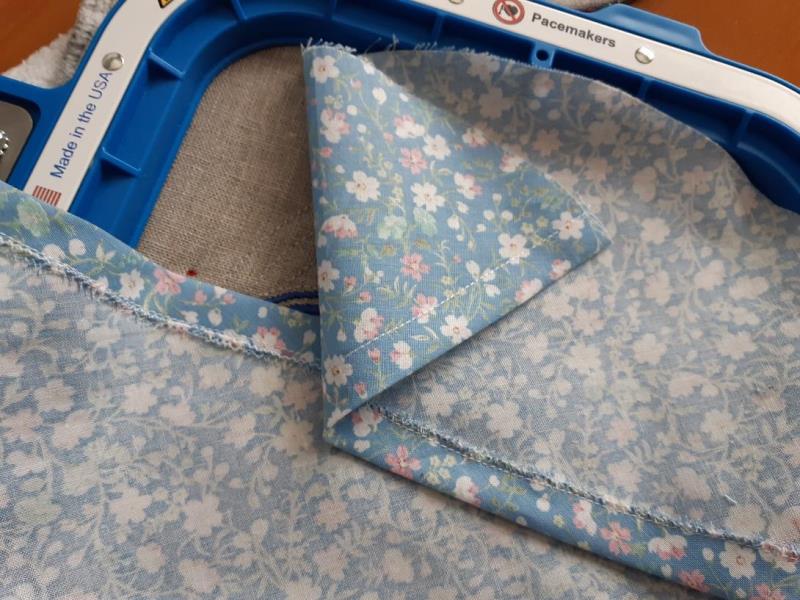
Cover next piece of lining as pictured
(Click Image to Enlarge)
Step 6:
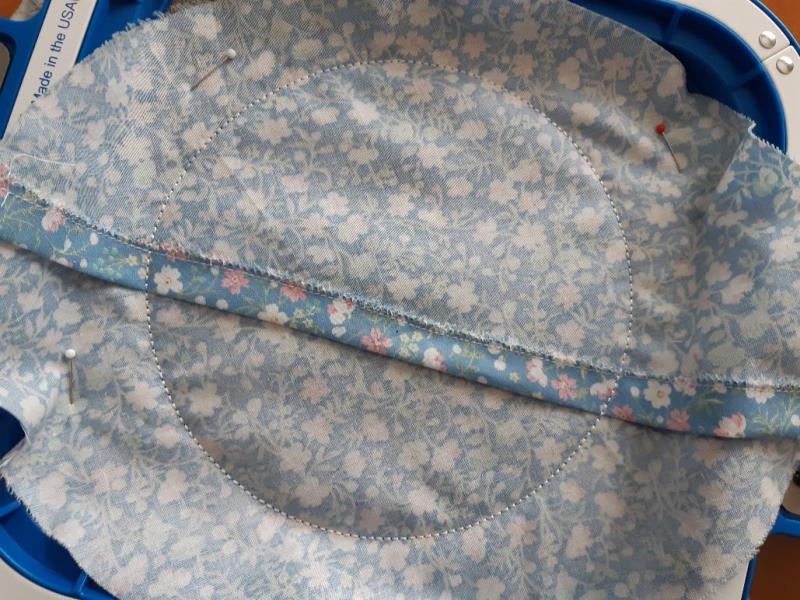
Secure your lining in the hoop by sticky tape or pins. So, it does not pucker or bunch up.
Step 7:
Run machine and tack your lining (backing) fabric.
(Click Image to Enlarge)
Step 8:
Remove the hoop from the machine and unhoop the finished embroidery
Step 9:
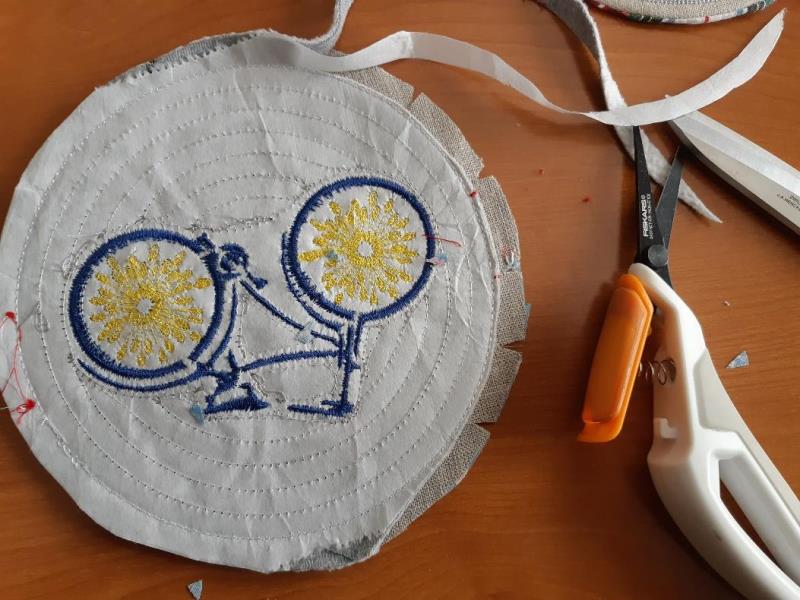
Carefully cut around the design leaving 5-7 mm
Step 10:
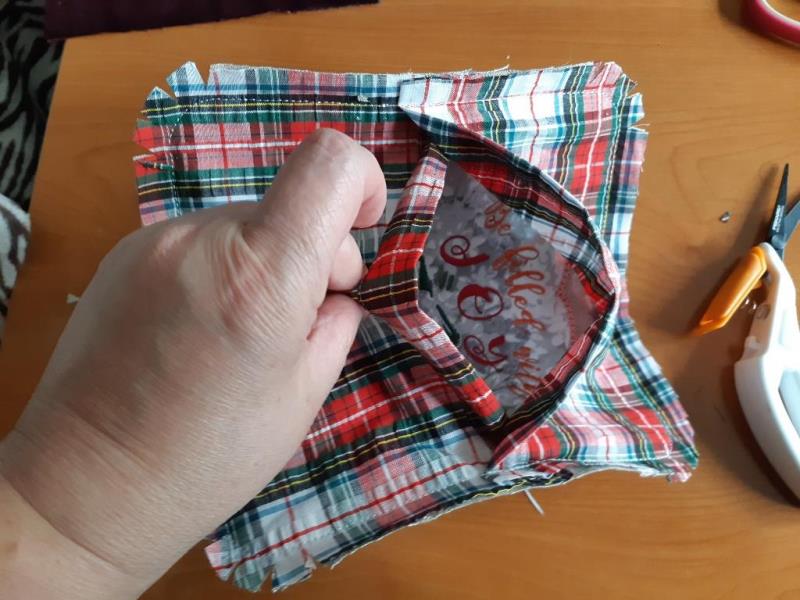
Do seam preparation to remove extra batting (if you used that) and cut seam for smooth top edge line. Make it depends of coaster shape. See pictures.
(Click Image to Enlarge)
Step 11:
Now you can turn your coaster right side out through the lining side opening