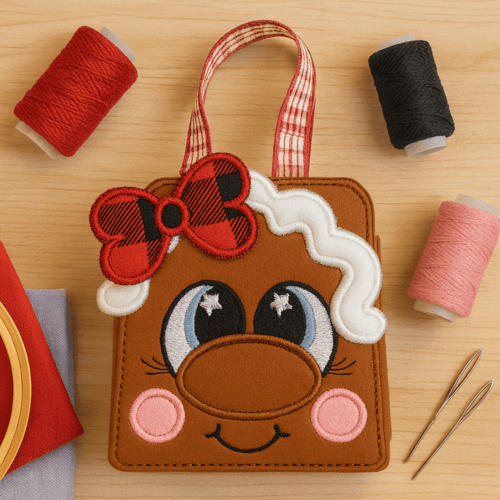
ITH Gingerbread Gift Bag with Bow
Zoom Watch Video View Larger
View Project Instructions
ITH Gingerbread Gift Bag with Bow Embroidery Project
Description
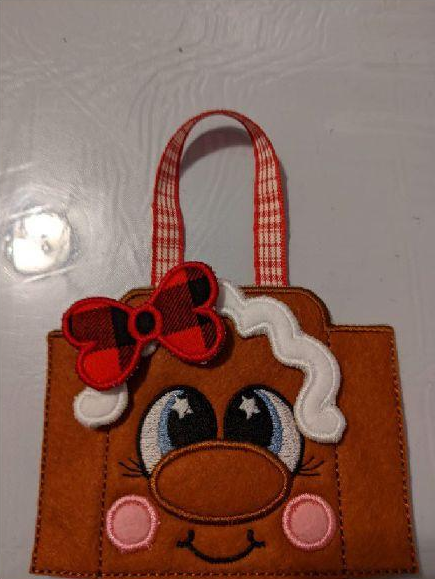
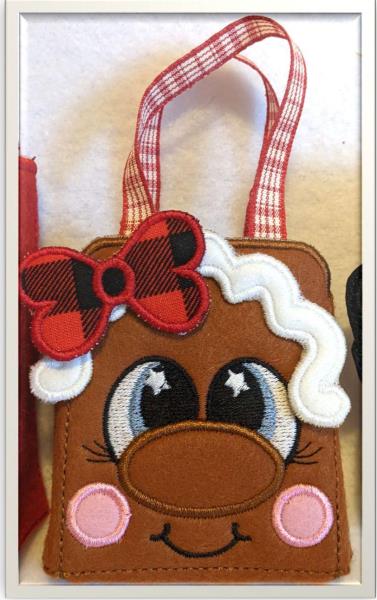
Create a charming Gingerbread Gift Bag with Bow using this in-the-hoop project. Ideal for holiday gifting, this festive bag brings a delightful touch to your presents. Step-by-step instructions are included.
Jump to
ITH Gingerbread Gift Bag with Bow
By Sew Chic
Materials
Print Materials
Preface: © Broderie Dzhiboux. All rights reserved.
Materials BOX:
1 piece of fleece of 19x8cm for the box
2 pieces of felt of 15x20cm
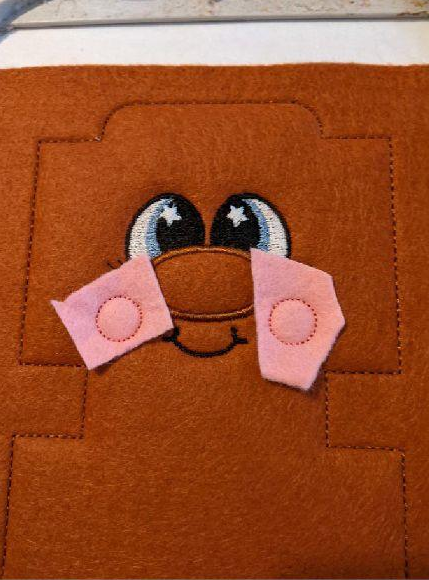
Small piece for the nose and cheeks
DECORATION:
1 piece of fleece of 10x10cm
2 pieces of white felt of 9x6cm
2 pieces for the buckle of 6x5cm high
Hot glue rifle, tape
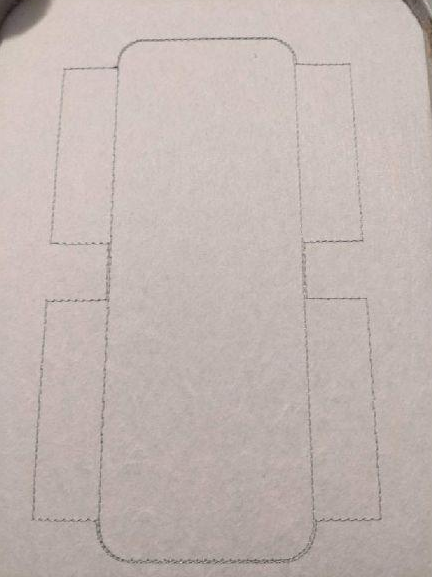
Step 1: BAG
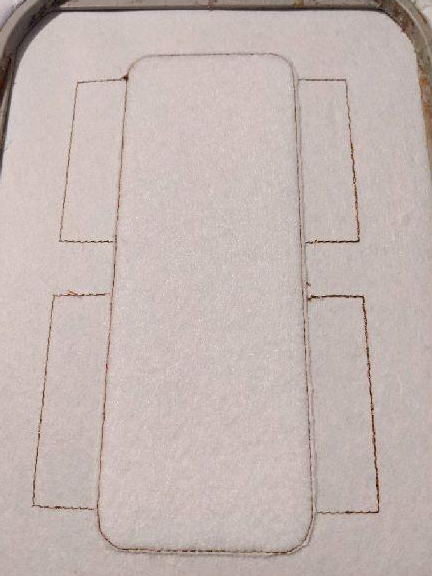
The first seam is done on your support to tell you the location of your fabric
(Click Image to Enlarge)
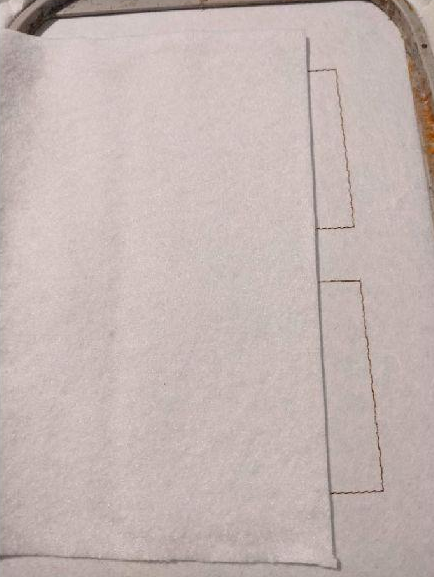
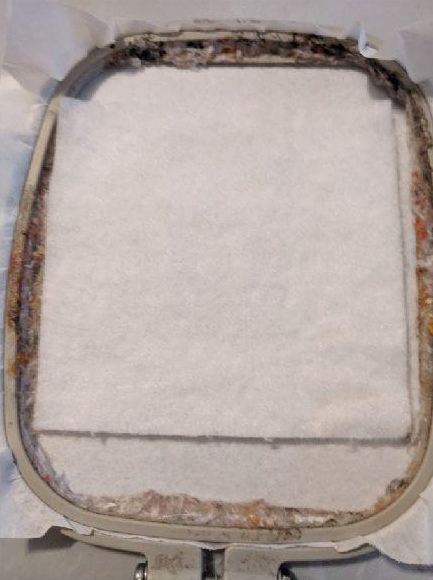
Step 2: Put your fleece on the center part only
(Click Image to Enlarge)
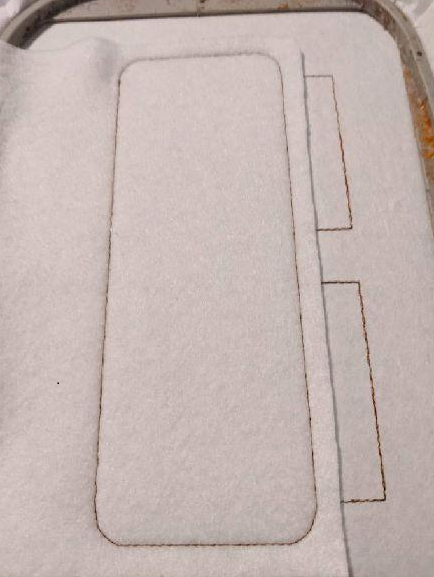
Step 3:
This seam will hold your fleece on your support
(Click Image to Enlarge)
Step 4: (Click Image to Enlarge)
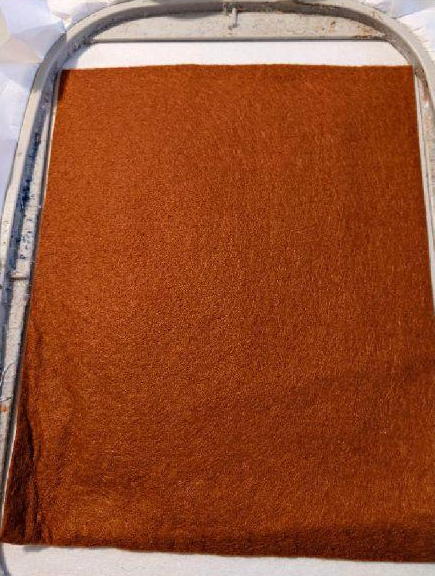
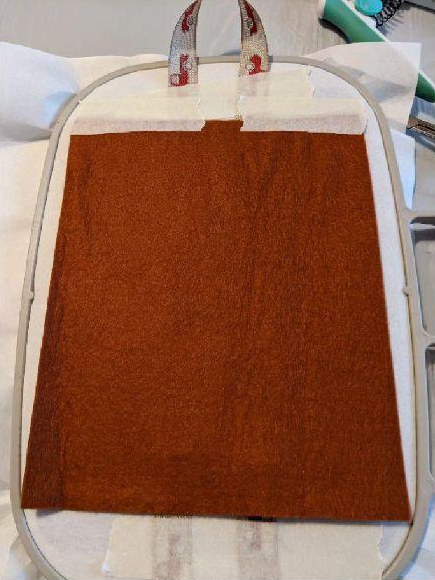
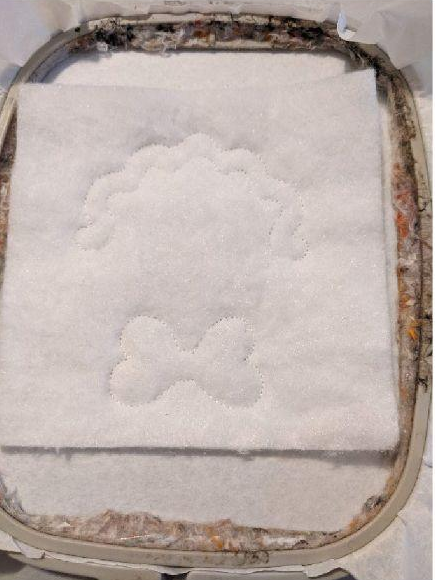
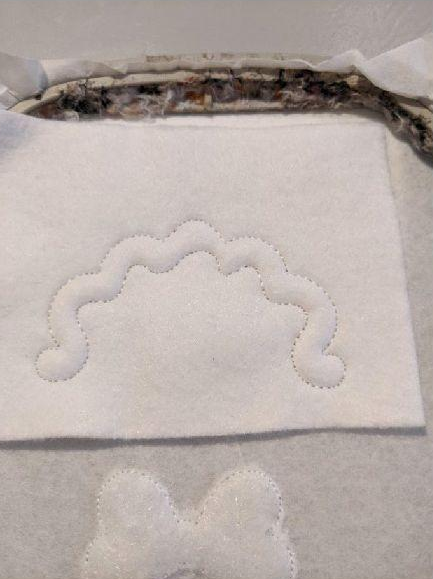
Step 5: Put your first piece of felt on the entire seam
(Click Image to Enlarge)
Step 6:
This seam will hold your felt in place
Step 7: Make the embroidery stitches
Step 8: This seam tells you the location of your felt
(Click Image to Enlarge)
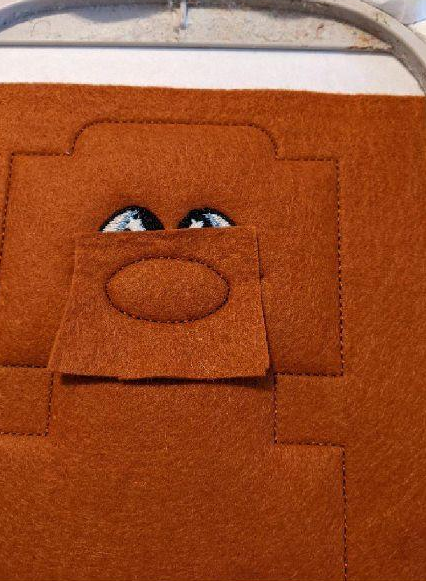
Step 9: Put your felt on the seam
(Click Image to Enlarge)
Step 10: This seam will hold your felt in place
(Click Image to Enlarge)
Step 11: Remove excess tissue all around
(Click Image to Enlarge)
Step 12: (Click Image to Enlarge)
Step 13: This seam tells you the location of your felt
(Click Image to Enlarge)
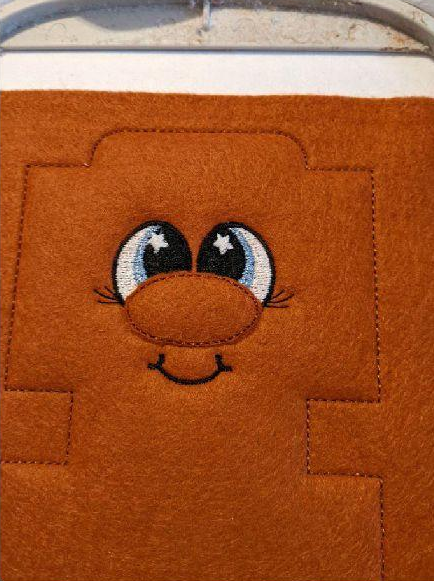
Step 14: Put your felt on the seam
Step 15:
This seam will hold your felt in place
(Click Image to Enlarge)
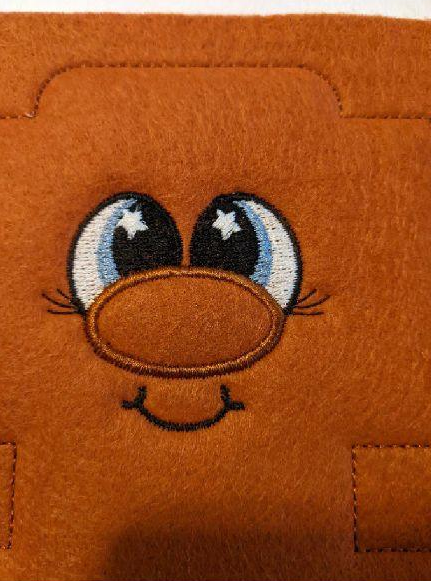
Step 16: Remove excess tissue all around
(Click Image to Enlarge)
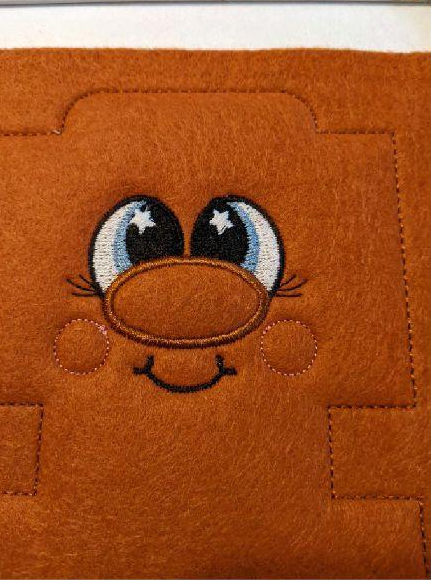
Step 17: (Click Image to Enlarge)
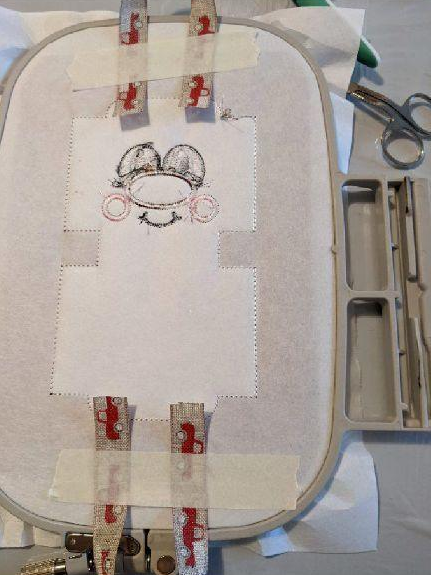
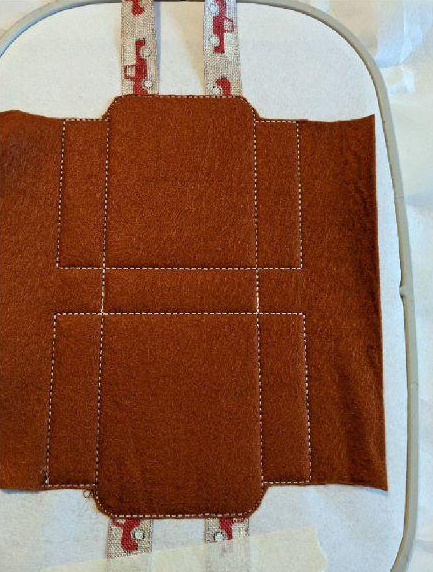
Step 18: Set up your ribbons for handles, you need to put your ribbon on the back of your frame. Pay attention to the meaning of your ribbon
(Click Image to Enlarge)
Step 19: Put your 2nd piece of felt on the back of your frame, over the ribbons
(Click Image to Enlarge)
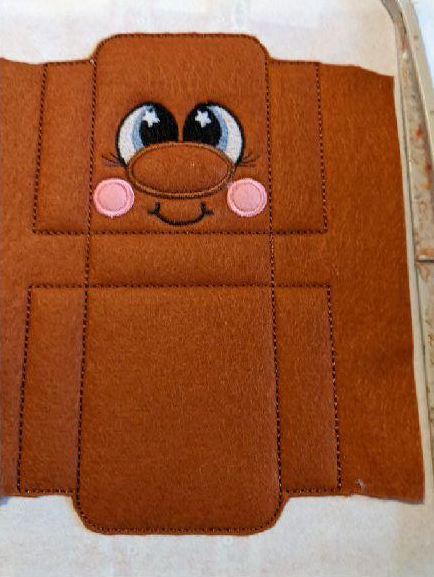
Step 20: This seam will join your 2 felts together
(Click Image to Enlarge)
Step 21:
Cut the excess fabric on the top and bottom of the bag only on the front
(Click Image to Enlarge)
Step 22: Cut the excess fabric on the top and bottom of the bag only on the back of the frame
(Click Image to Enlarge)
Step 23: Making the bumblebee point
(Click Image to Enlarge)
Step 24:
Get out of your frame, cut the excess fabric all around
(Click Image to Enlarge)
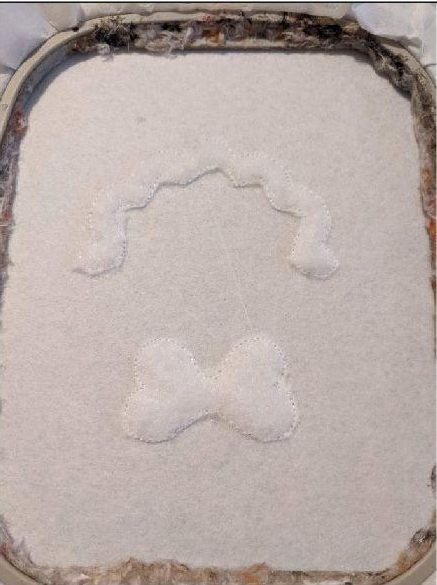
Step 25: GINGERBREAD DECORATION
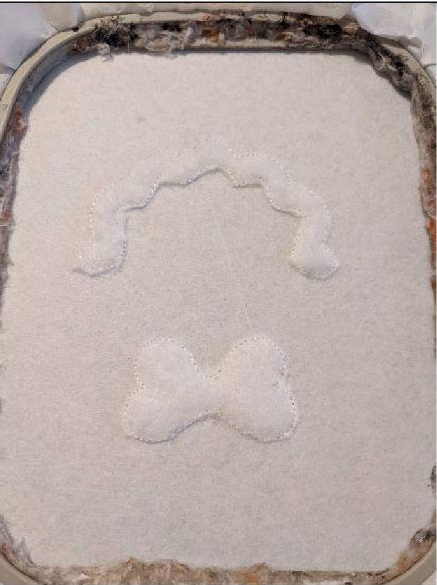
The first seam is done on your support to tell you the location of your fleece
Step 26: Put your fleece on the seam
(Click Image to Enlarge)
Step 27:
This seam will hold your fleece on your support
(Click Image to Enlarge)
Step 28: Cut off excess fleece all around
(Click Image to Enlarge)
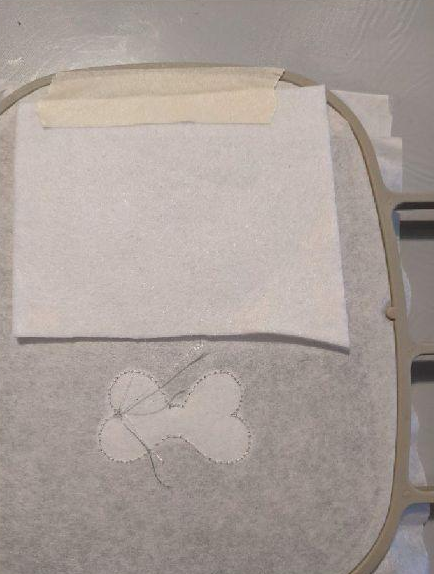
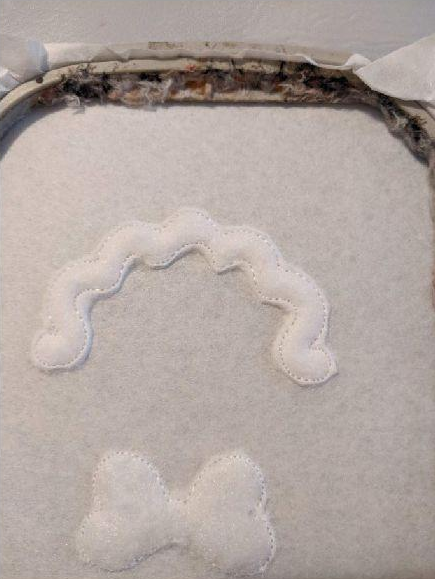
Step 29: Put your white felt on the back of the frame, do not put on the buckle, hold well in place
(Click Image to Enlarge)
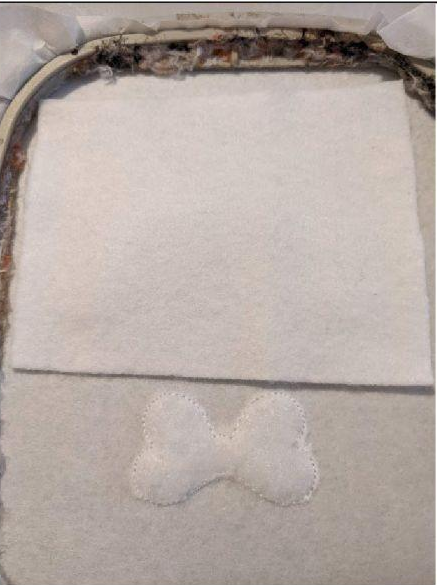
Step 30: Put your piece of white felt on the front of your work, do not put on the buckle
(Click Image to Enlarge)
Step 31: This seam will join your 2 felts together
(Click Image to Enlarge)
Step 32: Remove excess felt all the way around on the front and back of your work
(Click Image to Enlarge)
Step 33: (Click Image to Enlarge)
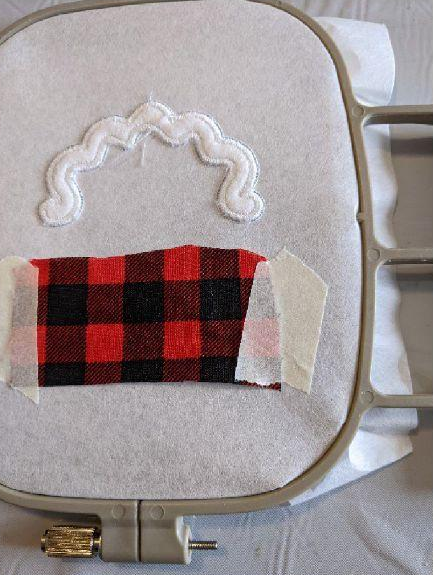
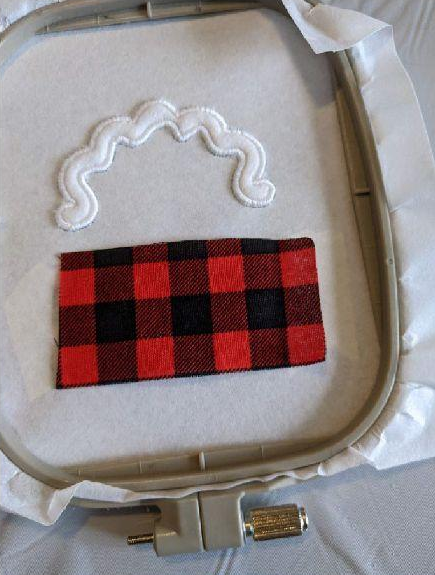
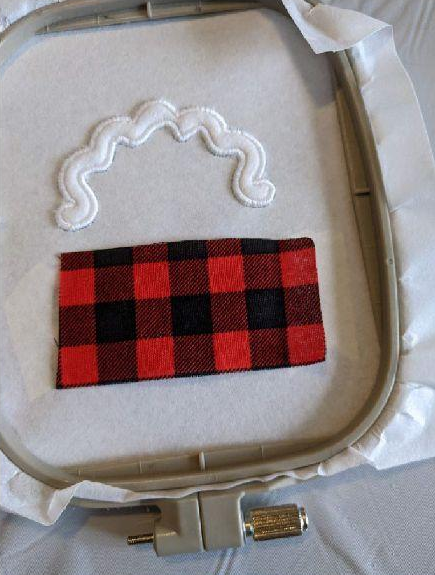
Step 34: Put your fabric for the buckle on the back of your frame taking care to hold well
(Click Image to Enlarge)
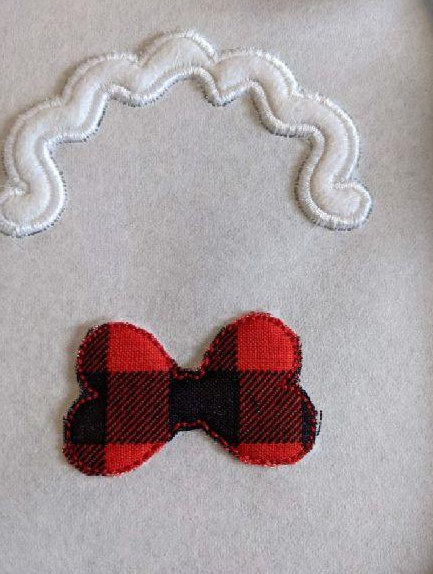
Step 35: Put your fabric on the front of your work, on the buckle only
(Click Image to Enlarge)
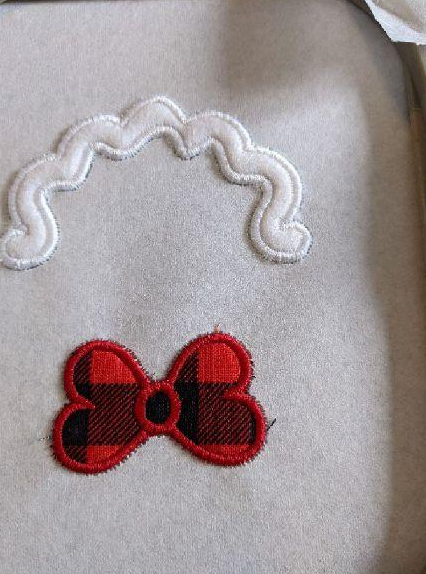
Step 36: This seam will join your 2 fabrics together
(Click Image to Enlarge)
Step 37: (Click Image to Enlarge)
Step 38: (Click Image to Enlarge)
Step 39: ASSEMBLY
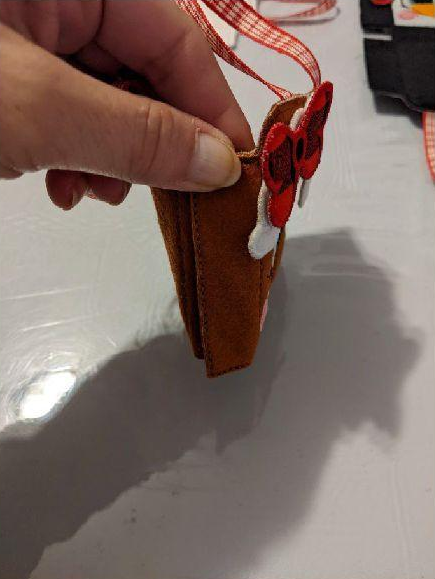
With your hot glue rifle, stick the items on your bag, taking care not to stick to the sides of the bag
(Click Image to Enlarge)
Step 40: Glue the sides together, the front side of the bag sticks to the back side of the bag for a nice finish
(Click Image to Enlarge)
Step 41: (Click Image to Enlarge)
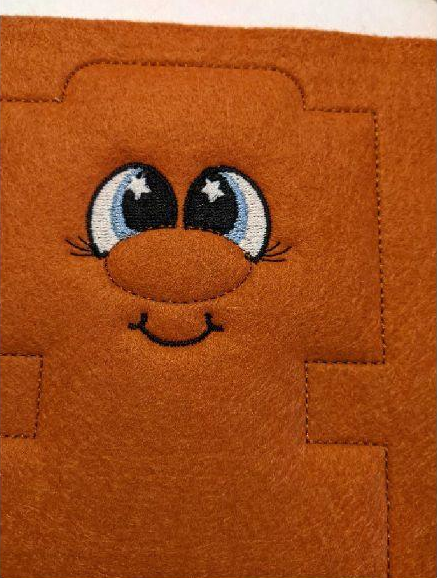
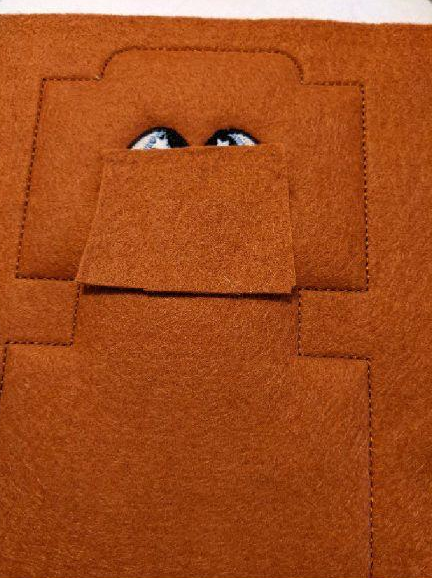
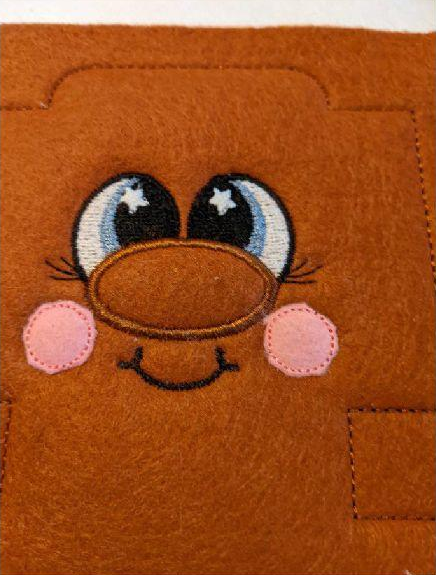
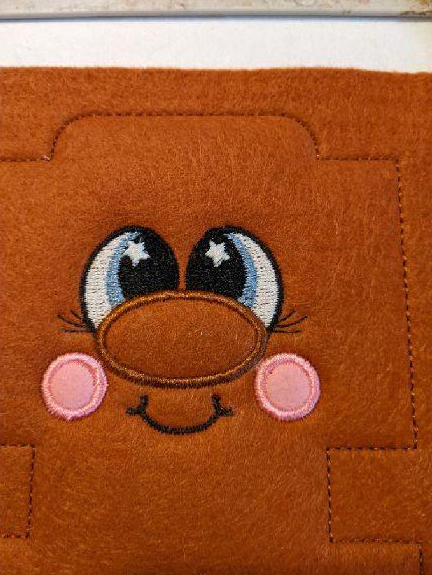
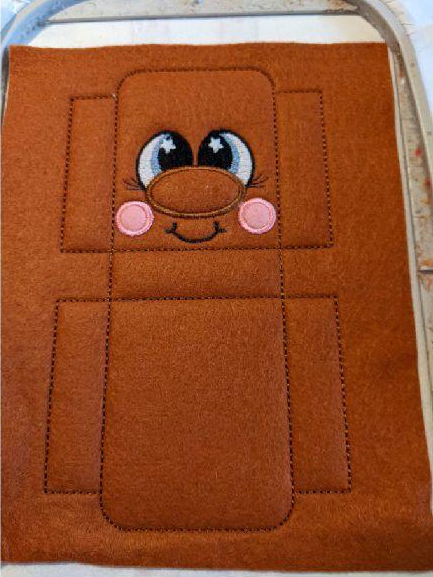
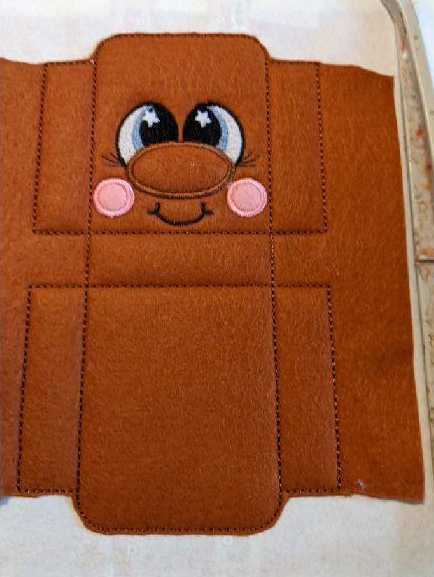
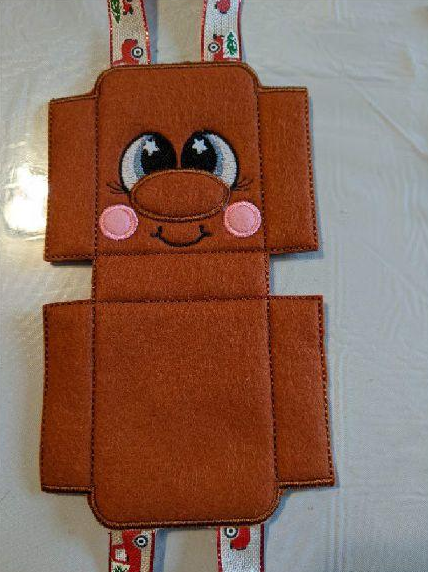
Here is the final product
Feedback
Please Login to Submit a Feedback
Invalid Characters, Please enter a valid Comment
Please enter a valid Comment
LOG IN
Submit
Link is Broken, Please check the URL