Border OptionsHugging border, circle, square, or rectangle — with a 3mm satin stitch.
Backing OptionsAvailable with iron-on, sew-on, or velcro backing.
Fast ShippingShipped quickly from the USA.
Free Online Tools
Powerful embroidery utilities that save time and prevent costly mistakes.
Stitch AssistantRECOMMENDED
Get the exact stabilizer, machine settings, needle, and thread color sequence for every embroidery design you purchase — based on that design's stitch density, dimensions, and color count.
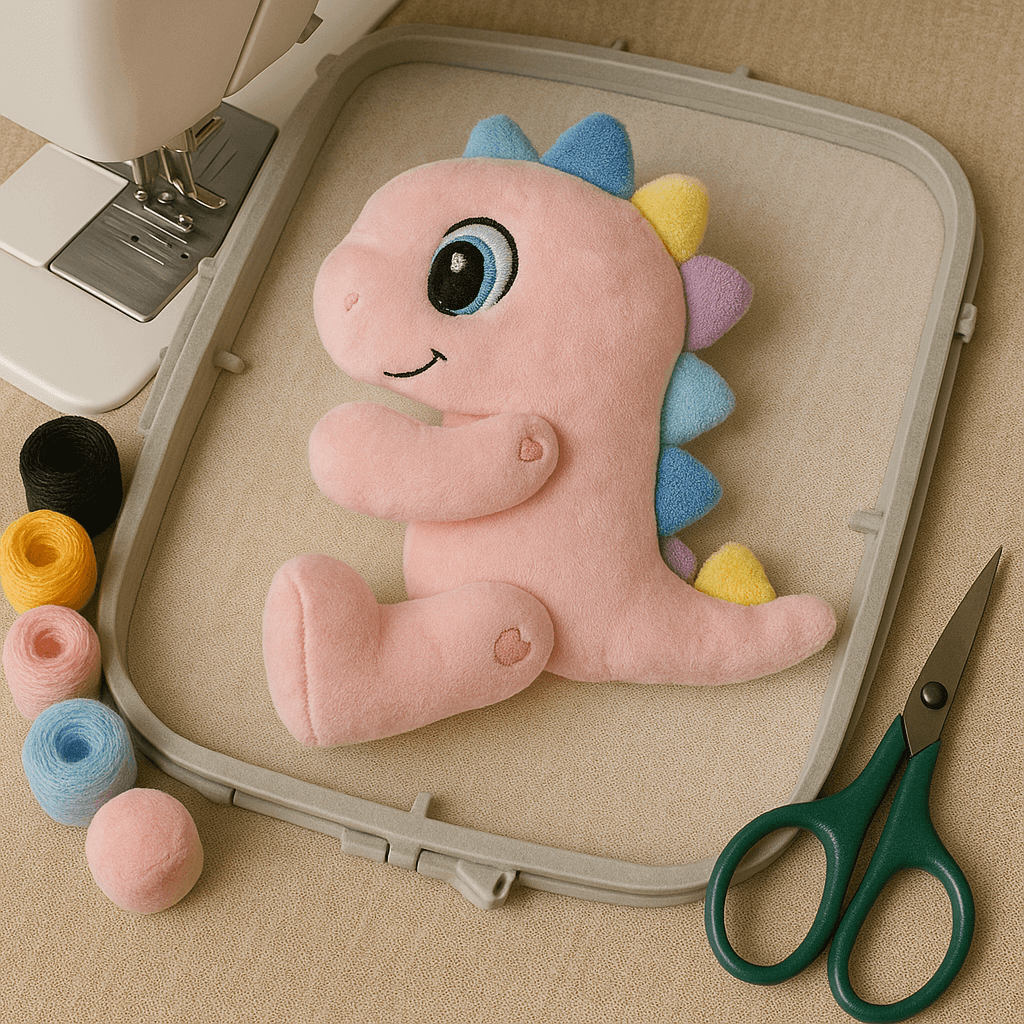
Create a charming pastel dinosaur plush toy entirely in the hoop. This beginner-friendly project is perfect for gifts, children's toys, or nursery decorations. Step-by-step instructions are included.
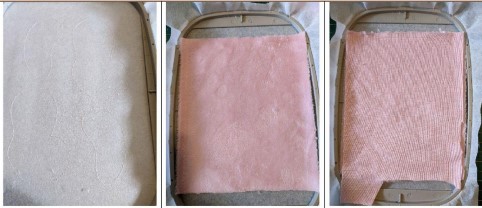
Sewing 1: this seam is done on your non-woven support to be cut
Put your Minky to hide the seam completely
Put your 2nd piece, place against place on top of your first Minky piece
Step 2:
(Click Image to Enlarge)
STEP 2:
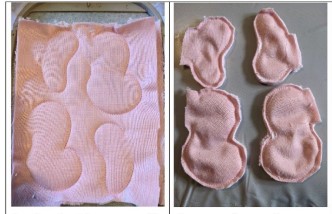
Sewing 2: this seam will join your 2 pieces of Minky together.
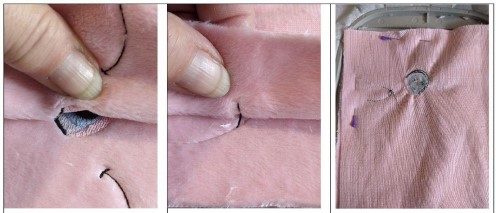
Get out of your frame, cut the excess fabric all around leaving a little more fabric at the openings.
Step 3:
THE TIPS
STEP 3:
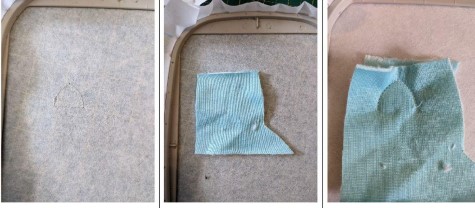
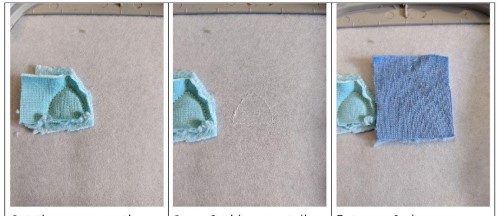
Seam 1: this seam is done on your non-woven support to tear to indicate the location of your fabric.
Put your 2 pieces place against place on the seam.Here I made the tips one by one to be able to make different colors.
Sewing 2: this seam will join your 2 pieces together.
Step 4:
STEP 4:
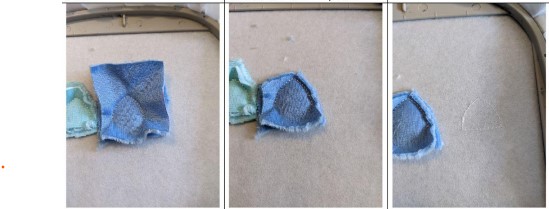
Cut the excess on the side so you can do the rest.
Seam 3: this seam tells you the location of your fabric for theand point.
Put your 2 pieces on your seam.
Step 5:
STEP 5:
Sewing 4: this seam will join your 2 pieces together.
Cut the excess on the side so you can do the rest.
Scam 5: this seam tells you the location of your fabric for the 3rd spike.
(Click Image to Enlarge)
Step 6:
STEP 6:
Put your 2 pieces of fabric place against place on the seam.
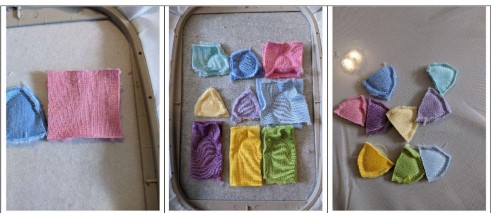
Continue this way to the end, taking care to cut the excess on the sides and bottom if necessary.
Get out of the frame, cut the excess and set aside.
Step 7:
THE FIRST SIDE
STEP 7:
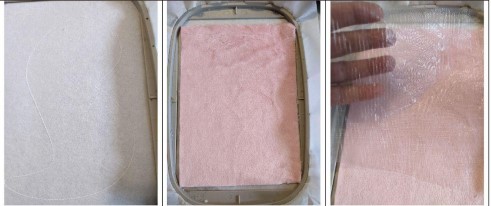
Seam 1: this seam tells you the location for your Minky, take care that the Minky hides the entire seam.
Put your Minky on the seam.
Put your water-soluble support at the top (for the face).
Step 8:
(Click Image to Enlarge)
STEP 8:
2-3-4-5-6 stitching: embroidery stitches.
Getting out of the frame and putting aside.
Step 9:
THE 2ND SIDE
STEP 9:
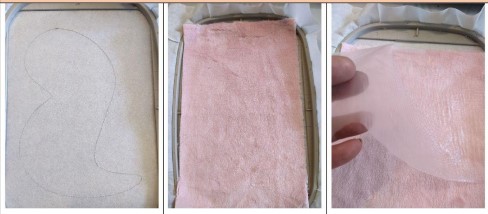
Seam 1: this seam is done on your non-woven support to tear.
Put your Minky on the seam.
Put your water-soluble support in the top for the face.
Step 10:
STEP 10:
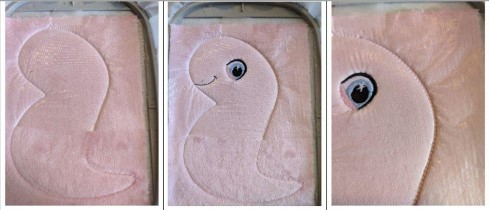
Seam 2: this seam will hold your Minky and water-soluble support in place.
Stitching 3-4-5-6-7: embroidery stitches.
Seam 8: this seam is done along the body to Indicate the location of the tips.
Step 11:
STEP 11:
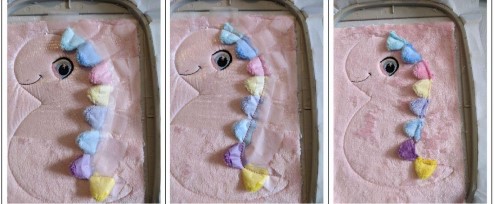
Put the tips on, taking care to hide the seam well Put su tape to hold in place and put it in the location of the seam so that your foot does not get caught in the tips.
Seam 9: this seam will hold your tips in place.
Remove the tape and your water-soluble support.
Step 12:
STEP 12:
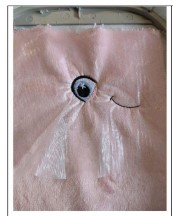
Take your piece of body and align eyes and mouth together.
Align the mouth.
Here I put 2 pins to keep in place.
Step 13:
STEP 13:
Sewing 10: this seam will join your 2 pieces together.
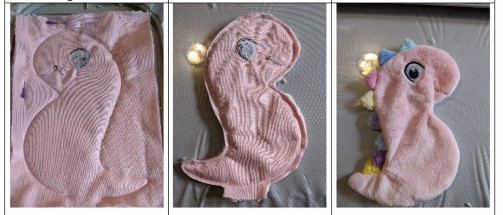
Get out of the frame and Put in place.
cut the excess fabric, leave a little more at the opening.
Step 14:
STEP 14:
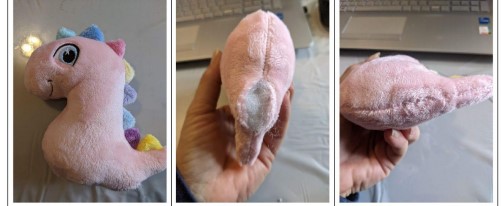
Put the stuffing in your body. It is very important to fill it well with stuffing.
You will have this opening at the bottom.
With your needle and waxed thread. Close opening.
Step 15:
STEP 15:
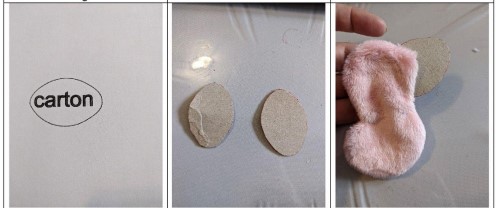
Print the plan for the cardboard (Don't forget to do it 100%).
I take cardboard cereal box and I put double.
Insert the carton through the opening.
Step 16:
STEP 16:
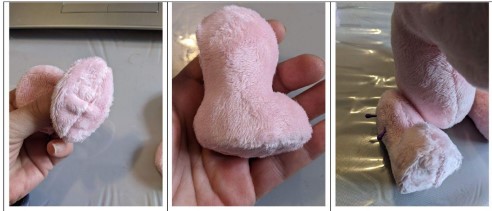
Come and put the cardboard in the bottom of the foot.
Put the stuffing and close the opening with an invisible seam. The cardbold stays in place with the stuffing.
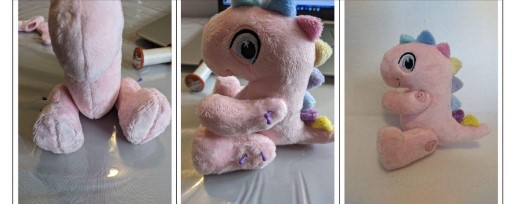
Put the paws on the body, you can pin before putting the buttons.
Step 17:
STEP 17:
Doing the same way.
Put the buttons to keep the legs and arms in place.
NOTE:
If you resize or modify this design in any way, I cannot guarantee a quality point.