Border OptionsHugging border, circle, square, or rectangle — with a 3mm satin stitch.
Backing OptionsAvailable with iron-on, sew-on, or velcro backing.
Fast ShippingShipped quickly from the USA.
Free Online Tools
Powerful embroidery utilities that save time and prevent costly mistakes.
Stitch AssistantRECOMMENDED
Get the exact stabilizer, machine settings, needle, and thread color sequence for every embroidery design you purchase — based on that design's stitch density, dimensions, and color count.
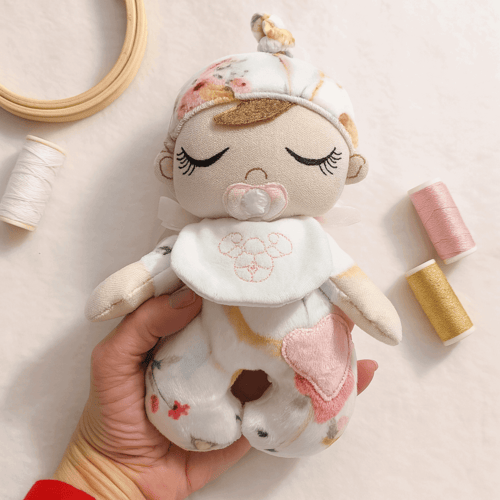
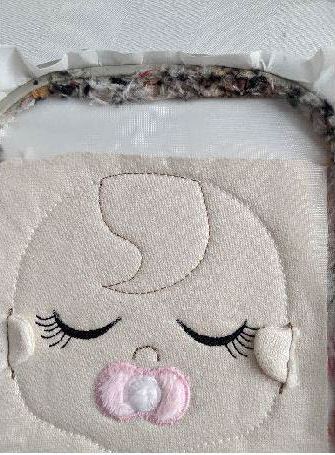
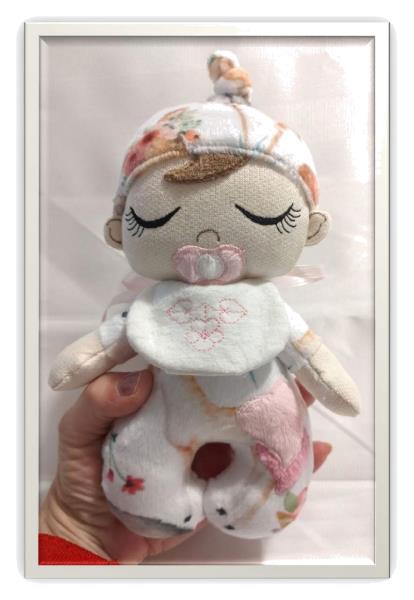
Create a delightful sleepy baby doll using this in-the-hoop project. Featuring soft fabric, intricate details, and a charming pacifier, it's an ideal gift for newborns or a cherished keepsake for kids. Suitable for all skill levels. Step-by-step instructions are included.
Teat: 1 piece of pink from1.3x0.98 inches high and white 0.78x0.78 inches high
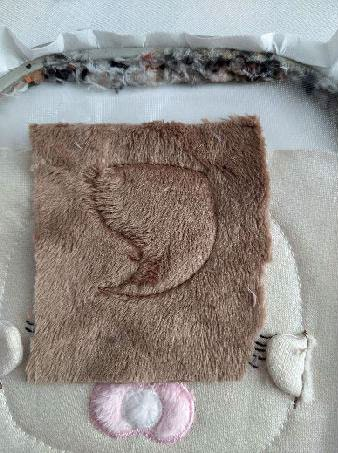
Hair: 1 piece 1.96x2.3 inches high
Bib: 2 pieces 3.14x2.16 high and 2 small ribbons
Tearable support, water soluble support, tapestry thread, needle
Step 1:
(Click Image to Enlarge)
THE BODY
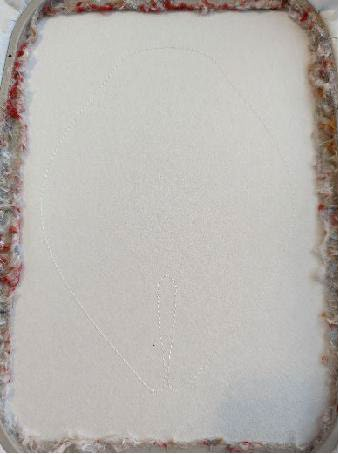
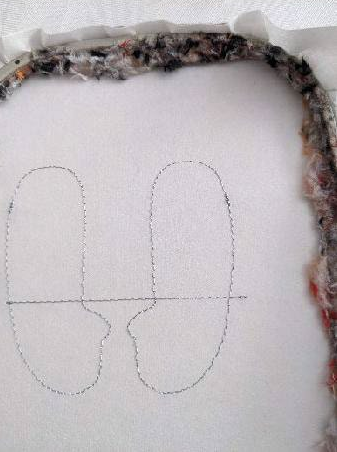
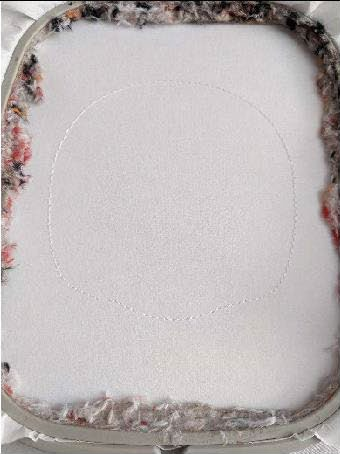
If you do not have the 13x18cm frame, the pattern is provided, print the pattern, cut your pattern, transfer on your fabric and sew on the transfer lines, do not forget to keep an opening to return and stuff your coprs
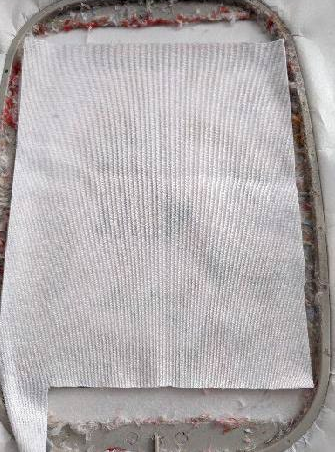
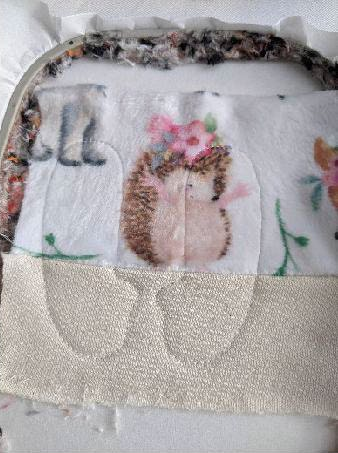
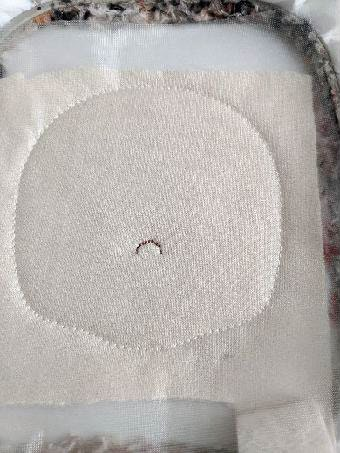
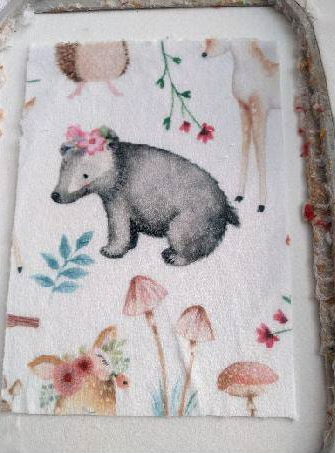
Stop 1: seam that is made on your support to indicate the location of your tissu
Step 2:
(Click Image to Enlarge)
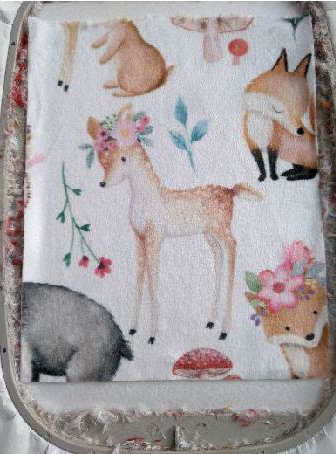
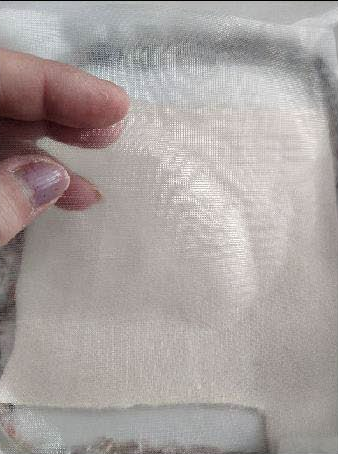
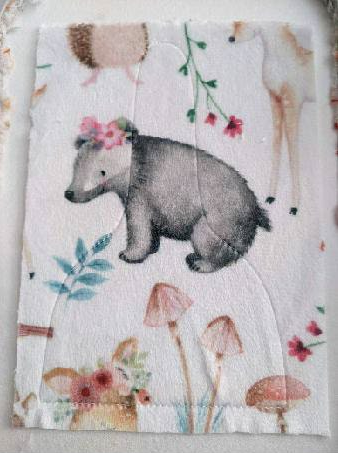
Put your fabric on the sewing while taking care to hide the seam well below
Step 3:
(Click Image to Enlarge)
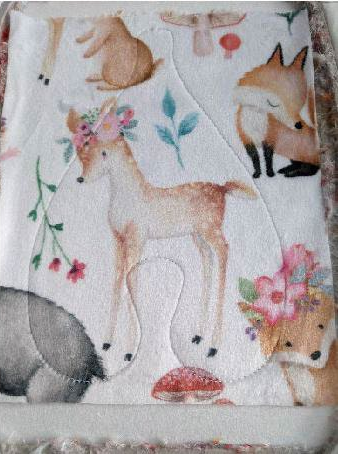
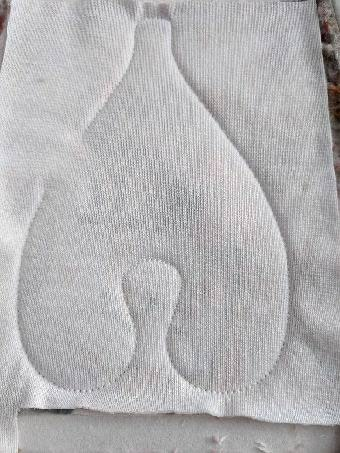
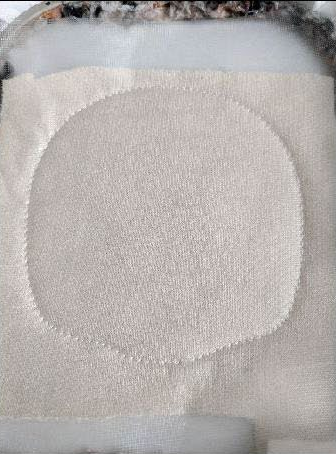
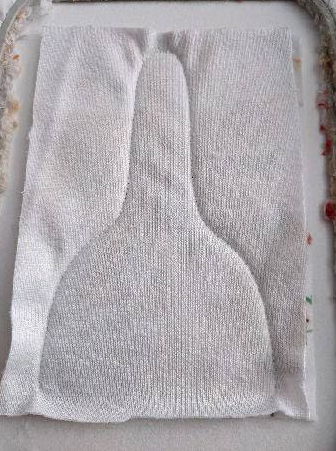
Stop #2: Seam of your fabric on your support
Step 4:
(Click Image to Enlarge)
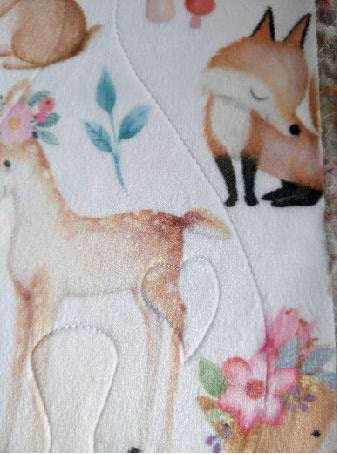
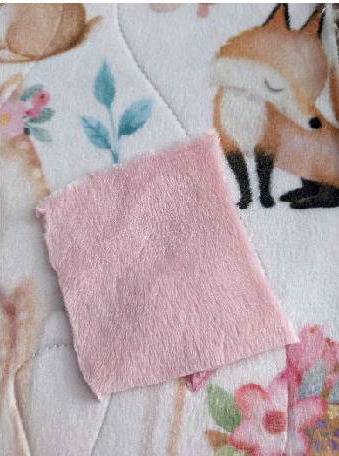
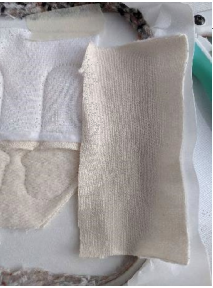
Stop #3: Seam for indicate you the location of your first heart
Step 5:
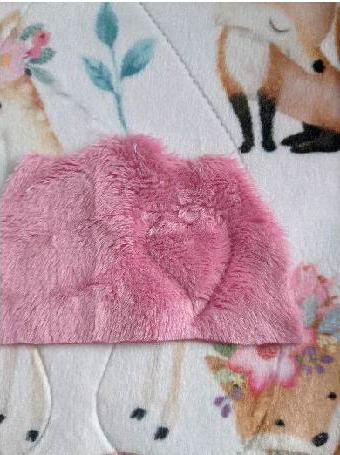
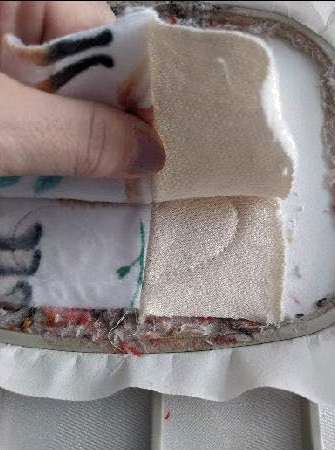
Put your fabric on the seam, the place of the fabric must be towards you
Step 6:
(Click Image to Enlarge)
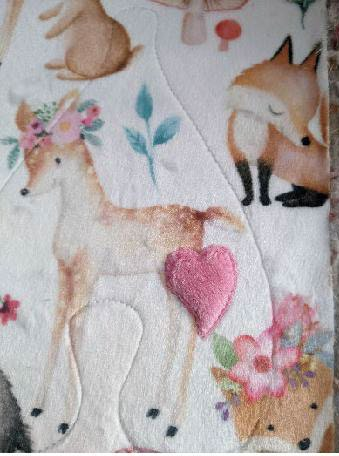
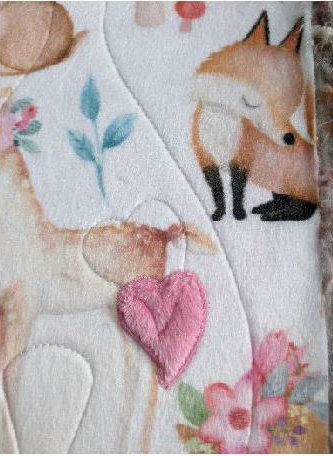
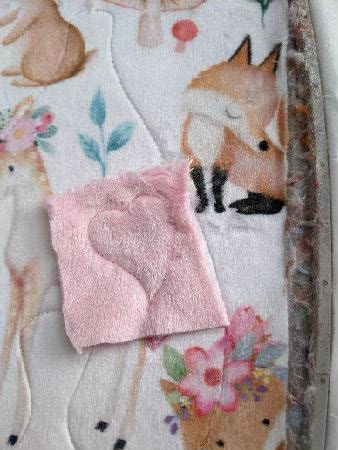
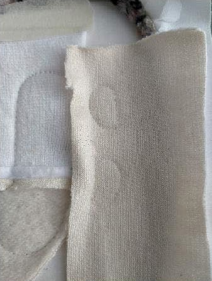
Stop #4: Seam of your heart fabric on your base fabric
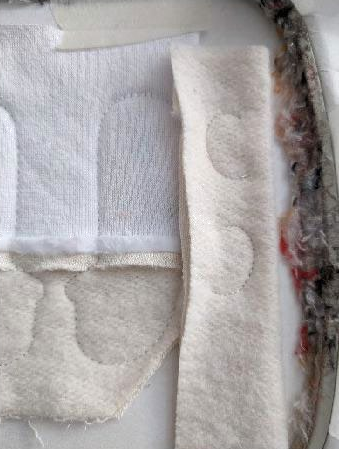
Step 7:
(Click Image to Enlarge)
cut the excess of tissu
Step 8:
(Click Image to Enlarge)
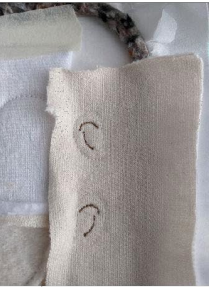
Stop 5: sewing for indicate you the location of your 2nd heart
Step 9:
(Click Image to Enlarge)
Put your fabric on this seam. The place from the fabric to you
Step 10:
(Click Image to Enlarge)
Stop 6: Sewing of your heart fabric on your base fabric
Step 11:
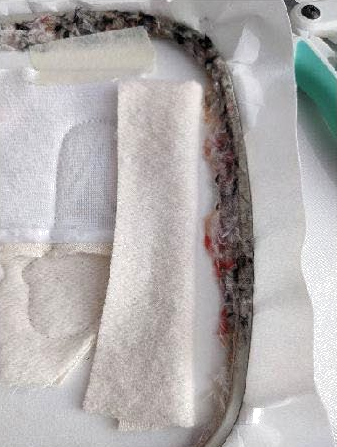
Cut the excess of tissu
Step 12:
(Click Image to Enlarge)
Put your 2nd piece place against place on your work
Step 13:
(Click Image to Enlarge)
Stop #7: Seam for attach your 2 pieces together
Get out of your frame, remove your holder and cut the excess of fabric all around
Step 14:
ARMS AND EARS
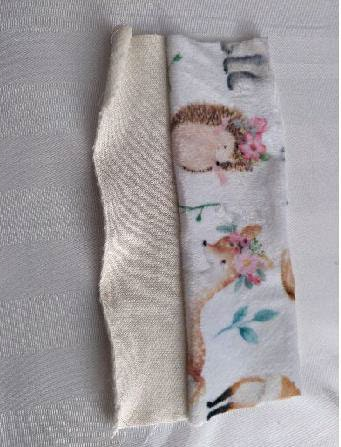
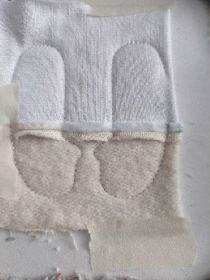
Cut your 2 pieces of fabric (arm and hand)
Step 15:
(Click Image to Enlarge)
Put place against place and make a seam on the long
Step 16:
(Click Image to Enlarge)
Put your support in your framework
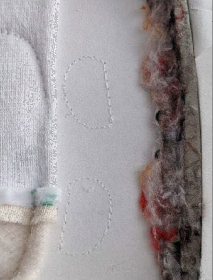
Stop 1: seam that is made on your support to indicate the location of your tissu
Step 17:
(Click Image to Enlarge)
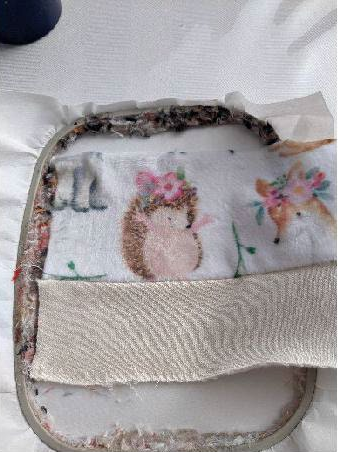
Put your fabric in following the line of junction of your 2 fabrics
Step 18:
(Click Image to Enlarge)
Put your fabric to start, keep the surplus of fabric for the return later
Step 19:
(Click Image to Enlarge)
Stop #2: Seam of your fabric on your support
Step 20:
(Click Image to Enlarge)
Turn your fabric, place against place by following the junction line of your 2 fabrics
Step 21:
(Click Image to Enlarge)
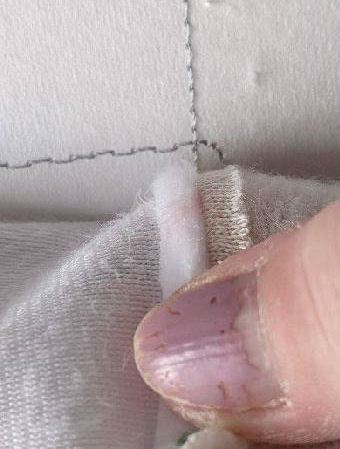
Stop #3: seam to join your 2 pieces of fabric. Be careful when you arrive at the junction line of the 2 fabrics so that your foot does not get caught in the fabric
Step 22:
(Click Image to Enlarge)
Stop #4: Sew on your support to show you the location of your ear fabric
Step 23:
(Click Image to Enlarge)
Put your fabric on the seam, taking care to hide the seam
Step 24:
(Click Image to Enlarge)
Stop #5: Stitching to keep your fabric in place
Step 25:
(Click Image to Enlarge)
Stop #6: Embroidery Stitches in Ears
Step 26:
(Click Image to Enlarge)
Place your 2nd piece of fabric in place
Step 27:
(Click Image to Enlarge)
Stop #7: Seam for attach your 2 pieces of fabric together
Get out of your frame, remove your support and cut the excess fabric all around
Step 28:
(Click Image to Enlarge)
LA TÊTE
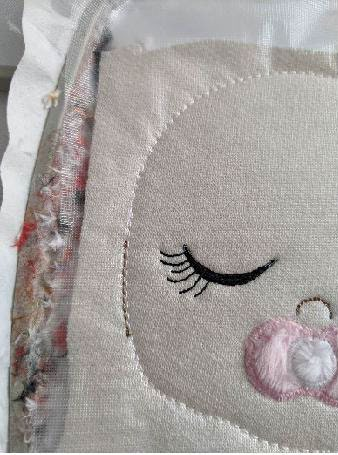
Put your support in your framework Stop 1: seam that is made on your support to indicate the location of your tissu
Step 29:
(Click Image to Enlarge)
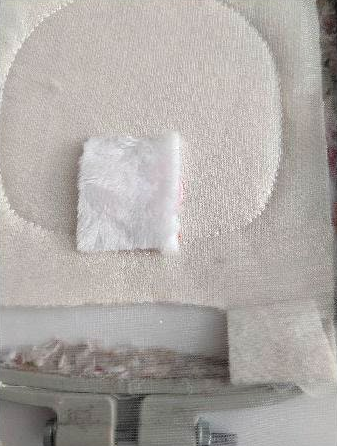
Put your fabric and water soluble support on the seam taking care to hide the seam well below
Step 30:
(Click Image to Enlarge)
Stop #2: Sew your fabric and water soluble support on your support
Step 31:
(Click Image to Enlarge)
Judgment No 3: points of embroidery for your nose
Step 32:
(Click Image to Enlarge)
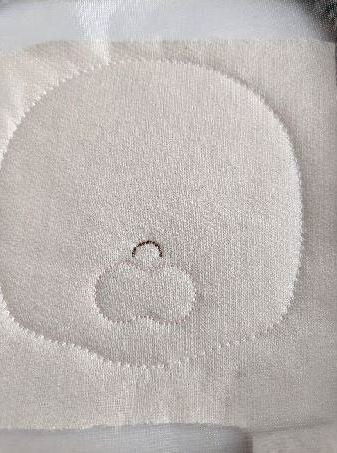
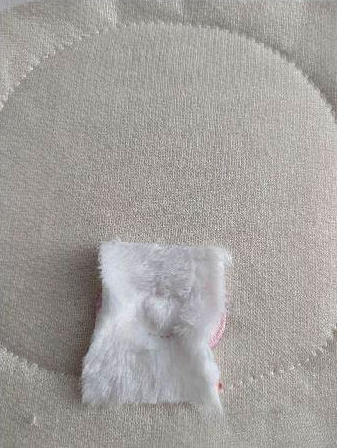
Stop #4: Seam for indicate you the location of the tétine
Step 33:
(Click Image to Enlarge)
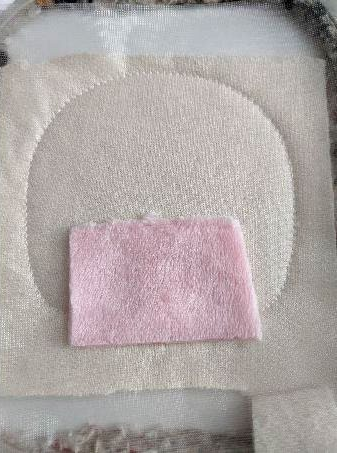
Put your fabric on this seam, the place from the fabric to you
Step 34:
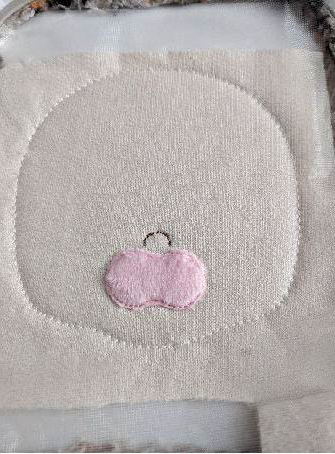
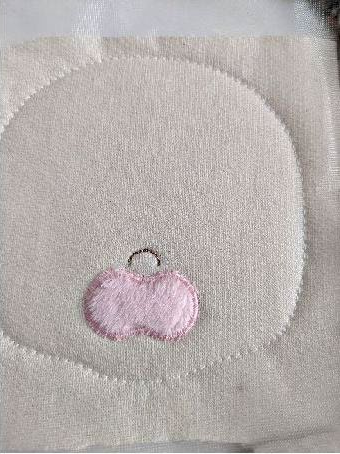
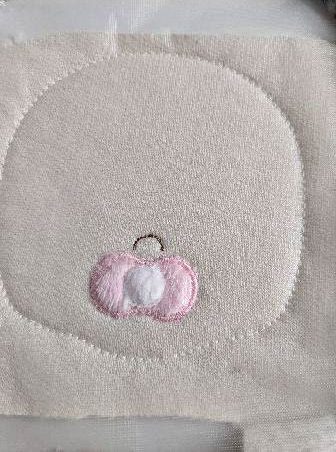
(Click Image to Enlarge)
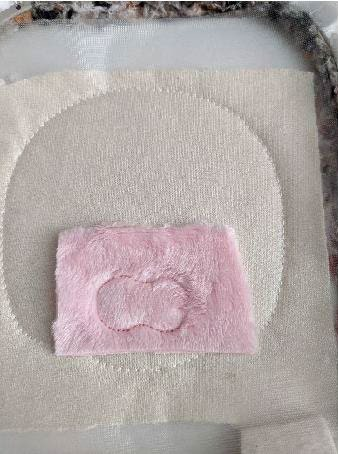
Stop #5: Seam of the teat tissue on your face
Step 35:
(Click Image to Enlarge)
Cut the excess of fabric all around
Step 36:
(Click Image to Enlarge)
Judgment No 6: points of bumblebee all around the la tétine
Step 37:
(Click Image to Enlarge)
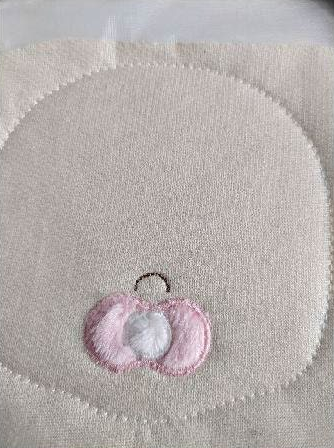
Stop #7: Seam for indicate you the location of the centre de la tétine
Step 38:
(Click Image to Enlarge)
Put your fabric on this seam, the place from the fabric to you
Step 39:
(Click Image to Enlarge)
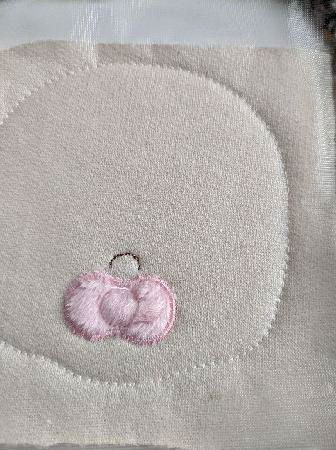
Stop #8: Seam of the inside of the teat
Step 40:
(Click Image to Enlarge)
Cut the excess of tissu
Step 41:
(Click Image to Enlarge)
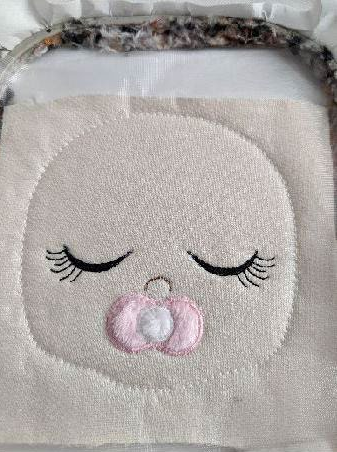
Judgment 9: points of bumblebee on the center of la tétine
Step 42:
(Click Image to Enlarge)
Judgment No 10: points of broderie
Step 43:
(Click Image to Enlarge)
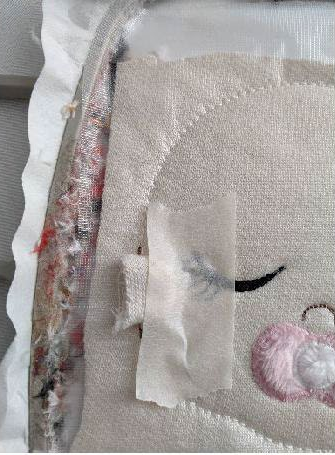
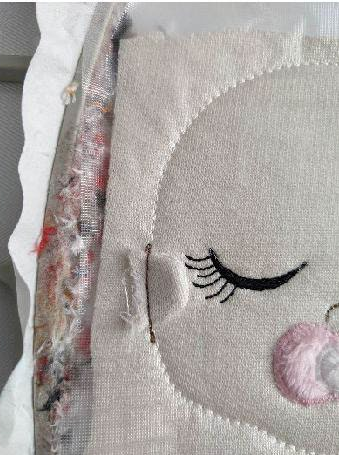
Stop #11: Seam to indicate you the location of your first ear
Step 44:
(Click Image to Enlarge)
Place your ear on the sewing, place against place, in now well in lace
Step 45:
(Click Image to Enlarge)
Stop #12: Seam of your ears on your tête
Step 46:
(Click Image to Enlarge)
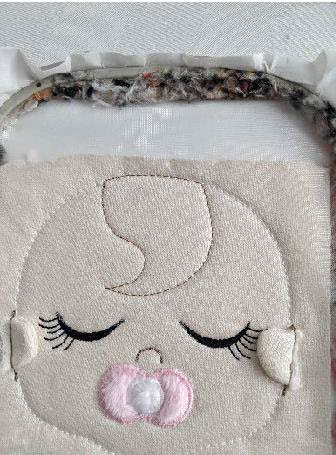
Stop 13 and 14: as 11 and 12 but for the other ear
Step 47:
(Click Image to Enlarge)
Stop 15: sewing for indicate you the location of the hair
Step 48:
Put your fabric on this seam
Step 49:
(Click Image to Enlarge)
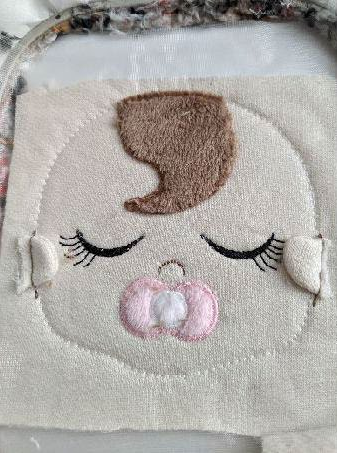
Stop 16: Sewing of your hair tissue on your head
Step 50:
(Click Image to Enlarge)
Cut the excess of tissu
Step 51:
(Click Image to Enlarge)
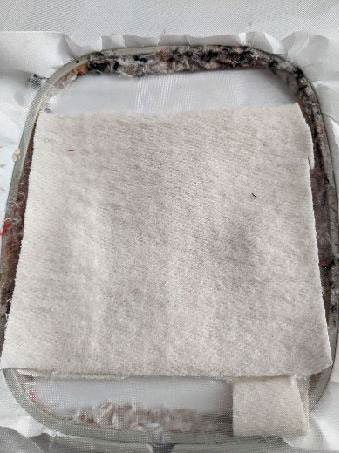
Put your 2nd piece of fabric place against place on your work
Step 52:
(Click Image to Enlarge)
Stop #17: Seam to join your 2 pieces of fabric together
Get out of your frame, remove your holder and cut the excess of fabric all around
Step 53:
(Click Image to Enlarge)
LA BAVETTE
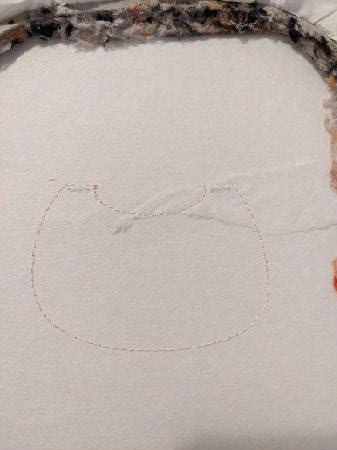
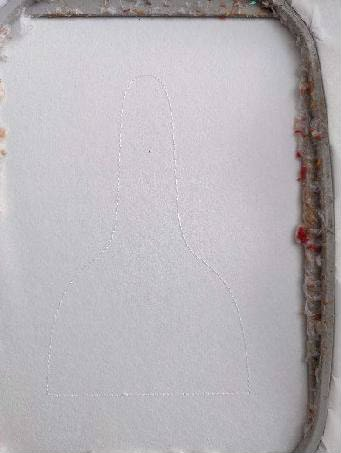
Put your support in your framework Stop 1: seam that is made on your support to indicate the location of your tissu
Step 54:
(Click Image to Enlarge)
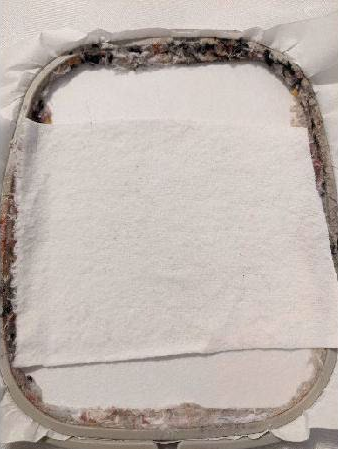
Put your fabric on the sewing while taking care to hide the seam well below
Step 55:
(Click Image to Enlarge)
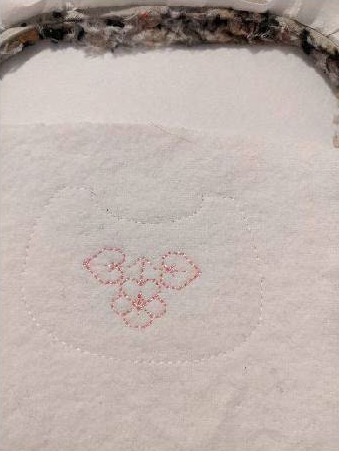
Stop #2: Seam for keep your fabric on your media Judgment 3: Points of broderie
Step 56:
(Click Image to Enlarge)
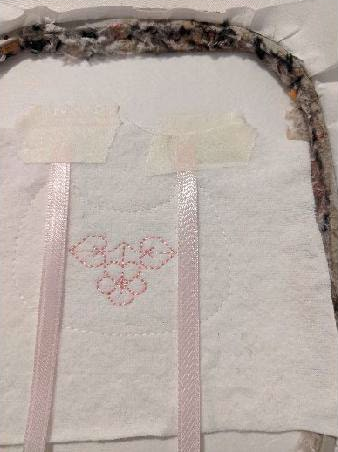
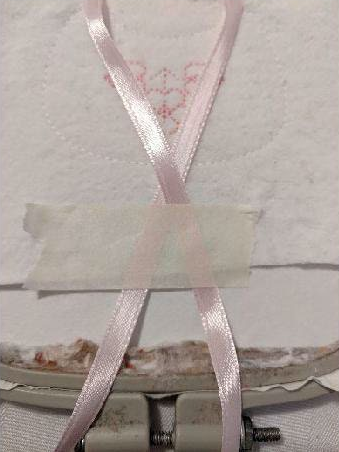
Stop #4: Seam for indicate you the location of your ruban. Put your ribbons on the sewing
Step 57:
(Click Image to Enlarge)
Stop #5: Seam of your ribbons
Place your ribbons at center so that this that it is not on the sewing, putting in center, when you go do the next one sewing, the ribbons will be clear
Step 58:
(Click Image to Enlarge)
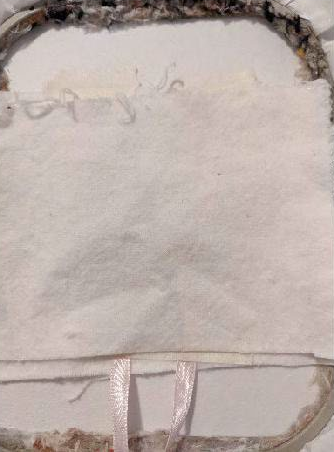
Put your 2nd piece de fabric, place against place
Stop #6: Seam of your 2 pieces together
Step 59:
(Click Image to Enlarge)
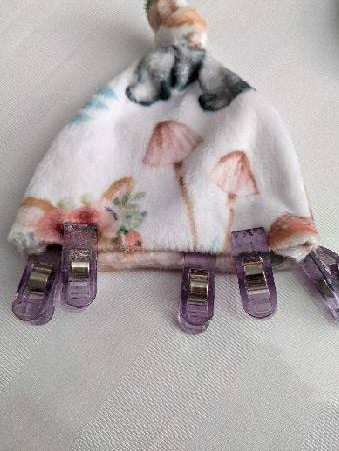
THE HAT
If you do not have a 13x18 frame, the pattern is provided, you can do it with the sewing machine, this fact as for the body
Put your support
Step 60:
(Click Image to Enlarge)
Put your fabric on the sewing while taking care to hide the seam well below
Step 61:
(Click Image to Enlarge)
Stop #2: Seam for keep your fabric on your media
Step 62:
(Click Image to Enlarge)
Put your 2nd piece of fabric, place against place
Step 63:
(Click Image to Enlarge)
Judgment No 3: quotation from your 2 pieces together
Step 64:
(Click Image to Enlarge)
Remove from your frame, cut the excess of fabric and make a small rebord à la machine à sew . 5cm
Step 65:
THE ASSEMBLY
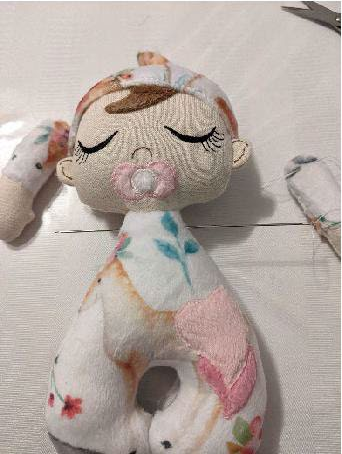
Put your head in place and make a invisible seam on everything the tower, with wire from tapestry, make 3 turns for it to be safe
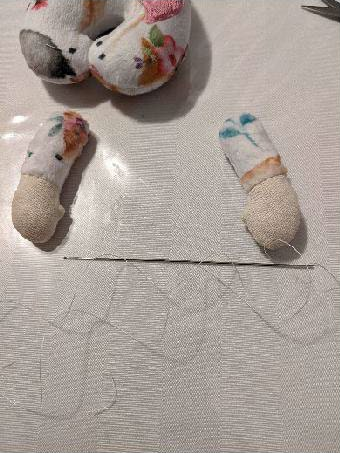
Step 66:
(Click Image to Enlarge)
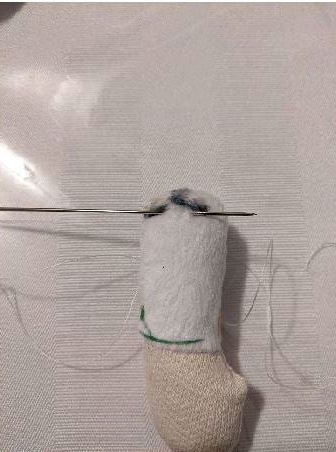
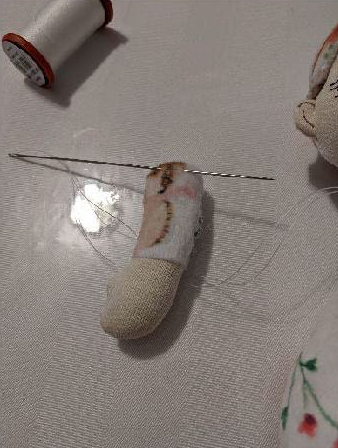
Take a big needle with til of tapestry
Step 67:
(Click Image to Enlarge)
swipe from the back towards the front, the inside of the bras
Step 68:
(Click Image to Enlarge)
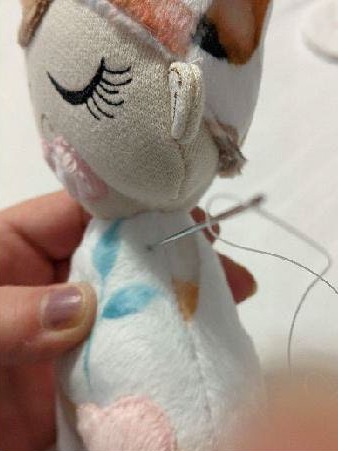
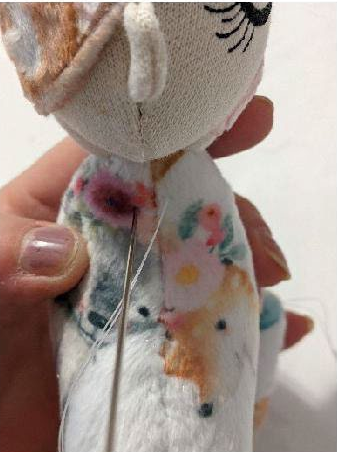
Go through the body. The first passage this fact ahead of vour side coture
Step 69:
(Click Image to Enlarge)
Get through to your body by remaining straight aherad
Step 70:
(Click Image to Enlarge)
Take your second arm and swipe from the back forward, inside of vour arm.
Step 71:
(Click Image to Enlarge)
Iron your needle through your body but in the back of the side seam