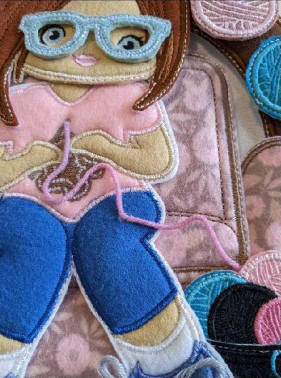
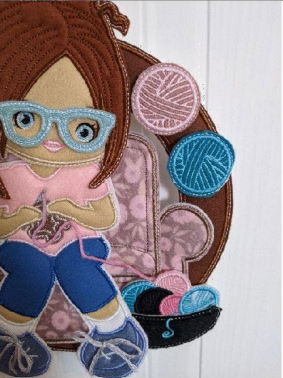
ITH Girl Knitting Decor
Zoom Watch Video View Larger
View Project Instructions
ITH Girl Knitting Decor Embroidery Project
Description
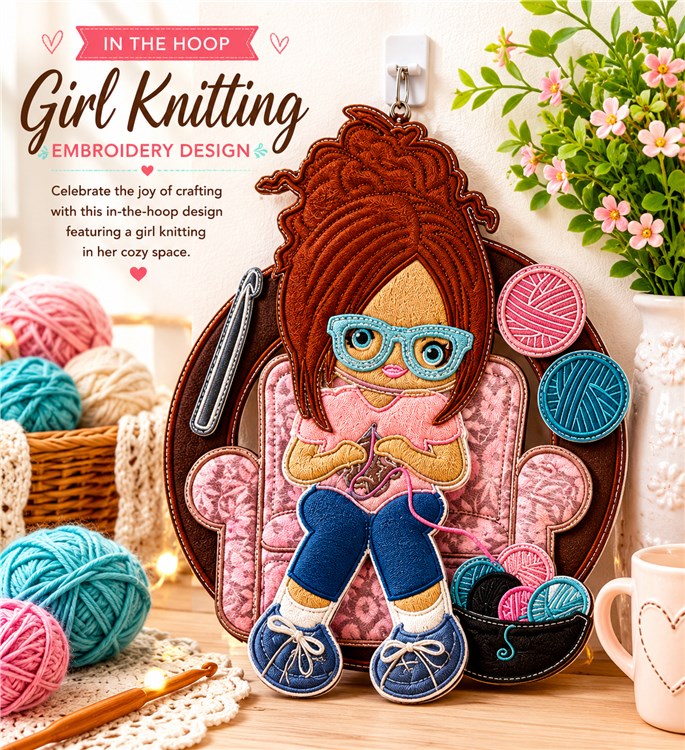
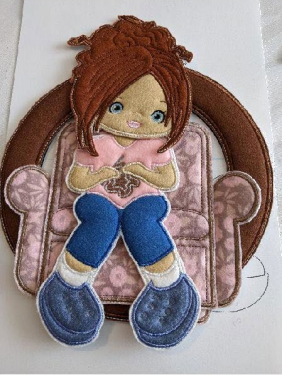
This In-The-Hoop project features a charming depiction of a girl knitting in her cozy chair, perfect for craft lovers. Ideal for home decor or as a thoughtful gift for knitting enthusiasts. Step-by-step instructions are included.
Jump to
ITH Girl Knitting Decor
By Sew Chic
Materials
Print Materials
Preface: © Broderie Dzhiboux. All rights reserved.
Materials FRAME 13X18CM (5’’X7’’)
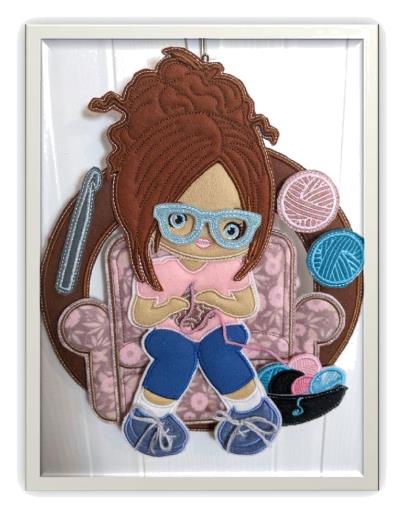
Finished size: 20cmx27cm high
I made it into This fact in
5 sections Materials:
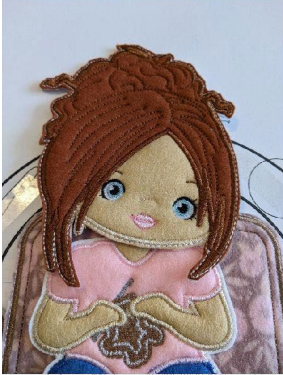
SECTION 1: HEAD AND BEZEL
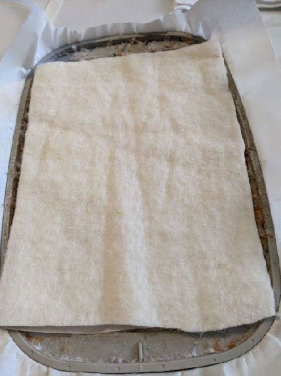
1 piece white back felt 11x18cm high
1 filling 11x18cm high
1 piece 8x4cm high for glasses
1 piece 8x8cm face piece
1 piece 12x15cm high for hair
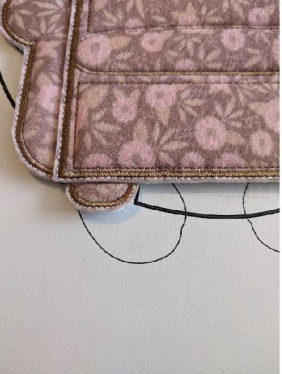
SECTION 2: THE CHAIR
1 piece 14x16cm high white back felt
1 piece 14x16cm stuffing
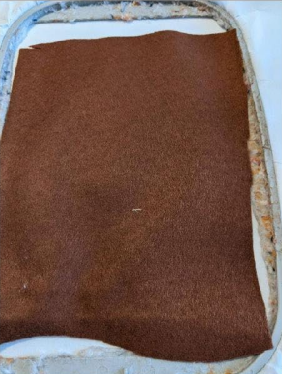
1 piece 14x16cm coloured felt of your choice
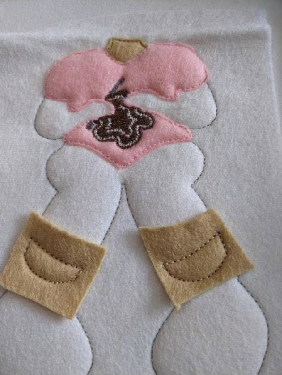
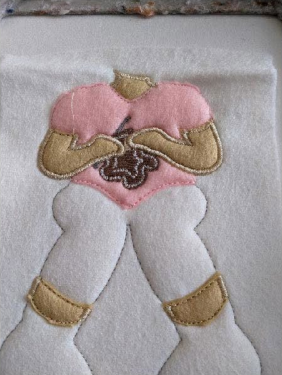
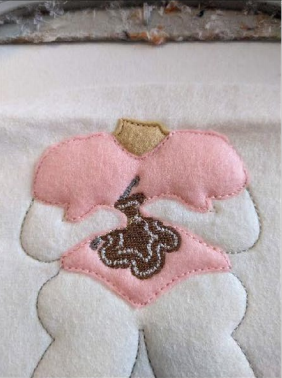
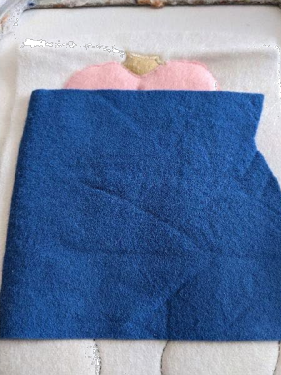
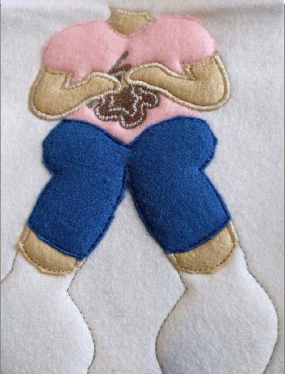
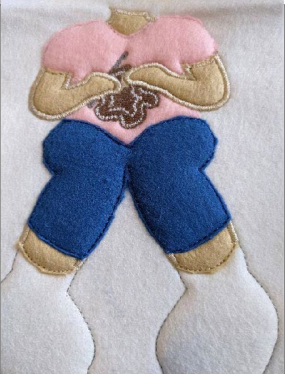
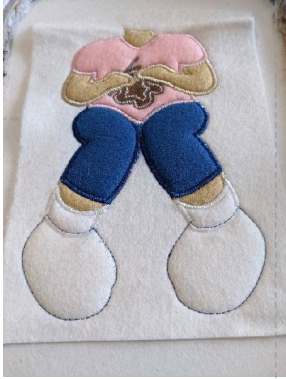
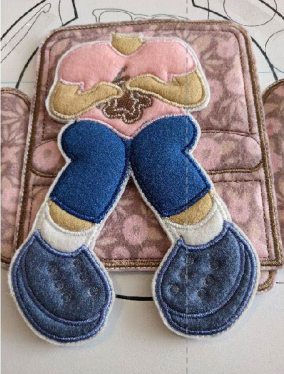
SECTION 3: BODY
1 piece of white back felt 12x18cm high
1 piece of white 12x18cm high front felt
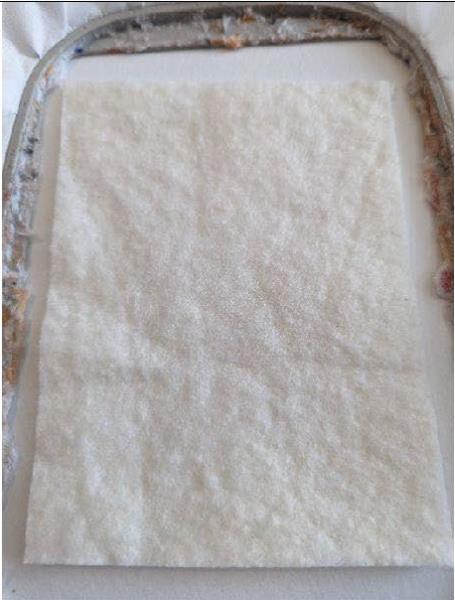
1 piece 12x18cm filling
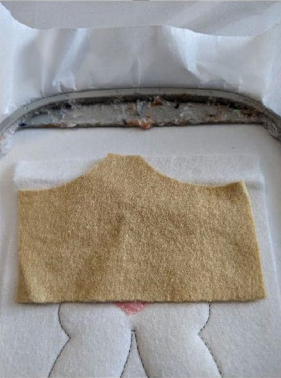
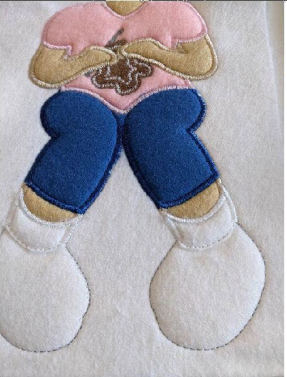
1 piece 9x7cm high for sweater
1 piece 9x7cm high for pants A few small pieces for
the rest
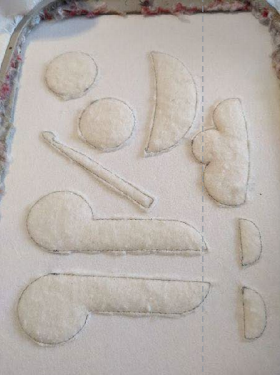
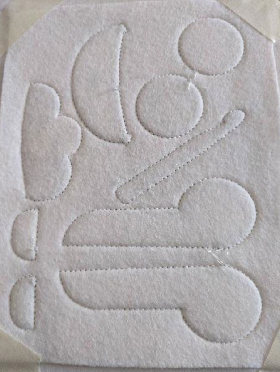
SECTION 4: ACCESSORIES
1 Piece of White Back Felt 18x14cm High
1 piece 18x14cm Fill
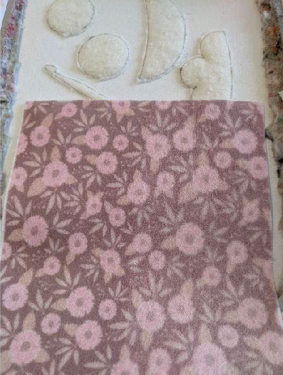
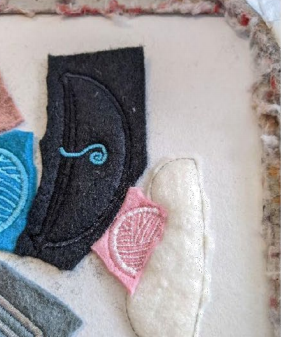
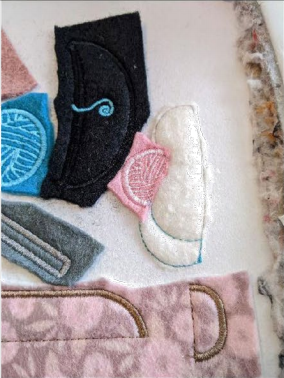
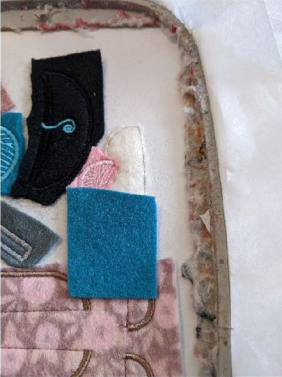
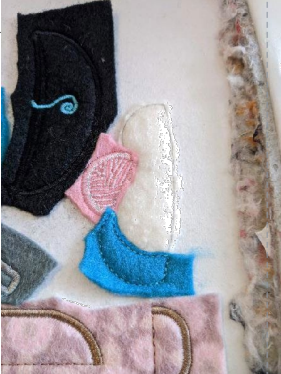
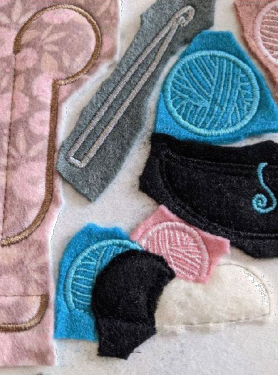
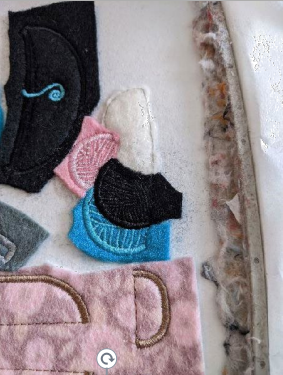
1 piece 10x14cm high for arms and legs of chair
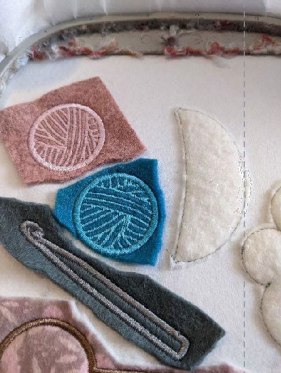
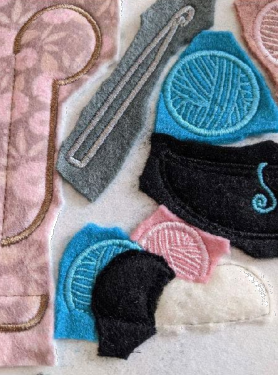
1 piece 6x8cm high for hook
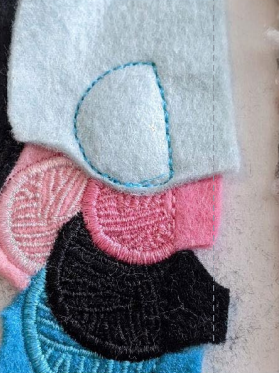
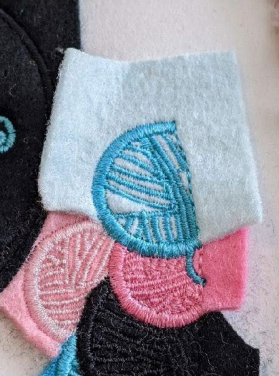
2 pieces 4.5x4.5cm for balls (different colours)
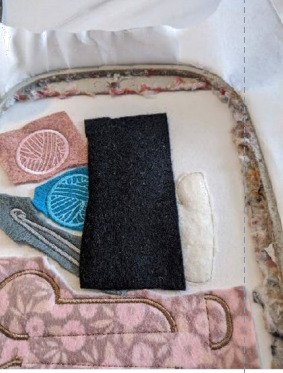
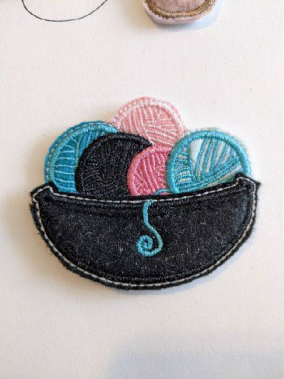
1 piece 8x4cm high for the bowl
A few small pieces for wool balls in the bowl
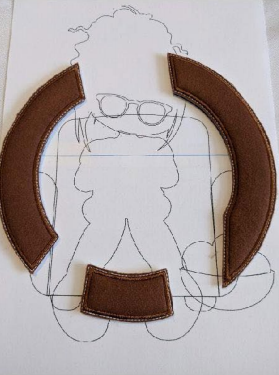
SECTION 5: THE CROWN
1 piece 14x19cm high white felt for back
1 piece 14x19cm stuffing
1 piece 14x19cm of front felt
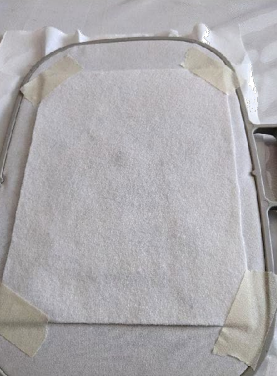
Tear-free support – lace – lanyard to attach to wall / door, non-slip support, hot collar rifle
You can do this with other tissues.
Final Product: What You Will Create
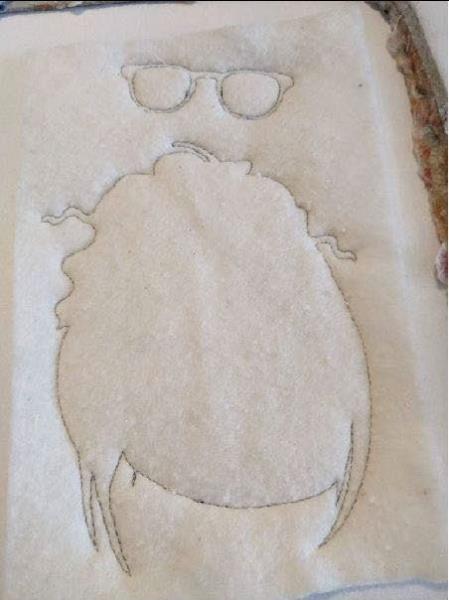
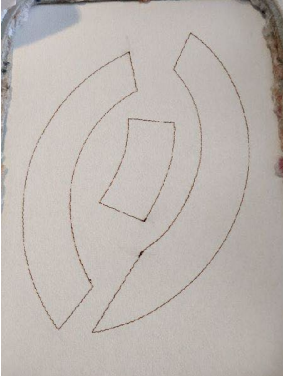
Step 1: SECTION 1
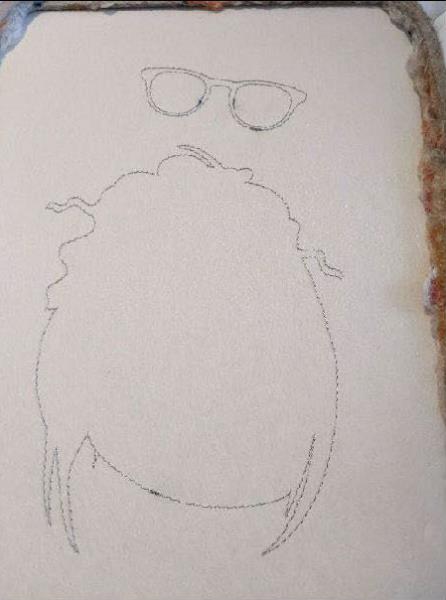
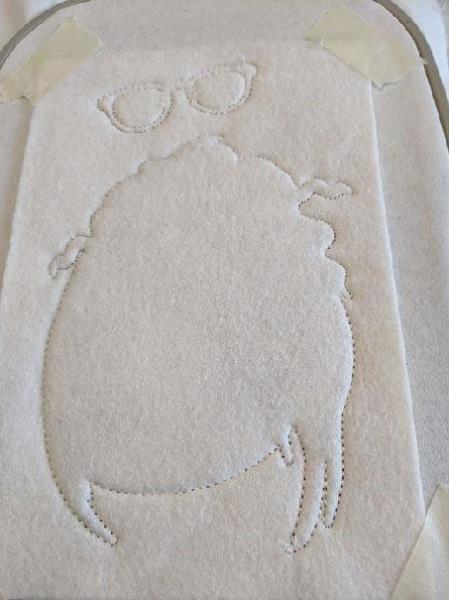
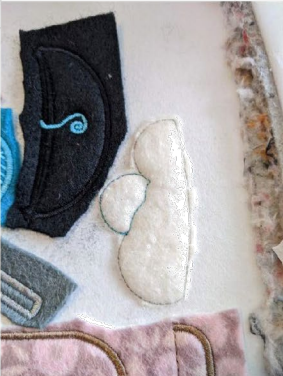
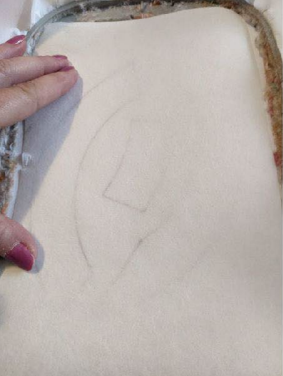
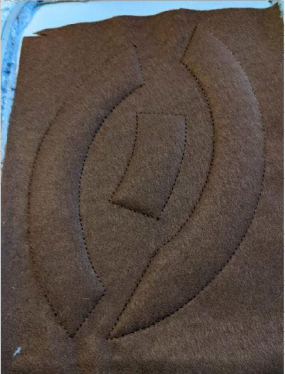
Seam 1: this is done on your support to show you the location of your bourre
(Click Image to Enlarge)
Step 2: Make sure to hide all the seams.
(Click Image to Enlarge)
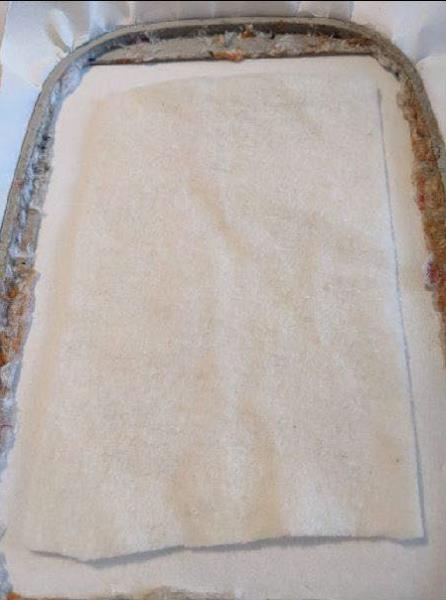
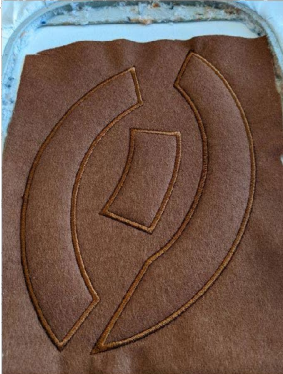
Step 3: Seam 2: Sewing to Hold Your Fill on Your Support
(Click Image to Enlarge)
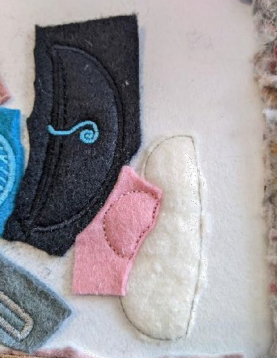
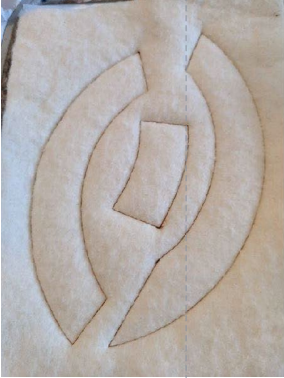
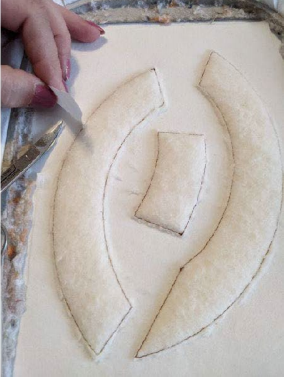
Step 4: Cut off the excess all the way through your items.
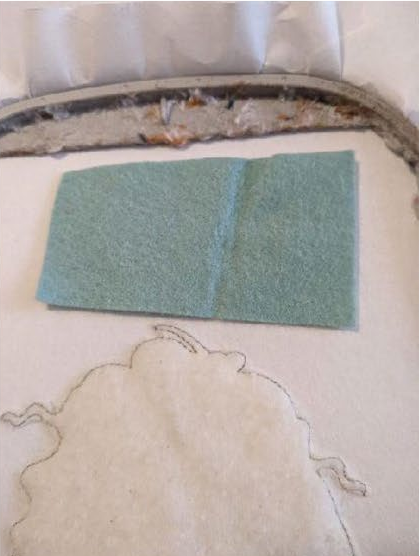
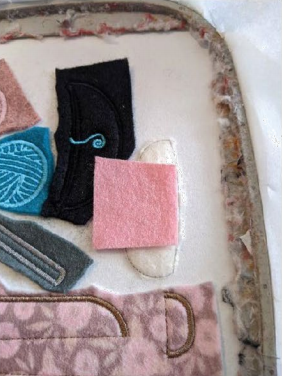
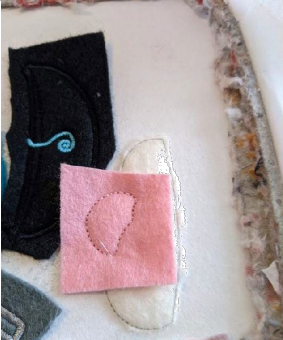
Step 5: Put your feutine piece on the bezel
(Click Image to Enlarge)
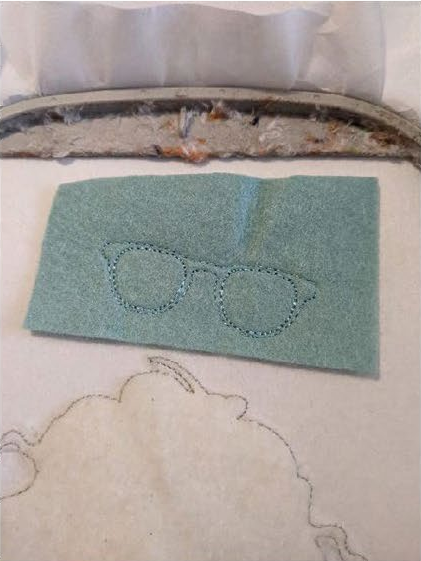
Step 6: Sewing 3: Sewing to Hold Your Felt On Your Support
(Click Image to Enlarge)
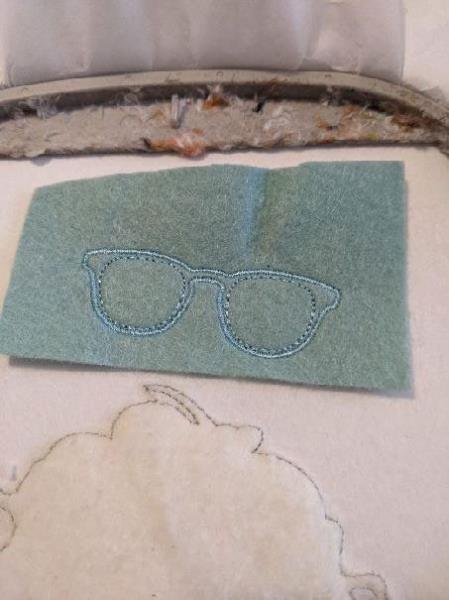
Step 7: Sewing 4 and 5: embroidery stitches on your glasses
(Click Image to Enlarge)
Step 8: Sewing 6: This seam is done on your backpack to show you the location of the face felt
(Click Image to Enlarge)
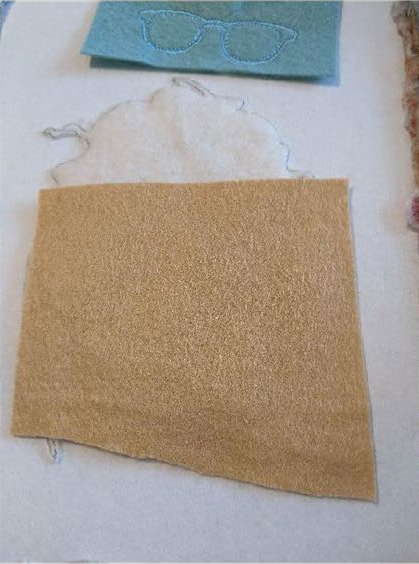
Step 9: Put your felt on the face
(Click Image to Enlarge)
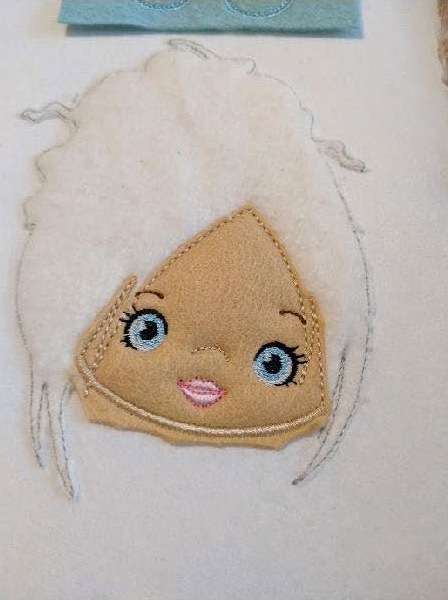
Step 10: Sewing 7: Seaming your felt, face part
Step 11: Remove excess cloth on each side and top of face
Step 12: Sewing 8-15: Embroidery stitch
(Click Image to Enlarge)
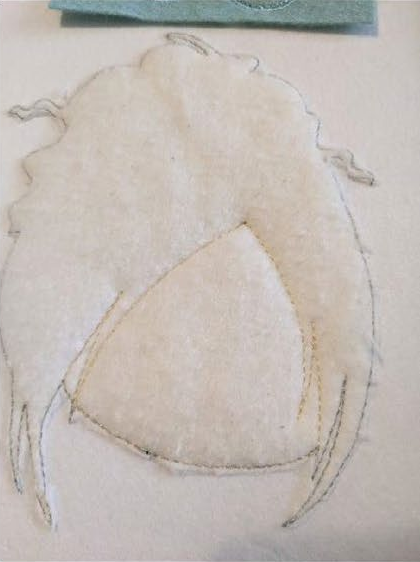
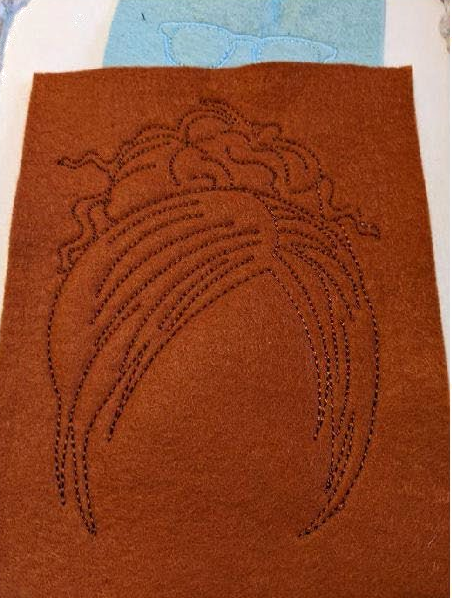
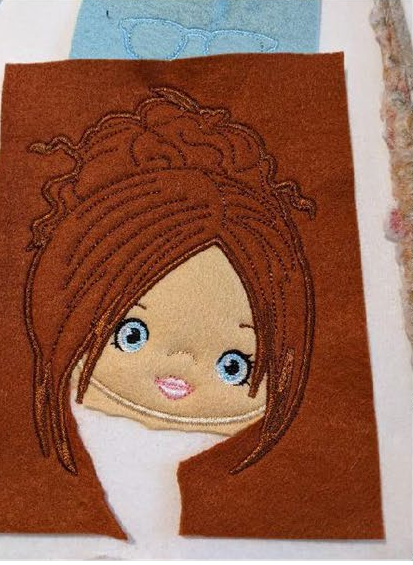
Step 13: Put your felt on for hair
(Click Image to Enlarge)
Step 14: Sewing 16: Sewing your hair on your support
(Click Image to Enlarge)
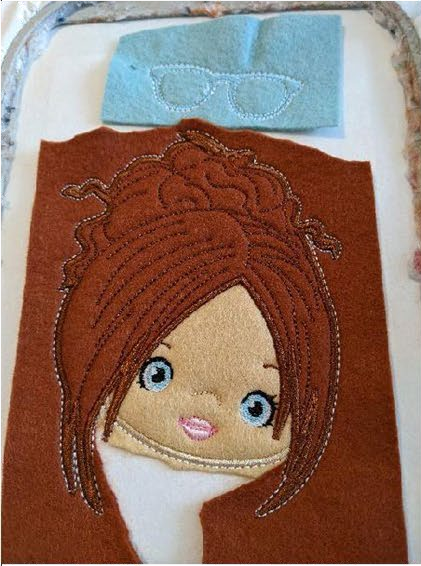
Step 15: Cut off excess fabric around your face
Step 16: Sewing 17: embroidery stitches on the contour of your hair
(Click Image to Enlarge)
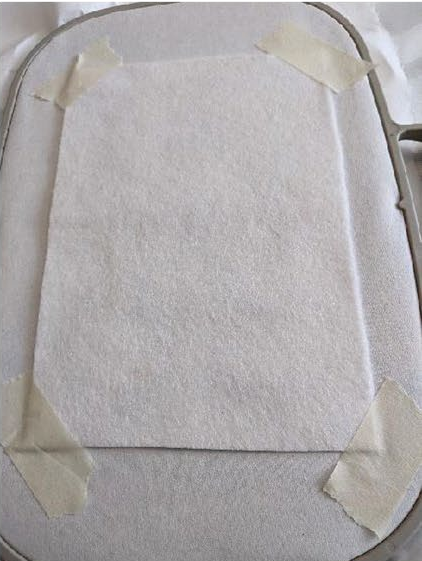
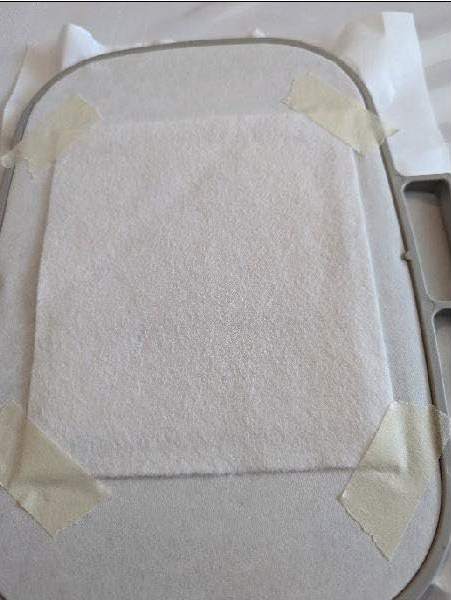
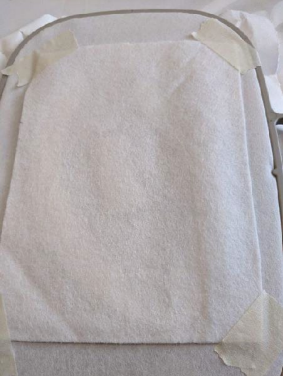
Step 17: Place your piece of white felt on the back of your frame, taking care to hide all seams
(Click Image to Enlarge)
Step 18: Seam 18: Seam to join your felt on the back and front of your bezel and head
(Click Image to Enlarge)
Step 19: You should have this on the back of your frame
(Click Image to Enlarge)
Step 20: Step out of frame, cut excess fabric in taking care not to cut the seams
Step 21: SECTION 2
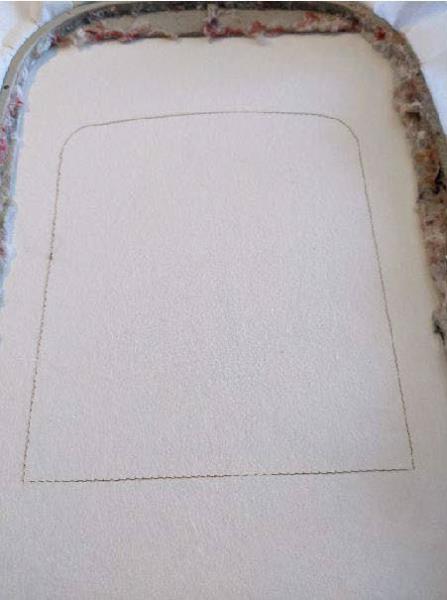
Seam 1: is done on your support for you indicate the location your short
(Click Image to Enlarge)
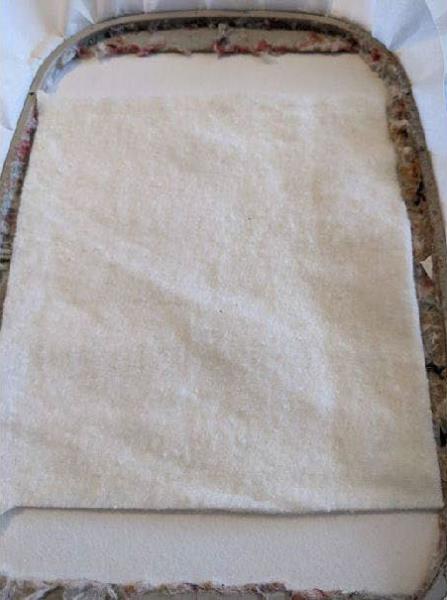
Step 22: Stunt you taking good care hide the whole fuss
(Click Image to Enlarge)
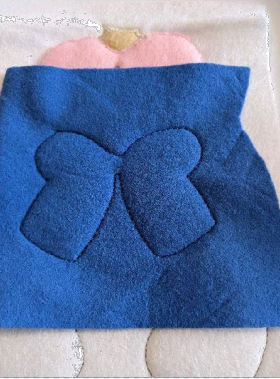
Step 23: Sewing 2: Sewing of your short on your support
(Click Image to Enlarge)
Step 24: (Click Image to Enlarge)
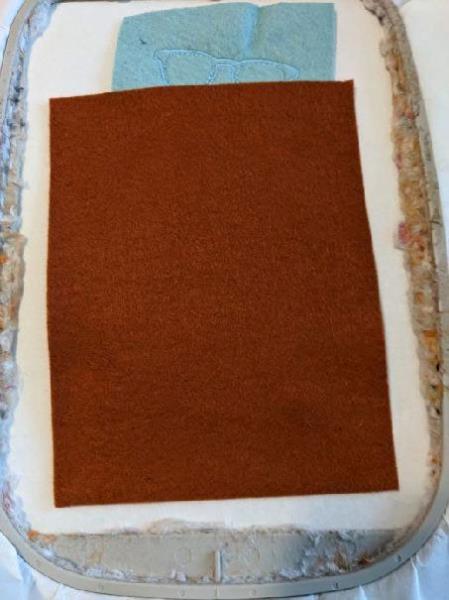
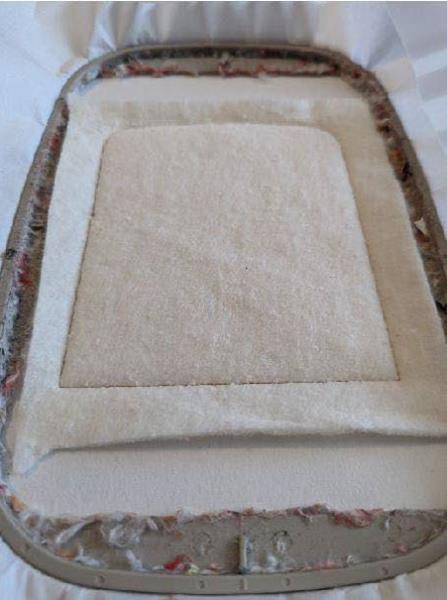
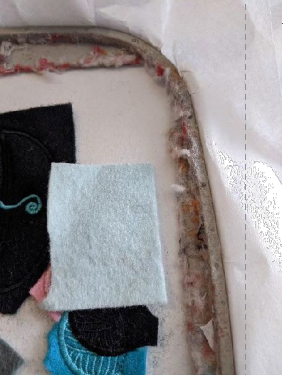
Step 25: Put your piece of chair felt
(Click Image to Enlarge)
Step 26: Seam 3: This sewing will maintain your felt for the chair on your support
(Click Image to Enlarge)
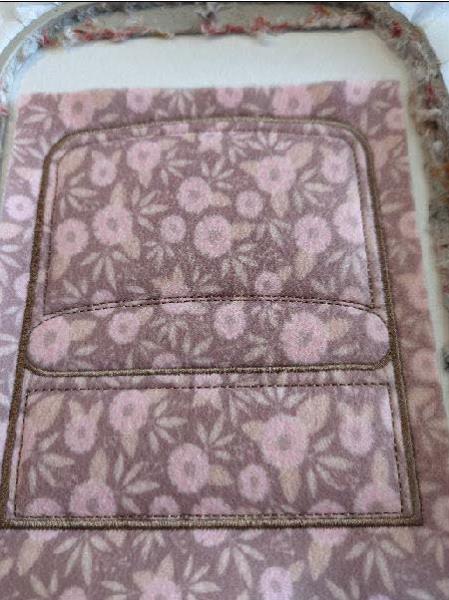
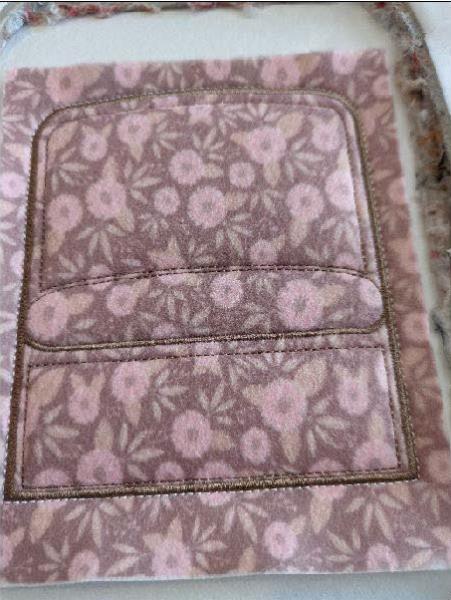
Step 27: Seam 4: Stitches of embroidery on your chair
(Click Image to Enlarge)
Step 28: Put your piece of felt on the back of your manager, good keep in place
(Click Image to Enlarge)
Step 29: Sewing 5: Sewing of your back felt with your felt before
(Click Image to Enlarge)
Step 30: You should have this on the back of your frame
(Click Image to Enlarge)
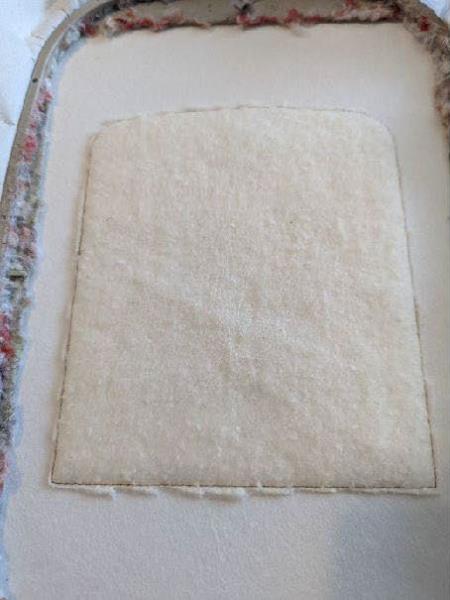
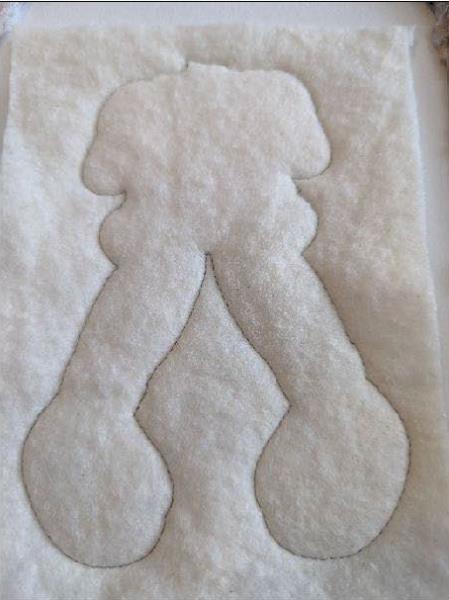
Step 31: Seam 1: this is done on your support to show you the location of your bourre
(Click Image to Enlarge)
Step 32: Trim the seam, taking care to hide the entire seam
(Click Image to Enlarge)
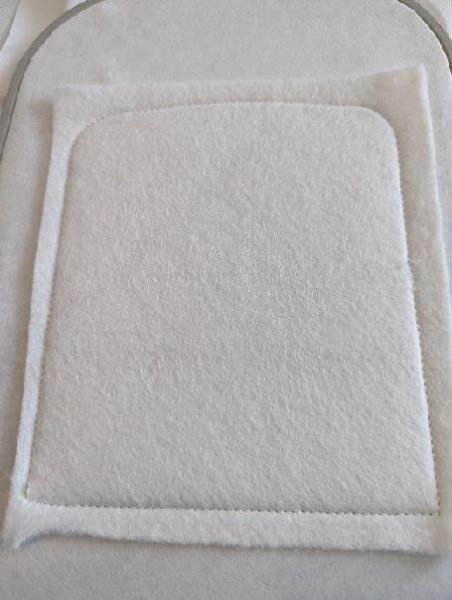
Step 33: Seam 2: Sewing your Bourre on your Support
(Click Image to Enlarge)
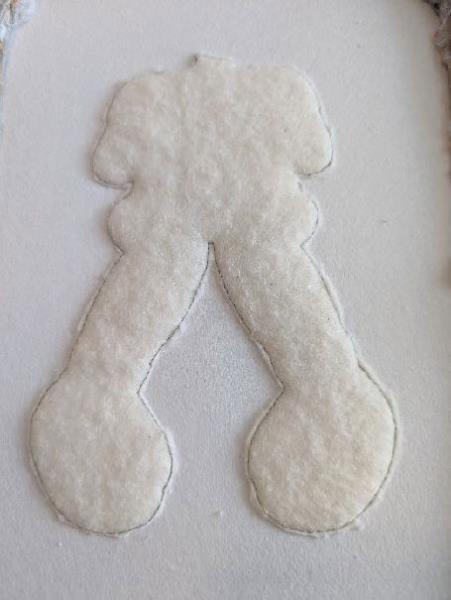
Step 34: Remove excess fill all round
(Click Image to Enlarge)
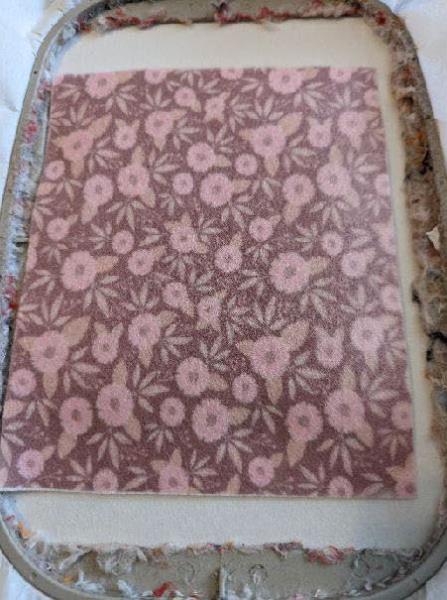
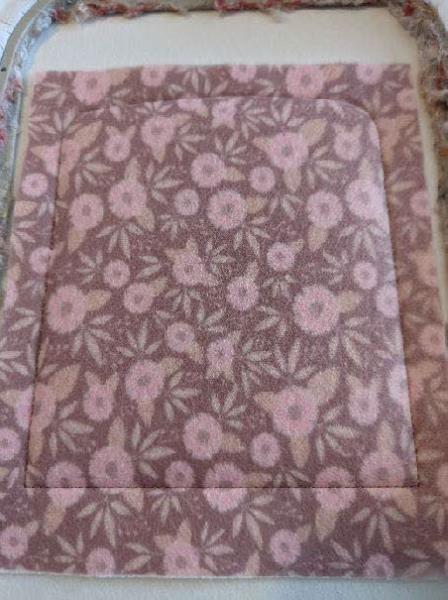
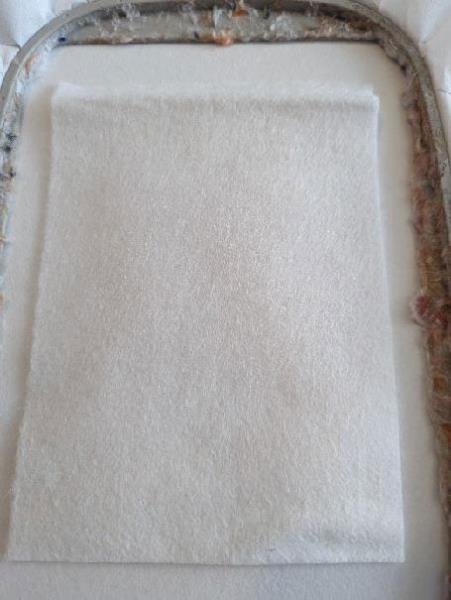
Step 35: Here I put in a white felt because you’re going to have a different colour of felt to put on and so it will make a nice finish
(Click Image to Enlarge)
Step 36: Seam 3: Sewing your felt on your support
(Click Image to Enlarge)
Step 37: (Click Image to Enlarge)
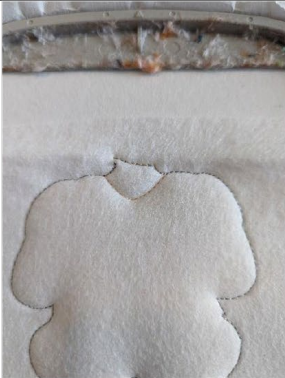
/Seam 4: Sewing to show you the location of your neck felt
Step 38: (Click Image to Enlarge)
Step 39: (Click Image to Enlarge)
Sewing 5: Sewing your neck felt on your body
Step 40: (Click Image to Enlarge)
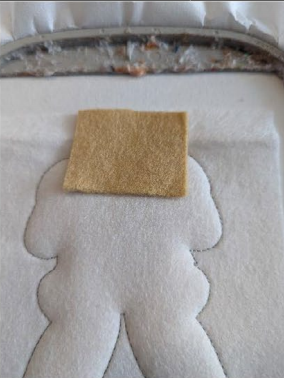
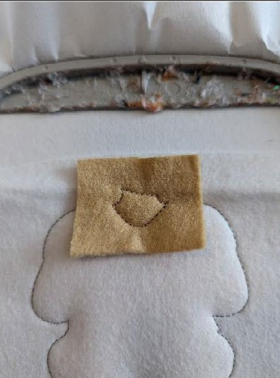
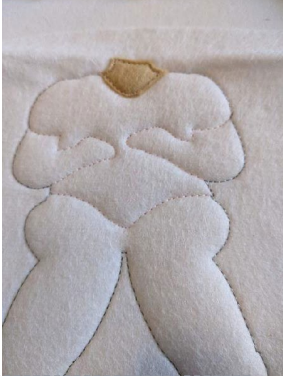
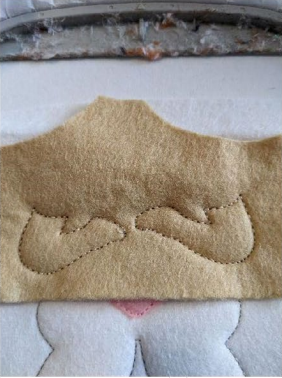
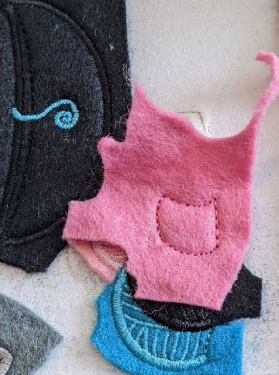
Remove excess fabric all round Sewing 6: Sewing that tells you where your sweater is
Step 41: (Click Image to Enlarge)
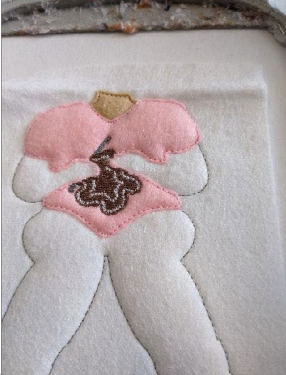
Sewing 8 to 10: Embroidery stitches
Step 42: (Click Image to Enlarge)
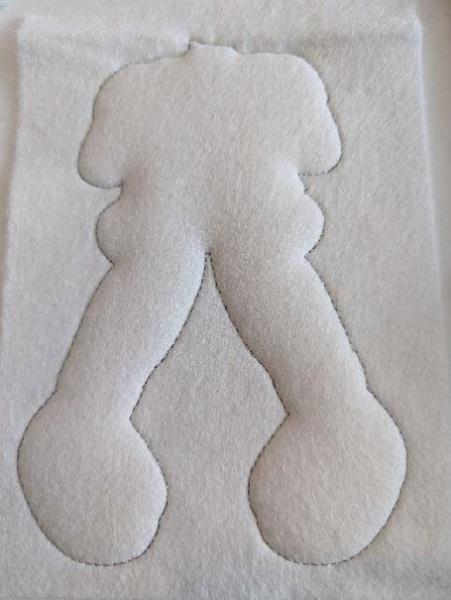
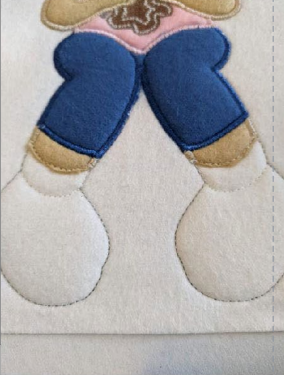
Seam 11: This seam tells you where your legs are
Step 43: (Click Image to Enlarge)
Step 44: (Click Image to Enlarge)
Sewing 12: Sewing your leg felt on your body
Step 45: (Click Image to Enlarge)
Remove excess fabric all round
Step 46: (Click Image to Enlarge)
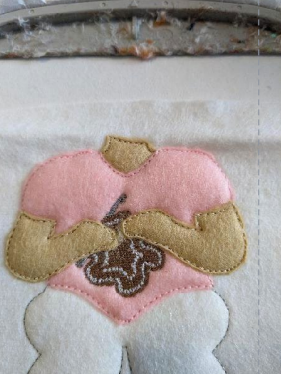
Sewing 13: Sewing that tells you where your arms are
Step 47: (Click Image to Enlarge)
Step 48: (Click Image to Enlarge)
Sewing 14: Sewing your arm felt on your body
Step 49: (Click Image to Enlarge)
Remove excess fabric all round
Step 50: (Click Image to Enlarge)
Sewing 15: Embroidery stitches on your stroke, arms and legs
Step 51: (Click Image to Enlarge)
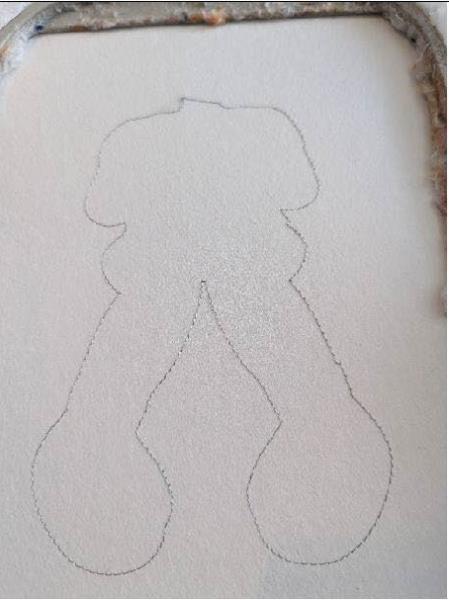
Sewing 16: This sewing tells you where to put your pants
Step 52: (Click Image to Enlarge)
Step 53: (Click Image to Enlarge)
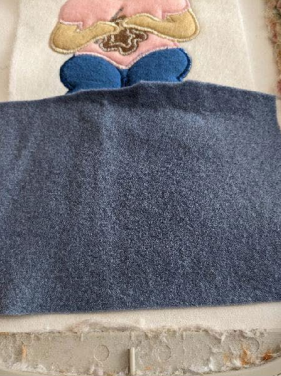
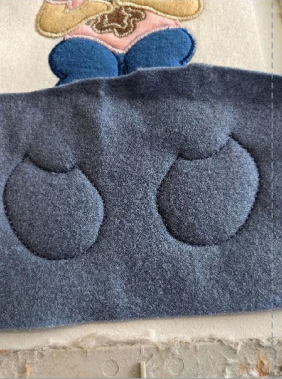
Sewing 17: Sewing your pant felt on your body
Step 54: (Click Image to Enlarge)
Remove excess fabric all round
Step 55: (Click Image to Enlarge)
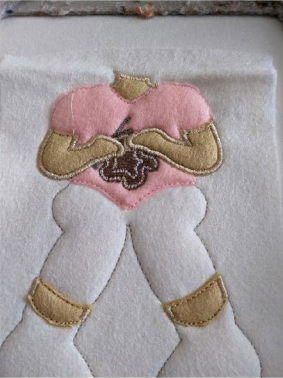
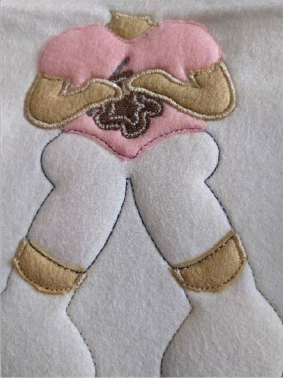
Sewing 18 to 20: embroidery stitches on your pants and sweater
Step 56: (Click Image to Enlarge)
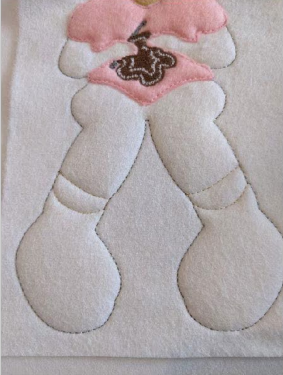
Seam 21: This seam tells you where to put your socks
Step 57: (Click Image to Enlarge)
Step 58: (Click Image to Enlarge)
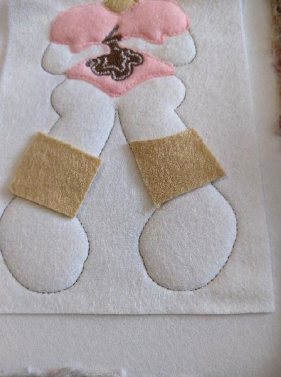
Sewing 22: Sewing your Socks on Your Body
Step 59: (Click Image to Enlarge)
Step 60: (Click Image to Enlarge)
Sewing 23: embroidery stitches on your socks
Step 61: (Click Image to Enlarge)
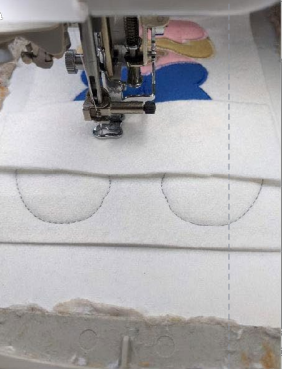
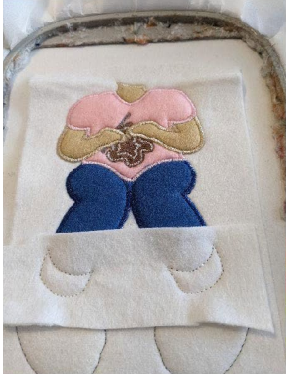
Seam 24: This seam tells you where to put your shoes
Step 62: (Click Image to Enlarge)
Step 63: (Click Image to Enlarge)
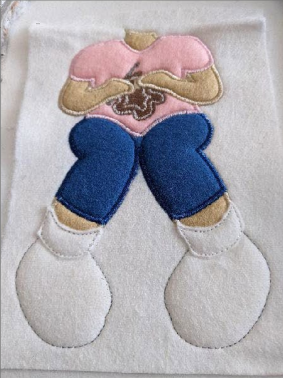
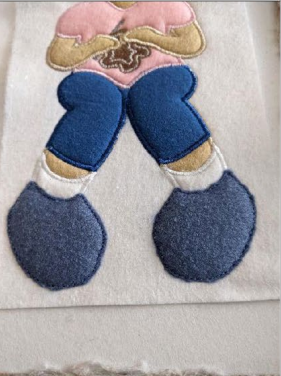
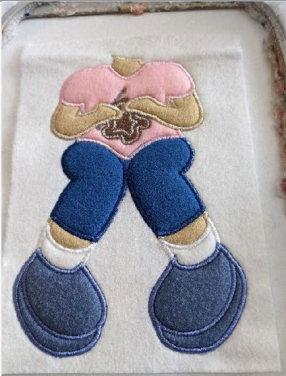
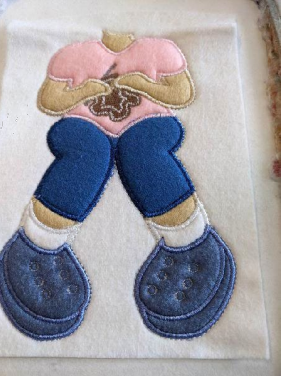
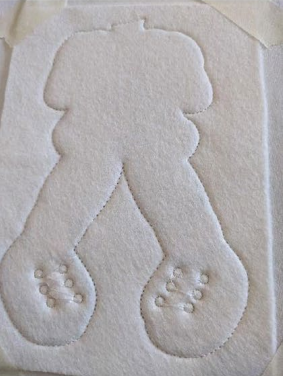
Sewing 25: Sewing your Bottom Felt on Your Body
Step 64: (Click Image to Enlarge)
Step 65: (Click Image to Enlarge)
Sewing 26: Embroidery stitches on your shoes
Step 66: (Click Image to Enlarge)
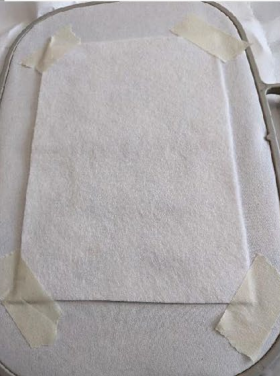
Place your piece of white felt on the back of your frame, secure in place
Step 67: (Click Image to Enlarge)
Sewing 27: This seam will join your back felt with the front and position your lace holes
Step 68: (Click Image to Enlarge)
You should have this on the back of your frame
Step 69: (Click Image to Enlarge)
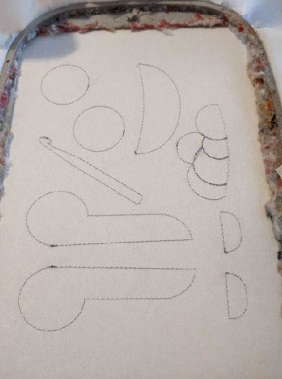
Seam 1: this fact on your support for you indicate the location your short
Step 70: (Click Image to Enlarge)
Step 71: (Click Image to Enlarge)
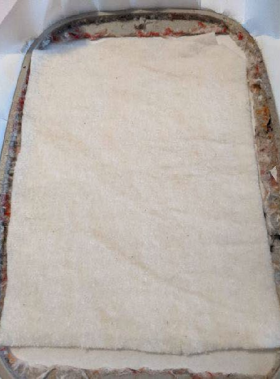
Seam 2: this sewing will maintain your short on your support
Step 72: (Click Image to Enlarge)
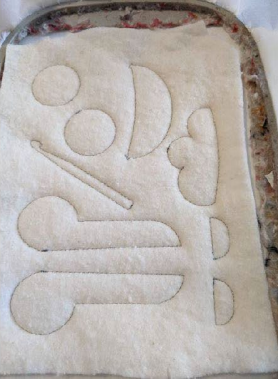
Remove the excess of fill up the whole time with your coins
Step 73: (Click Image to Enlarge)
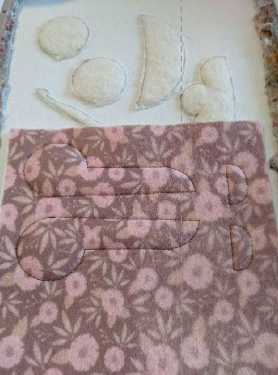
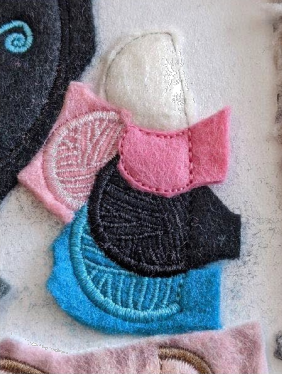
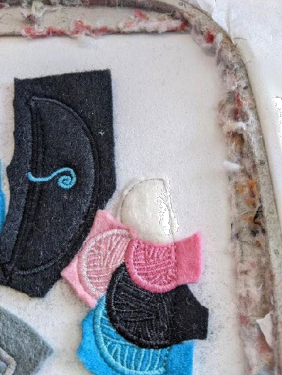
Put on your felt for arms and legs of your chair
Step 74: (Click Image to Enlarge)
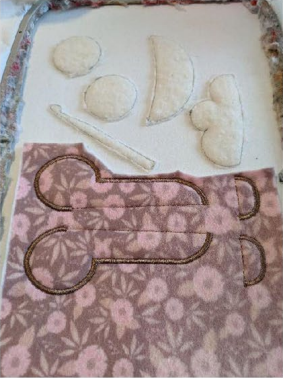
Sewing 3: Sewing your felt on your support
Step 75: (Click Image to Enlarge)
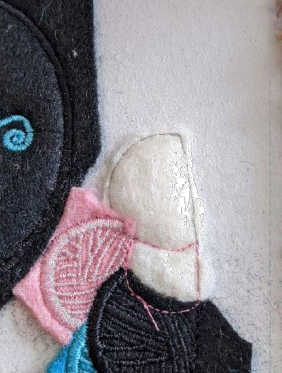
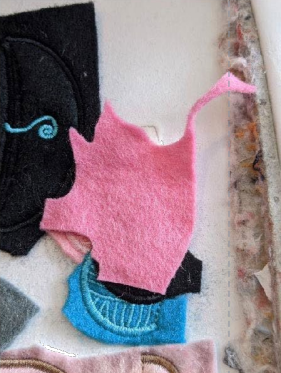
Sewing 4: Embroidery Stitches Remove the part of the felt that touches the other elements
Step 76: (Click Image to Enlarge)
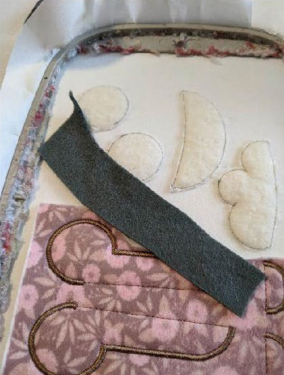
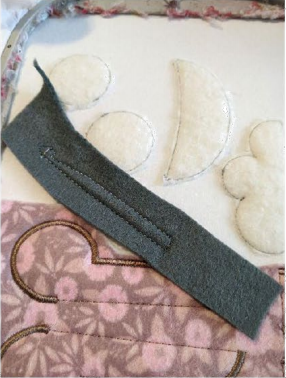
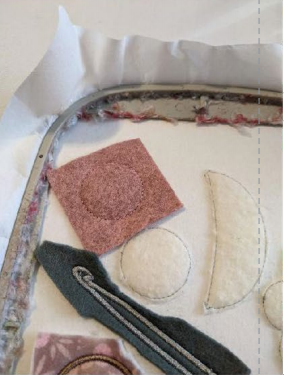
Put your felt on the hook
Step 77: (Click Image to Enlarge)
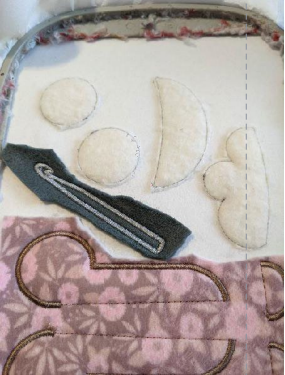
Sewing 5: Sewing your Felt on your Support
Step 78: (Click Image to Enlarge)
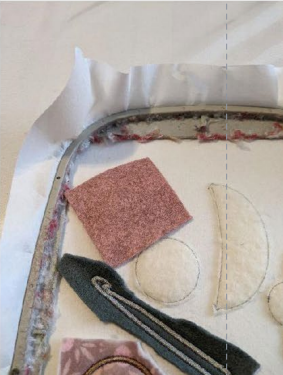
Sewing 6: Embroidery Stitches Remove the part of the felt that touches the other elements
Step 79: (Click Image to Enlarge)
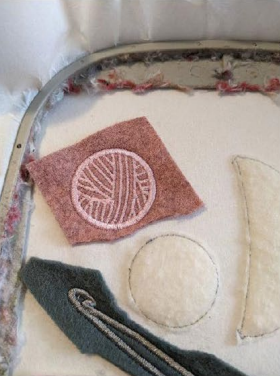
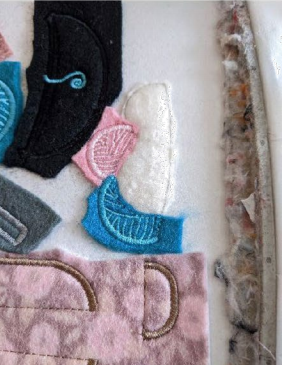
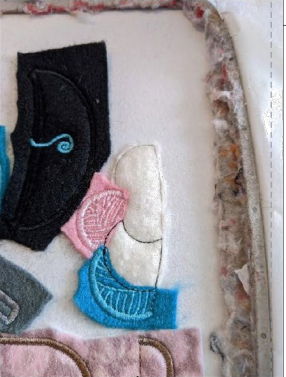
Put your felt on your first wool ball
Step 80: (Click Image to Enlarge)
Seam 7: Sewing your felt on your support
Step 81: (Click Image to Enlarge)
Sewing 8: Embroidery stitches Remove the part of the felt that touches the other elements
Step 82: (Click Image to Enlarge)
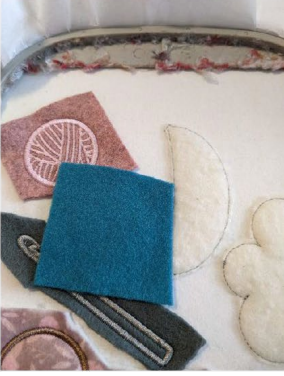
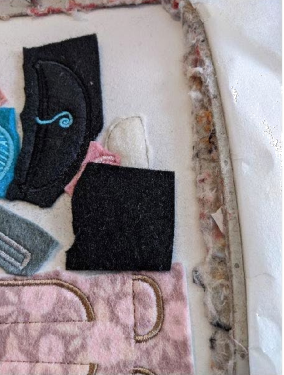
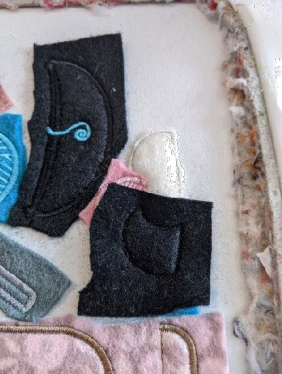
Put on your felt for the 2nd wool ball
Step 83: (Click Image to Enlarge)
Seam 9: Sewing your Felt on your Support
Step 84: (Click Image to Enlarge)
Sewing 10: Embroidery stitches Remove the part of the felt that touches the other elements
Step 85: (Click Image to Enlarge)
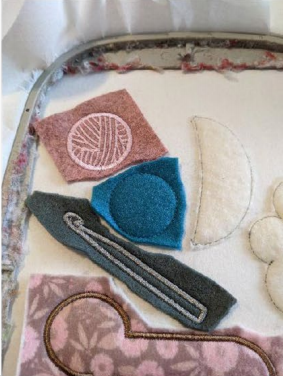
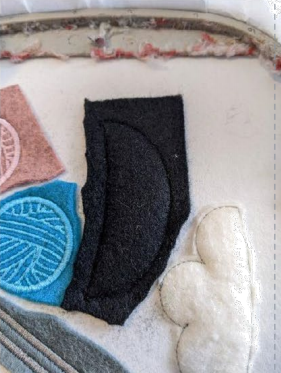
Put your felt on your bowl
Step 86: (Click Image to Enlarge)
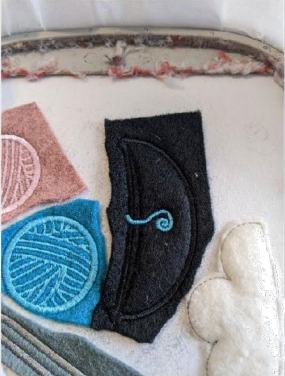
Sewing 11: Sewing your felt on your support
Step 87: (Click Image to Enlarge)
Sewing 12 and 13: embroidery stitches on your bowl Remove the part of the felt that touches the other elements
Step 88: (Click Image to Enlarge)
Seam 14: This seam tells you where your first wool ball goes into the jar
Step 89: (Click Image to Enlarge)
Step 90: (Click Image to Enlarge)
Sewing 15: This seam will hold your felt in place
Step 91: (Click Image to Enlarge)
Cut off excess felt at the bottom of the ball
Step 92: (Click Image to Enlarge)
Sewing 16: Embroidery stitches
Step 93: (Click Image to Enlarge)
Seam 17: this seam tells you the location of your 2nd ball
Step 94: (Click Image to Enlarge)
Step 95: Seam 18: This seam will hold your felt in place
Step 96: (Click Image to Enlarge)
Cut off excess felt that touches other balls
Step 97: (Click Image to Enlarge)
Sewing 19: Embroidery stitches
Step 98: (Click Image to Enlarge)
Seam 20: This seam tells you the location of your 3rd ball
Step 99: (Click Image to Enlarge)
Step 100: (Click Image to Enlarge)
Sewing 21: This seam will hold your felt in place
Step 101: (Click Image to Enlarge)
Remove excess felt from other balls
Step 102: (Click Image to Enlarge)
Sewing 22: Embroidery stitches
Step 103: (Click Image to Enlarge)
Seam 23: This seam tells you the location of your 4th ball
Step 104: (Click Image to Enlarge)
Step 105: (Click Image to Enlarge)
Sewing 24: This seam will keep your felt in place
Step 106: (Click Image to Enlarge)
Step 107: (Click Image to Enlarge)
Sewing 25: Embroidery stitches
Step 108: (Click Image to Enlarge)
Put your felt on the last ball
Step 109: Sewing 26: This seam will hold your felt in place
Step 110: (Click Image to Enlarge)
Step 111: (Click Image to Enlarge)
Sewing 28: ponits de embroidery in the last balle
Step 112: (Click Image to Enlarge)
Put your piece of white felt on the back of your frame
Step 113: (Click Image to Enlarge)
Couture 29: this sewing will attach your back felt on your front felt of your frame
Step 114: (Click Image to Enlarge)
You should have this on the back
Step out of frame and cut excess fabric all your round of elements taking care not to don’t cut your seams
Step 115: (Click Image to Enlarge)
SECTION 5
Seam 1: this fact on your support for you indicate the location your short
Step 116: (Click Image to Enlarge)
Here I put a medium tear-free for strengthen my crown
Step 117: (Click Image to Enlarge)
Step 118: (Click Image to Enlarge)
Seam 2: this sewing will sew your filling and your support tear-free on your hase sunnort
Step 119: (Click Image to Enlarge)
Cut the excess of fill up the whole time with your elements
Step 120: (Click Image to Enlarge)
Then cut your undamable support all round the elements
Step 121: (Click Image to Enlarge)
Step 122: (Click Image to Enlarge)
Seam 3: this sewing will maihold vour felt in place
Step 123: (Click Image to Enlarge)
Sewing 4: stitches of broderie
Step 124: (Click Image to Enlarge)
Put your piece of white felt on the back of your frame
Sewing 5: this sewing will join your joint felt
Step out of frame and cut excess tissue
Step 125: (Click Image to Enlarge)
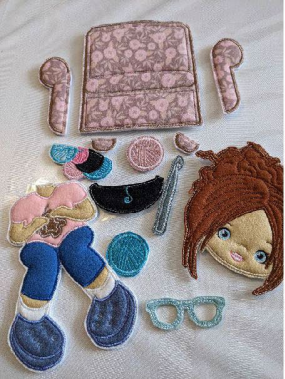
ASSEMBLING
You should have these elements plus the crown before doing the mounting
Step 126: (Click Image to Enlarge)
Take your balls and stick to the back of your bol.
Step 127: Position the arms of the chair on each side by sticking them by the back of the chair
Step 128: I put the chair on my boss for good position the legs of chair
Step 129: (Click Image to Enlarge)
Stick the legs of chair on the back of the chair
Step 130: (Click Image to Enlarge)
Position the body on the chair, stick the center of the body for now
Step 131: (Click Image to Enlarge)
Step 132: (Click Image to Enlarge)
For the Courrone, I double-tapped to keep it in place
Step 133: (Click Image to Enlarge)
Stick the chair on your crown.
Step 134: (Click Image to Enlarge)
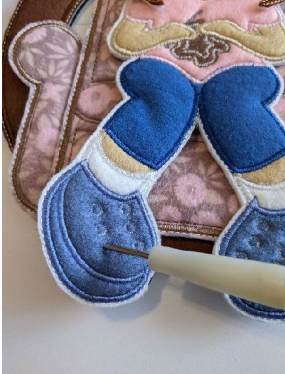
With a pick, I made the holes to pass the shoe laces
Step 135: (Click Image to Enlarge)
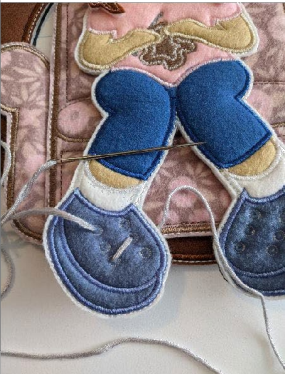
Lace up with a needle, come and go in the holes
Step 136: (Click Image to Enlarge)
With hot glue, I took a piece of wool that I glued from the hook to the bowl of wool
Step 137: (Click Image to Enlarge)
Paste the rest of the elements
Feedback
Please Login to Submit a Feedback
Invalid Characters, Please enter a valid Comment
Please enter a valid Comment
LOG IN
Submit
Link is Broken, Please check the URL