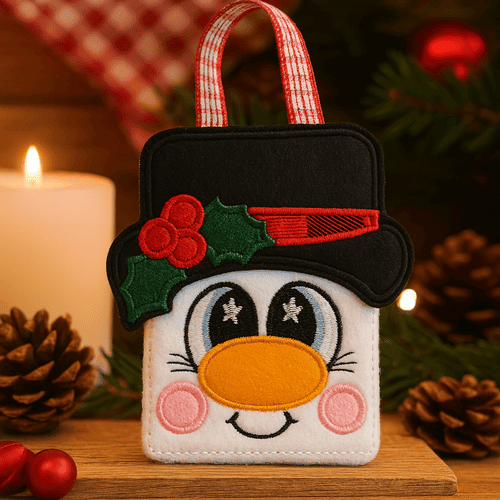
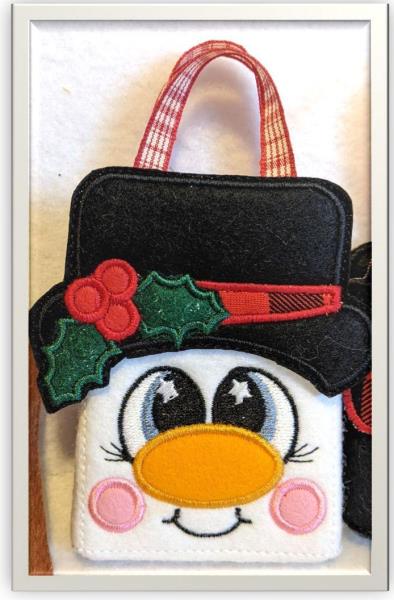
ITH Snowman Gift Tag
Zoom Watch Video View Larger
View Project Instructions
ITH Snowman Gift Tag Embroidery Project
Description
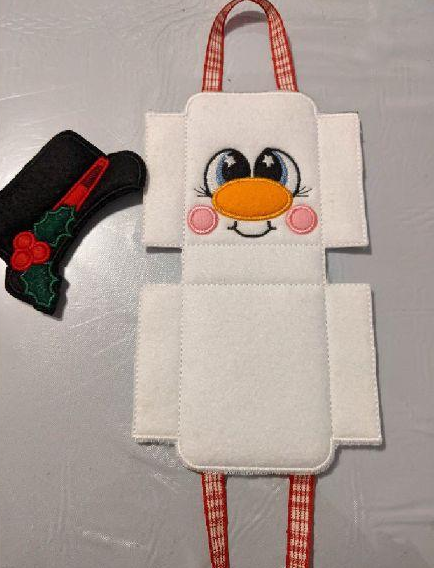
Bring smiles with this adorable ITH Snowman Gift Tag! Featuring a joyful snowman face with holly details and a handle for hanging, it’s perfect for gift tags, tree ornaments, or stocking stuffers. Made fully in the hoop – quick and fun to stitch!
Jump to
ITH Snowman Gift Tag
By Sew Chic
Materials
Print Materials
Preface: © Broderie Dzhiboux. All rights reserved.
Materials BOX:
1 piece of fleece of 19x8cm for the box
2 pieces of white felt of 15x20cm
Small piece for the nose and cheeks
DECORATION:
1 piece of fleece of 10x8cm
2 piecesof black felt of 10x8cm
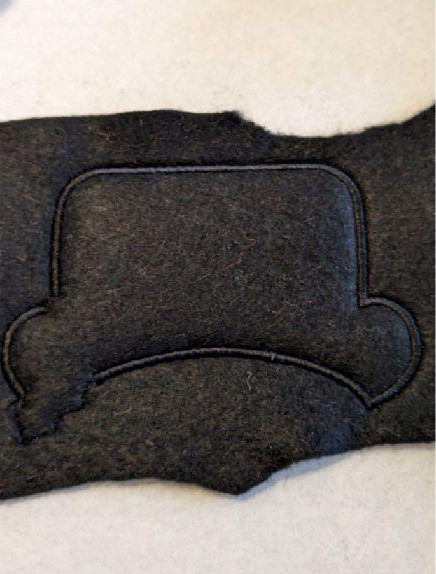
Small room for hat decorations
Hot glue rifle, tape
Step 1: BAG
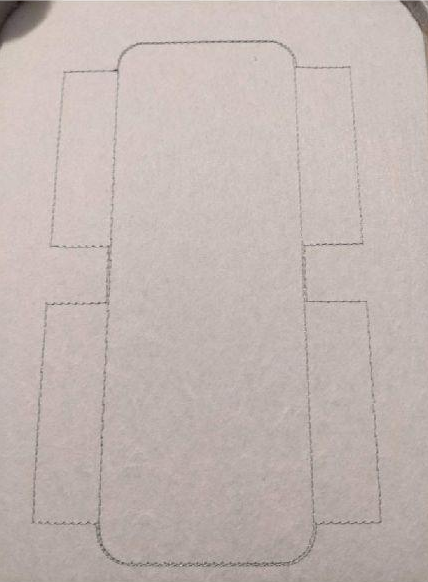
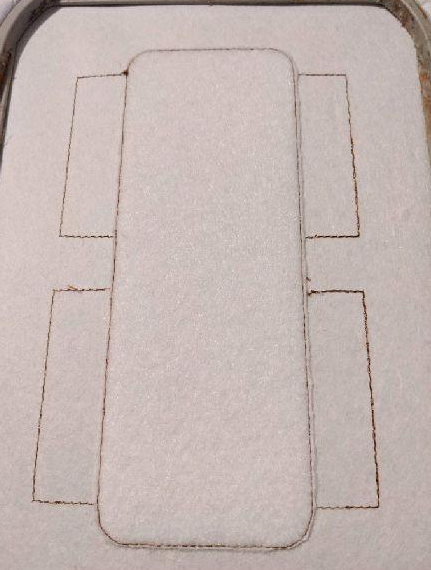
The first seam is done on your support to tell you the location of your fabric
(Click Image to Enlarge)
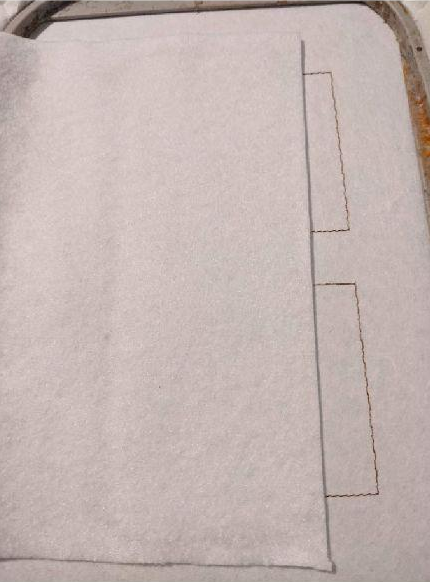
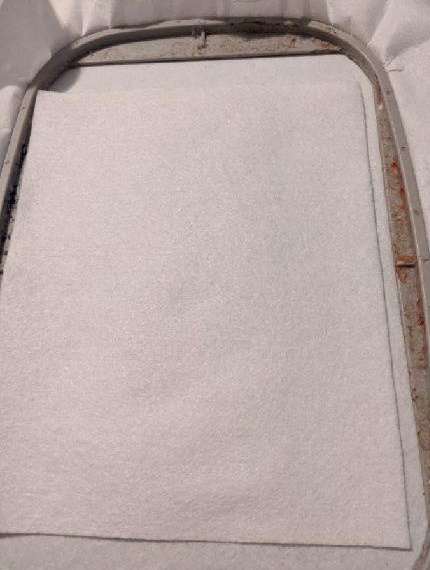
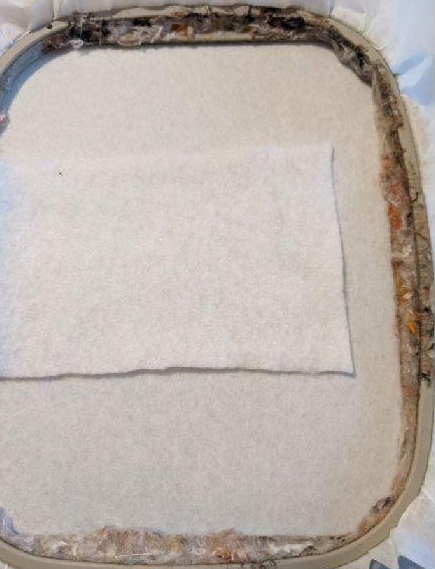
Step 2: Put your fleece on the center part only
(Click Image to Enlarge)
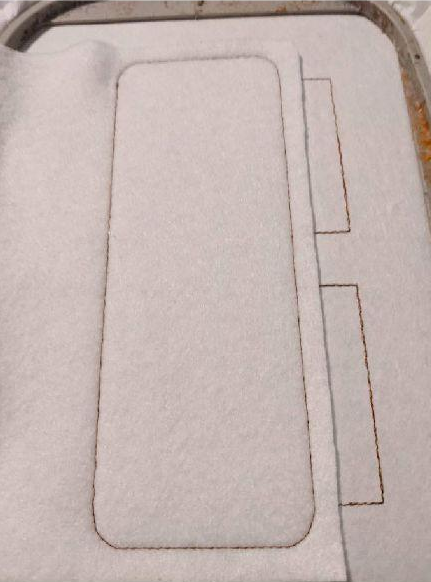
Step 3: This seam will hold your fleece on your support
(Click Image to Enlarge)
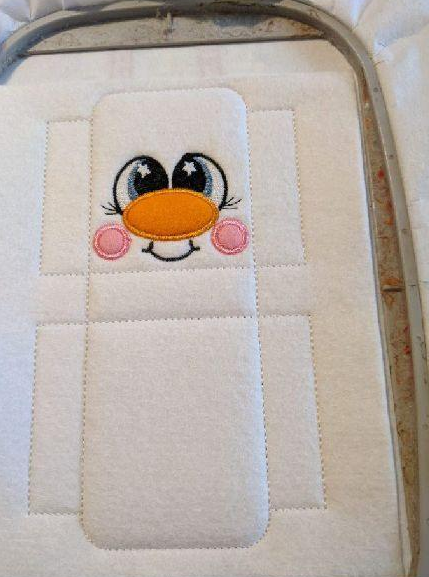
Step 4: (Click Image to Enlarge)
Step 5: Put your first piece of felt on the entire seam
(Click Image to Enlarge)
Step 6: This seam will hold your felt in place
(Click Image to Enlarge)
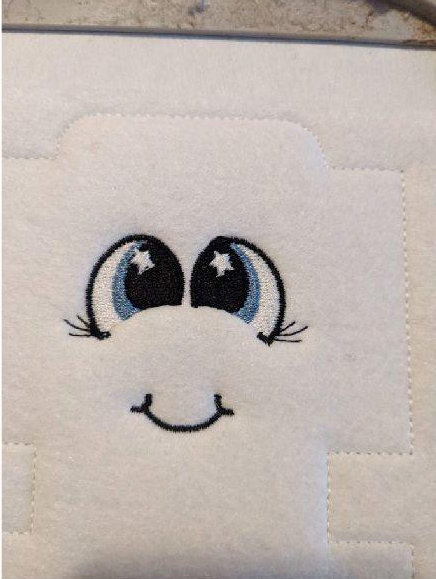
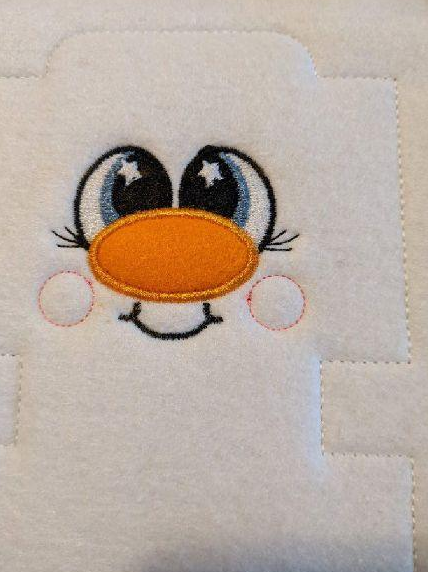
Step 7: Make the embroidery stitches
(Click Image to Enlarge)
Step 8: This seam tells you the location of vour felt
(Click Image to Enlarge)
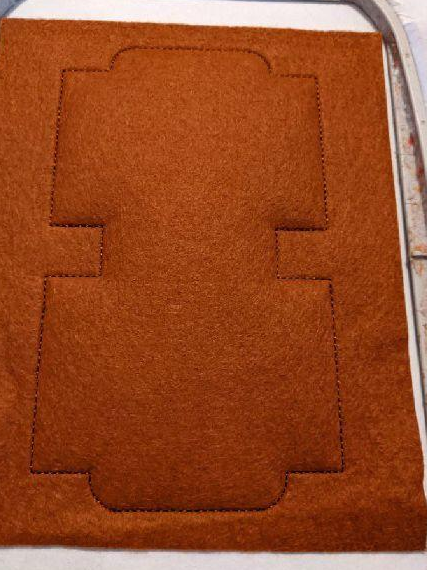
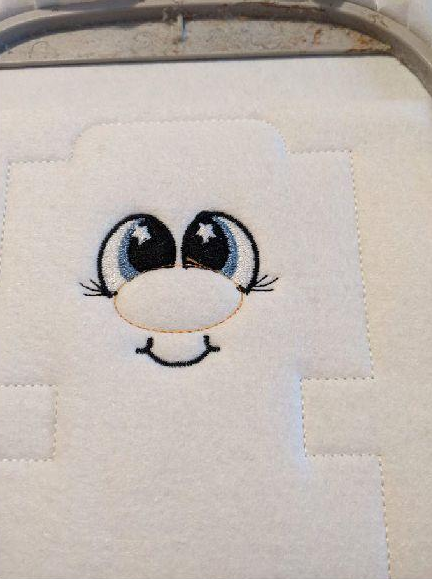
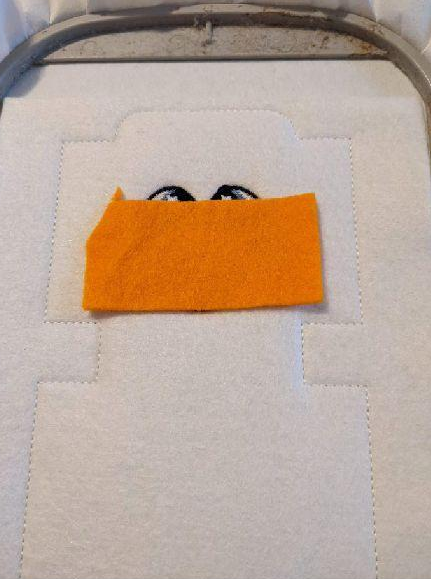
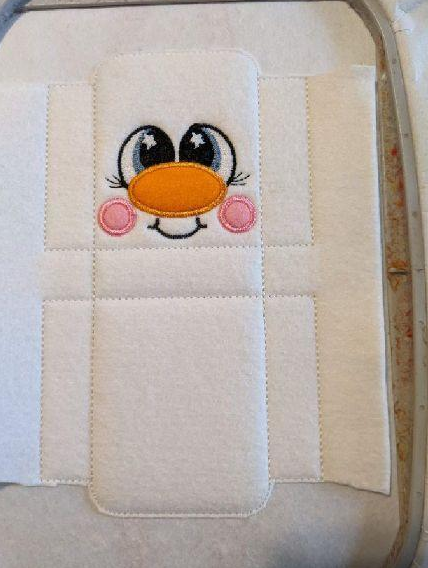
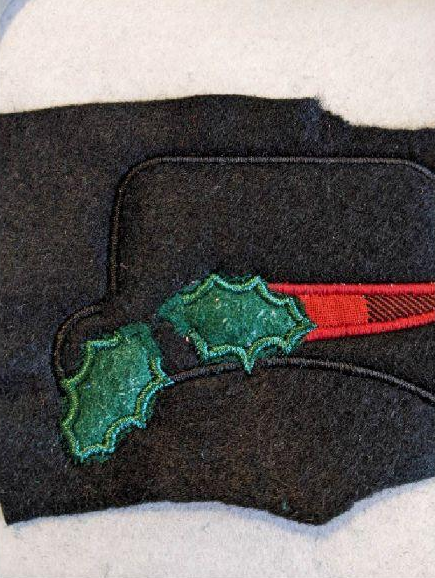
Step 9: Put your felt on the seam
(Click Image to Enlarge)
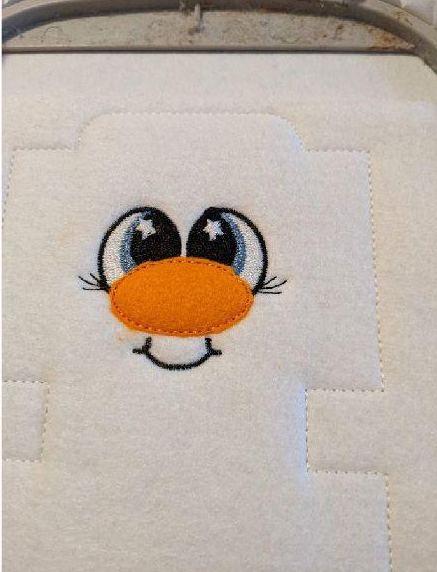
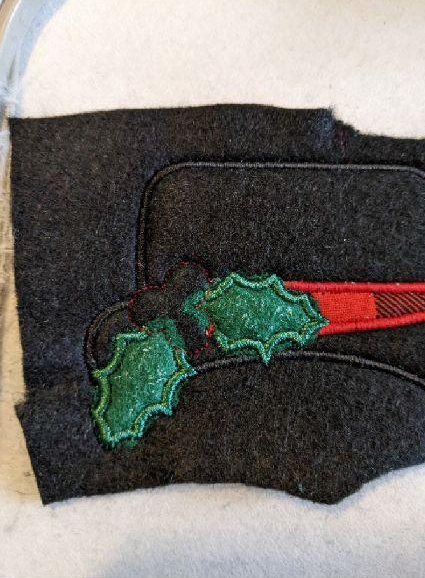
Step 10: This seam will hold your felt in place
(Click Image to Enlarge)
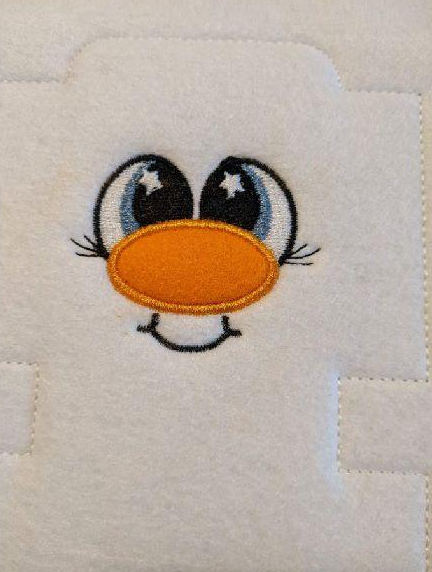
Step 11: (Click Image to Enlarge)
Step 12: This seam tells you the location of your felt
(Click Image to Enlarge)
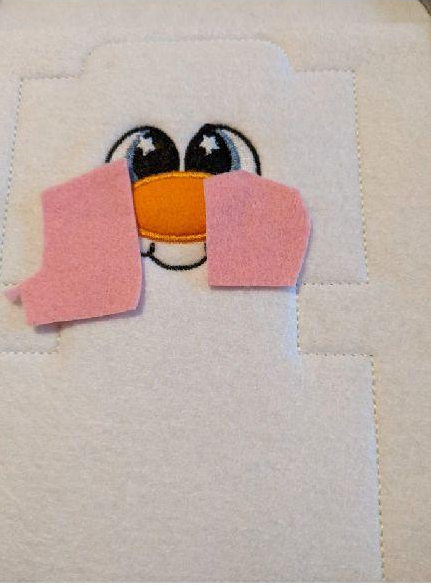
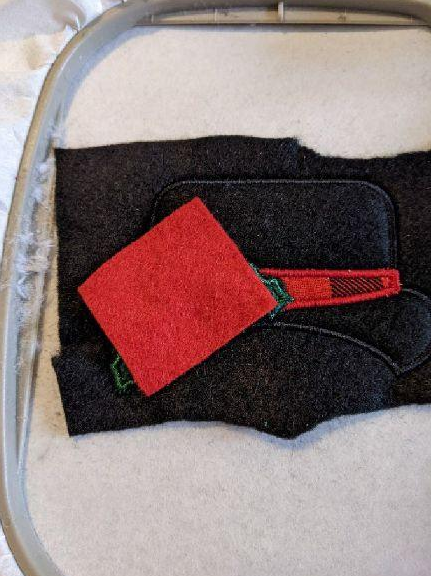
Step 13: Put your felt on the seam
(Click Image to Enlarge)
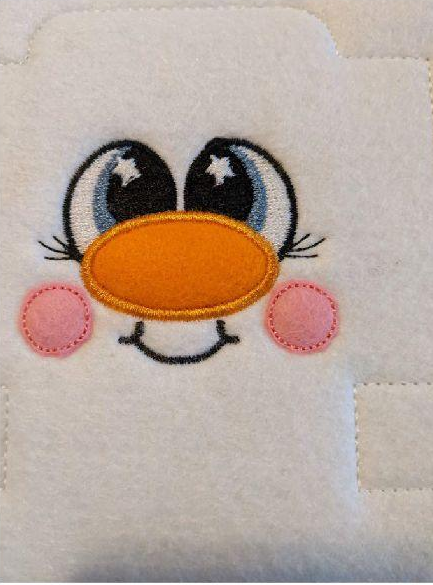
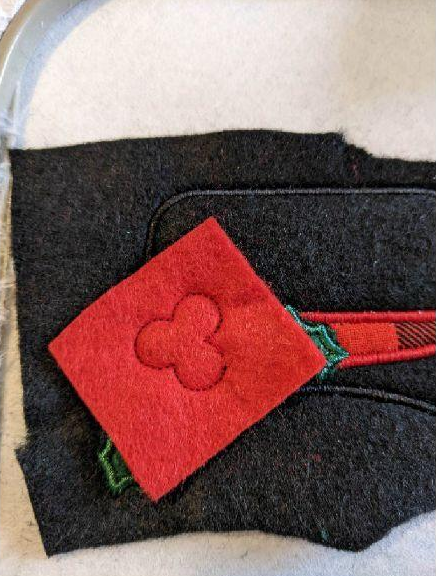
Step 14: This seam will hold your felt in place
(Click Image to Enlarge)
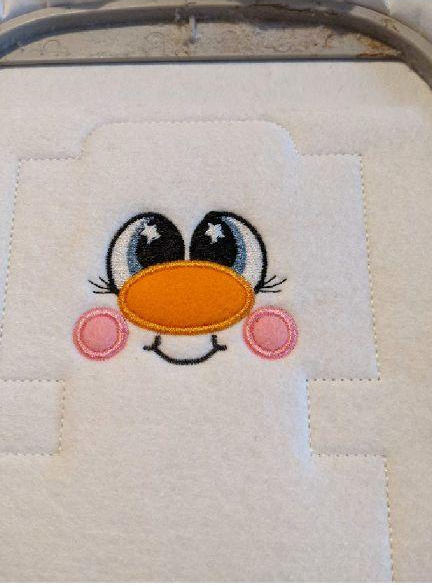
Step 15: (Click Image to Enlarge)
Step 16: Set up your ribbons for handles, you need to put your ribbon on the back of your frame. Pay attention to the meaning of your ribbon
Step 17: Put your 2nd piece of felt on the back of your frame, over the ribbons
Step 18: Seam that will join the front and back of your bag
(Click Image to Enlarge)
Step 19: Cut the excess fabric on the top and bottom of the bag only.
(Click Image to Enlarge)
Step 20: Get out of your frame, cut the excess fabric all around
(Click Image to Enlarge)
Step 21: SNOWMAN DECORATION
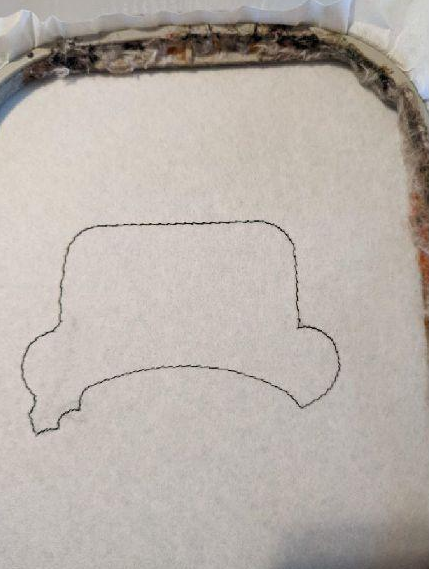
The first seam is done on your support to tell you the location of your fleece
(Click Image to Enlarge)
Step 22: Put your fleece on the seam
(Click Image to Enlarge)
Step 23: This seam will hold your fleece on your support
(Click Image to Enlarge)
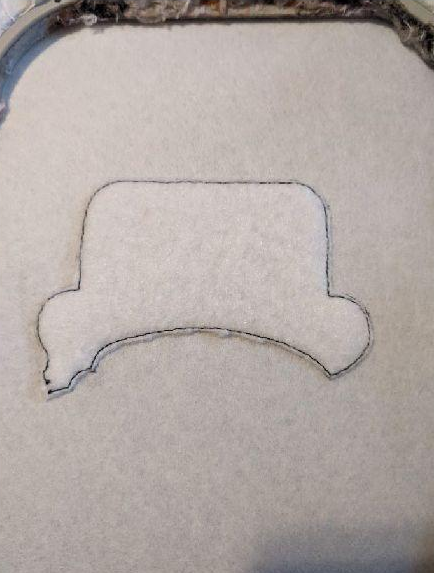
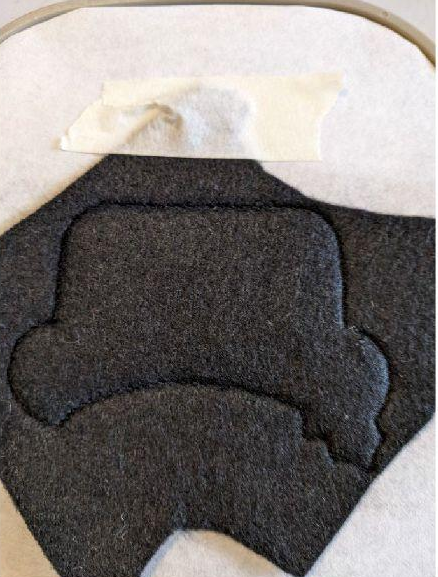
Step 24: Cut off excess fleece all around
(Click Image to Enlarge)
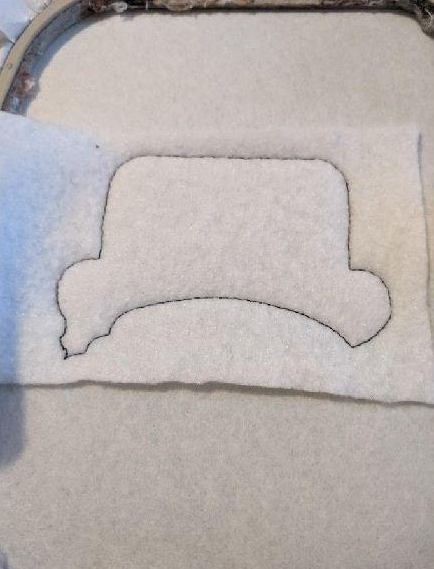
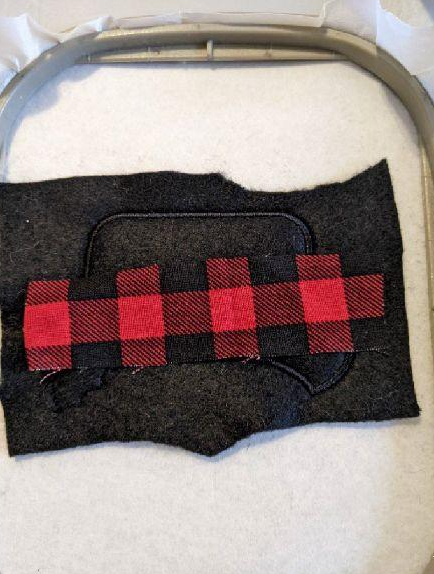
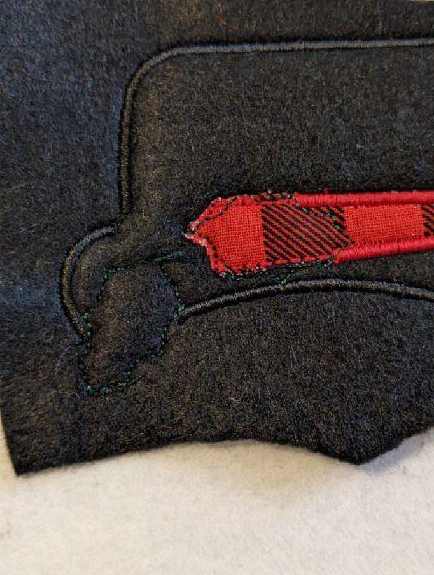
Step 25: Put your felt on the fleece
Step 26: This seam will hold your felt in place, DO NOT CUT
Step 27: (Click Image to Enlarge)
Step 28: This seam tells you the location of your felt
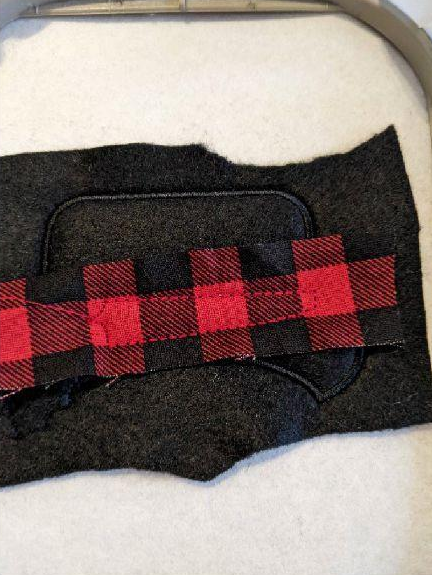
Step 29: Put your felt on the seam
(Click Image to Enlarge)
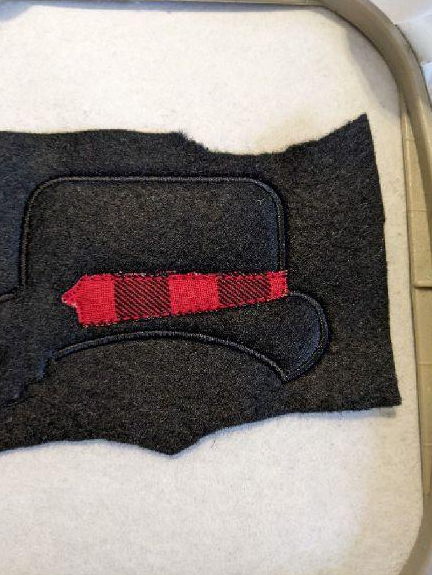
Step 30: This seam will hold your felt in place
(Click Image to Enlarge)
Step 31: Remove excess tissue all around
(Click Image to Enlarge)
Step 32: (Click Image to Enlarge)
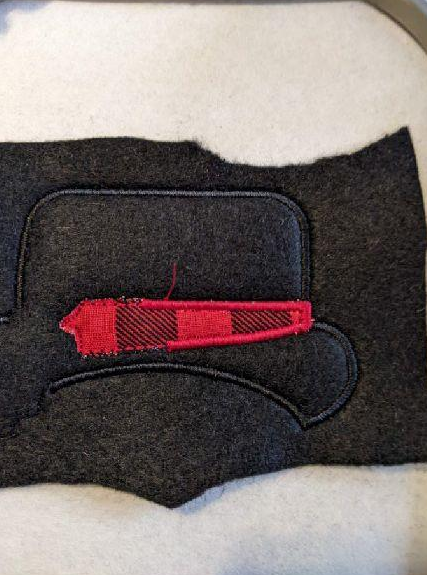
Step 33: This seam tells you the location of your felt
(Click Image to Enlarge)
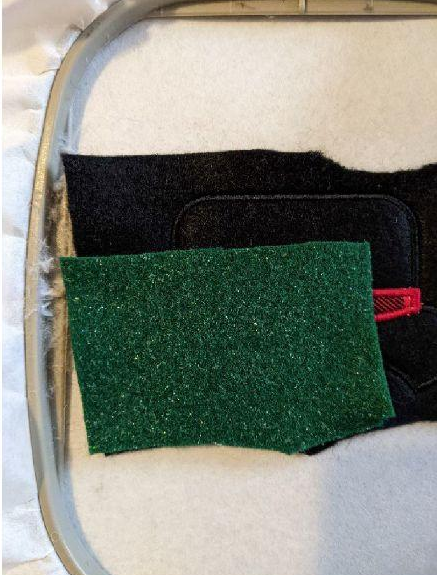
Step 34: Put your felt on the seam
(Click Image to Enlarge)
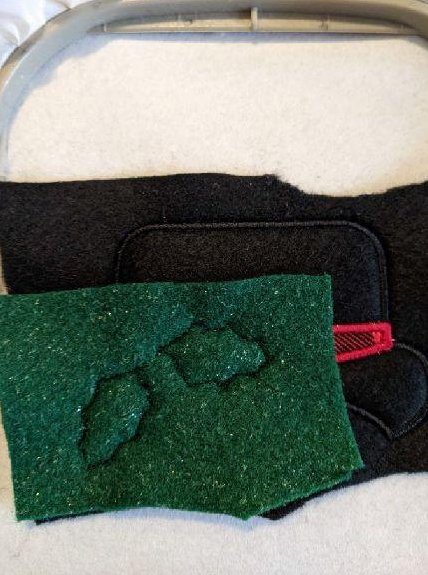
Step 35: This seam will hold your felt in place
(Click Image to Enlarge)
Step 36: Remove excess tissue all around
(Click Image to Enlarge)
Step 37: (Click Image to Enlarge)
Step 38: This seam tells you the location of your felt
(Click Image to Enlarge)
Step 39: Put your felt on the seam
(Click Image to Enlarge)
Step 40: This seam will hold your felt in place
(Click Image to Enlarge)
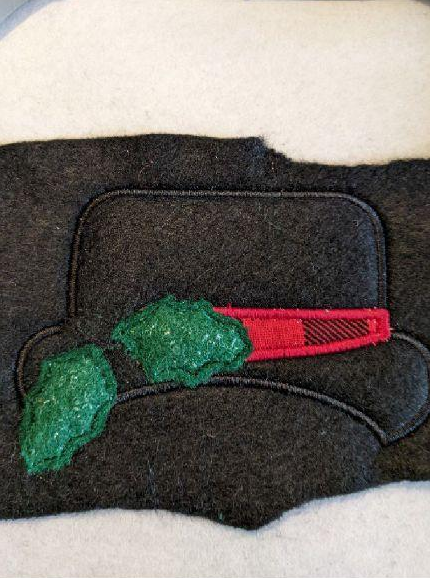
Step 41: Remove excess tissue all around
(Click Image to Enlarge)
Step 42: (Click Image to Enlarge)
Step 43: Put your 2nd piece of felt on the back of your frame, hold well in place
Step 44: Make the last seam that will join your 2 felts together
(Click Image to Enlarge)
Step 45: ASSEMBLY
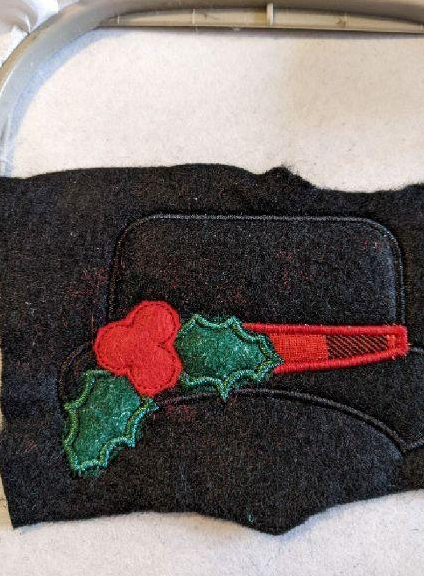
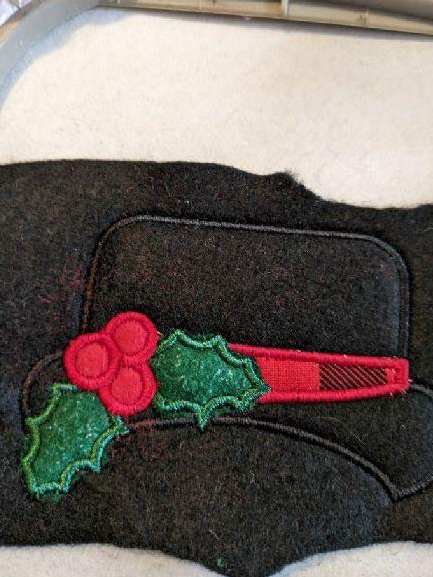
With your hot glue rifle, stick the hat on the guy, taking care not to stick on the sides of the bag
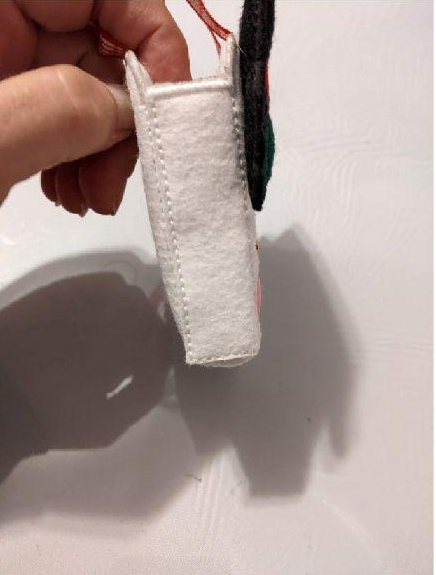
Step 46: Glue the sides together, the front side of the bag sticks to the back side of the bag for a nice finish
(Click Image to Enlarge)
Step 47: (Click Image to Enlarge)
Here is the finished Snowman Gift Bag.
Feedback
Please Login to Submit a Feedback
Invalid Characters, Please enter a valid Comment
Please enter a valid Comment
LOG IN
Submit
Link is Broken, Please check the URL