| Preface: | © Broderie Dzhiboux. All rights reserved.
This project is officially licensed to ITH Boutique. All images, digitizing rights, step-by-step instructions, and project visuals are the exclusive property of Broderie Dzhiboux. Unauthorized reproduction or distribution is prohibited. |
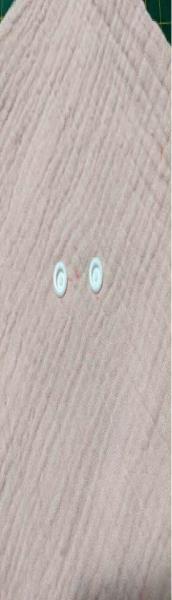
| Materials This fact in a frame 10x10cm You will have 3 steps in 10x10cm 1-The ears 2-The head 3-The arms Hardware: I did with Minky 2 Pieces of 24cm x 24cm for the cover You will need 3 colors of minky, white, light gray and dark gray. Hypoalergenic stuffing, snap button, water-soluble support, sewing needle and sewing thread
| |
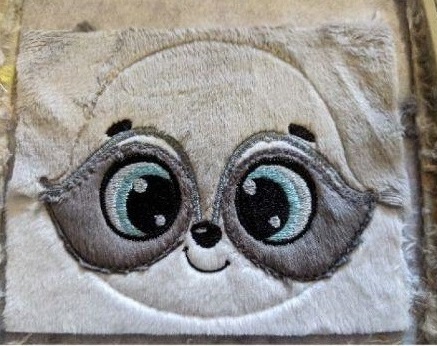
| Final Product: What You Will Create | 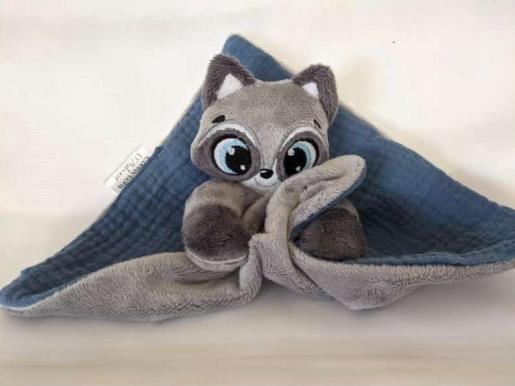 |
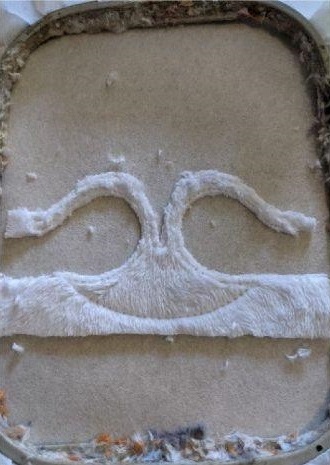
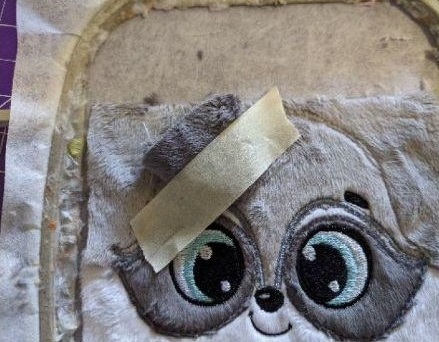
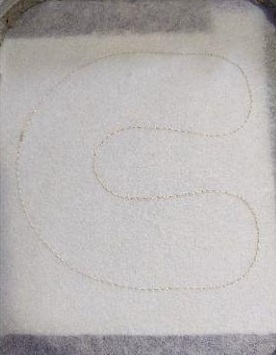
Step 1: | THE EAR I start by making the ears and I always work out of frame, you can take the temporary glue to help you
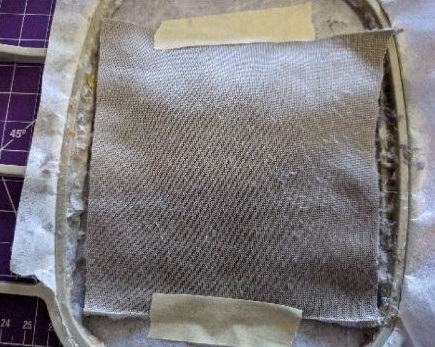
First step put your support in your frame 10x10cm. Follow the steps on the step sheet
1 - The first seam should be done on the support to tell you where to put your fabric, be careful to hide this seam well with your fabric. At each step, I take the measure that I need material to cover the seam well
2- The second seam is done on your fabric
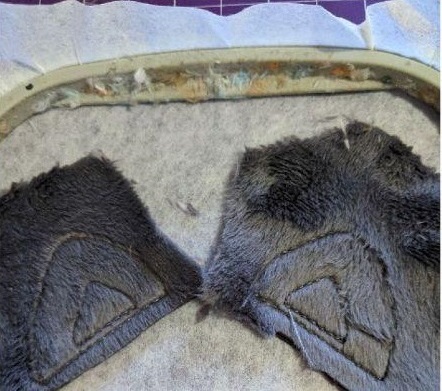
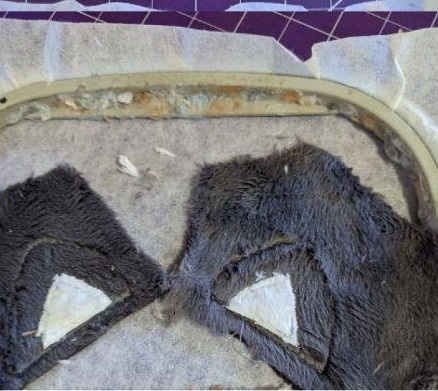
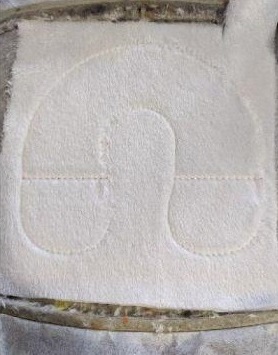
3- Sewing to tell you the location of your fabric for the inside of the ears, take the measurement and put your fabric over that seam before moving on to the next step | 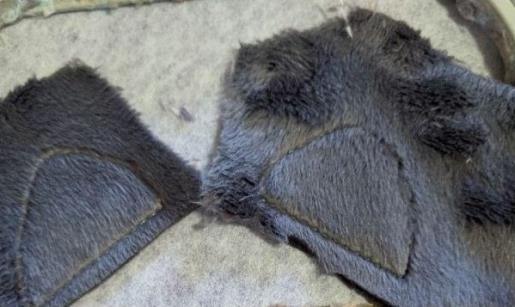 (Click Image to Enlarge) |
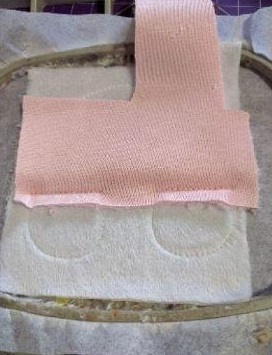
Step 2: | Sewing the fabric for the inside of the ears, once this seam is finished, cut the excess fabric. | 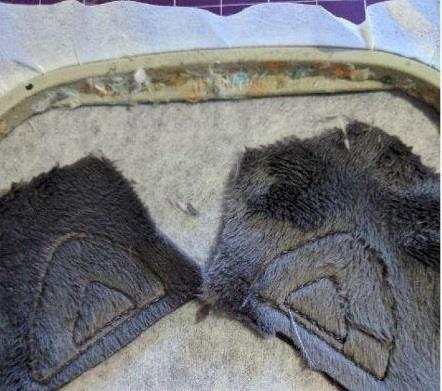 |
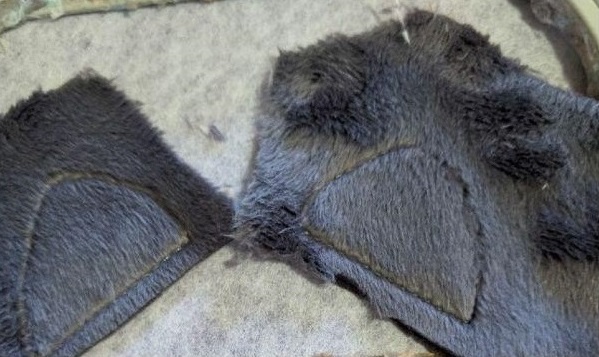
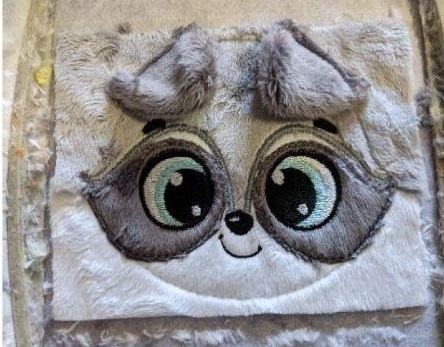
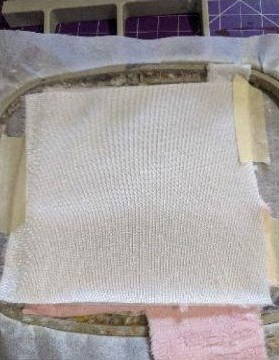
Step 3: | 5 - Mbeing the other piece of minky, place against place, this seam will finish your ears.
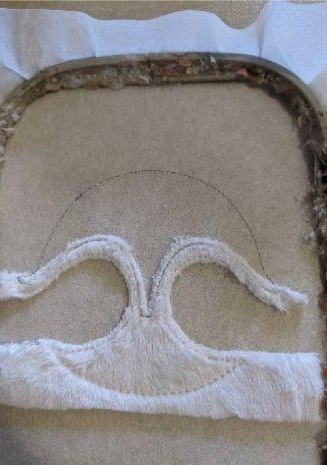
It remains only to get out of the frame, remove the excess tissue and return to the place, set aside until at the time of making the head. | 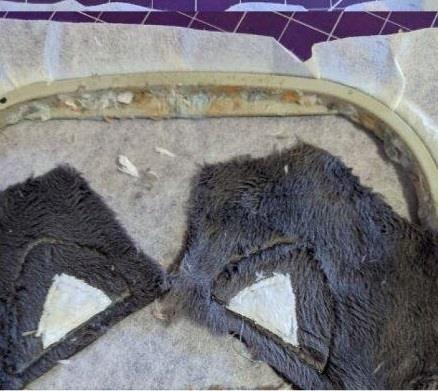 |
Step 4: | THE HEAD Sewing on your support to tell you the location of your piece of white fabric. | 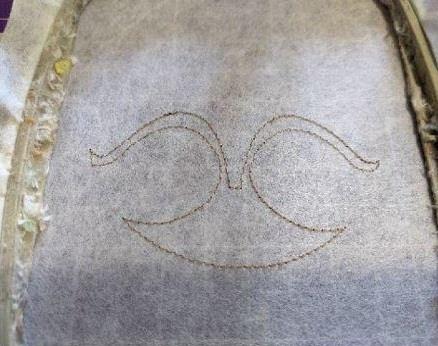 |
Step 5: |  (Click Image to Enlarge) 2- Sewing your white piece on your support, once this seam is finished, cut the excess fabric in the top and in the part of the eyes. |
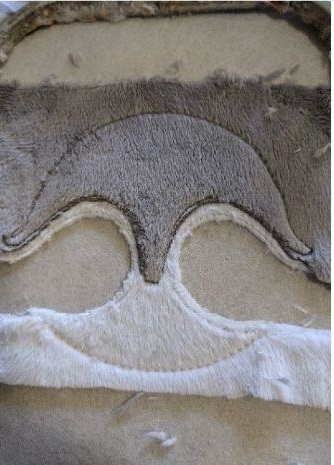
Step 6: |  (Click Image to Enlarge) 3 - Sew on your stand to tell you the size and location of the top part of the head (pale gray), put on your fabric before moving on to the next step |
Step 7: | 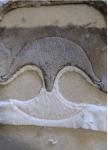 (Click Image to Enlarge) 4 - Sewing your fabric from the top of the head to your support, once finished, remove the excess fabric on the bottom of this seam
5 - Bumblebee point |
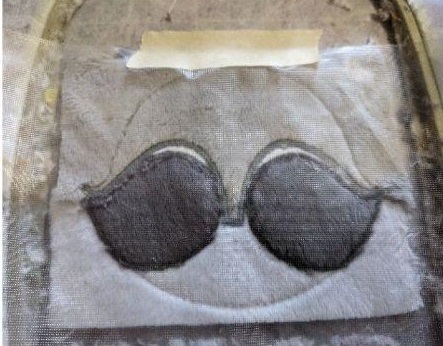
Step 8: | 6- Seam on your support to indicate the size and location of the eye part (dark gray) once this seam is finished, take the size of fabric you need and put it on this seam before moving on to the next step
7 - Sewing your fabric on your support, once this seam is finished, remove the excess fabric. | 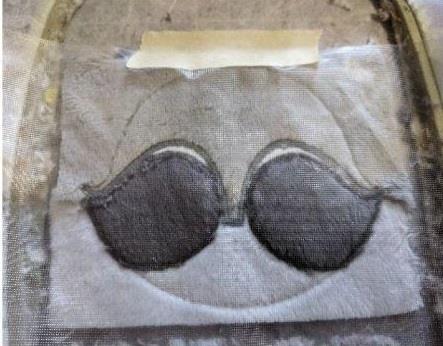 |
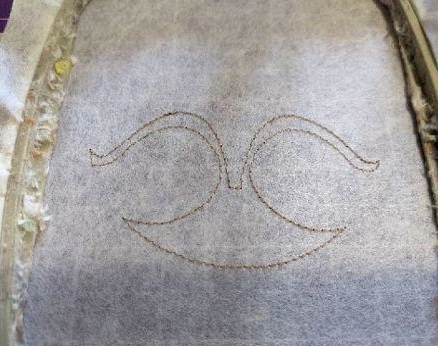
Step 9: | 8- Do the same process for the right eye part, before moving on to the embroidery stitch stage, put your water- soluble support on your work.
9- Make the embroidery stitches for the face | 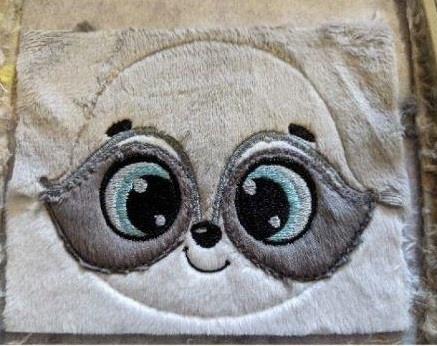 |
Step 10: | 10- Once the embroidery stitches are finished, there will be a seam to tell you the location of the ears | 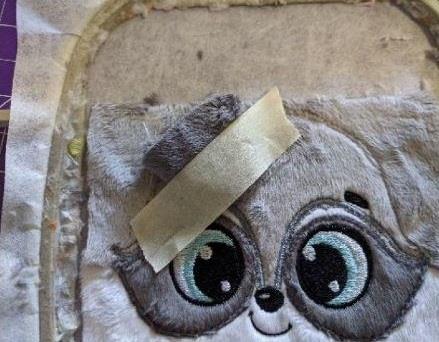 |
Step 11: | 11- Put your ear place against place and hold well in place, make the seam of your ear | 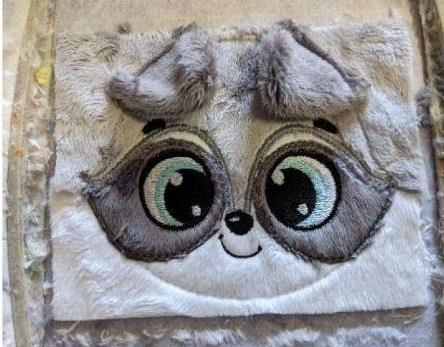 |
Step 12: | 12-Once the 2 ears are sewn, take a piece of fabric of 11x11cm for the back of the head, put place against place on your project, this seam will bring together the front and back of the head
Get out of the frame, cut the excess fabric and turn over | 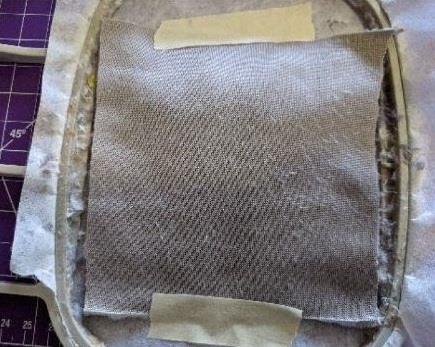 |
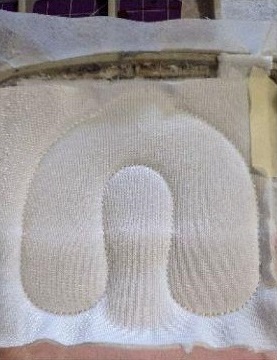
Step 13: |  (Click Image to Enlarge) THE ARMS 1 - This seam is done on your support to tell you where to put your fabric, you must cover the seam with the fabric, put your fabric on your support |
Step 14: |  (Click Image to Enlarge) 2- Sewing on your fabric to join it to your support |
Step 15: | 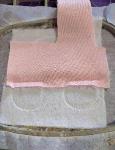 (Click Image to Enlarge) 3- Sewing to tell you where to put your fabric for the next step, put your fabric place against place on the main fabric. you have to put the fabric on the edge of the seam (see photo) |
Step 16: | 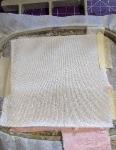 (Click Image to Enlarge) 4- Couture of your fabric paler for the tips of the arms, once this seam is finished, take your fabric and put it down to have the place of the fabric towards you. Take your2nd piece of fabric for the arms, put place against place on your main fabric and do the next step |
Step 17: | 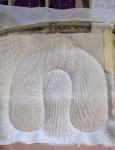 (Click Image to Enlarge) 5 - Seam to join the front and back of the arms. |
Step 18: | 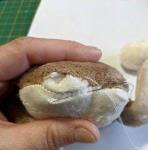 (Click Image to Enlarge) THE ASSEMBLY For the head, put your stuff, once well filled make an invisible seam to close |
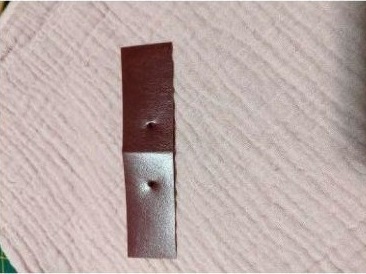
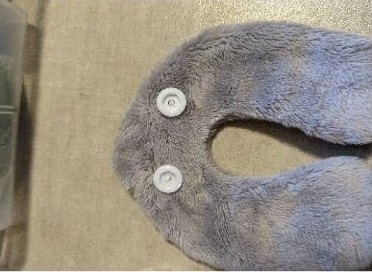
Step 19: | 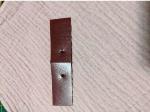 (Click Image to Enlarge) Before closing the arms, put your pressure buttons to attach with the small cover, I made a template for the pressure buttons, take a piece of plastic, make a hole at Ocm and the other at 3cm from the first hole, this template will serve you to put your pressure buttons on the back of the arms and on the cover |
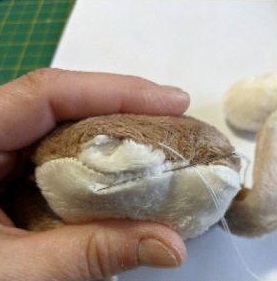
Step 20: | 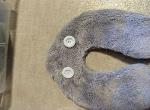 (Click Image to Enlarge) Subsequently put the stuff and close with an invisible seam
Position your head on your arms, I put a little fabric glue to hold my head in place before sewing. Once your glue is dry and your head is in place, sew it with an invisible seam. |
Step 21: |  (Click Image to Enlarge) Take your blanket and decide where you are going to put your dog, put your buttons pressed |
|
|