Border OptionsHugging border, circle, square, or rectangle — with a 3mm satin stitch.
Backing OptionsAvailable with iron-on, sew-on, or velcro backing.
Fast ShippingShipped quickly from the USA.
Free Online Tools
Powerful embroidery utilities that save time and prevent costly mistakes.
Stitch AssistantRECOMMENDED
Get the exact stabilizer, machine settings, needle, and thread color sequence for every embroidery design you purchase — based on that design's stitch density, dimensions, and color count.
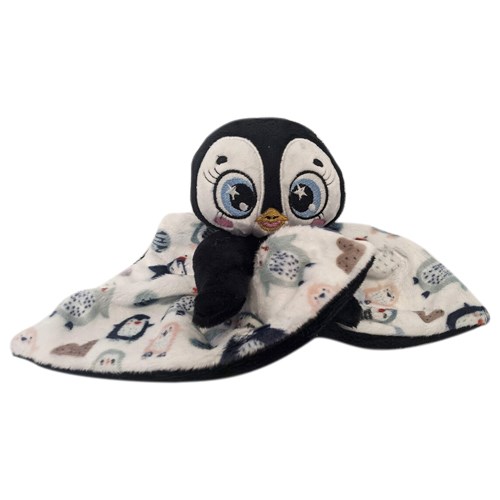
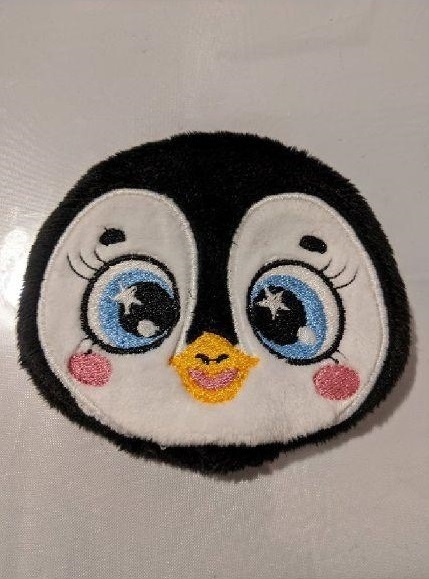
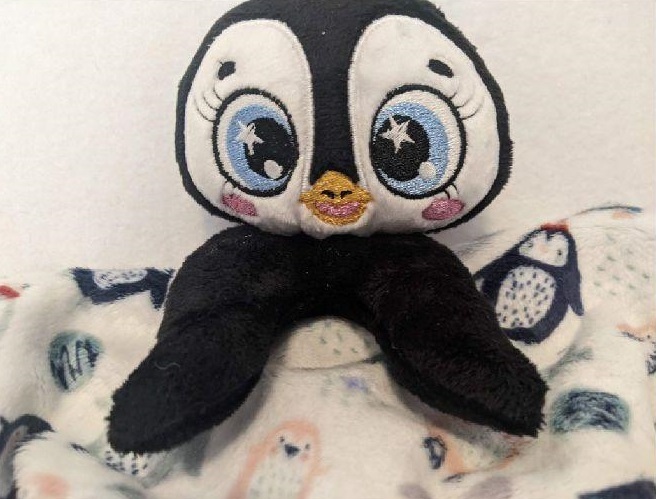
Create a delightful in-the-hoop penguin softie and blanket with this charming project. Perfect for cozy snuggles, this adorable penguin-themed blanket will bring warmth and joy to children and penguin lovers alike. Step-by-step instructions are included.
2 pieces of 26x26cm for the cover (color of your choice)
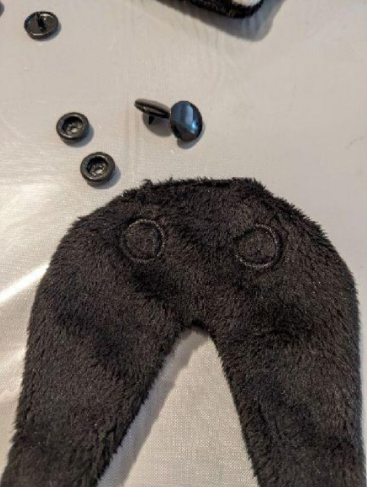
4 snaps
Tear stabilizer, water-soluble stabilizer
Thread, hand sewing needle
Stuff
Final Product: What You Will Create
Step 1:
THE HEAD
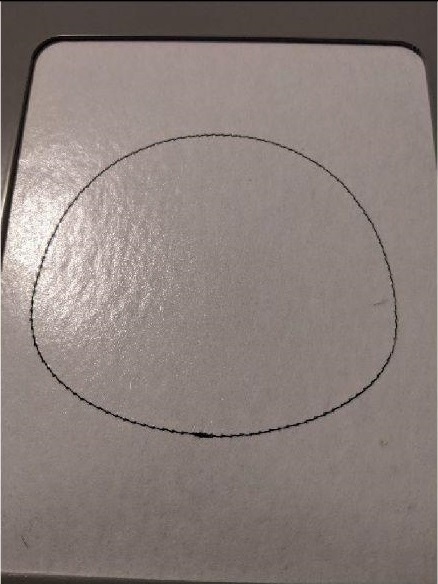
Seam 1: this seam is done on your stabilizer to tell you the location of your black Minky
(Click Image to Enlarge)
Step 2:
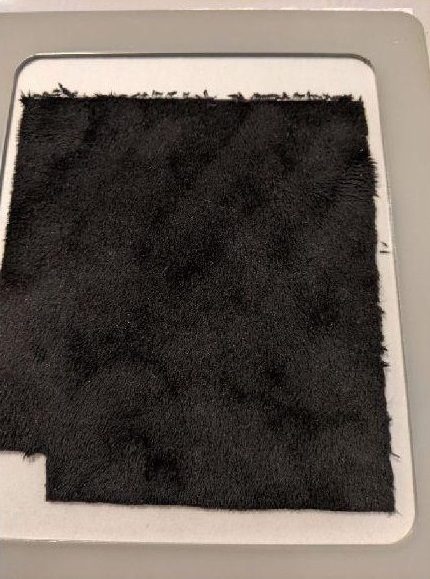
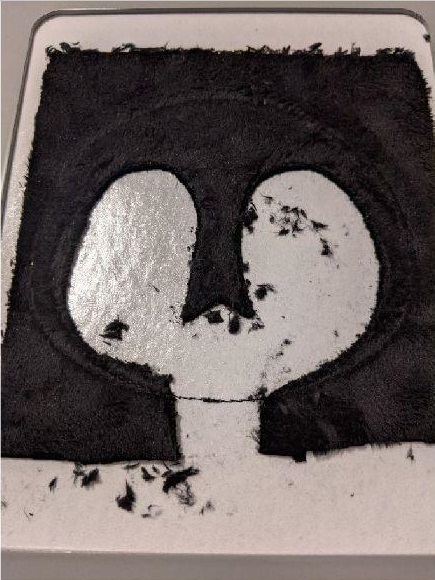
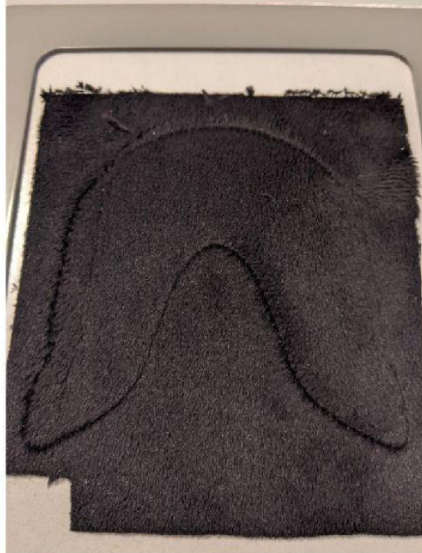
Put your black Minky on the seam, taking care to hide the entire seam
(Click Image to Enlarge)
Step 3:
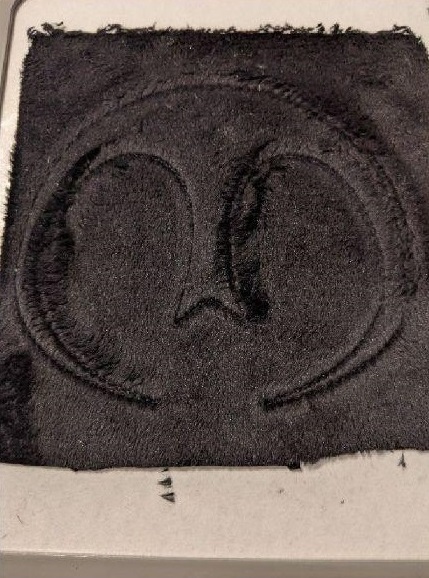
Seam 2: this seam will hold your Minky in place
(Click Image to Enlarge)
Step 4:
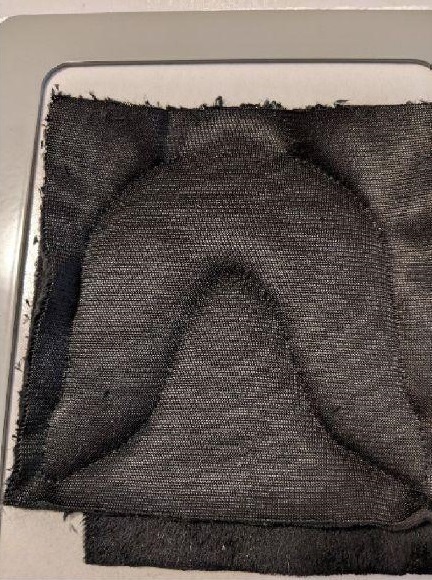
Remove excess minky from the inside of the seam
(Click Image to Enlarge)
Step 5:
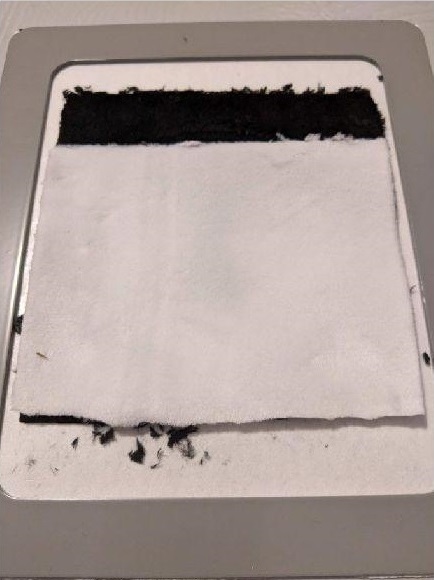
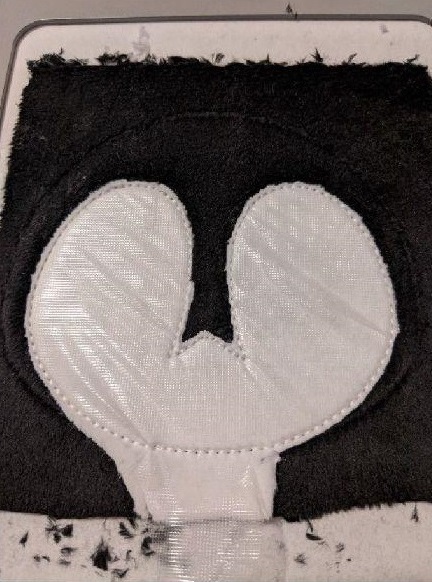
Put on your white Minky to cover the entire inside of the face
(Click Image to Enlarge)
Step 6:
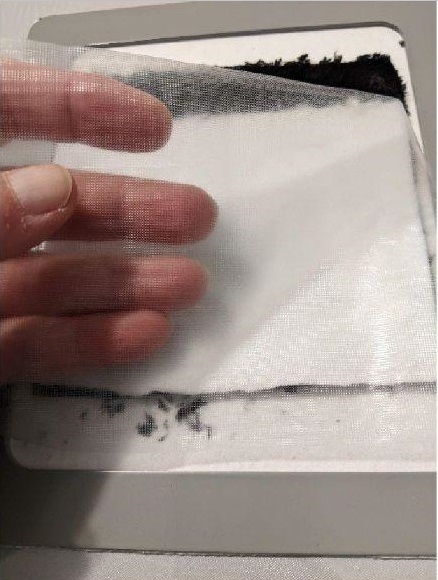
Put on your water- soluble stabilizer
(Click Image to Enlarge)
Step 7:
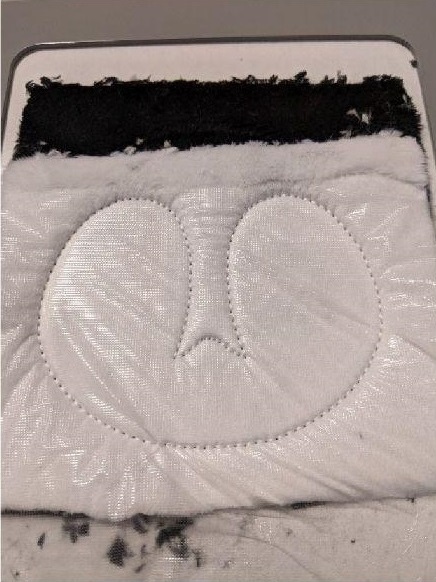
Seam 3: this seam will hold your white Minky and water-soluble stabilizer in place
(Click Image to Enlarge)
Step 8:
Cut the excess fabric all around the face, leaving a little more at the bottom
(Click Image to Enlarge)
Step 9:
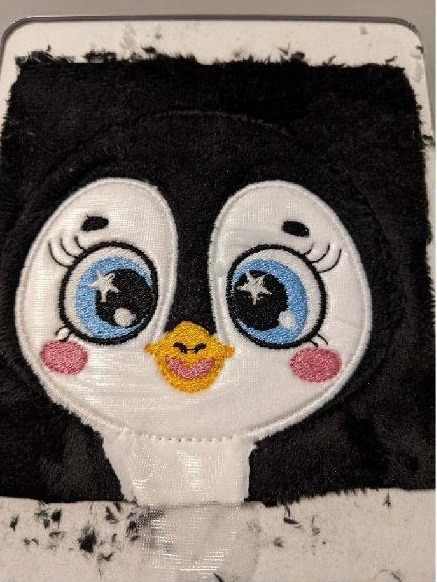
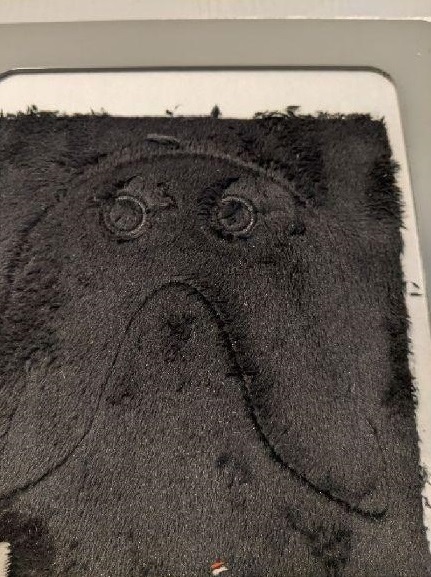
Sewing 4-5-6-7-8-9: embroidery stitches
(Click Image to Enlarge)
Step 10:
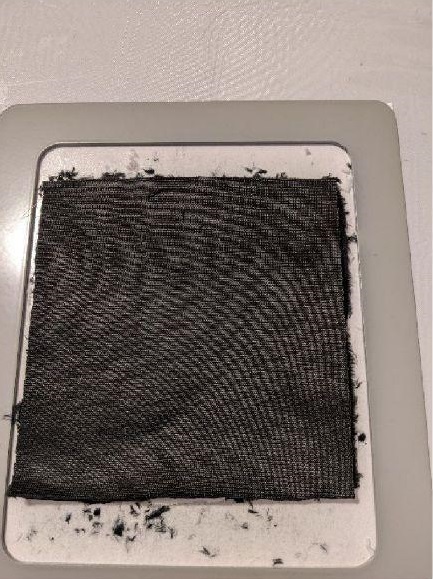
Put your 2nd piece of fabric, place against place on your work
(Click Image to Enlarge)
Step 11:
Seam 10: this seam will join the front with the back of your head. Get out of the frame, cut off the excess fabric and return to the
(Click Image to Enlarge)
Step 12:
THE ARMS
Put your first piece of 12x12cm on your stabilizer to tear
(Click Image to Enlarge)
Step 13:
Seam 1: this seam will hold your Minky in place
(Click Image to Enlarge)
Step 14:
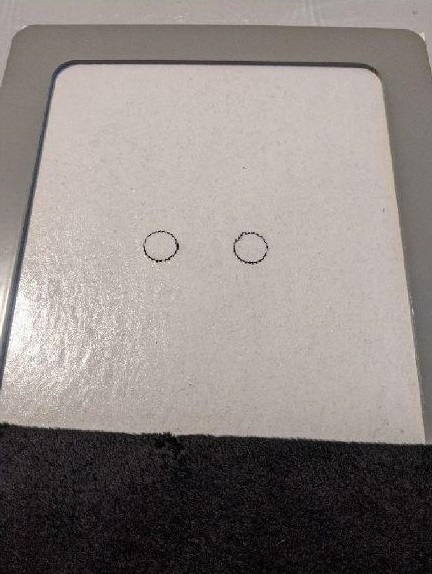
Seam 2: this seam is to tell you the location of your snaps
(Click Image to Enlarge)
Step 15:
Put your 2nd piece place against place on your work.
(Click Image to Enlarge)
Step 16:
Seam 3: this seam wil join your 2 pieces of Minbu +aaothor.
Thinking outside the box Cut excess fabric all around except when opening. Leave a little more fabric at the opening site.
Put in place
(Click Image to Enlarge)
Step 17:
BLANKET
Print your pattern, cut your pieces of fabric. Do the sewing as indicated on the pattern
The first seam is done on your stabilizer to tell you the location
(Click Image to Enlarge)
Step 18:
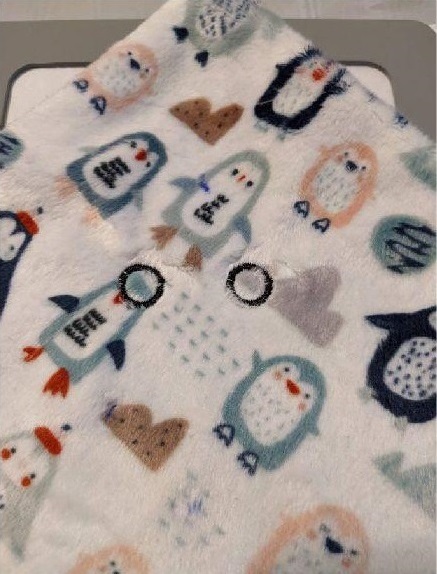
You can use the file to tell you the location of your snaps on the cover
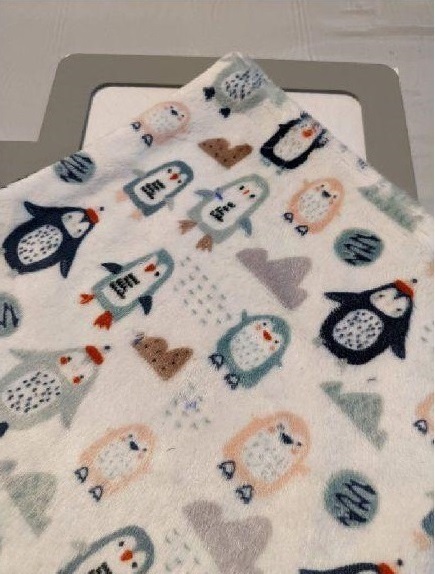
Put your blanket in the desired place
(Click Image to Enlarge)
Step 19:
Put your blanket in place
Seam 2: this seam will show you the location for vour snabs
(Click Image to Enlarge)
Step 20:
(Click Image to Enlarge)
Put your buttons on the arms and on the cover.
Step 21:
Put your stuffing in your arms and head. Close openings with an invisible seam Put your head on your arms and sew with an invisible seam, go around at least 3 times.