Border OptionsHugging border, circle, square, or rectangle — with a 3mm satin stitch.
Backing OptionsAvailable with iron-on, sew-on, or velcro backing.
Fast ShippingShipped quickly from the USA.
Free Online Tools
Powerful embroidery utilities that save time and prevent costly mistakes.
Stitch AssistantRECOMMENDED
Get the exact stabilizer, machine settings, needle, and thread color sequence for every embroidery design you purchase — based on that design's stitch density, dimensions, and color count.
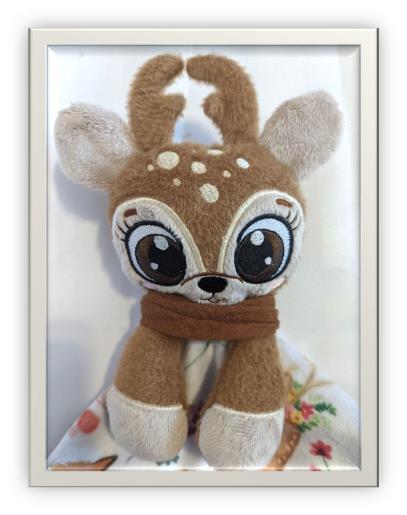
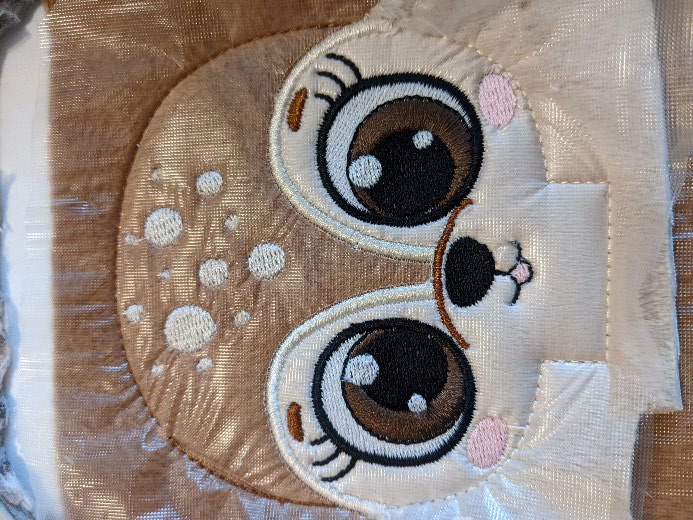
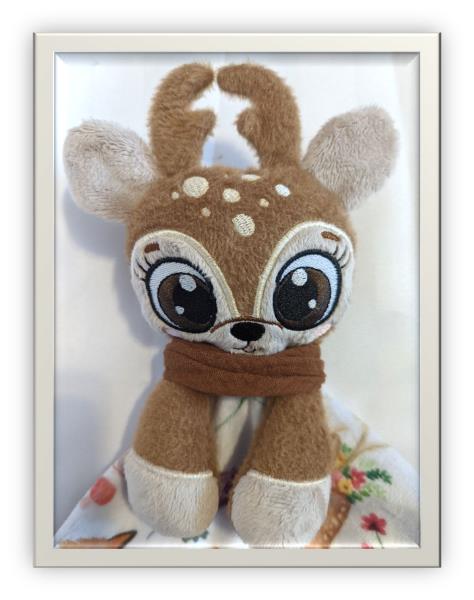
Craft a delightful Reindeer Blanket Buddy with this in-the-hoop project. Ideal for cozy cuddling, this charming reindeer companion adds warmth and joy to a child's bedtime routine. Step-by-step instructions are included.
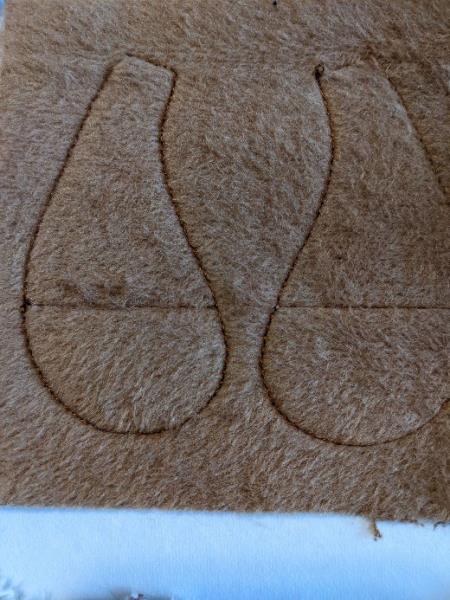
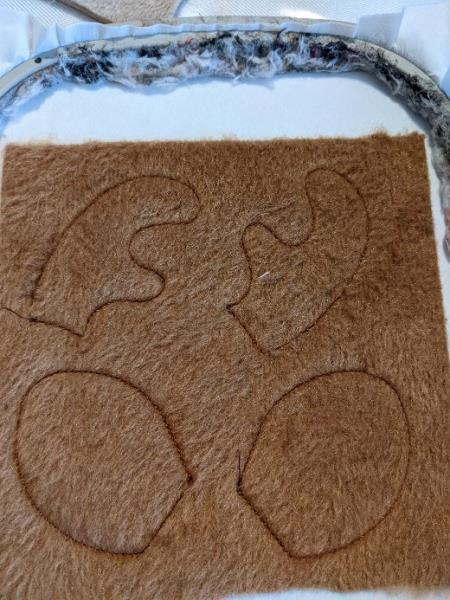
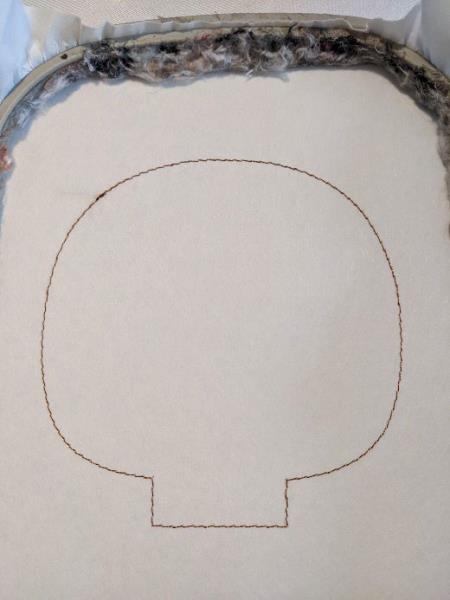
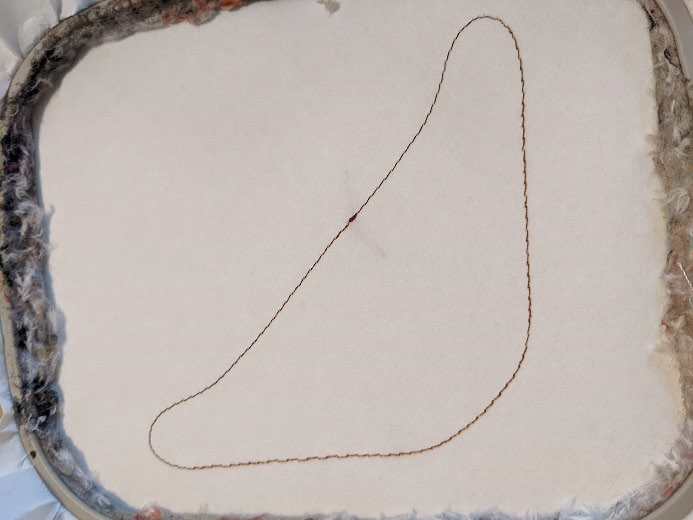
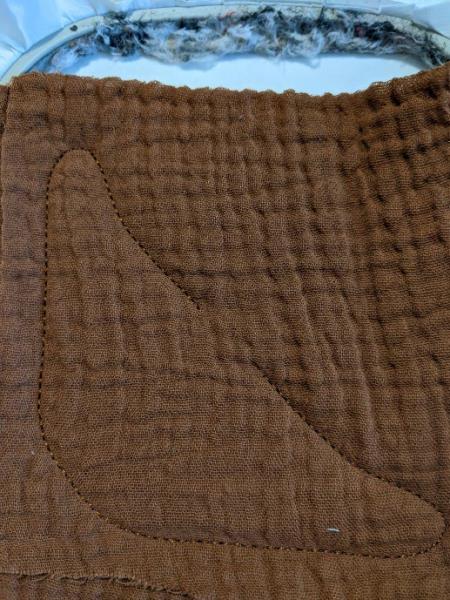
Seam 1: this seam is done on your support to tell you the location for your fabric.
(Click Image to Enlarge)
Step 2:
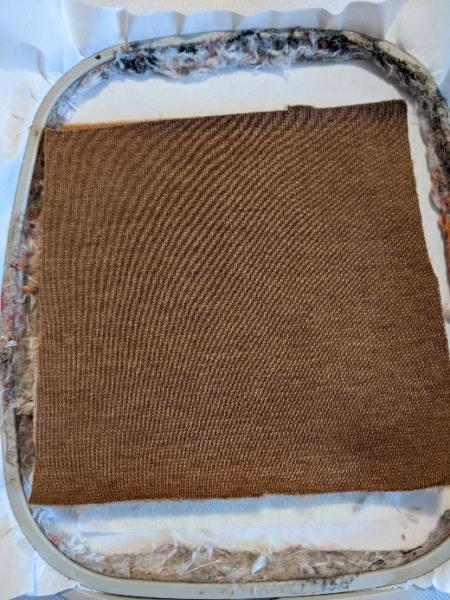
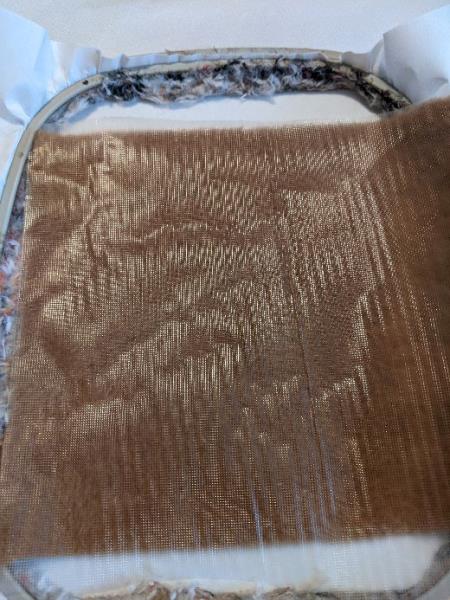
Put your fabric taking care to hide the entire seam
(Click Image to Enlarge)
Step 3:
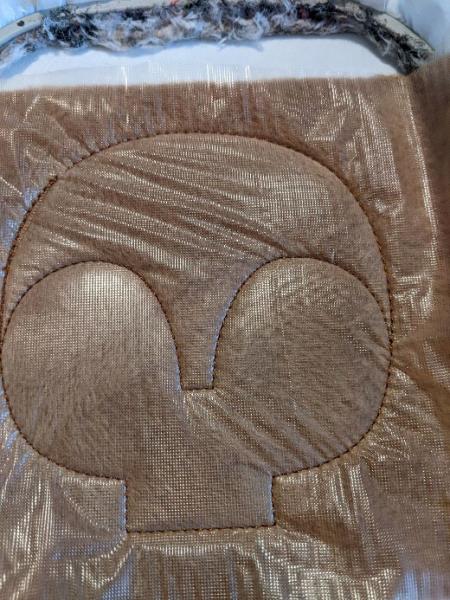
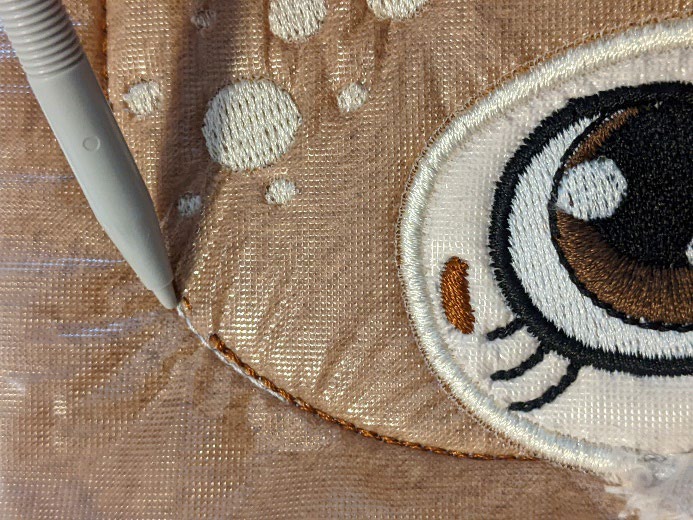
Seam 2: this seam will hold your fabric on your support
(Click Image to Enlarge)
Step 4:
Seam 3: this seam tells you the location of your beige fabric
(Click Image to Enlarge)
Step 5:
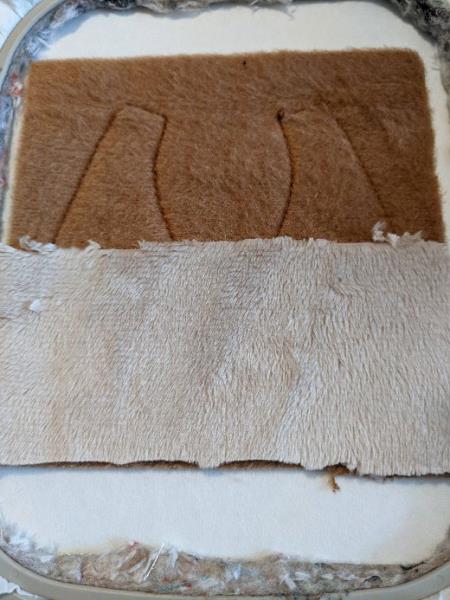
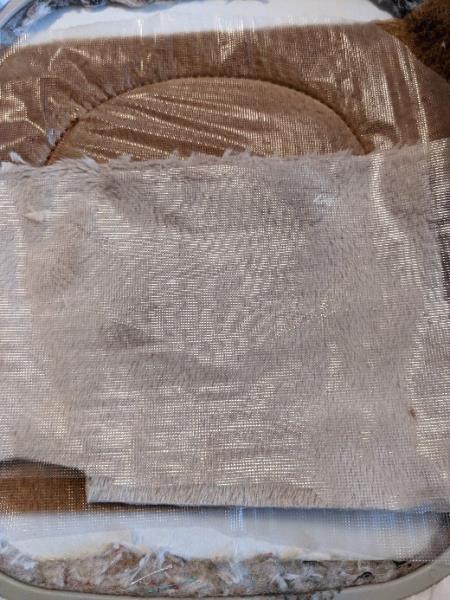
Put your beige fabric taking care to hide all the seam
(Click Image to Enlarge)
Step 6:
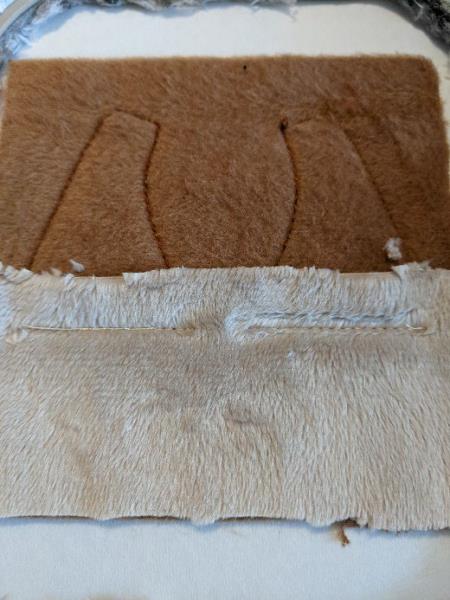
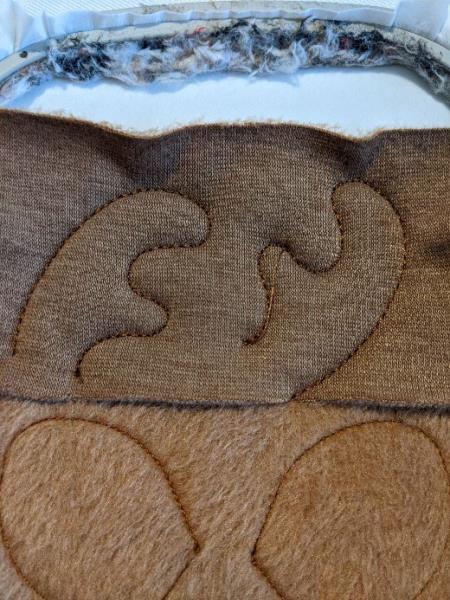
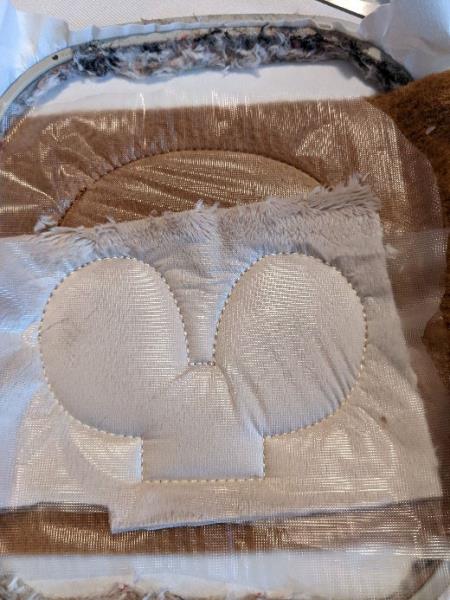
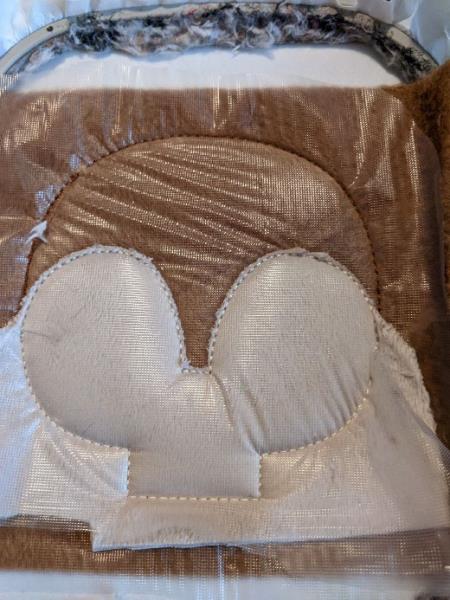
Seam 4: sewing your beige fabric on your paws Cut the excess fabric in the top of the fabric
(Click Image to Enlarge)
Step 7:
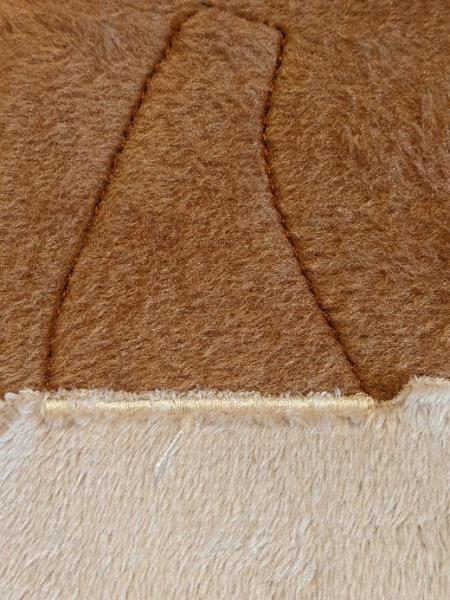
Seam 5: embroidery stitch
(Click Image to Enlarge)
Step 8:
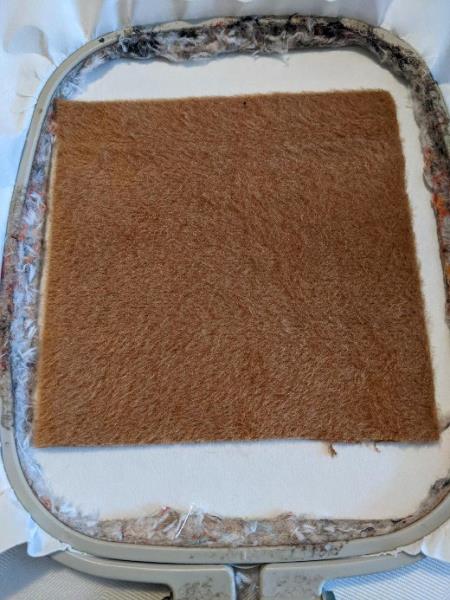
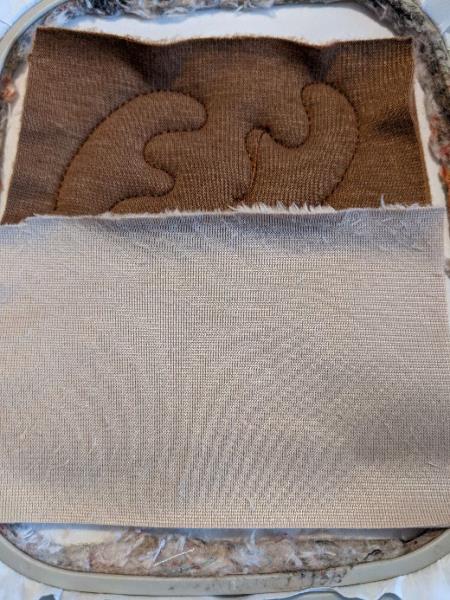
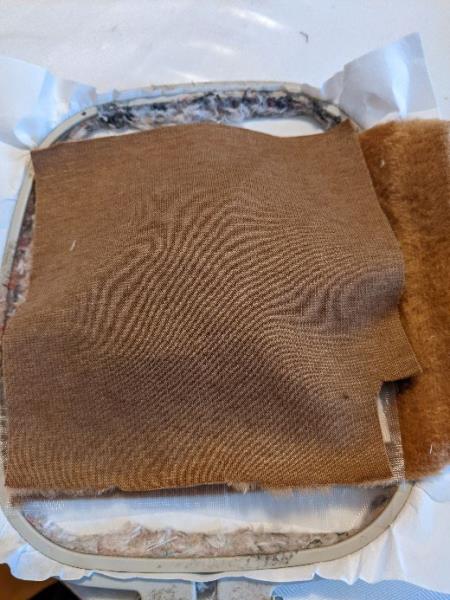
Put your 2nd piece of brown fabric, place against place on your work
(Click Image to Enlarge)
Step 9:
Sewing 6: this seam will join your 2 pieces of fabric together. Get out of the frame, remove the excess fabric leaving a little more on the unsewn parts on either side of the arms
(Click Image to Enlarge)
Step 10:
WOOD AND EARS
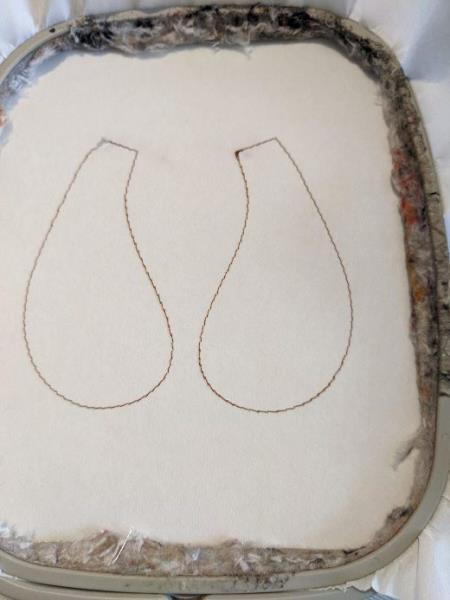
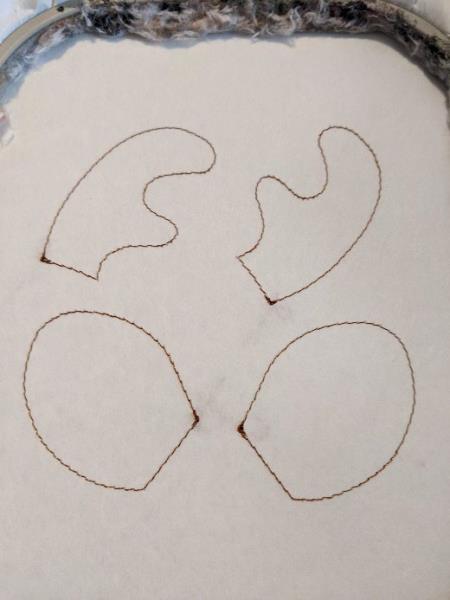
Seam 1: this seam is done on your support to tell you the location for your fabric
(Click Image to Enlarge)
Step 11:
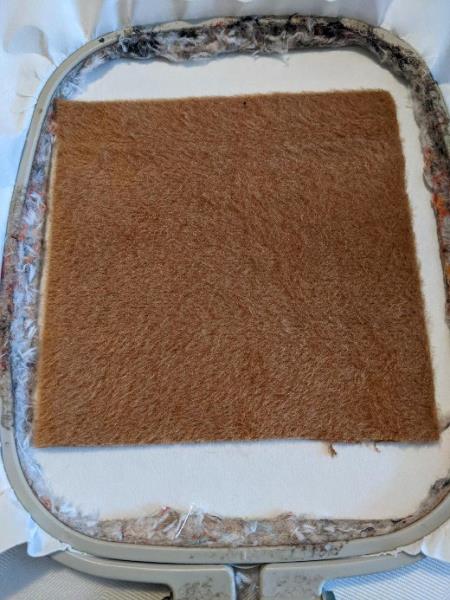
Put your fabric taking care to hide the entire seam
(Click Image to Enlarge)
Step 12:
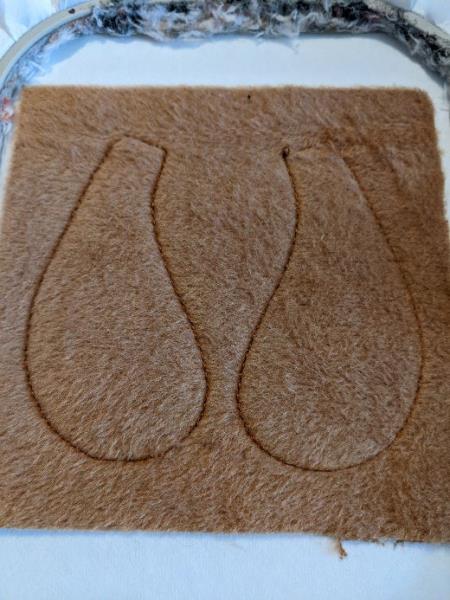
Seam 2: this seam will hold your fabric on your support
(Click Image to Enlarge)
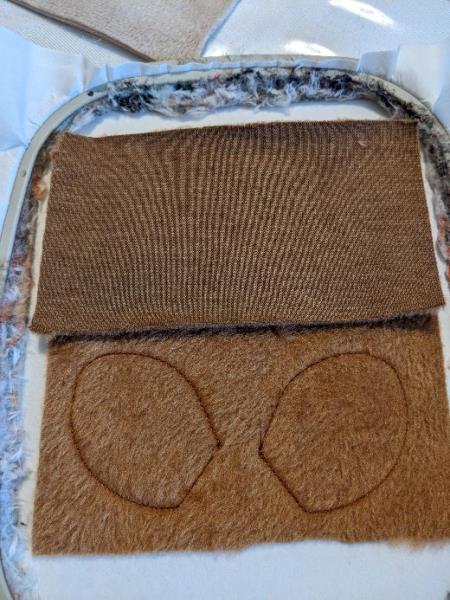
Step 13:
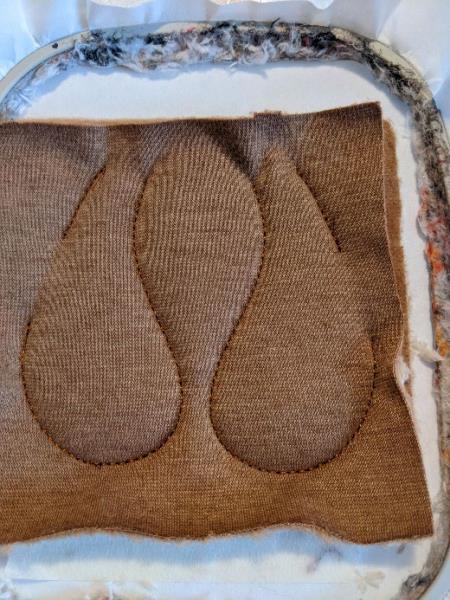
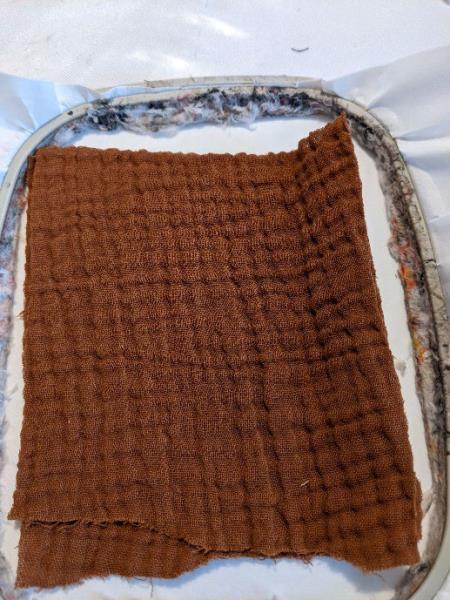
Put your piece of brown fabric on the woods, taking care to hide all the seam without going on the ears
(Click Image to Enlarge)
Step 14:
Sewing 3: sewing your 2 pieces of fabric for woods together
(Click Image to Enlarge)
Step 15:
Take your beige fabric and put place against place on the ears Seam 4: This seam will join your 2 pieces of fabric for the ears
(Click Image to Enlarge)
Step 16:
HEAD
Seam 1: this seam is done on your support to tell you the location for your fabric
(Click Image to Enlarge)
Step 17:
Put your fabric and your watersoluble support , taking care to hide the entire seam
(Click Image to Enlarge)
Step 18:
Seam 2: This seam tells you the location for your beige fabric
(Click Image to Enlarge)
Step 19:
Put your beige fabric (place towards you) and water-soluble support on the lower part of the face
(Click Image to Enlarge)
Step 20:
Seam 3: this seam will keep your fabric and water-soluble support on your brown fabric
(Click Image to Enlarge)
Step 21:
Cut the excess fabric in the top of your beige fabric
(Click Image to Enlarge)
Step 22:
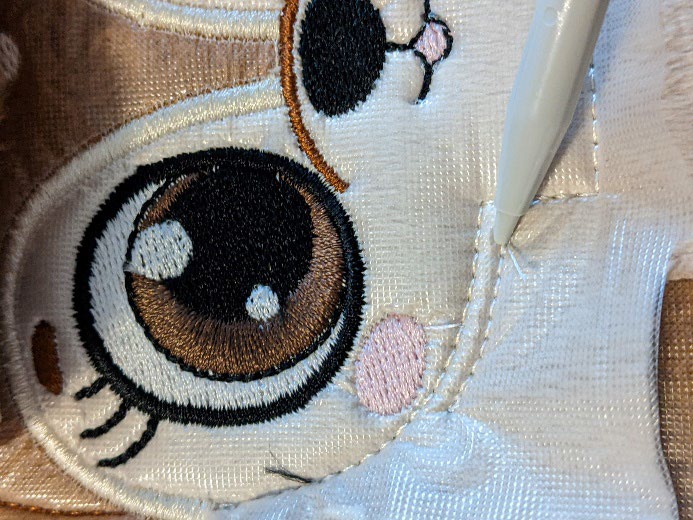
Seam 4 to 10: embroidery stitches
(Click Image to Enlarge)
Step 23:
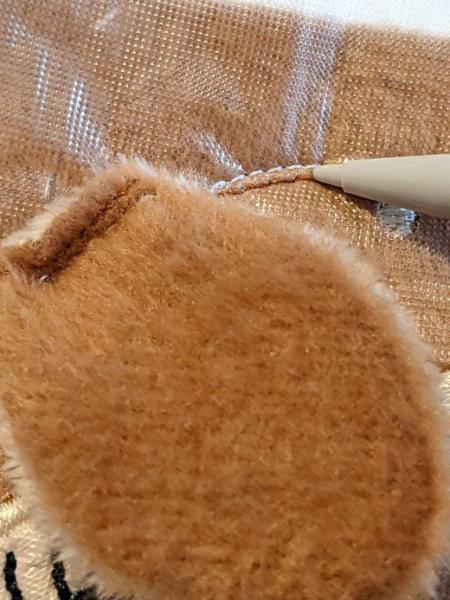
Seam 11 and 17: this seam tells you the location of your ears
(Click Image to Enlarge)
Step 24:
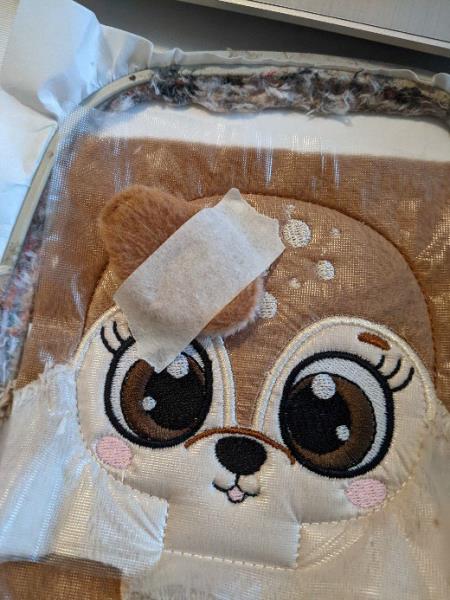
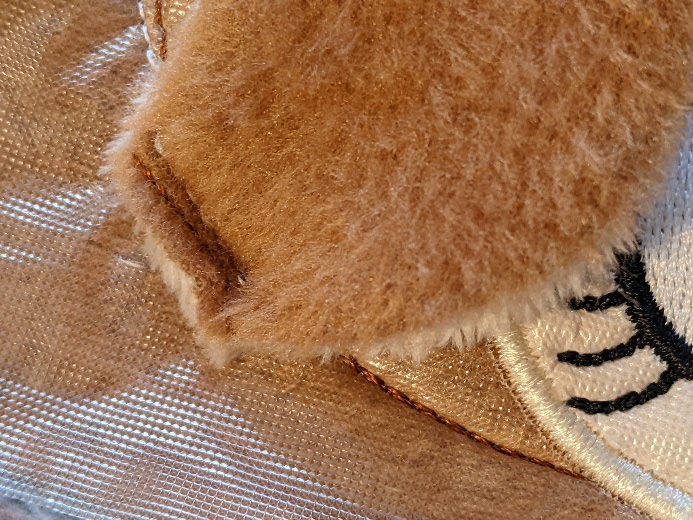
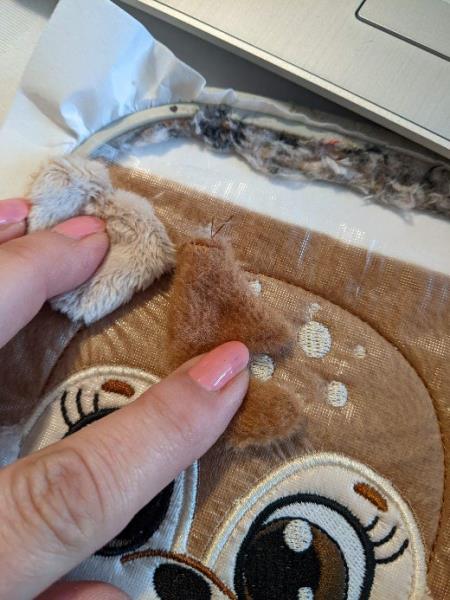
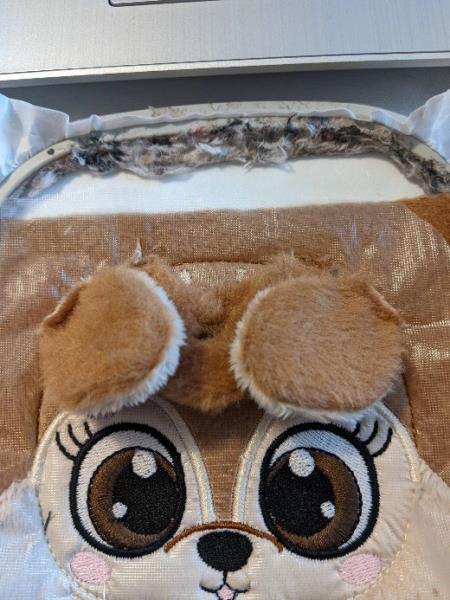
Put your ear place against place over the seam, hold well in place
(Click Image to Enlarge)
Step 25:
Seam 12 and 18: sewing your ear on your head
(Click Image to Enlarge)
Step 26:
Seam 13 and 15: sewing to tell you the location of your woods
(Click Image to Enlarge)
Step 27:
Put your wood, place against place on the seam, hold well in place
(Click Image to Enlarge)
Step 28:
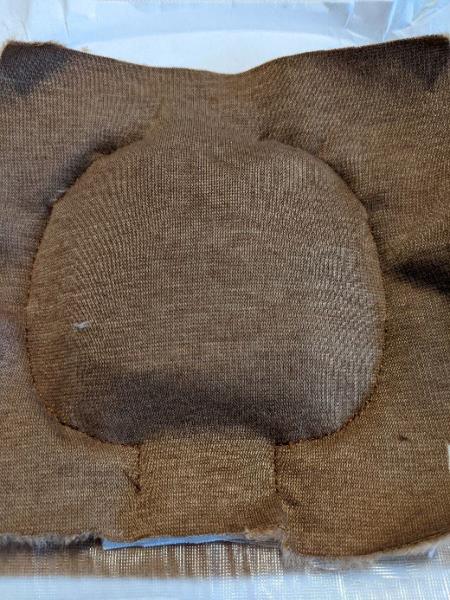
After sewing 18 you should have this
(Click Image to Enlarge)
Step 29:
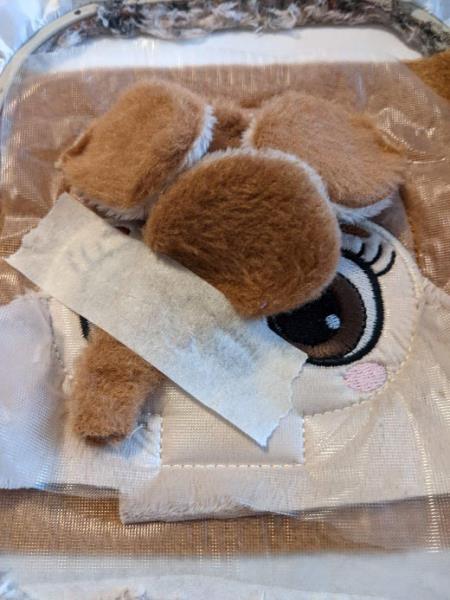
Seam 19 and 21: this seam tells you the location of your arms
(Click Image to Enlarge)
Step 30:
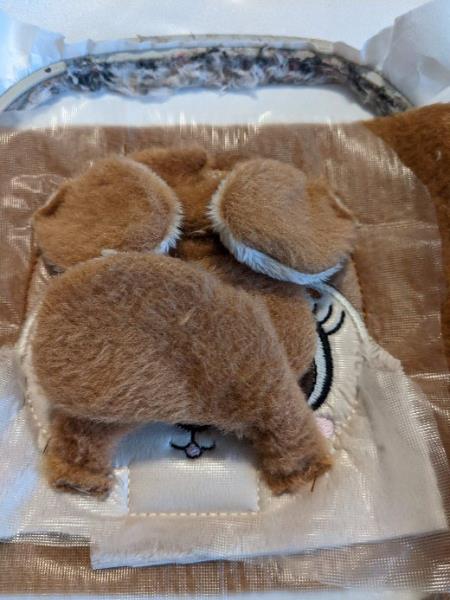
Put your arm place against place on the seam and hold well in place
(Click Image to Enlarge)
Step 31:
Seam 20 and 22: sewing your arms on your head
(Click Image to Enlarge)
Step 32:
Put your 2nd piece of fabric place against place
(Click Image to Enlarge)
Step 33:
Sewing 23: This seam will join your 2 pieces of fabric together
(Click Image to Enlarge)
Step 34:
THE BANDANA
Seam 1: this seam is done on your support to tell you the location of your fabric
(Click Image to Enlarge)
Step 35:
Put your 2 pieces of fabric, place against place on your support taking care to hide all the seam
(Click Image to Enlarge)
Step 36:
Sewing 2: this seam will join your 2 pieces together
(Click Image to Enlarge)
Step 37:
THE ASSEMBLY
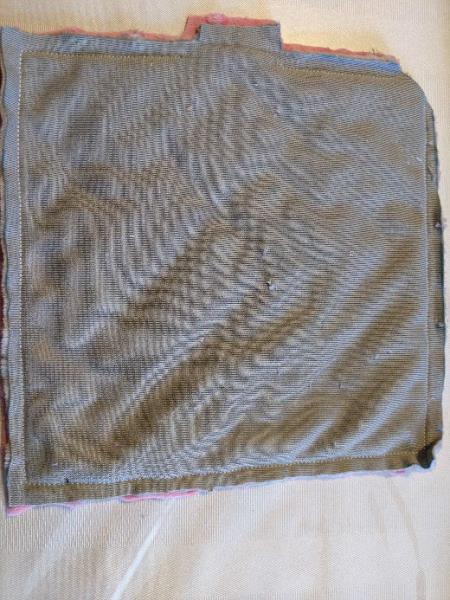
Print your pattern, cut your 2 pieces of fabric for the cover. Put place against place and make a triple seam to the sewing machine. Make a seam only in the places indicated.
(Click Image to Enlarge)
Step 38:
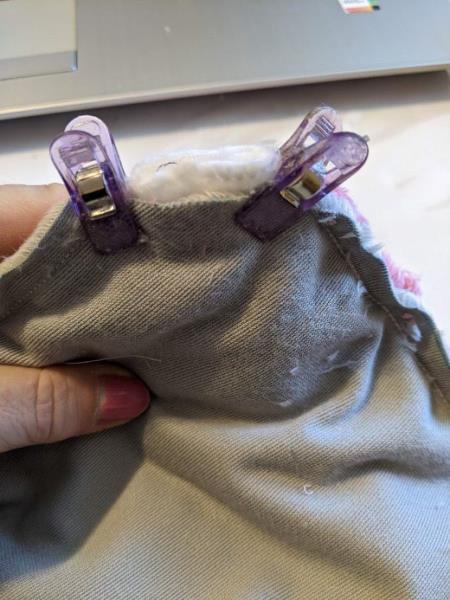
Insert your head into the blanket, taking care to put the front of the head on the front of the blanket
(Click Image to Enlarge)
Step 39:
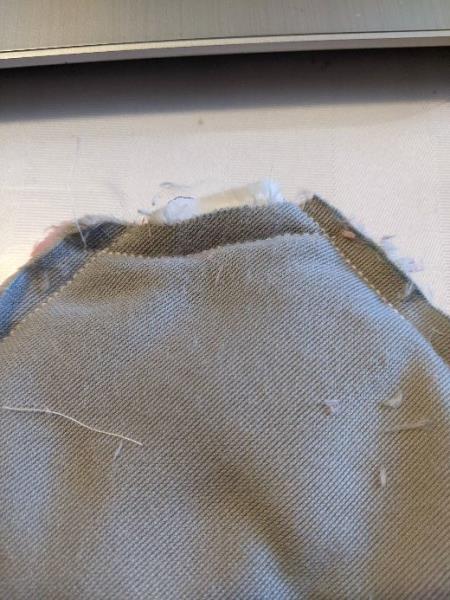
Make the seam of your head on your blanket. Put in the place