Border OptionsHugging border, circle, square, or rectangle — with a 3mm satin stitch.
Backing OptionsAvailable with iron-on, sew-on, or velcro backing.
Fast ShippingShipped quickly from the USA.
Free Online Tools
Powerful embroidery utilities that save time and prevent costly mistakes.
Stitch AssistantRECOMMENDED
Get the exact stabilizer, machine settings, needle, and thread color sequence for every embroidery design you purchase — based on that design's stitch density, dimensions, and color count.
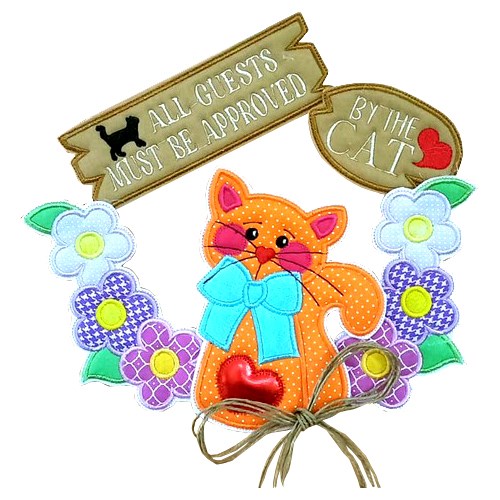
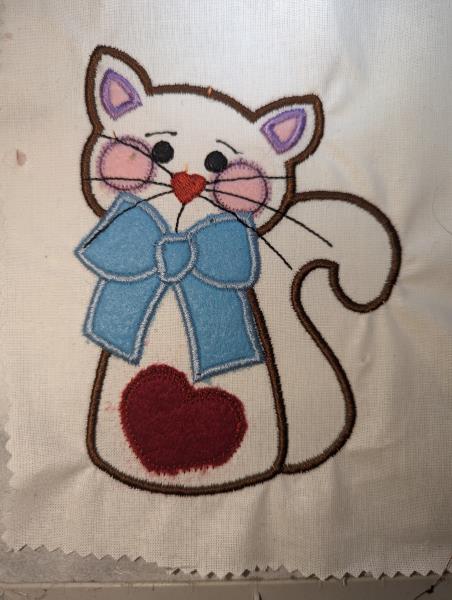
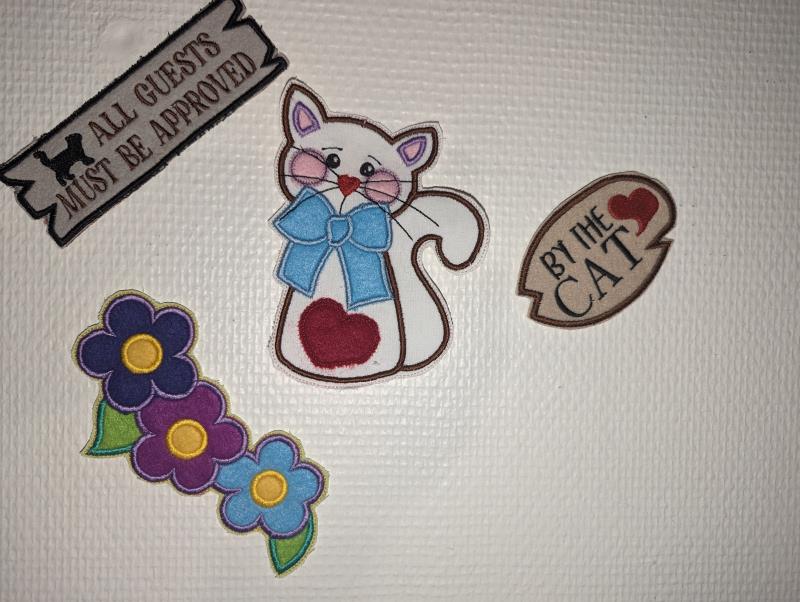
Add a humorous touch to your home with this in-the-hoop cat-themed welcome sign. Featuring a playful feline design surrounded by colorful flowers, it's a delightful reminder of who truly rules the house. Step-by-step instructions are included.
This is a collaboration between ITH Boutique and Dona.
Step 1:
Step 1:
The Cat :
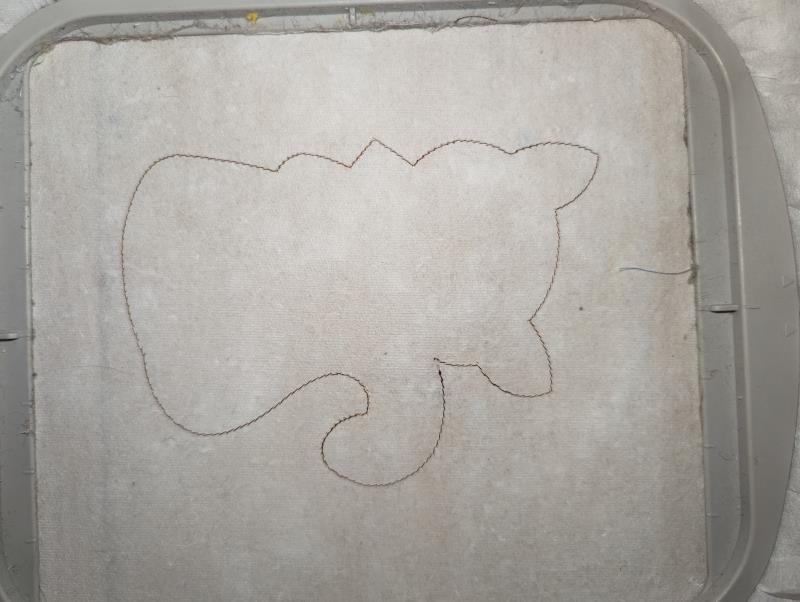
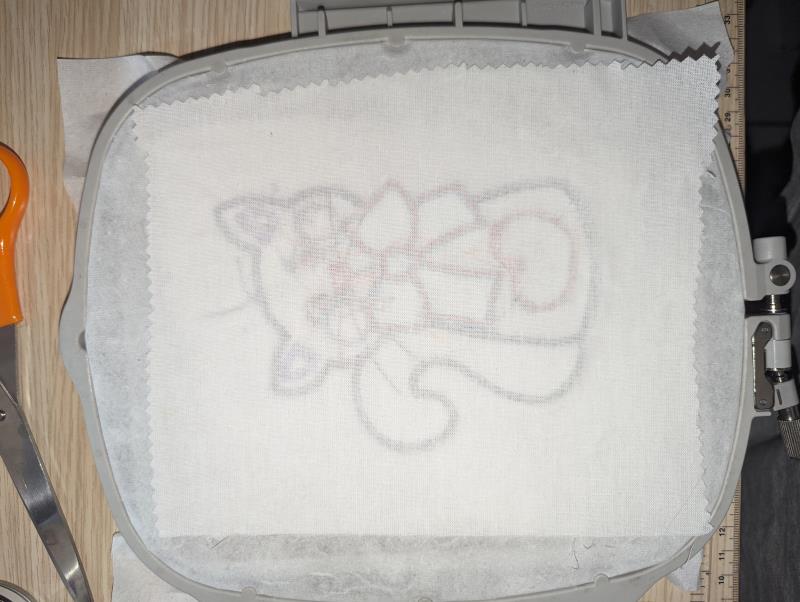
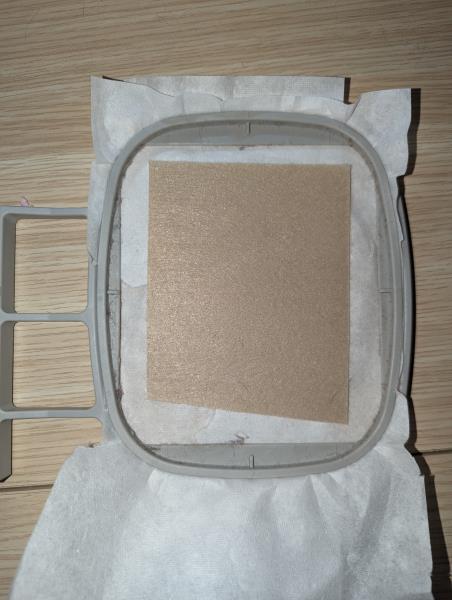
For start tautly hoop your cutaway stabilizer in your embroidery hoop and run color-stop 1 as a placement line.
Remove the hoop from the machine, do not unhoop.
(Click Image to Enlarge)
Step 2:
Step 2 :
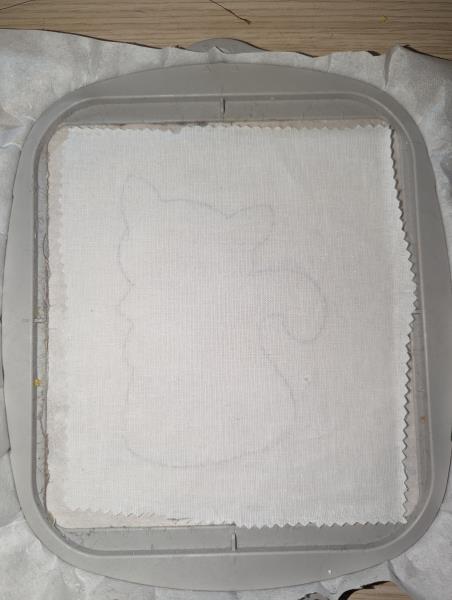
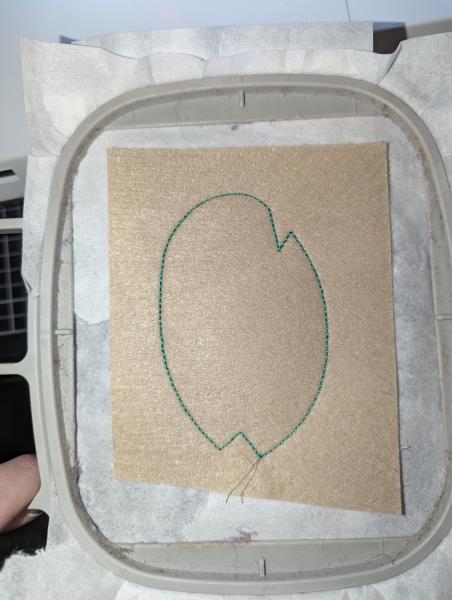
Cover the placement line with your main body fabric using the repositionable adhesive spray and run color-stop 2.
(Click Image to Enlarge)
Step 3:
Step 3 :
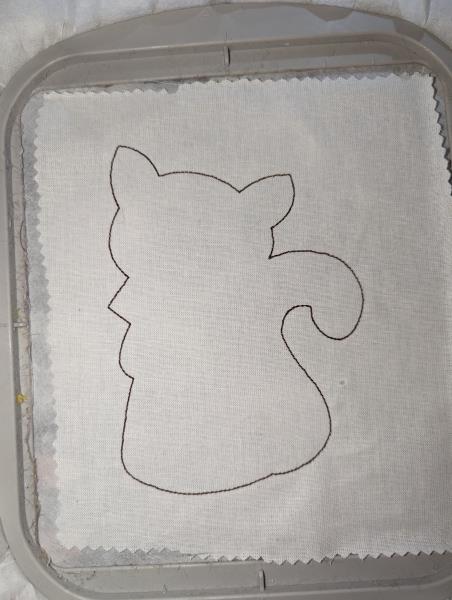
You can throw the next 2 colors-stop.
(Click Image to Enlarge)
Step 4:
Step 4 :
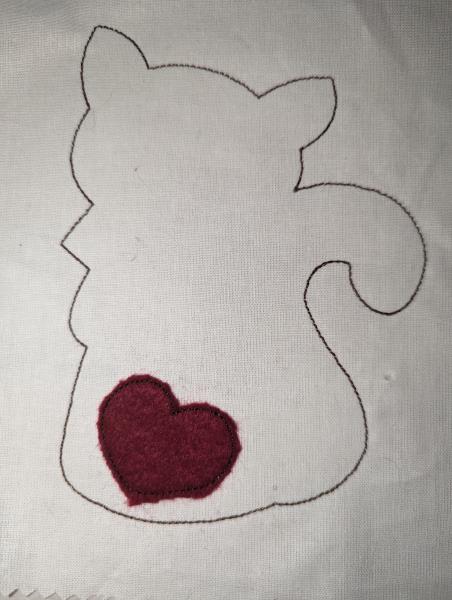
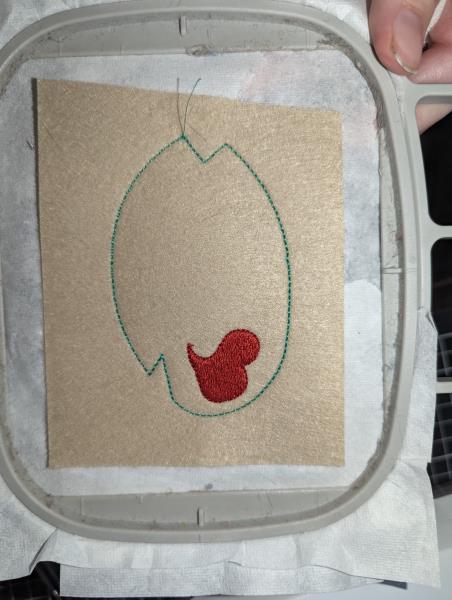
Cover the placement line (color-stop 5) with heart fabric with the help of the repositionable adhesive spray, and run color-stop 6.
Cut the excess fabric.
(Click Image to Enlarge)
Step 5:
Step 5 :
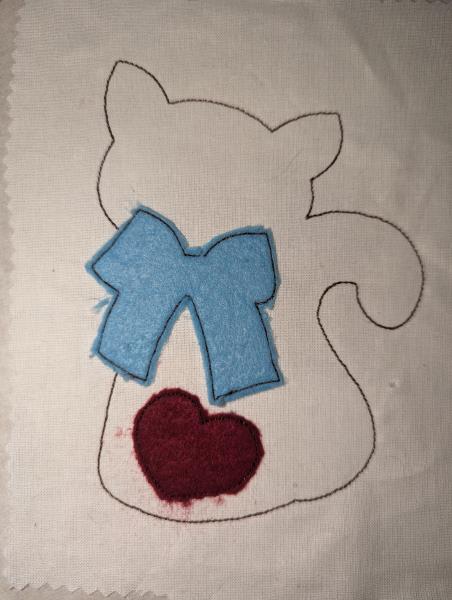
Cover the placement line (color-stop 7) with bow fabric with the help of the repositionable adhesive spray, and run color-stop 8.
Cut the
(Click Image to Enlarge)
Step 6:
Step 6 :
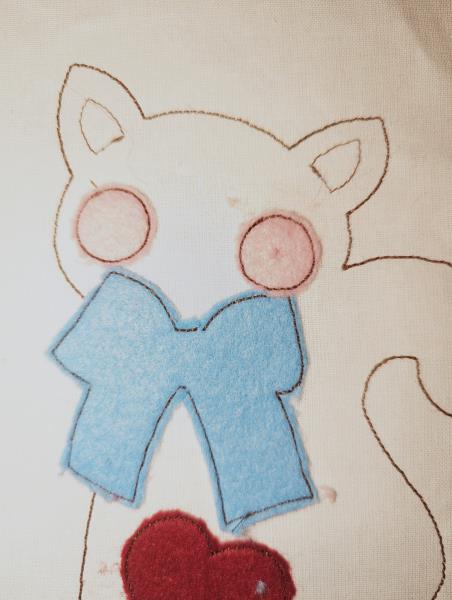
Cover the placement line (color-stop 9 and 11) with cheeks fabric with the help of the repositionable adhesive spray, and run color- stop 10 and 12.
Cut the excess fabric.
(Click Image to Enlarge)
Step 7:
Step 7 :
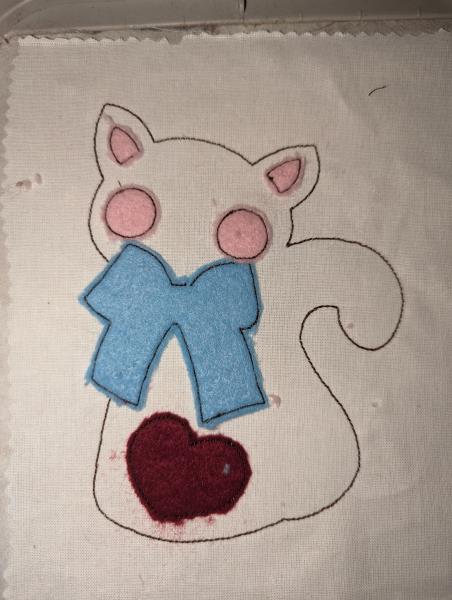
Cover the placement line (color-stop 13and 15) with ear fabric with the help of the repositionable adhesive spray, and run color-stop (14 and 16).
Cut the
(Click Image to Enlarge)
Step 8:
Step 8 :
Run the next color-stop one by one for outlines
Ear outlines.
Body outlines.
Bow outlines.
Eyes and whiskers embroidery.
Nose embroidery and heart outlines.
Eyes light embroidery.
(Click Image to Enlarge)
Step 9:
Step 9 :
Cover the project with your main fabric facing down, and run color-stop 18. (if you use a thick fabric, you won't be able to see the seams through).
(Click Image to Enlarge)
Step 10:
Step 10 :
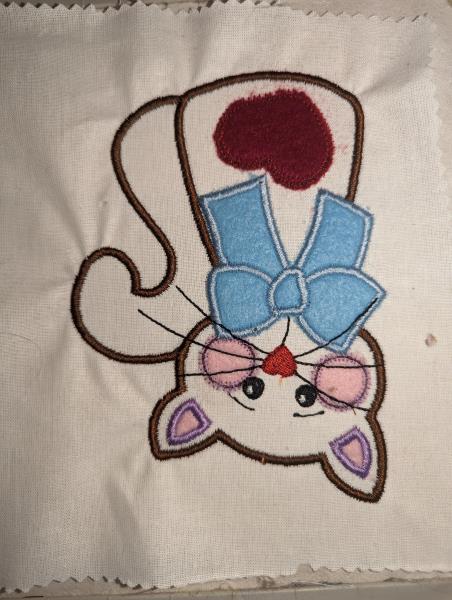
Remove the project from the hoop and Cut the outline of the head close to the seam.
Cut off any excess thread and fabric.
(Click Image to Enlarge)
Step 11:
(Click Image to Enlarge)
Step 11 :
Flowers :
For start tautly hoop your cutaway stabilizer in your embroidery hoop and run color-stop 1 as a placement line.
Remove the hoop from the machine, do not unhoop.
Cover the placement line with your main body fabric using the repositionable adhesive spray and run color- stop 2.
Step 12:
(Click Image to Enlarge)
Step 12 :
You can throw the next 2 colors-stop.
Step 13:
Step 13 :
For the next color stops repeat the same process each time.
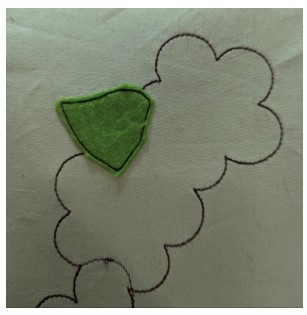
Cover the placement line with bow fabric with the help of the repositionable adhesive spray, and run color-stop .
Cut the excess fabric.
Do this for :
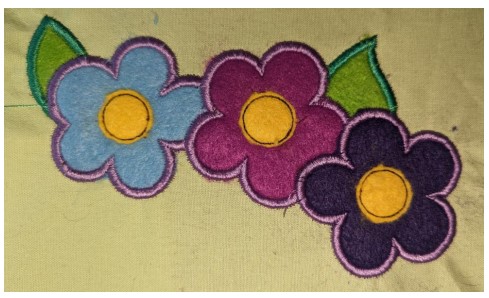
2 petals,3 flowers,3 flower center.
Step 14:
Step 14 :
Run the next color-stop one by one for outlines
Petals.
Flower 1.
Flower 2 (you can change color if you want).
Flower 3 (you can change color if you want).
Center flower 1.
Center flower 2 (you can change color if you want).
Center flower 3 (you can change color if you want).
Step 15:
(Click Image to Enlarge)
Step 15 :
Cover the project with your main fabric facing down, and run the last color stop. (if you use a thick fabric, you won't be able to see the seams through).
Step 16:
(Click Image to Enlarge)
Step 16 :
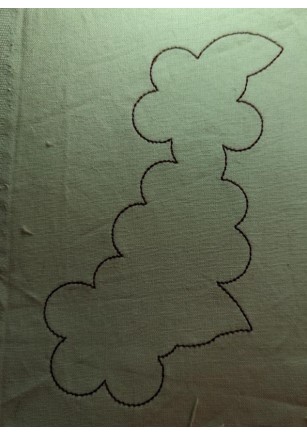
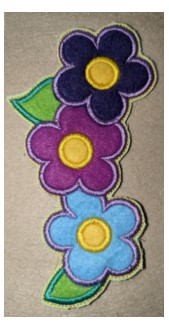
Remove the project from the hoop and Cut the outline of the flouwers close to the seam.
Step 17:
Step 17 :
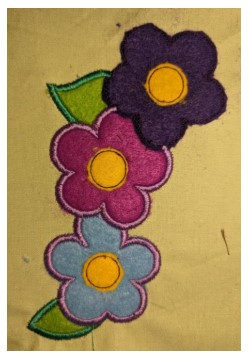
Repeat step 11 to 16 for the other flower.
Step 18:
(Click Image to Enlarge)
Step 18:
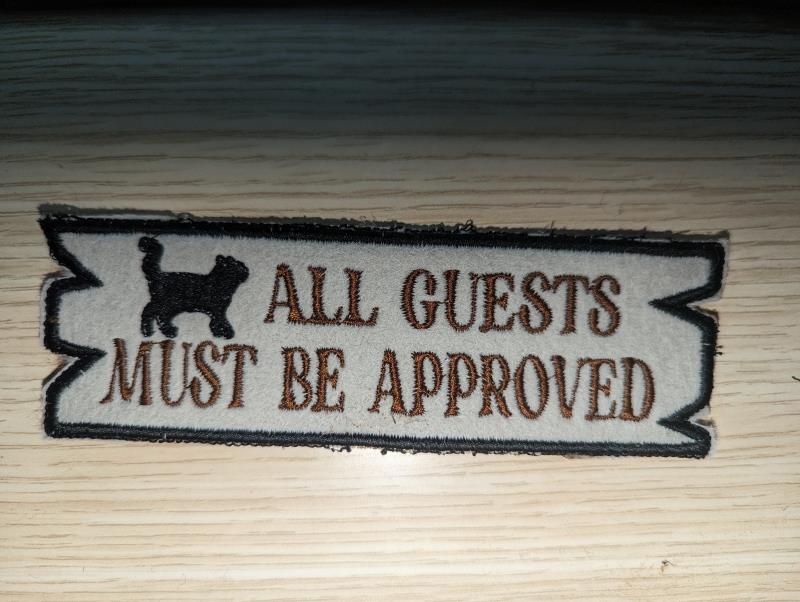
The Sign
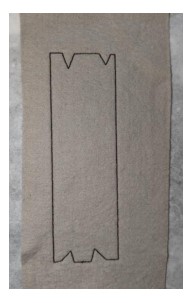
For start tautly hoop your cutaway stabilizer in your embroidery hoop and run color-stop 1 as a placement line
Remove the hoop from the machine, do not unhoop.
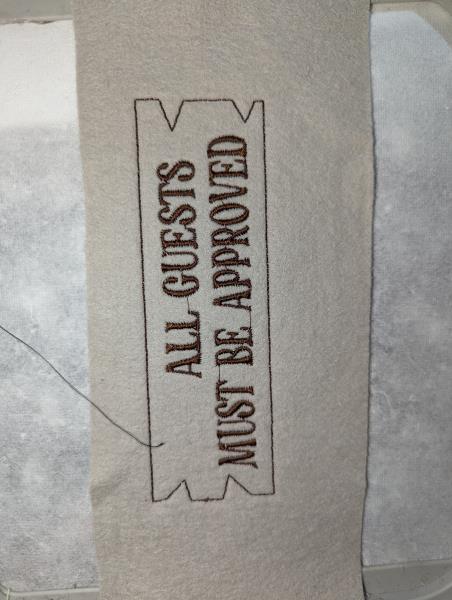
Cover the placement line with your main body fabric using the repositionable adhesive spray and run color-stop 2.
Step 19:
Step 19 :
Run color stop “text”.
(Click Image to Enlarge)
Step 20:
Step 20 :
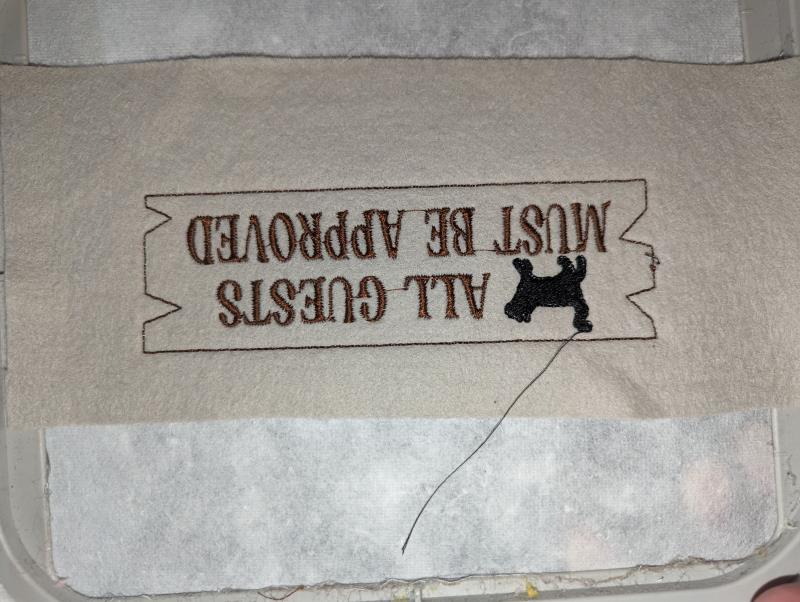
Run the color-stop “cat”.
(Click Image to Enlarge)
Step 21:
Step 21 :
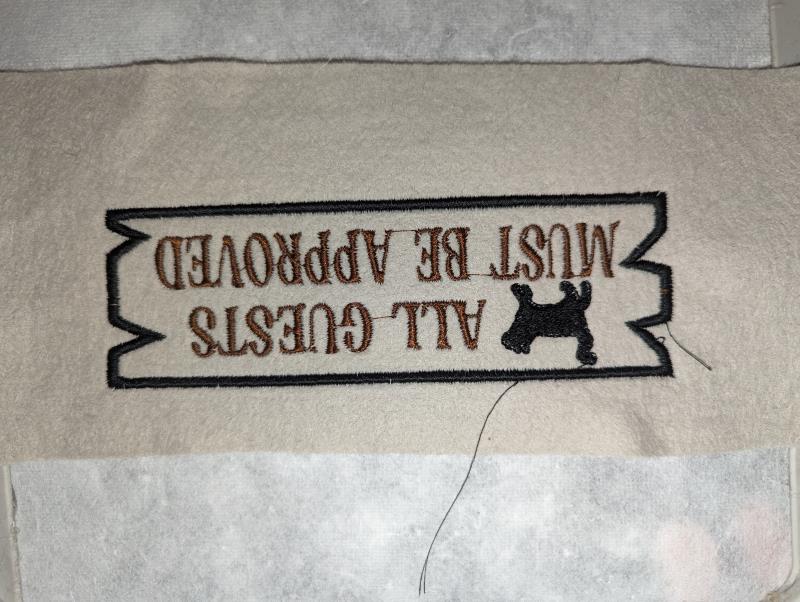
Run the color-stop: outline of sign.
(Click Image to Enlarge)
Step 22:
Step 22 :
Cover the project with your main fabric facing down, and run color-stop 20. (if you use a thick fabric, you won't be able to see the seams through).
(Click Image to Enlarge)
Step 23:
Step 24 :
Remove the project from the hoop and Cut the outline of the sign close to the seam.
(Click Image to Enlarge)
Step 24:
Step 24:
The Sign 2
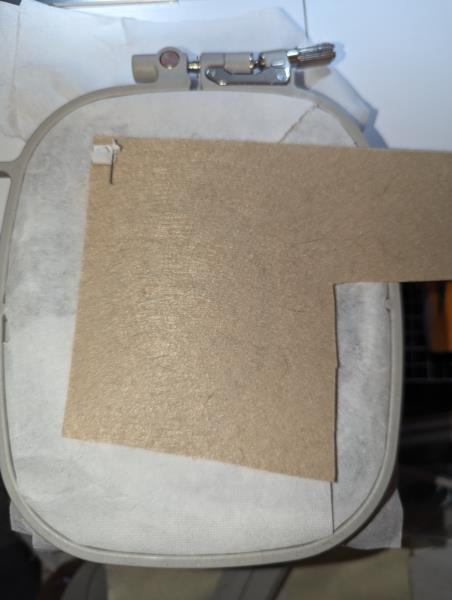
For start tautly hoop your cutaway stabilizer in your embroidery hoop and run color-stop 1 as a placement line.
Remove the hoop from the machine, do not unhoop.
Cover the placement line with your main body fabric using the repositionable adhesive spray and run color-stop 2.
(Click Image to Enlarge)
Step 25:
Step 25 :
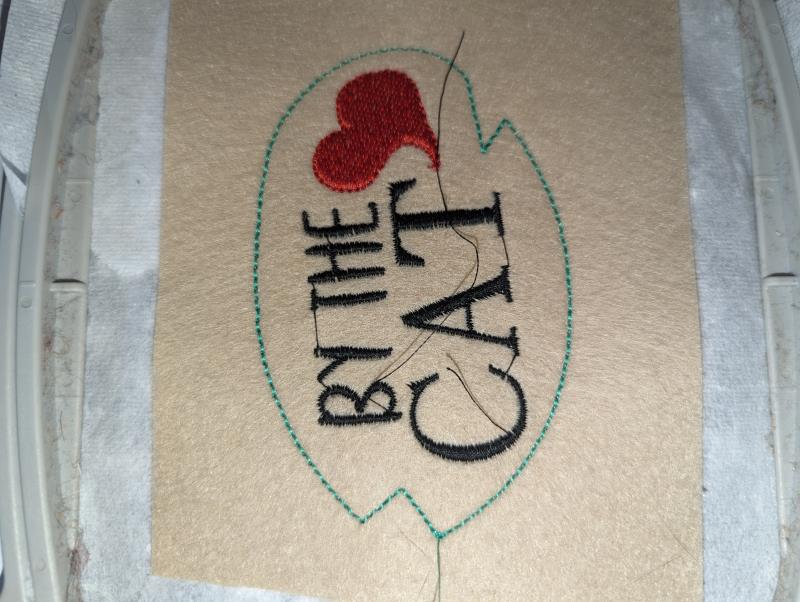
Run color stop “heart”.
(Click Image to Enlarge)
Step 26:
Step 26 :
Run the color-stop text.
(Click Image to Enlarge)
Step 27:
Step 29 :
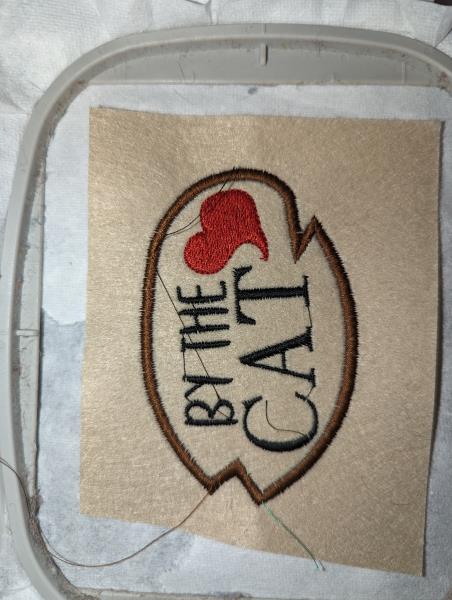
Run the color-stop: outline of sign.
(Click Image to Enlarge)
Step 28:
Step 30 :
Cover the project with your main fabric facing down, and run last color-stop. (if you use a thick fabric, you won't be able to see the seams through).
(Click Image to Enlarge)
Step 29:
Step 31 :
Remove the project from the hoop and Cut the outline of the sign close to the seam.