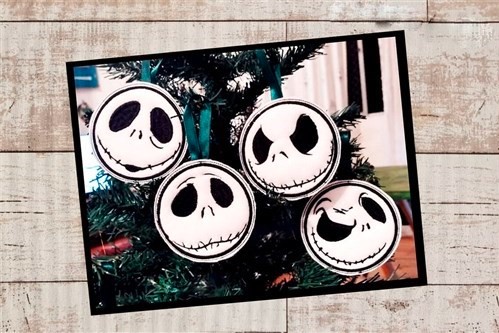
ITH Halloween Jack Ornament

ITH Halloween Jack Ornament Embroidery Project

By   Sew Chic   on   December 23, 2024
  • SKILL LEVELIntermediate
  • TIME REQUIRED01:00
Description

Create a spooky yet elegant addition to your Halloween decor with this In-The-Hoop Jack ornament. Perfect for adding a festive touch to your home or for gifting, this ornament is both fast and fun to make. Step-by-step instructions are included.


Step of

Materials

Project Preview Video

Materials
  • 4” x 4” (100mm*100mm) – or bigger embroidery hoop.
  • Fabric in your favorite colors like cotton or felt
  • 4”x4”Cut-away Stabilizer, or your favorite stabilizer for each head
  • Repositionable adhesive spray.
  • Fabric scissors.
  • Embroiderer Machine
  • Ribbon

  • Designs used in this project

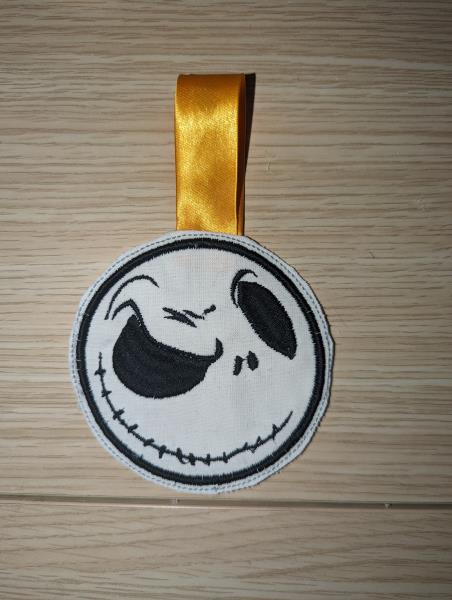
    Final Product: What You Will Create

    Preface:

    This is a collaboration between ITH Boutique and Emerson


    Step 1:

    Step 1 :
    One Head : 

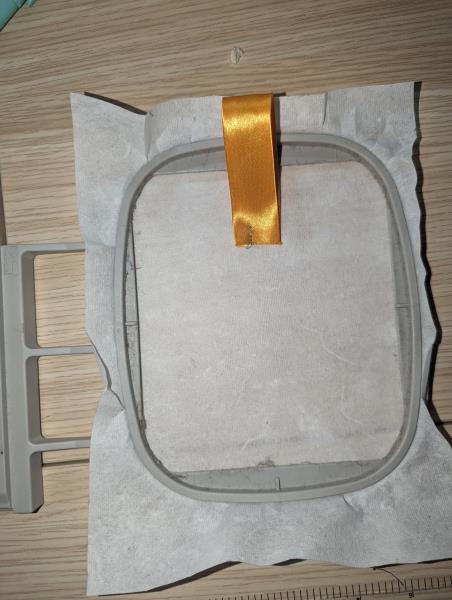
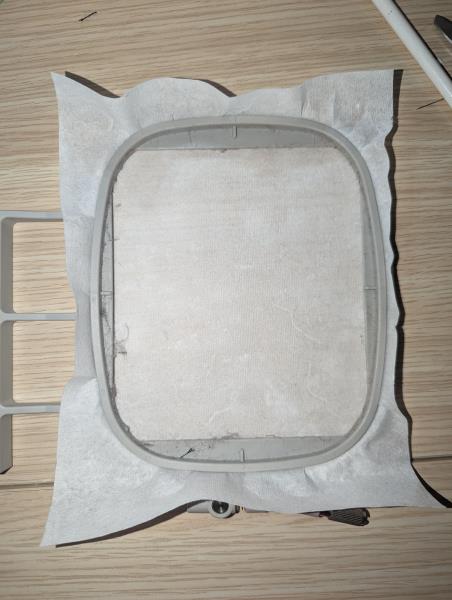
    • For start tautly hoop your cutaway stabilizer in your embroidery hoop and run color-stop 1 as a placement line.
    • Remove the hoop from the machine, do not unhoop.

    (Click Image to Enlarge)


    Step 2:

    Step 2 :

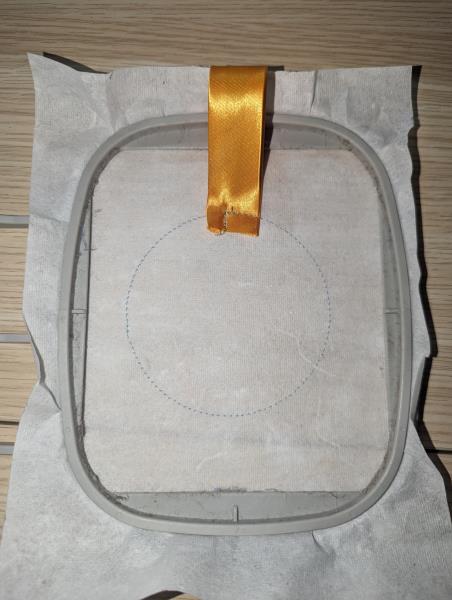
    • Place your ribbon with the bottom on the placement line and the rest facing out and run color-stop 2.

    (Click Image to Enlarge)


    Step 3:

    Step 3 :

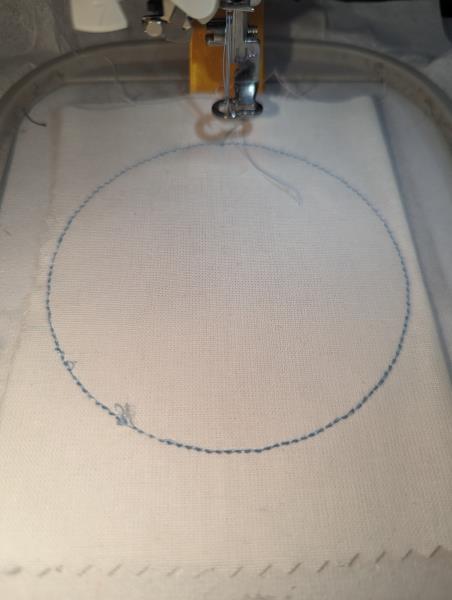
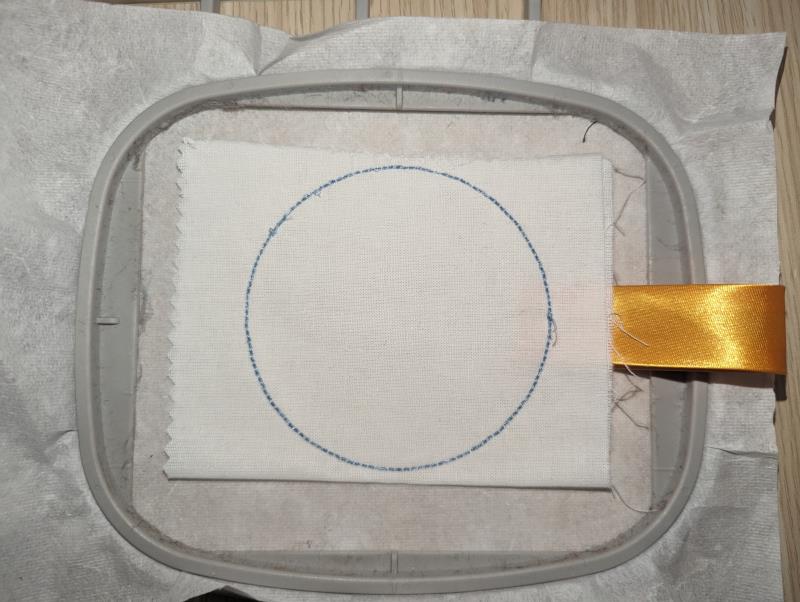
    • Run color-stop 3 as a placement line.
    • Remove the hoop from the machine, do not unhoop.

    (Click Image to Enlarge)


    Step 4:

    Step 4 : 

    • Cover the placement line with your main body fabric using the repositionable adhesive spray and run color-stop 4.

    (Click Image to Enlarge)


    Step 5:

    Step 5 : 

    • You can throw the next 3 colors-stop or

    - Launch color-stop 5.
    - Launch color-stop 6.
    - Position a new fabric for the head.

    - Launch color stop 7.

    - Cut off the excess fabric.
    (Click Image to Enlarge)


    Step 6:

    Step 6 : 

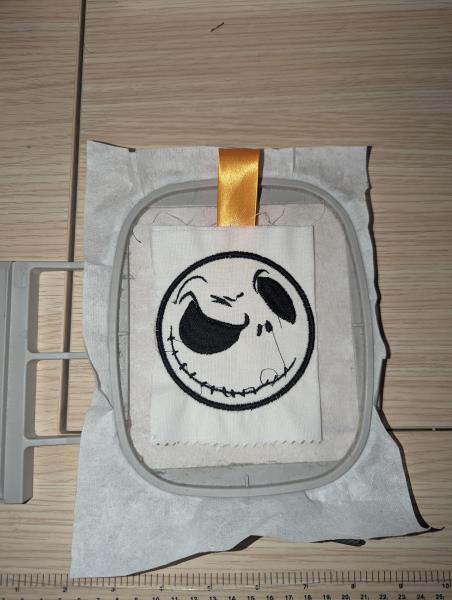
    • Run the color-stop 8 for the black embroidery.

    (Click Image to Enlarge)


    Step 7:

    Step 7 : 

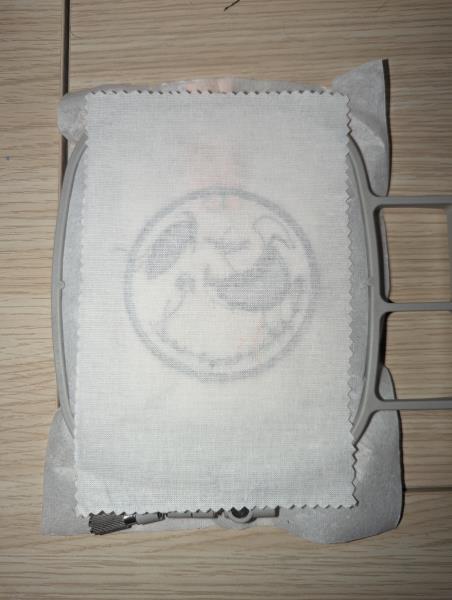
    • Cover the project with your main fabric facing down, and run color-stop 9. (if you use a thick fabric, you won't be able to see the seams through).

    (Click Image to Enlarge)


    Step 8:

    Step 8 :

    • Remove the project from the hoop and cut the outline with sharp scissors close to the seam, be careful to the ribbon.
    • Cut off any excess thread and fabric.

    (Click Image to Enlarge)


    Step 9:

                                                                                                                                              Repeat step 1 to 8 for each head you want !
                                                                                                                                                               Congrats ! It’s done !

    Meet the Author: Sew Chic
    Sew Chic
    Embroidery Enthusiast
    More From This Author
    Link is Broken, Please check the URL
    Exclusive Embroidery Offers!
    Copyright © {{ currentDate | date:'yyyy'}} - EmbroideryDesigns.com
    GET 50% OFF! ×