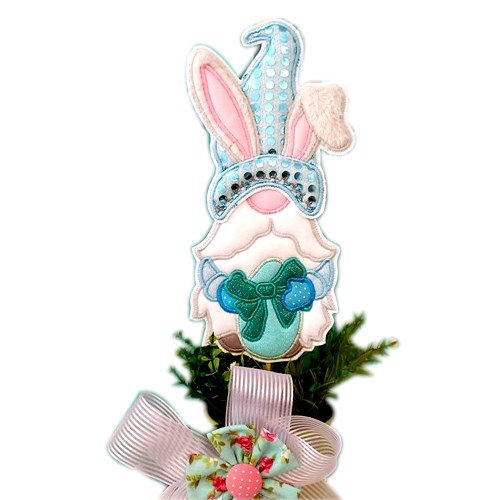
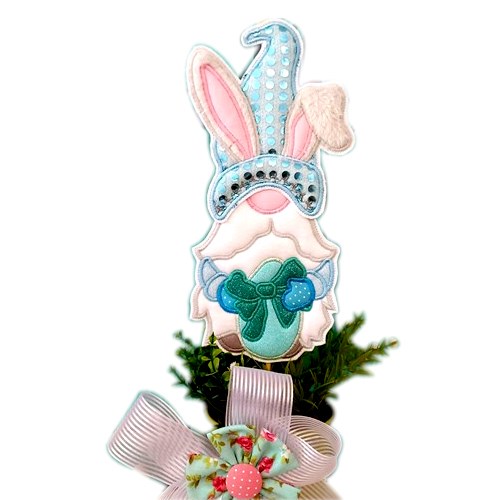
ITH Easter Gnome with Bunny Ears
Zoom Watch Video View Larger
View Project Instructions
ITH Easter Gnome with Bunny Ears Embroidery Project
Description
Create a delightful Easter decoration with this In-The-Hoop gnome featuring charming bunny ears. Perfect for adding a festive touch to your seasonal decor. Step-by-step instructions are included.
Jump to
ITH Easter Gnome with Bunny Ears
By Sew Chic
Materials
Print Materials
Materials Materials:
● 6” x 6” (150mm*150mm) - 6” x 10” - or an extra-large embroidery hoop.
● Fabric in your favorite colors like cotton or felt
● 2.5-ounce Cut-away Stabilizer, or your favorite stabilizer
● Repositionable adhesive spray.
● Fabric scissors.
● Embroiderer Machine
Designs used in this project
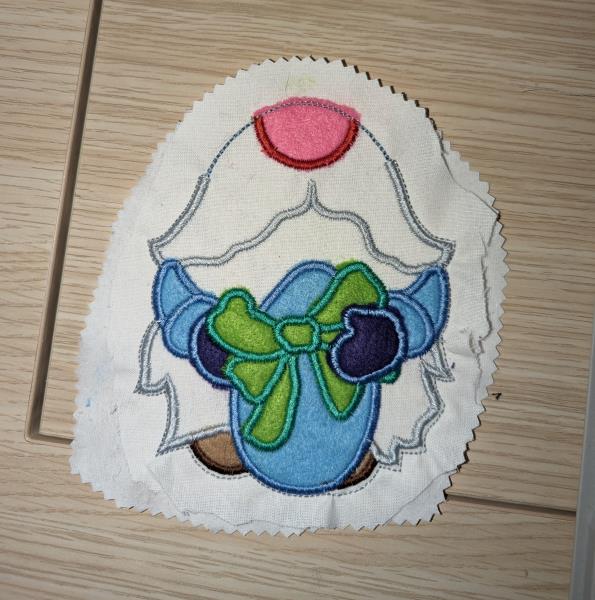
Final Product: What You Will Create
Preface: This is a collaboration between ITH Boutique and Emerson.
Step 1: Step 1: The body...
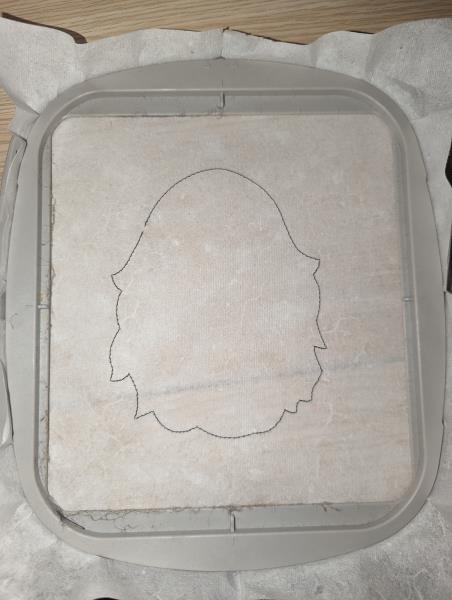
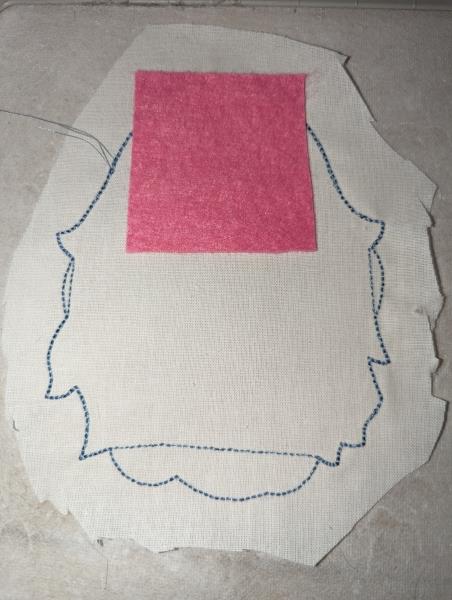
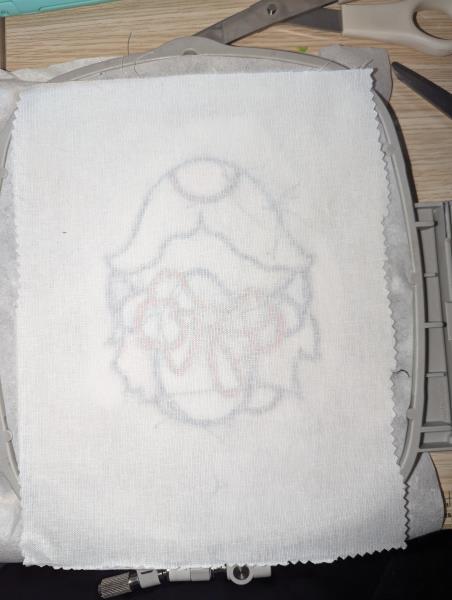
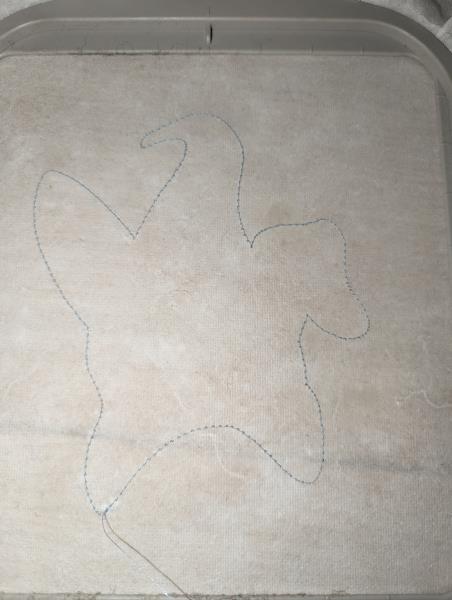
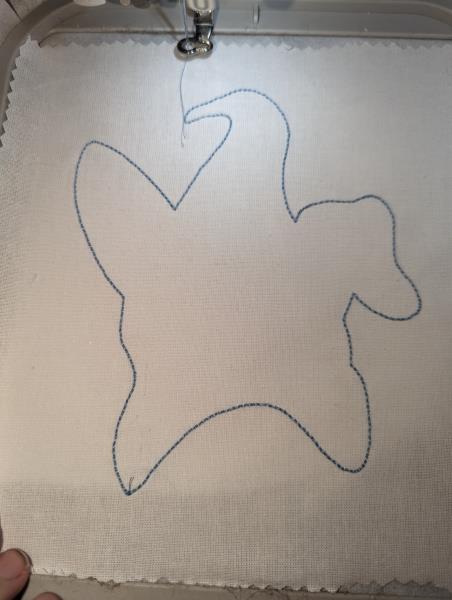
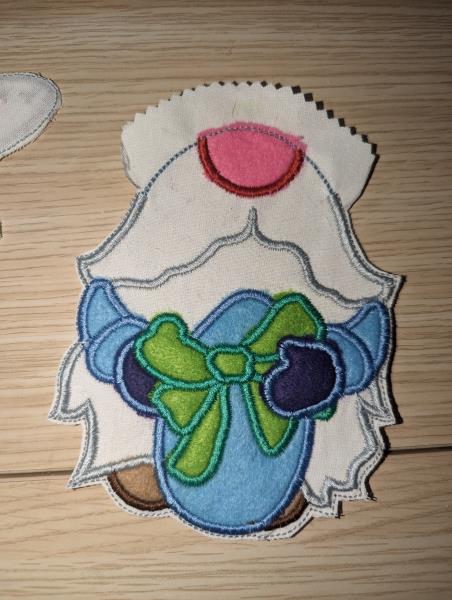
For start tautly hoop your cutaway stabilizer in your embroidery hoop and run color-stop 1 as a placement line. Remove the hoop from the machine, do not unhoop. (Click Image to Enlarge)
Step 2: Step 2:
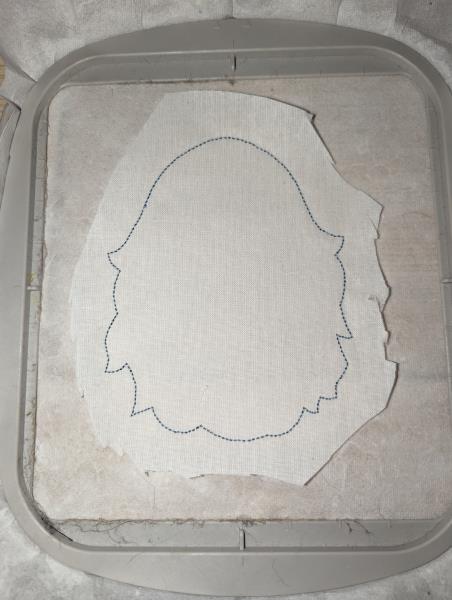
Cover the placement line with your main body fabric using the repositionable adhesive spray and run color-stop 2. You can cut leaving plenty of fabric around. (Click Image to Enlarge)
Step 3: Step 3:
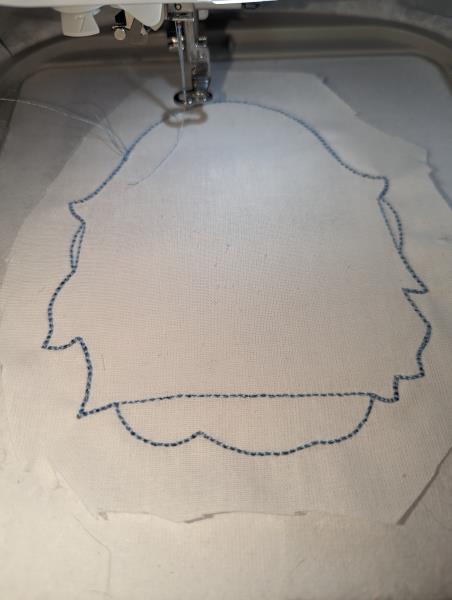
You can throw the next 3 colors-stop or Launch color-stop 3. Launch color-stop 4. Position a new fabric for the body. Launch color stop 5. Cut off the excess fabric. (Click Image to Enlarge)
Step 4: Step 4:
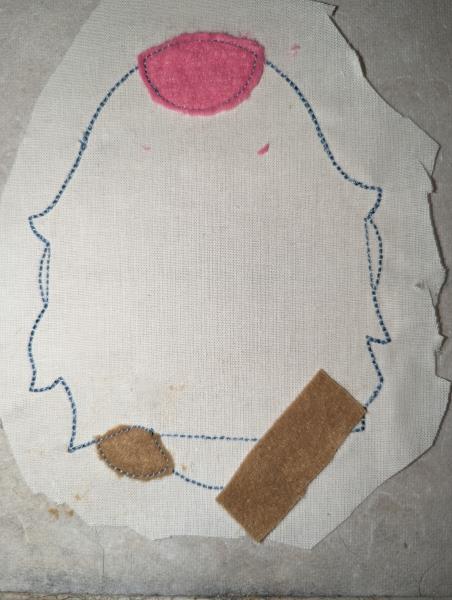
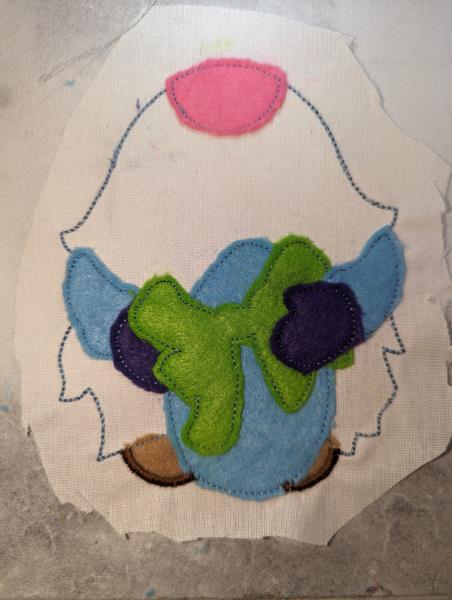
Cover the placement line (color-stop 6) with nose fabric with the help of the repositionable adhesive spray, and run color-stop 7 . Cut the excess fabric. (Click Image to Enlarge)
Step 5: Step 5:
Cover the placement line (color-stop 8) with feet fabric with the help of the repositionable adhesive spray, and run color-stop 9. Cut the excess fabric. Cover the placement line (color-stop 9) with feet fabric with the help of the repositionable adhesive spray, and run color-stop 10. Cut the excess fabric. (Click Image to Enlarge)
Step 6: Step 6:
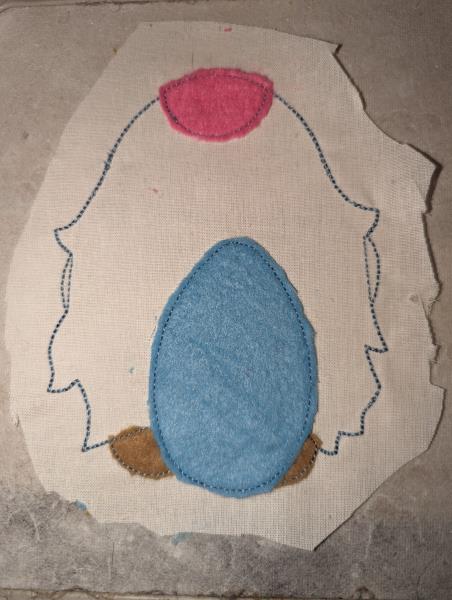
Cover the placement line (color-stop 11) with egg fabric with the help of the repositionable adhesive spray, and run color-stop 12. Cut the excess fabric. (Click Image to Enlarge)
Step 7: Step 7:
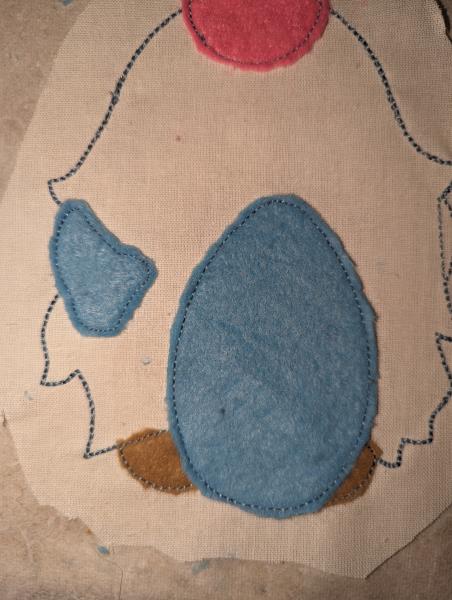
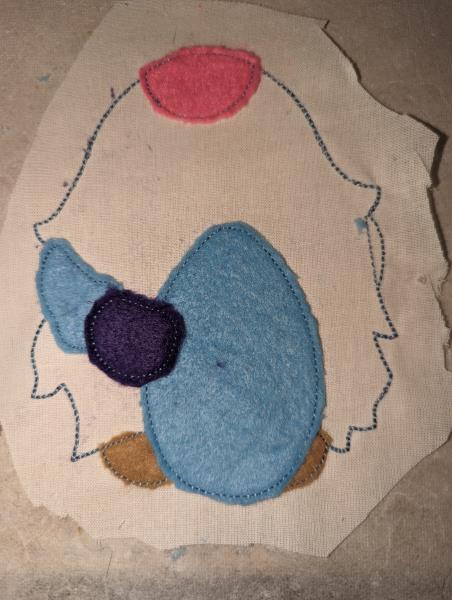
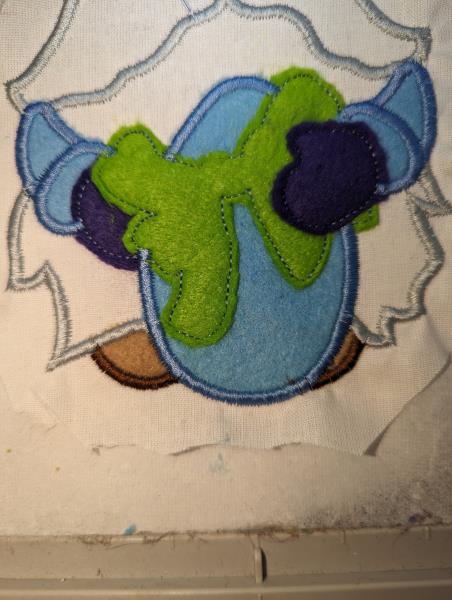
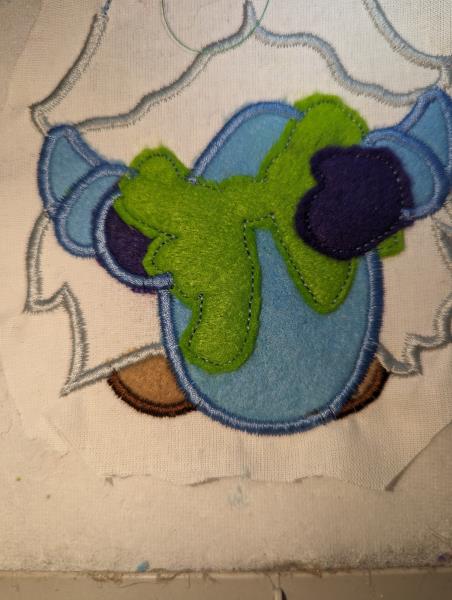
Cover the placement line (color-stop 13) with arm fabric with the help of the repositionable adhesive spray, and run color-stop 14. Cut the excess fabric. (Click Image to Enlarge)
Step 8: Step 8:
Cover the placement line (color-stop 14) with hand fabric with the help of the repositionable adhesive spray, and run color-stop 15. Cut the excess fabric. (Click Image to Enlarge)
Step 9: Step 9:
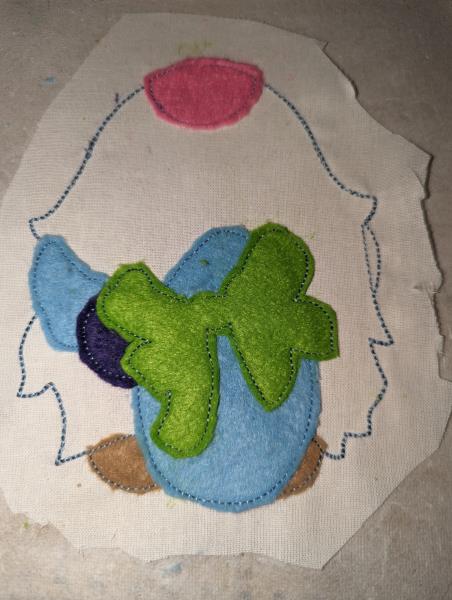
Cover the placement line (color-stop 16) with bow fabric with the help of the repositionable adhesive spray, and run color-stop 17. Cut the excess fabric. (Click Image to Enlarge)
Step 10: Step 10:
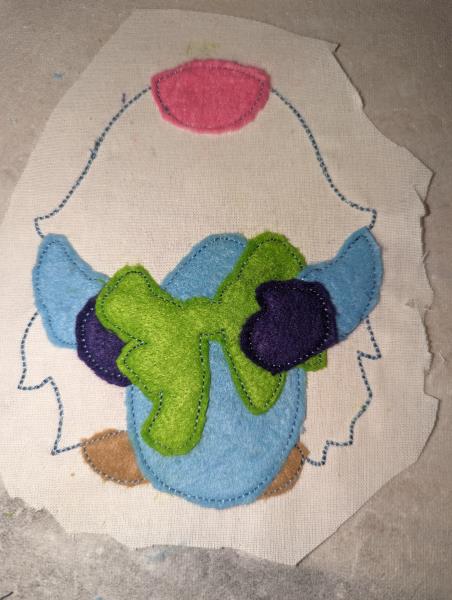
Cover the placement line (color-stop 18) with arm fabric with the help of the repositionable adhesive spray, and run color-stop 19. Cut the excess fabric. (Click Image to Enlarge)
Step 11: Step 11:
Cover the placement line (color-stop 20) with hand fabric with the help of the repositionable adhesive spray, and run color- stop 21. Cut the excess fabric. (Click Image to Enlarge)
Step 12: Step 12:
Start the color-stop 22 : foot outline. (Click Image to Enlarge)
Step 13: Step 13:
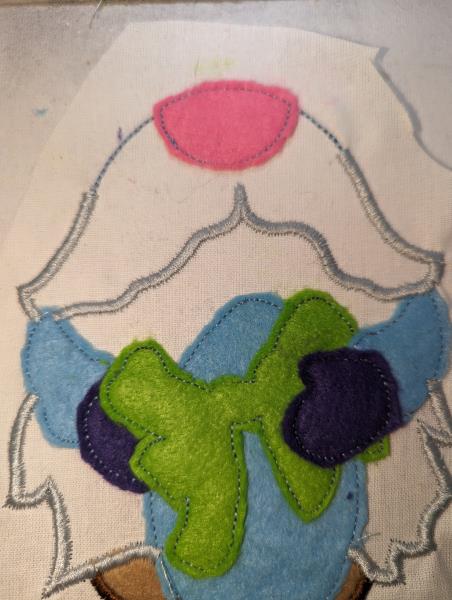
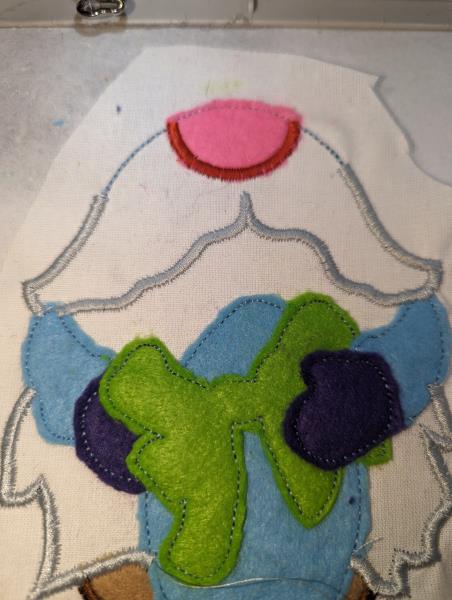
Start the color-stop 23 for to draw the details of the body (whiskers and outline). (Click Image to Enlarge)
Step 14: Step 14:
Start the color-stop 24 : nose outline. (Click Image to Enlarge)
Step 15: Step 15:
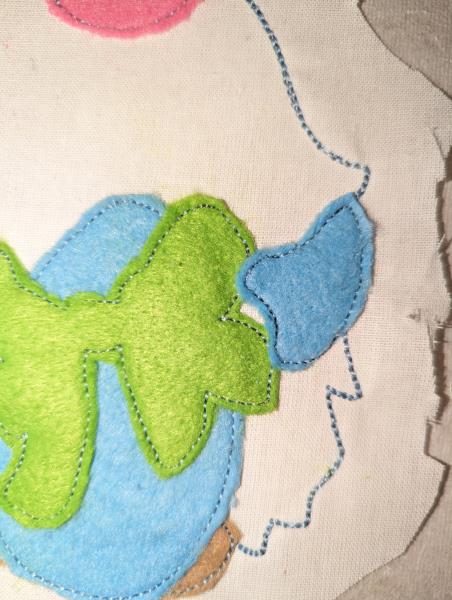
Start the color-stop 25 : arms outline. (Click Image to Enlarge)
Step 16: Step 16:
Start the color-stop 26 : egg outline. (Click Image to Enlarge)
Step 17: Step 17:
Start the color-stop 27 : hand outline. (Click Image to Enlarge)
Step 18: Step 18:
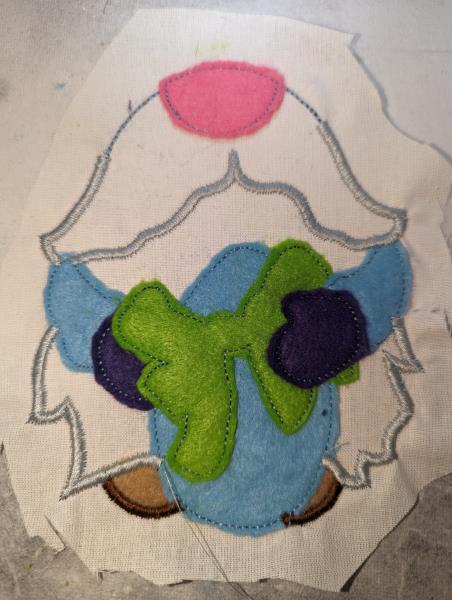
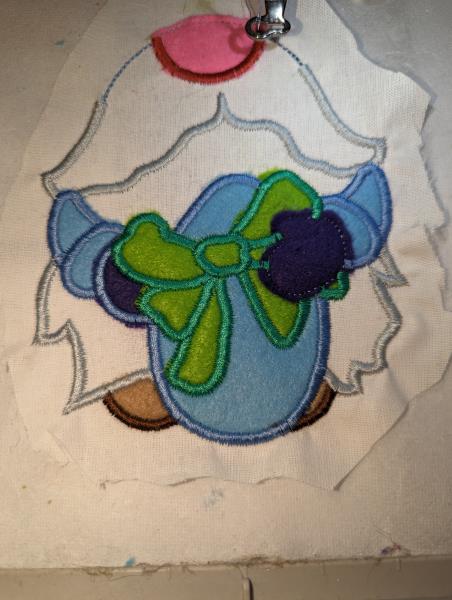
Start the color-stop 28: bow. (Click Image to Enlarge)
Step 19: Step 19:
Start the color-stop 29: hand. (Click Image to Enlarge)
Step 20: Step 20:
Cover the project with your main fabric facing down, and run color-stop 30. (if you use a thick fabric, you won't be able to see the seams through). (Click Image to Enlarge)
Step 21: Step 21:
Remove the project from the hoop and cut the outline with sharp scissors leaving a big margin. (Click Image to Enlarge)
Step 22: Step 22: The head...
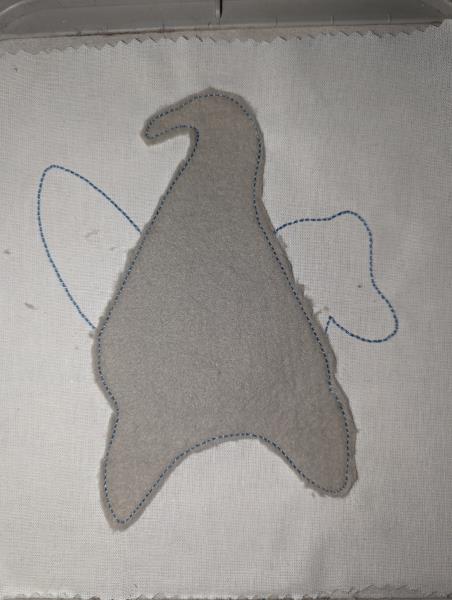
For start tautly hoop your cutaway stabilizer in your embroidery hoop and run color-stop 1 as a placement line. Remove the hoop from the machine, do not unhoop. (Click Image to Enlarge)
Step 23: Step 23:
Cover the placement line with main fabric with the help of the repositionable adhesive spray, and run color-stop 2. Cut the excess fabric. (Click Image to Enlarge)
Step 24: Step 24:
Cover the placement line (color-stop 3) with hat fabric with the help of the repositionable adhesive spray, and run color-stop 4. Cut the excess fabric. (Click Image to Enlarge)
Step 25: Step 25:
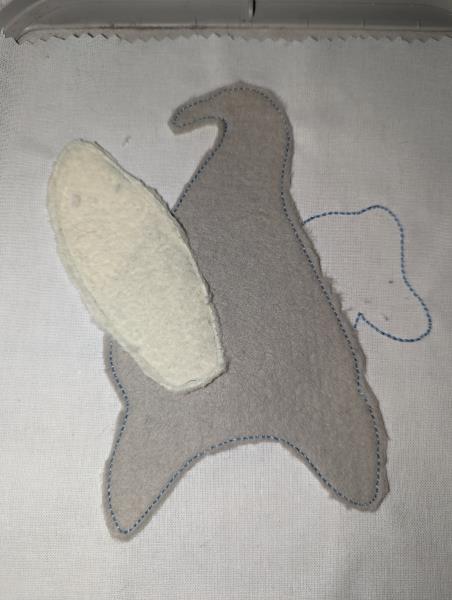
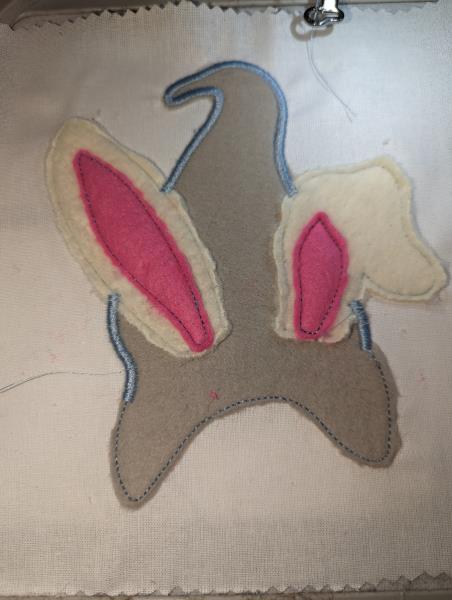
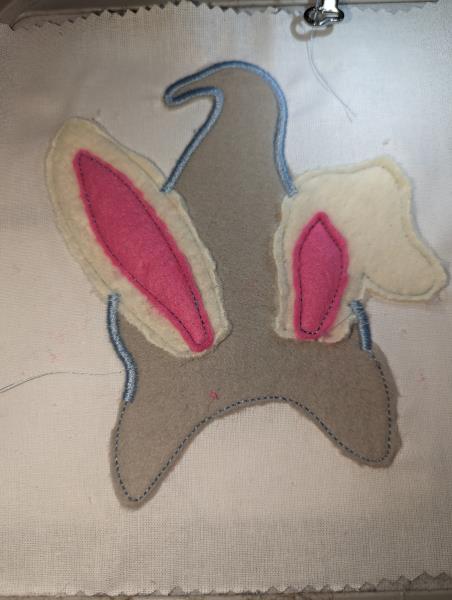
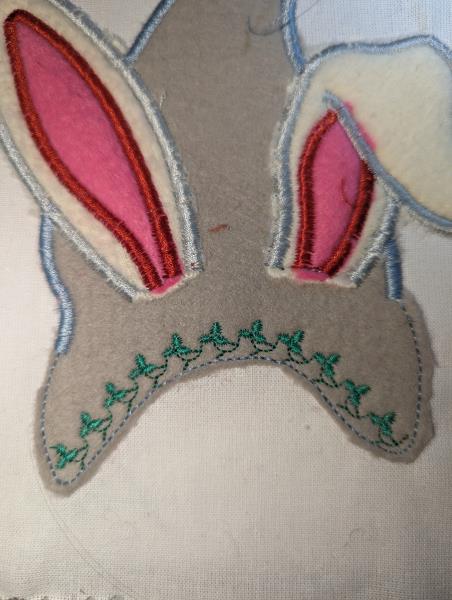
Cover the placement line (color-stop 5) with ear fabric with the help of the repositionable adhesive spray, and run color-stop 6. Cut the excess fabric. (Click Image to Enlarge)
Step 26: Step 26:
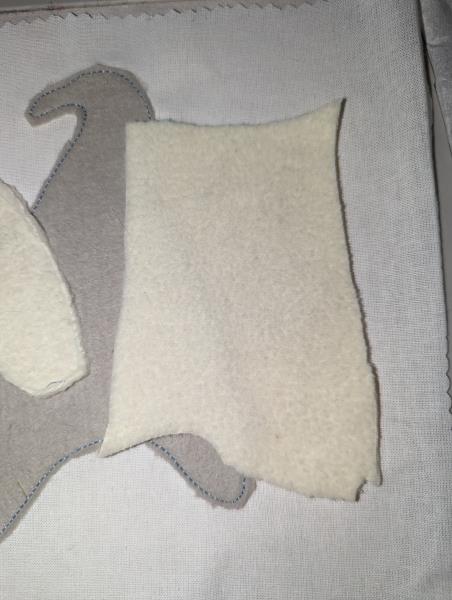
Cover the placement line (color-stop 7) with ear 2 fabric with the help of the repositionable adhesive spray, and run color-stop 8. Cut the excess fabric. (Click Image to Enlarge)
Step 27: Step 27:
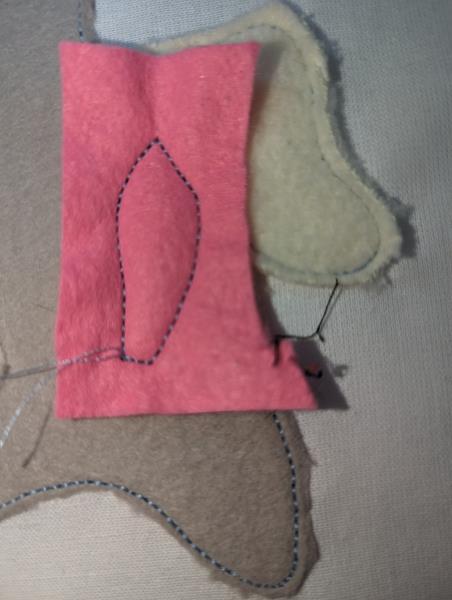
Cover the placement line (color-stop 9) with inner ear fabric with the help of the repositionable adhesive spray, and run color-stop 10. Cut the excess fabric. (Click Image to Enlarge)
Step 28: Step 28:
Cover the placement line (color-stop 11) with inner ear 2 fabric with the help of the repositionable adhesive spray, and run color-stop 12. Cut the excess fabric. (Click Image to Enlarge)
Step 29: Step 29:
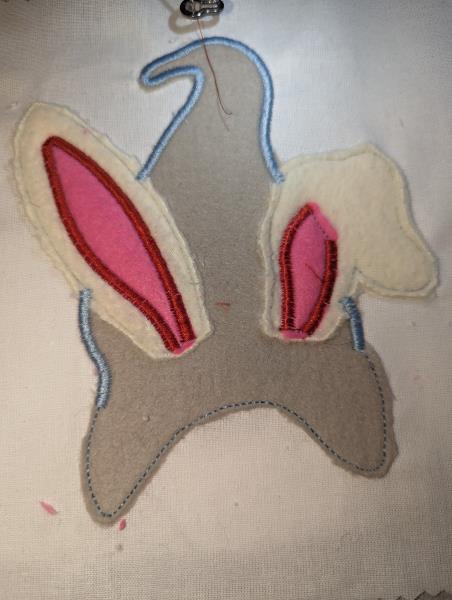
Run color-stop 13: hat outline. (Click Image to Enlarge)
Step 30: Step 30:
Run color-stop 14: inner ear outline. (Click Image to Enlarge)
Step 31: Step 31:
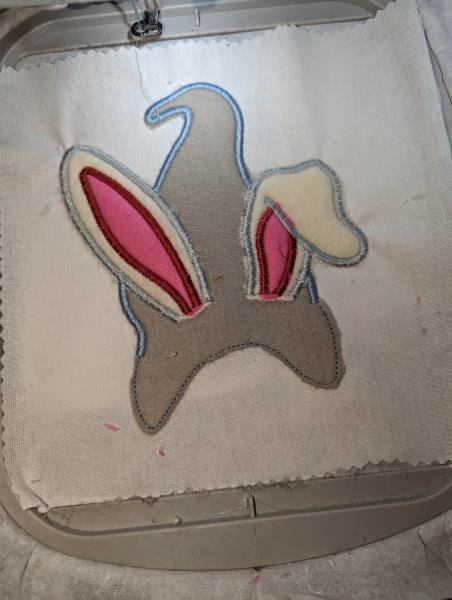
Run color-stop 15: ear outline. (Click Image to Enlarge)
Step 32: Step 32:
Run color-stop 16: ornamentation. (Click Image to Enlarge)
Step 33: (Click Image to Enlarge)
Step 34: Step 34:
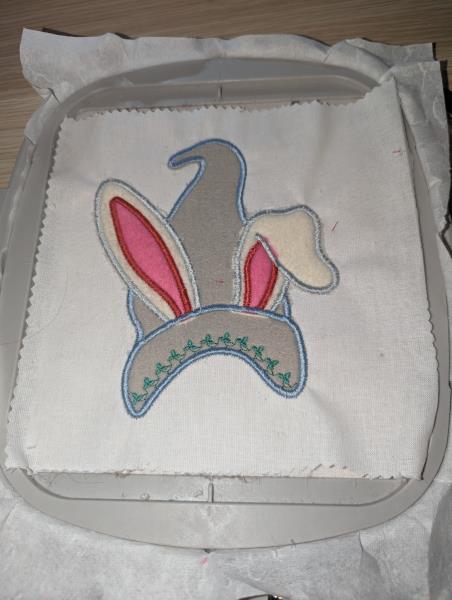
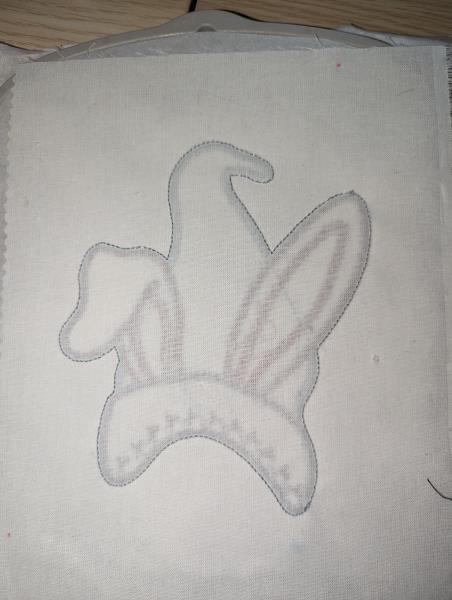
Cover the project with your main fabric facing down, and run color-stop 18. (if you use a thick fabric, you won't be able to see the seams through). (Click Image to Enlarge)
Step 35: Step 35:
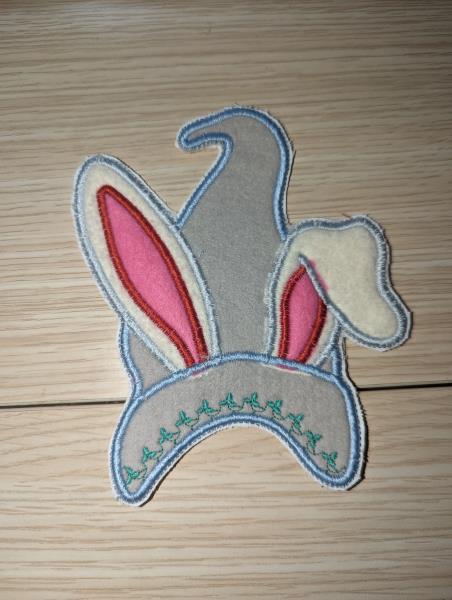
Remove the project from the hoop and cut the outline with sharp scissors close to the seam. (Click Image to Enlarge)
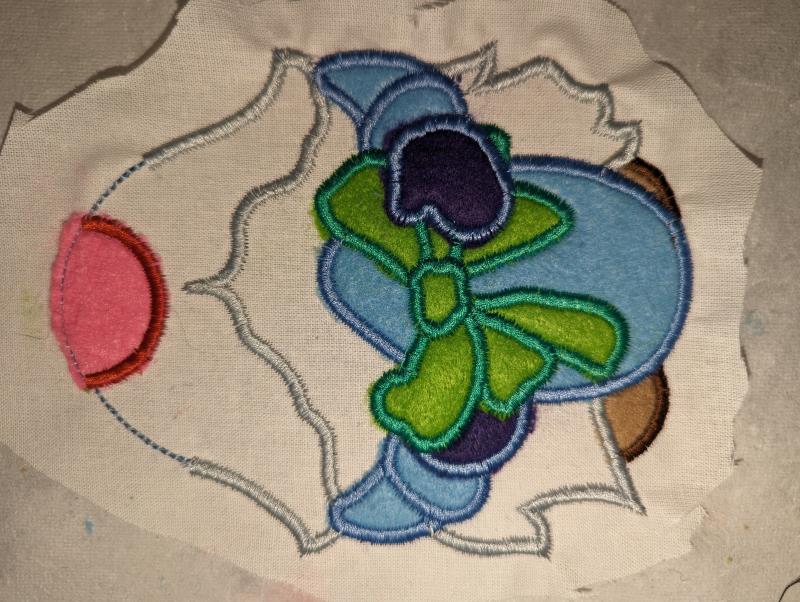
Step 36: Step 35: link head and body...
Cut the outline of the body close to the seam, but let margin on the top. (Click Image to Enlarge)
Step 37: Glue or sew the head on the body
Congrats ! It’s done !
Feedback
Please Login to Submit a Feedback
Invalid Characters, Please enter a valid Comment
Please enter a valid Comment
LOG IN
Submit
Link is Broken, Please check the URL