Border OptionsHugging border, circle, square, or rectangle — with a 3mm satin stitch.
Backing OptionsAvailable with iron-on, sew-on, or velcro backing.
Fast ShippingShipped quickly from the USA.
Free Online Tools
Powerful embroidery utilities that save time and prevent costly mistakes.
Stitch AssistantRECOMMENDED
Get the exact stabilizer, machine settings, needle, and thread color sequence for every embroidery design you purchase — based on that design's stitch density, dimensions, and color count.
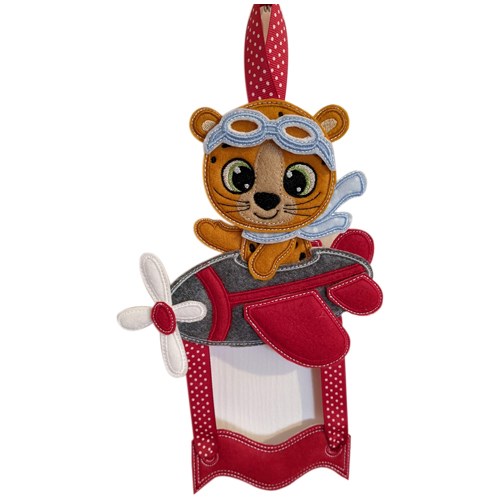
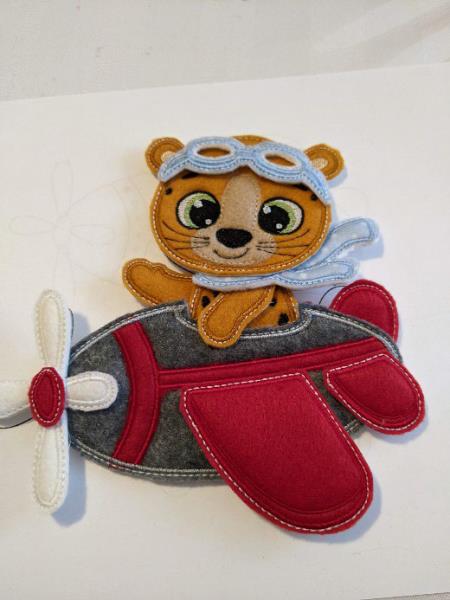
Take to the skies with this charming In-The-Hoop project featuring a tiger piloting a colorful airplane. Perfect for adding a whimsical touch to any space, this ornament is sure to delight aviation enthusiasts of all ages. Step-by-step instructions are included.
This is a collaboration between ITH Boutique and Dzhiboux.
Step 1:
SECTION 1 :
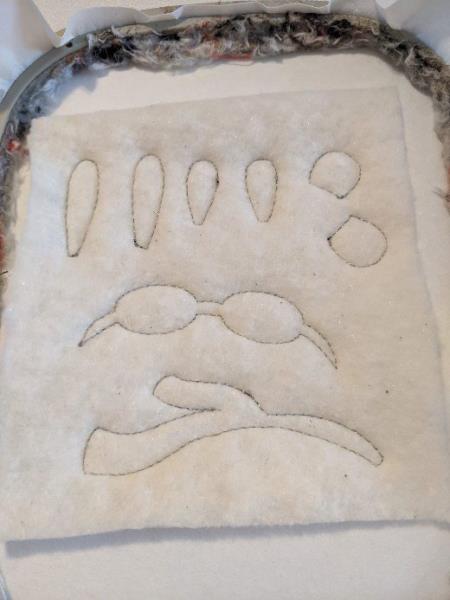
Sewing 1:
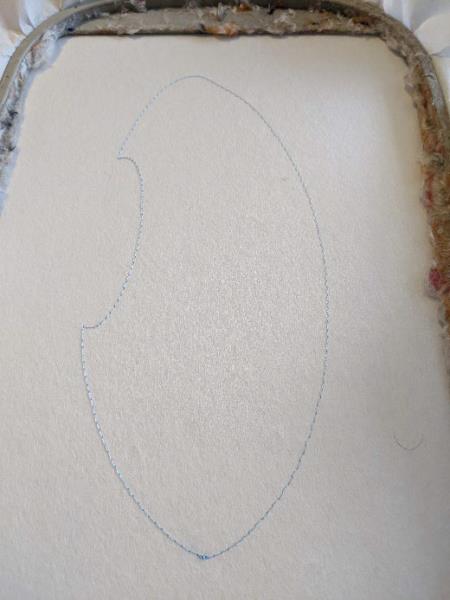
The first seam is done on your support to tell you the location of your wadding and your felt.
(Click Image to Enlarge)
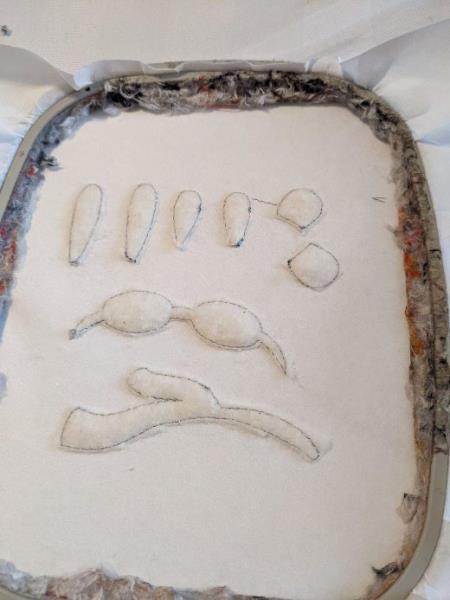
Step 2:
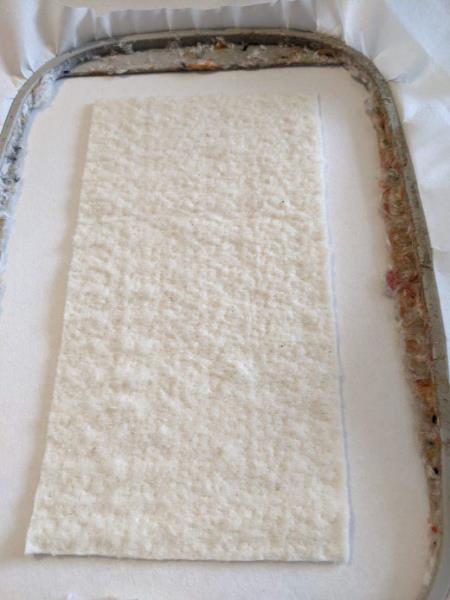
Put your stuffing on the seam.
(Click Image to Enlarge)
Step 3:
Section 2 :
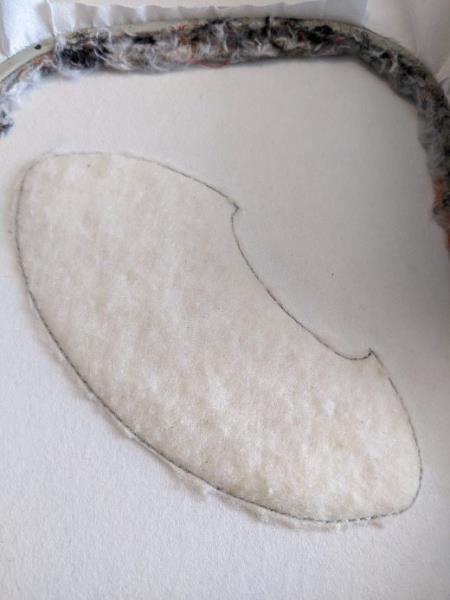
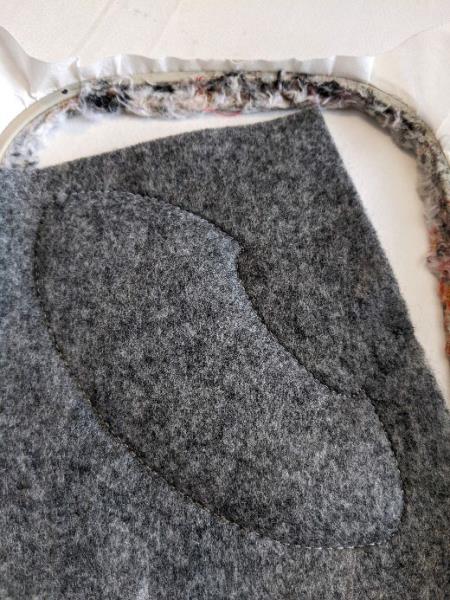
This done on your wad.
A times this seam finished, remove the excess stuffing from all round.
(Click Image to Enlarge)
Step 4:
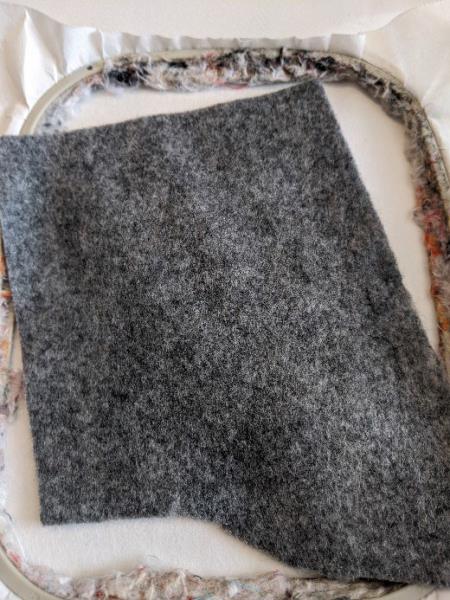
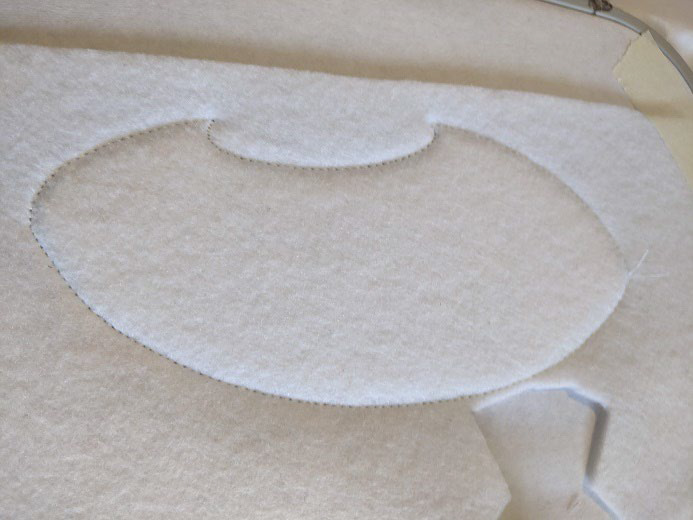
Put your felt to cover all the stuffing.
(Click Image to Enlarge)
Step 5:
Seam 3 :
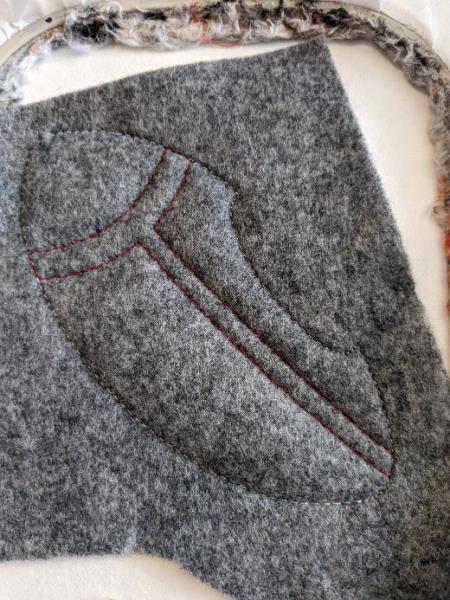
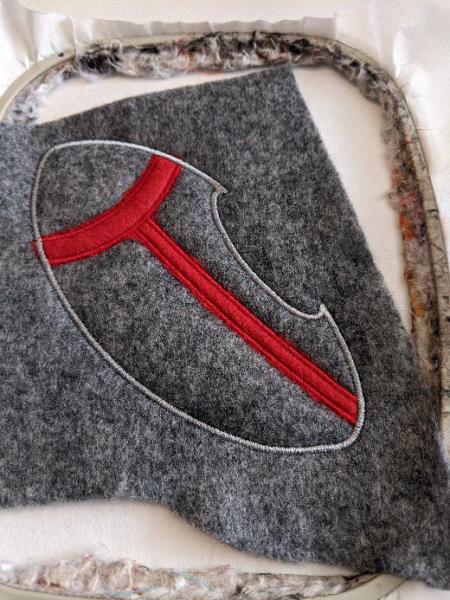
This seam is done on your felt, it will keep your felt in place place.
(Click Image to Enlarge)
Step 6:
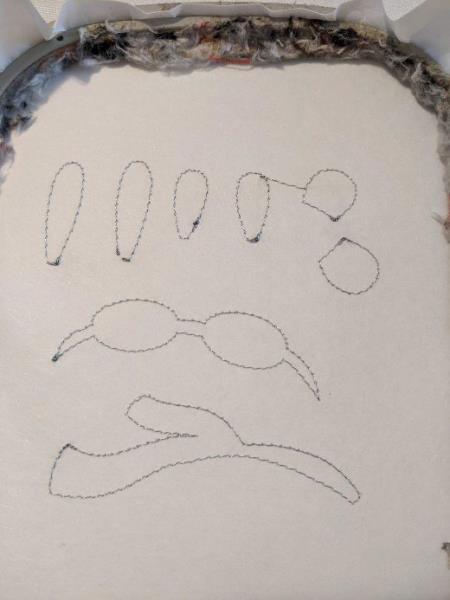
Seam 4:
This seam shows you the location of the decoration of your avian.
(Click Image to Enlarge)
Step 7:
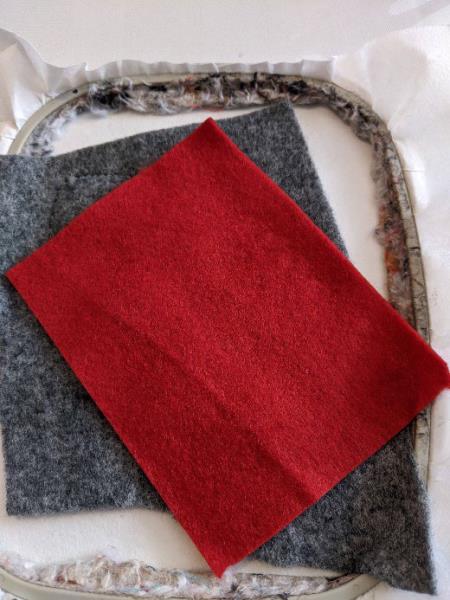
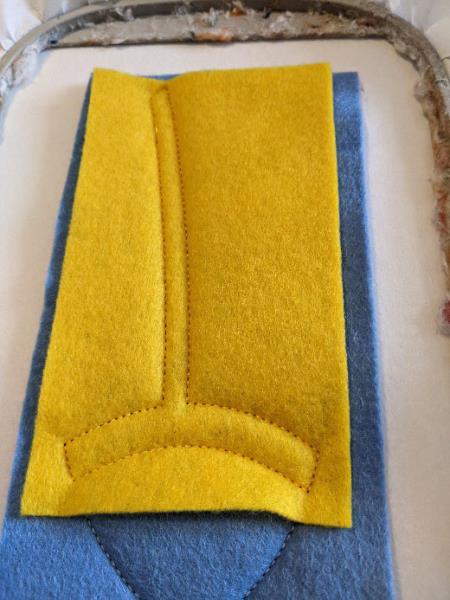
Place your yellow felt on the seam, take care to hide the entire seam.
(Click Image to Enlarge)
Step 8:
Seam 5:
This sewing will sew your yellow felt on your plane.
(Click Image to Enlarge)
Step 9:
Get! excess fabric all round.
(Click Image to Enlarge)
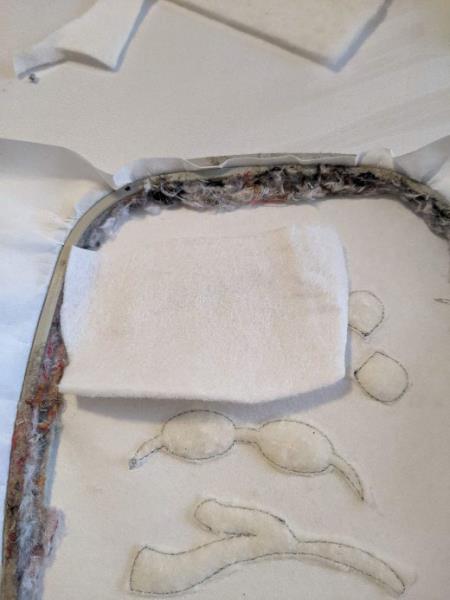
Step 10:
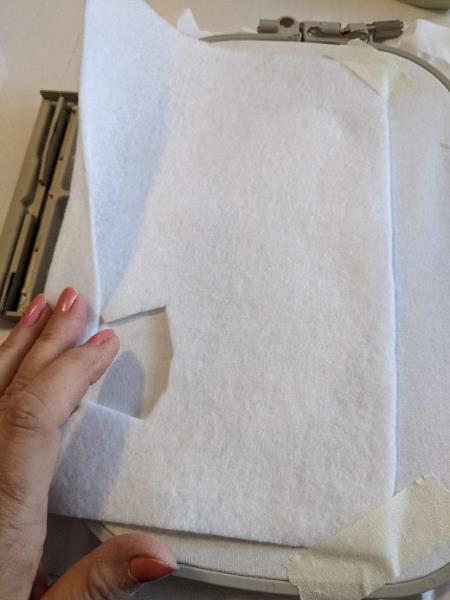
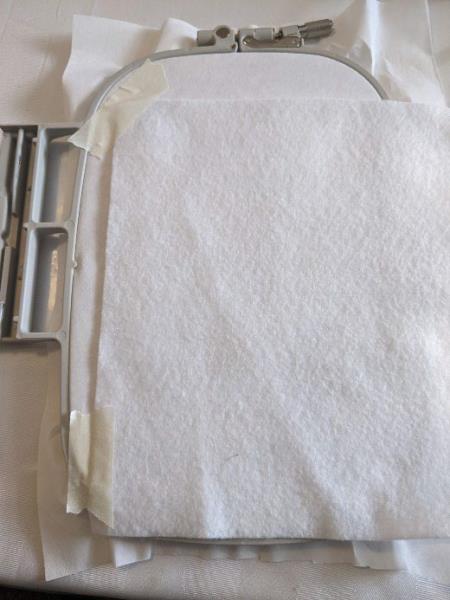
A times your embroidery stitches finished, before sewing 7, It is necessary put our piece of white felt on !the back of our frame in taking care to hide everything well a seam of the plane. Maintain well in place.
(Click Image to Enlarge)
Step 11:
Sewing 7:
This sewing will go around your plane and sew your white felt which is found below your support.
(Click Image to Enlarge)
Step 12:
Get out of your box and cut off the excess fabric in taking care not to cut sewing white everything round.
(Click Image to Enlarge)
Step 13:
SECTION 2 :
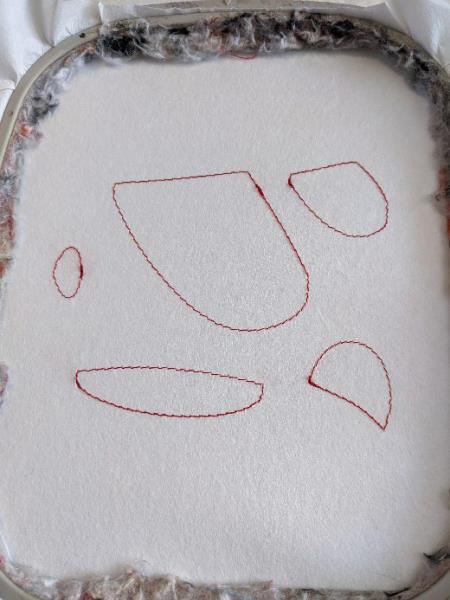
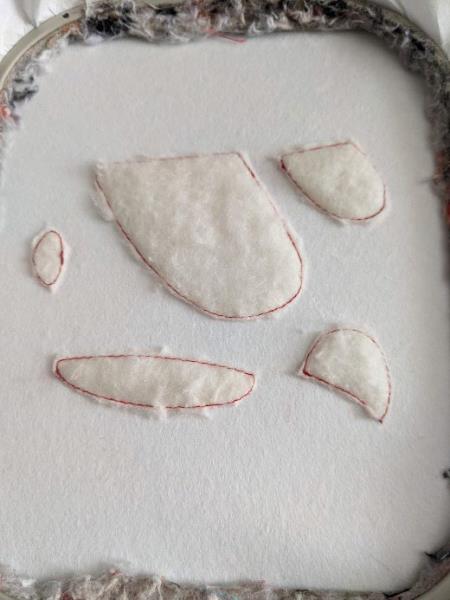
Sewing 1 :
This sewing is done on your support to indicate the location of your pieces.
(Click Image to Enlarge)
Step 14:
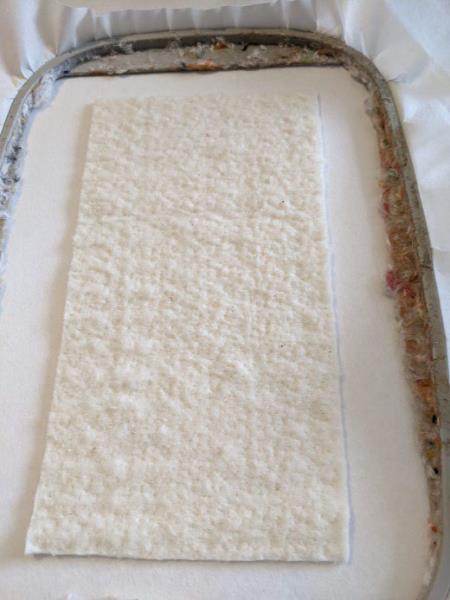
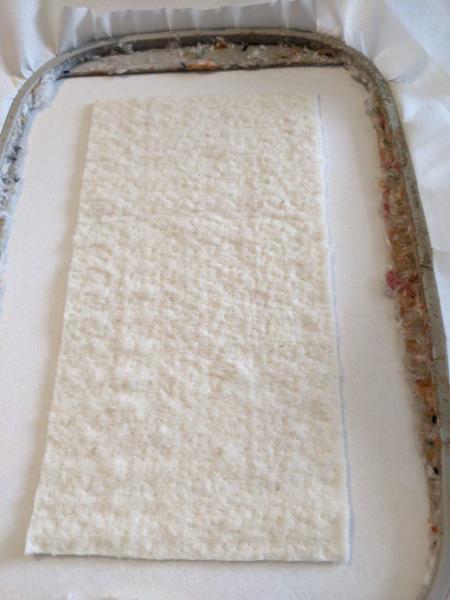
Put your wad.
(Click Image to Enlarge)
Step 15:
Sewing 2:
This sewing will sew your wad on your support.
(Click Image to Enlarge)
Step 16:
Remove excess fluff.
(Click Image to Enlarge)
Step 17:
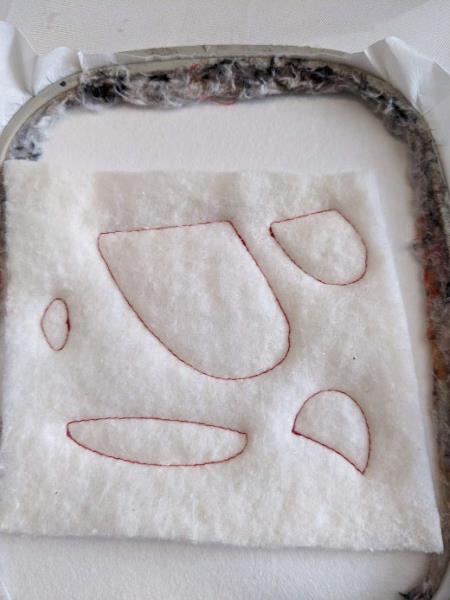
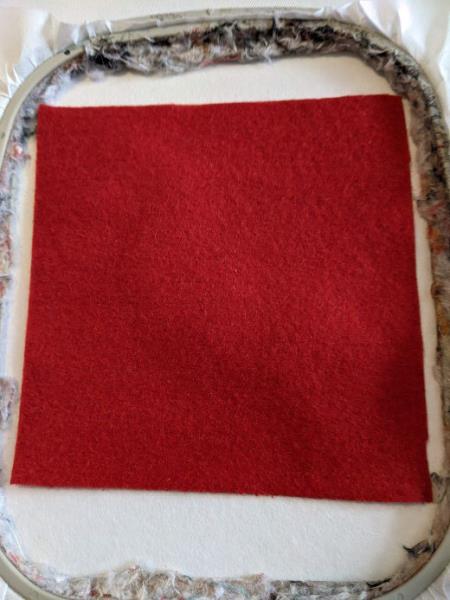
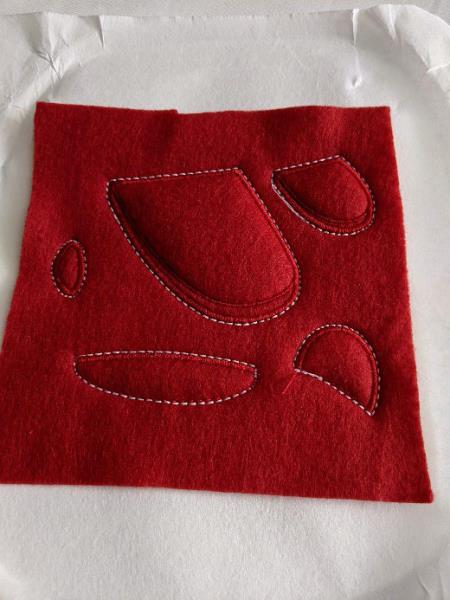
Put your felt on your stuff in taking care of GOOD hide all (has wad).
(Click Image to Enlarge)
Step 18:
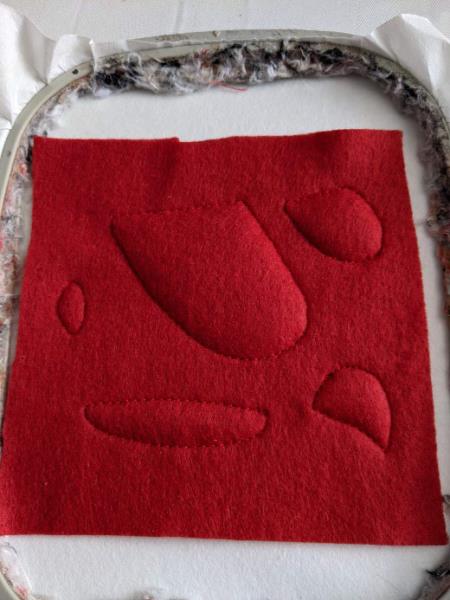
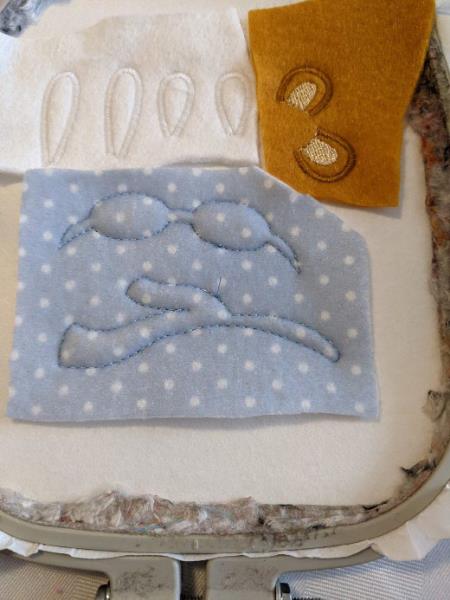
Sewing 3 :
This sewing go sew your felt on your support.
(Click Image to Enlarge)
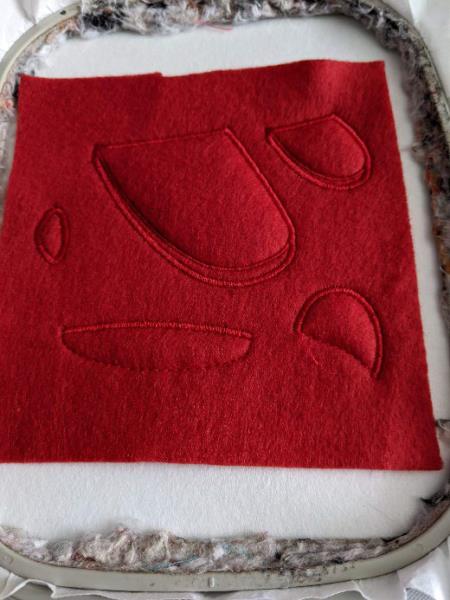
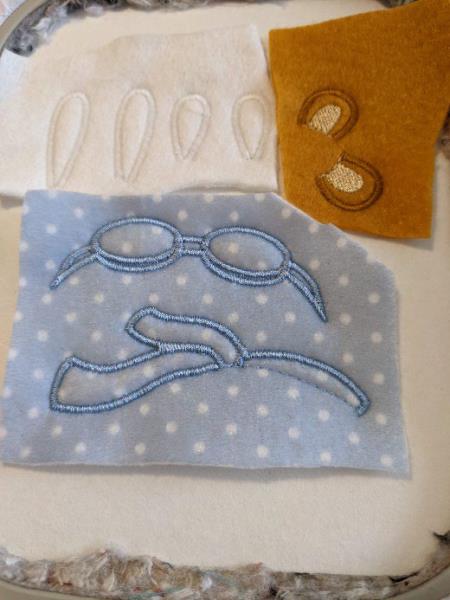
Step 19:
Sewing 4 :
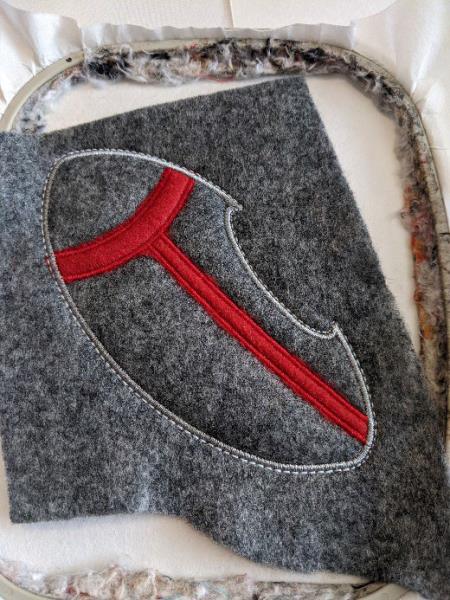
Embroidery stitches.
(Click Image to Enlarge)
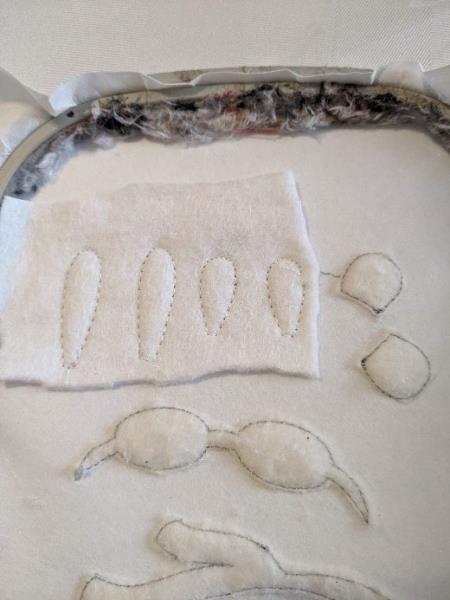
Step 20:
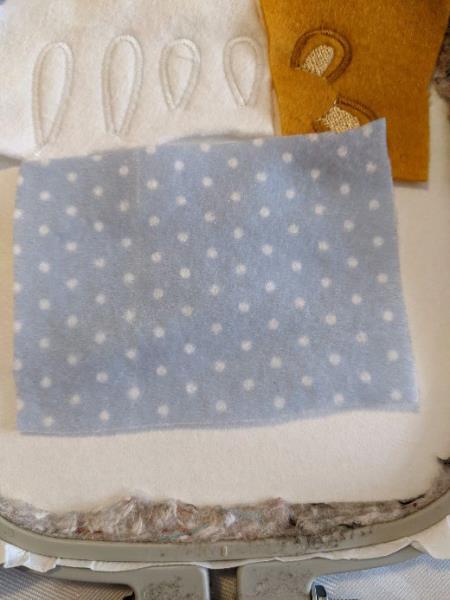
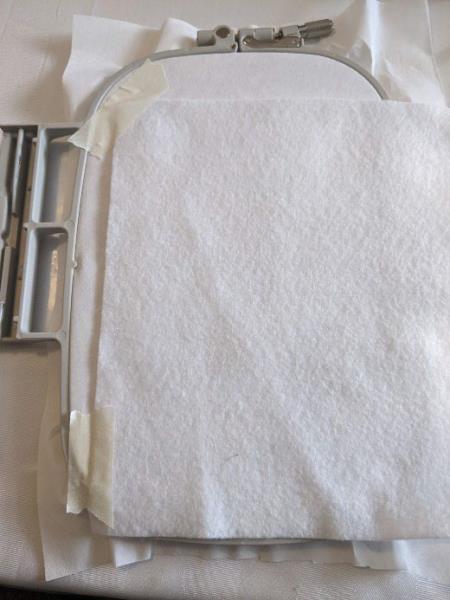
Place your piece of white felt on the back of your frame, good maintain in place.
(Click Image to Enlarge)
Step 21:
Sewing 5:
Seam to join your 2 pieces felt set.
To go out of frame, cut the surplus of fabric All THE round of your pieces.
For your section 3 And 4 : Do THE even process.
(Click Image to Enlarge)
Step 22:
SECTION 5 :
Sewing 1:
This done on your support to indicate to you the location for your felt.
(Click Image to Enlarge)
Step 23:
Put your wad.
(Click Image to Enlarge)
Step 24:
Sewing 2 :
This sewing will sew your wadding onto the support.
(Click Image to Enlarge)
Step 25:
Cut Extra of stuffing.
(Click Image to Enlarge)
Step 26:
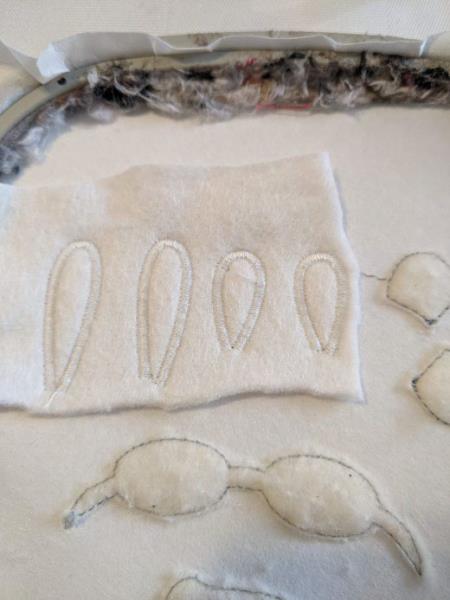
Place your white felt on the part of the heliss.
(Click Image to Enlarge)
Step 27:
Seam 3 :
This sewing goes hold your felt on your support.
(Click Image to Enlarge)
Step 28:
Sewing 4:
Satin stitch on your heliss.
(Click Image to Enlarge)
Step 29:
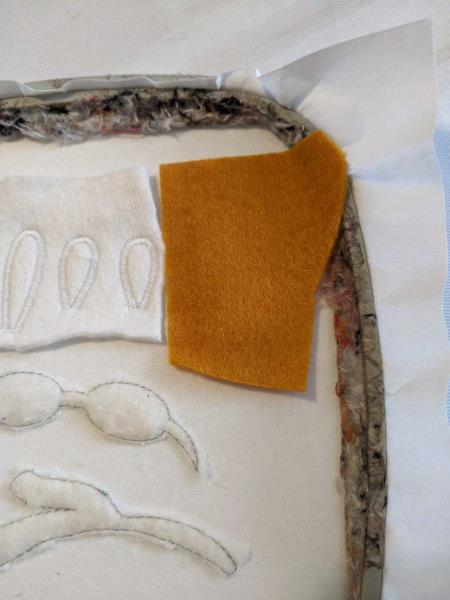
Put your raw orange felt on the part of the ears.
(Click Image to Enlarge)
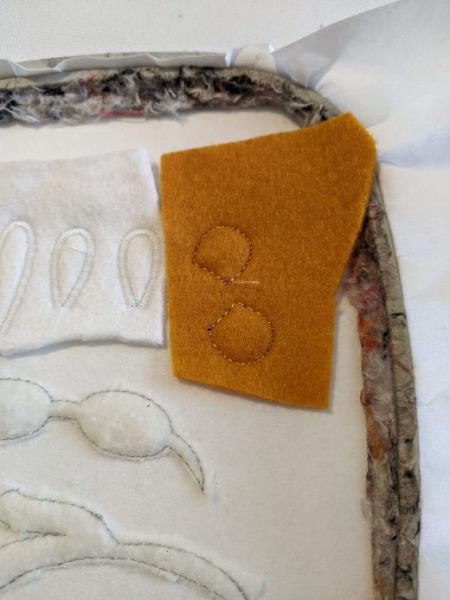
Step 30:
Sewing 5 :
This sewing will hold your felt on your support.
(Click Image to Enlarge)
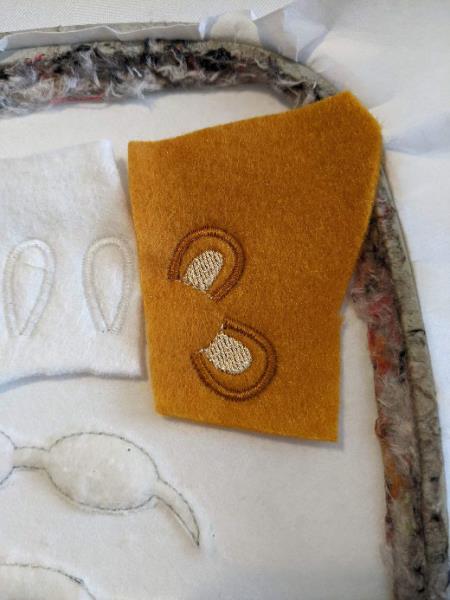
Step 31:
Sewing 6-7 :
Embroidery stitches.
(Click Image to Enlarge)
Step 32:
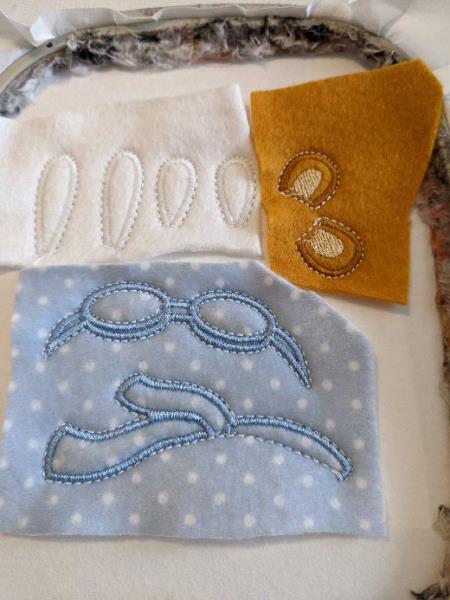
Put your felt for the a hat and the scarf.
(Click Image to Enlarge)
Step 33:
Sewing 8:
This sewing will hold your felt on your support.
(Click Image to Enlarge)
Step 34:
Sewing 9 :
Points of embroidery.
(Click Image to Enlarge)
Step 35:
Put your piece of felt white on the back of your frame, good maintain in place.
(Click Image to Enlarge)
Step 36:
Sewing 10 :
This sewing go join your 2 pieces of felt together Career with Before of frame.
(Click Image to Enlarge)
Step 37:
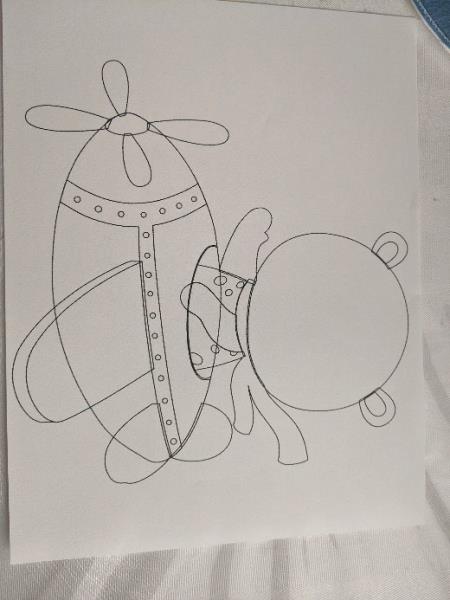
Print your assembly sheet, I use this sheet to edit.
(Click Image to Enlarge)
Step 38:
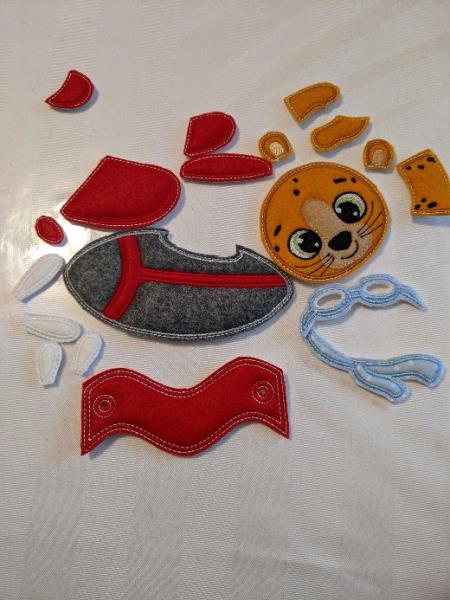
You should have all these parts before you start the assembly.
(Click Image to Enlarge)
Step 39:
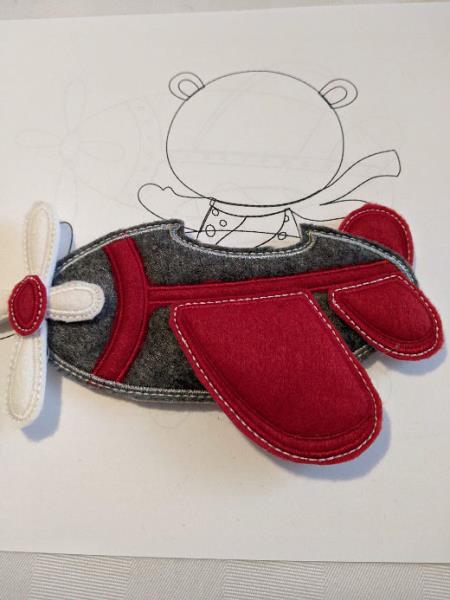
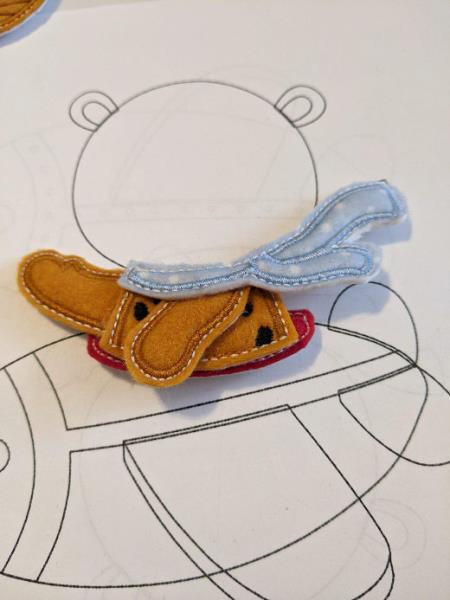
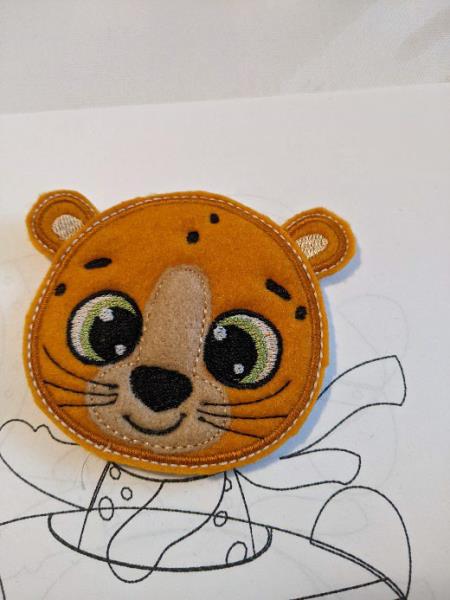
With your leaf put Your pieces in place by putting A little of hot glue on your pieces.
Look carefully! The pieces that go below versus those that go on top of the plane.
(Click Image to Enlarge)
Step 40:
I did this part together Before of to worry about the rest.
(Click Image to Enlarge)
Step 41:
Before to put on the body.
(Click Image to Enlarge)
Step 42:
For the name part, open the small circles at each end. These holes go serve to pass the ribbon.