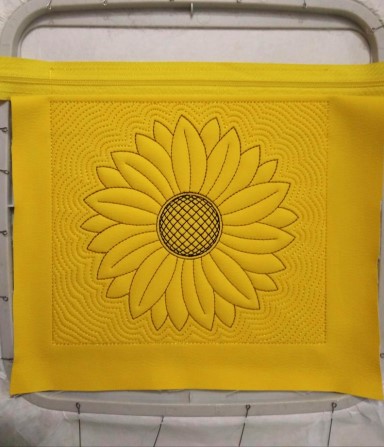
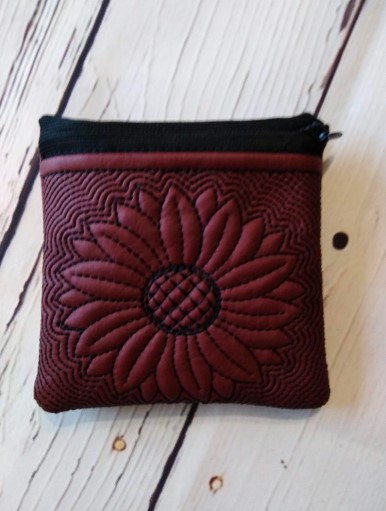
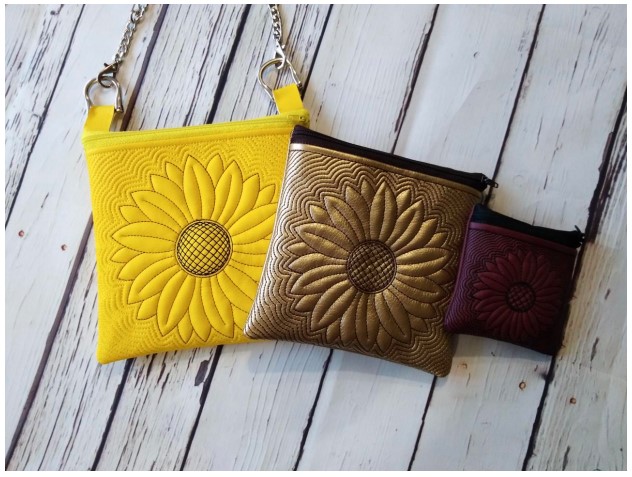
ITH Sunflower Zipper Pouch Set
Zoom Watch Video View Larger
View Project Instructions
ITH Sunflower Zipper Pouch Set Embroidery Project
Description
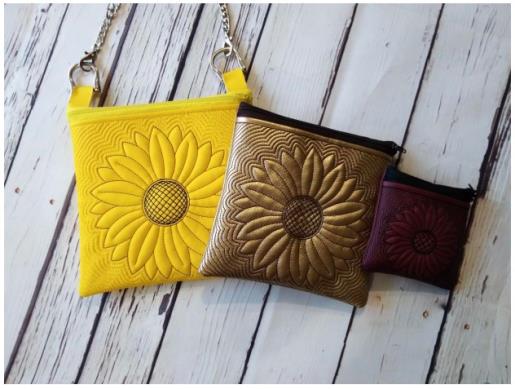
Create a delightful sunflower zipper pouch set using in-the-hoop embroidery. These stylish accessories, available in different sizes, are perfect for adding a floral touch to your daily essentials. Step-by-step instructions are included.
Jump to
ITH Sunflower Zipper Pouch Set
By Sew Chic
Materials
Print Materials
Materials The choice of fabric depends on your preferences.
I use eco-leather and vinyl leather with a thickness of 0.6-0.85 mm. If the skin is very thin, it should be
glued with a thin dublerin. You can also use cotton linen, satin. The filler — rubber foam with a thickness of
5 mm or polyester batting 80 or 100.
Zipper with a small slider- the size is a little more than the width of the cosmetic bag.
Cut the fabric, lining and batting the size and quantity according to the table.
Designs used in this project
Final Product: What You Will Create
Preface: This is a collaboration between ITH Boutique and Imilova
Step 1: (Click Image to Enlarge)
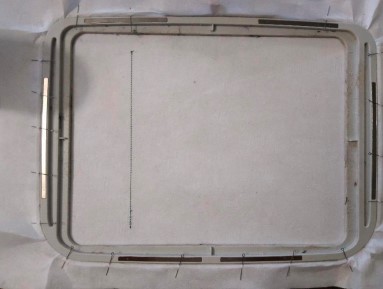
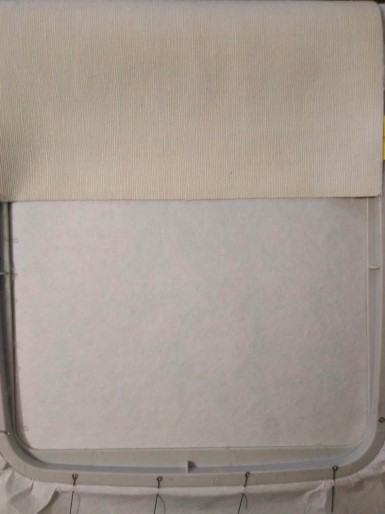
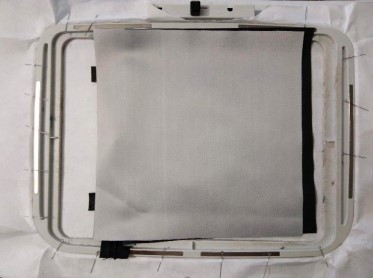
Hoop tearaway or cutaway stabilizer of medium density. Stitch Color 1. �
Step 2: (Click Image to Enlarge)
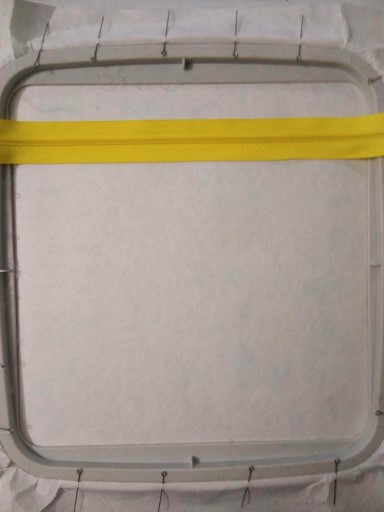
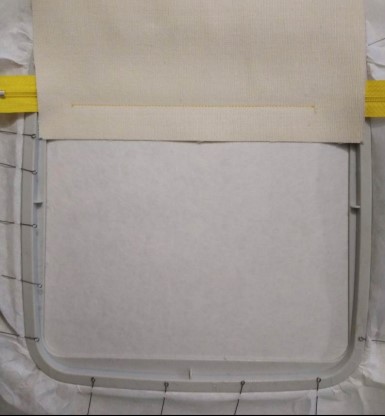
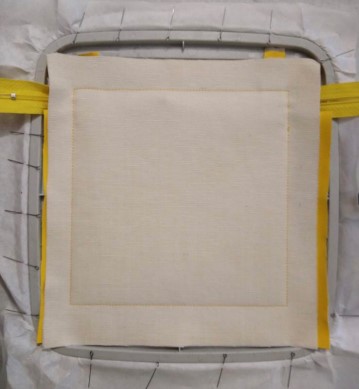
Put the zipper on the stitching. Make sure that the middle of the zipper coincides with the stitching.
Step 3: (Click Image to Enlarge)
Fix the zipper with paper adhesive tape or with the temporary fixation spray. Stitch Color 2. �
Step 4: (Click Image to Enlarge)
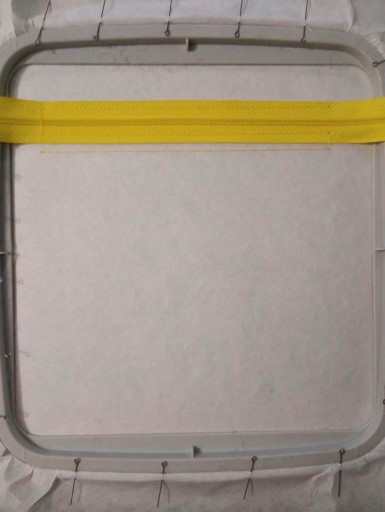
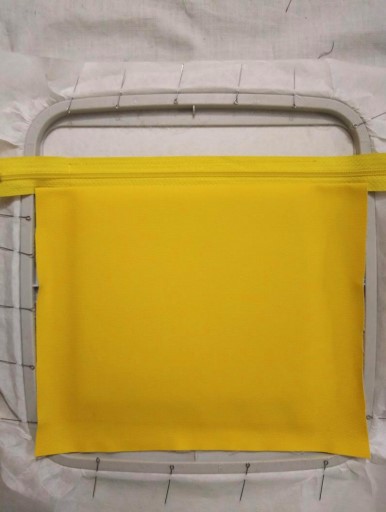
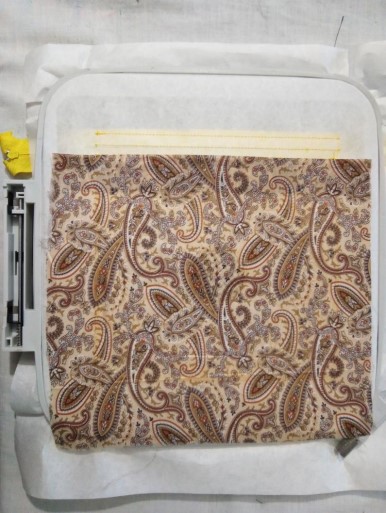
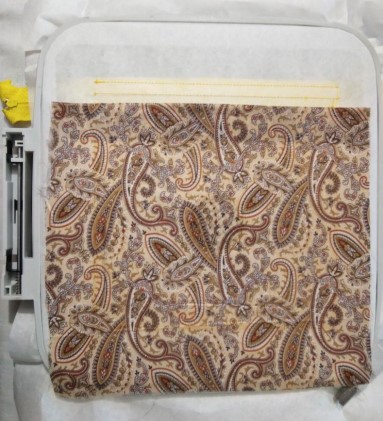
Put the cut of the main fabric on the bottom stitching, wrong side up, covering the zipper. You can reduce the speed of the machine and control the embroidery.
Step 5: (Click Image to Enlarge)
Step 6: (Click Image to Enlarge)
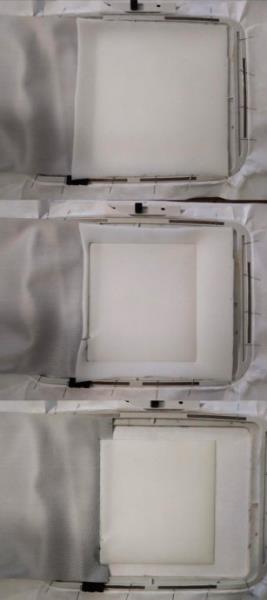
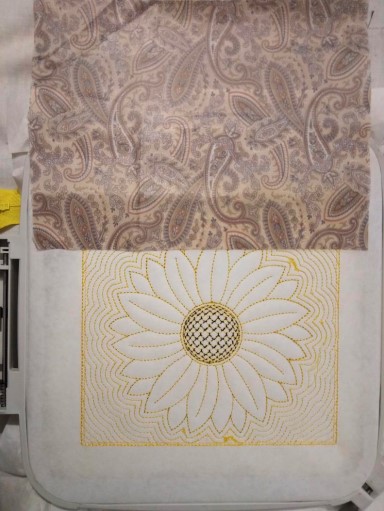
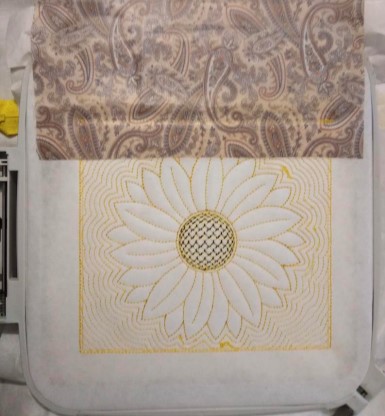
Put a piece of polyester batting (or another material for creating volume). Stitch Color 4. Cut the polyester batting around the stitching. Be very careful not to cut the fabric.
Step 7: (Click Image to Enlarge)
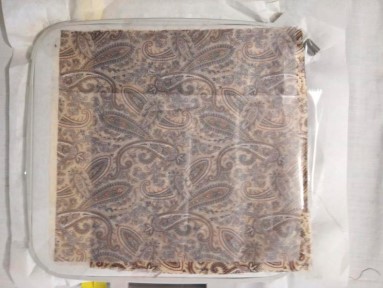
Turn the fabric face up covering the polyester batting.
Step 8: (Click Image to Enlarge)
Step 9: (Click Image to Enlarge)
Step 10: (Click Image to Enlarge)
Step 11: (Click Image to Enlarge)
Turn the hoop over. Put the cut of the lining on the stitching (on which the main fabric was previously sewn) wrong side up, covering the zipper. Fix the fabric with adhesive tape. Make sure that the fabric does not obstruct the fastening of the hoop. �
Step 12: (Click Image to Enlarge)
Step 13: (Click Image to Enlarge)
Turn the lining face up. Fix it with glue or adhesive tape.
Step 14: (Click Image to Enlarge)
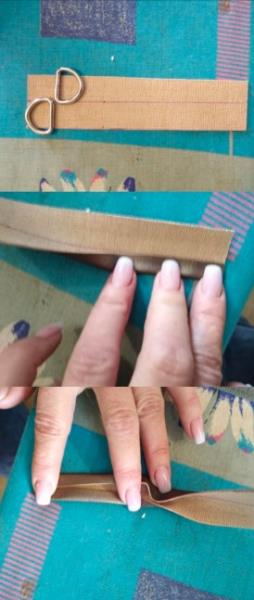
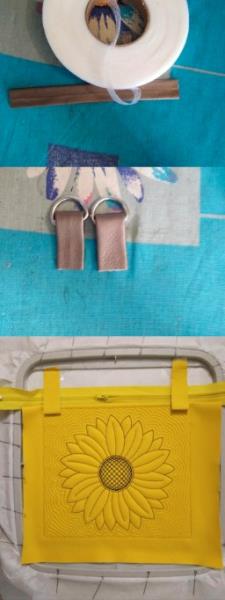
To make the 2 loops for the rings (if you need them).
Step 15: (Click Image to Enlarge)
Open the zipper half way (It is important). Put loops. Make sure that the metal parts do not fall under the seam. �
Step 16: (Click Image to Enlarge)
Stitch Color 9 - loop fixation. If you do not need loops - do not embroider this color. �
Step 17: (Click Image to Enlarge)
Put the main fabric wrong side up.
Step 18: (Click Image to Enlarge)
Step 19: (Click Image to Enlarge)
Remove the hoop from the machine and turn. to the back side.
Step 20: (Click Image to Enlarge)
Put the lining face down. Fix it with adhesive tape. Do not use spray at this stage.
Step 21: (Click Image to Enlarge)
Step 22: (Click Image to Enlarge)
Cut the lining at the distance of 0.5 inches from the stitching. The allowance from the side of the opening should be wider.
Step 23: (Click Image to Enlarge)
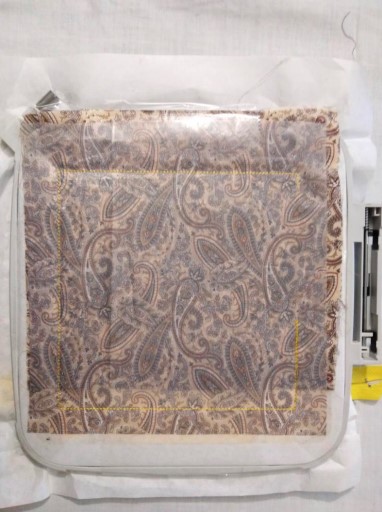
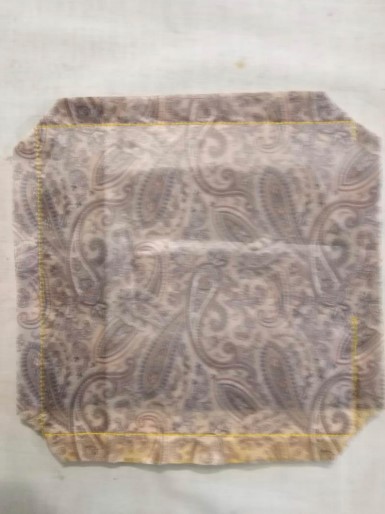
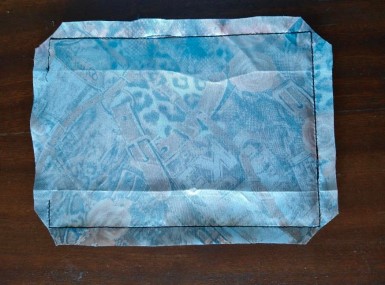
Cut the corners as in the photo.
Step 24: (Click Image to Enlarge)
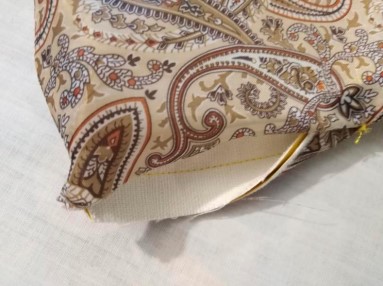
Turn the cosmetic bag out through the opening in the side seam.
Step 25: (Click Image to Enlarge)
Sew the opening with hand stitches.
Step 26: (Click Image to Enlarge)
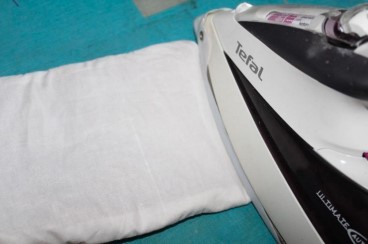
Or fix it with adhesive interfacing with the help of an iron.
Step 27: (Click Image to Enlarge)
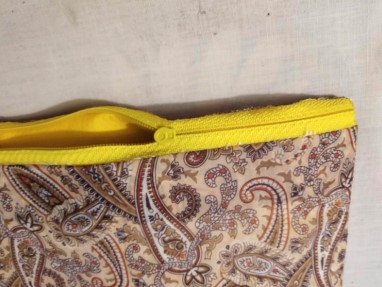
Remove the remaining stabilizer near the zipper. Turn the cosmetic bag out through the open zipper. Straighten the corners. �
Step 28: (Click Image to Enlarge)
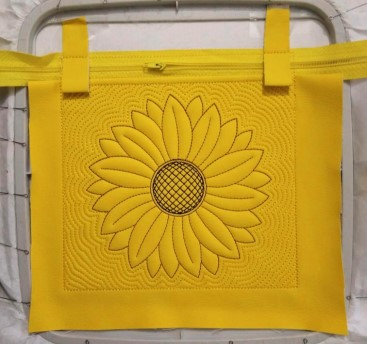
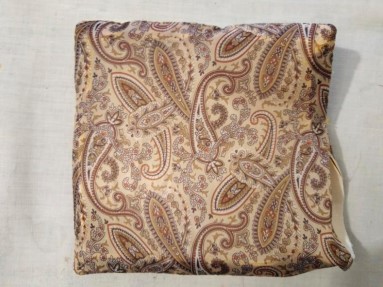
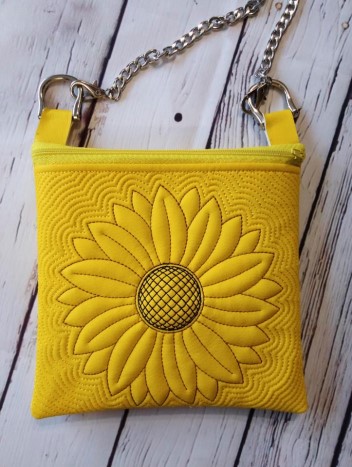
The cosmetic bag is ready.
Step 29: Final Project will look like this...
(Click Image to Enlarge)
Feedback
Please Login to Submit a Feedback
Invalid Characters, Please enter a valid Comment
Please enter a valid Comment
LOG IN
Submit
Link is Broken, Please check the URL