| Preface: | © Broderie Dzhiboux. All rights reserved.
This project is officially licensed to ITH Boutique. All images, digitizing rights, step-by-step instructions, and project visuals are the exclusive property of Broderie Dzhiboux. Unauthorized reproduction or distribution is prohibited. |
| Materials I work with minky and cotton for the bandana At each step, take the measure to have the right size of fabric. Tear off holder, water-soluble holder, filler, snap button, hand sewing needle and thread. Neck decoration at your discretion: bandana, buckle, etc
| Designs used in this project
|
| Preface: | This is a collaboration between ITH Boutique and Dzhiboux |
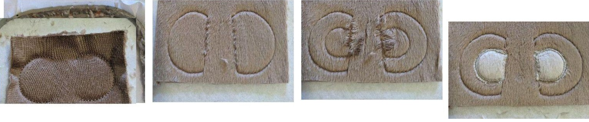
Step 1: | FIRST: Put your teachable support in your 10x10cm frame, for my part I work out frame with temporary glue. Start by listening EARS - This seam is done on your support. From this seam, take the measure to know the size of fabric you will need, always exceed the seams because you have to hide the seam, once your fabric cut, put on your support and well hold in place with temporary glue
- This sewing is done on your base fabric to sew your fabric on your support.
- Sewing from the center of your ears, this sewing is done on your base fabric, take the size you will need fabric for the center of your ears
- Sew your fabric from the centre of the ears onto your base fabric. Once this sewing is complete, cut the excess fabric
- Bumblebee stitches on the center of your ear, once this seam is done, take your fabric for the back of the ears and place it in place on your work, hold it in place.
- Sew to sew the back and front of your ears.
| 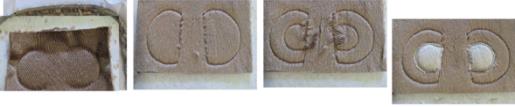 (Click Image to Enlarge) |
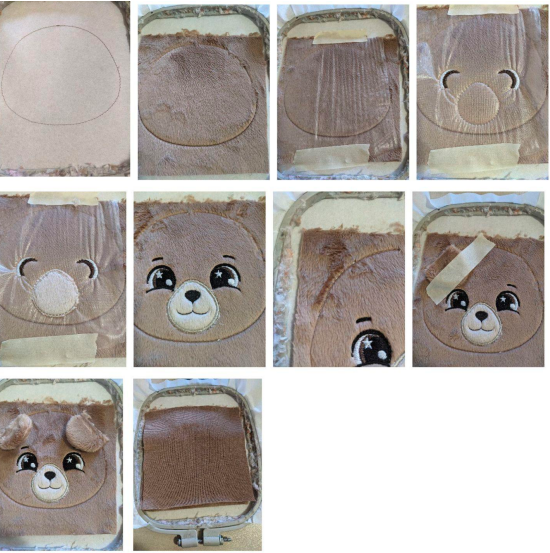
Step 2: | HEAD - Seam on your support to indicate the location of your piece of fabric for the head. Put your piece to hide the seam on your support.
- Sew your piece on your support.
- Put your water-soluble support before moving on to the next step, embroidery stitch
- Sew on your main fabric to indicate the location of the muzzle, take the measure, put your piece of beige fabric on this seam taking care to hide the seam on top. Hold in place.
- Sew your piece of beige fabric onto your main fabric. Remove excess tissue, put a small piece of water-soluble support on the snout.
- Bumble Bee Points Around the Muzzle
- Embroidery stitches
- Sew on your support to show you where your ears are, once sewn, place your ear place against place and hold firmly in place before proceeding to the next step
- Sewing your left ear
- Sewing your right ear
- Seam to close the front with the back.
- Get out of the frame, cut the fabric excess, turn and fill
| 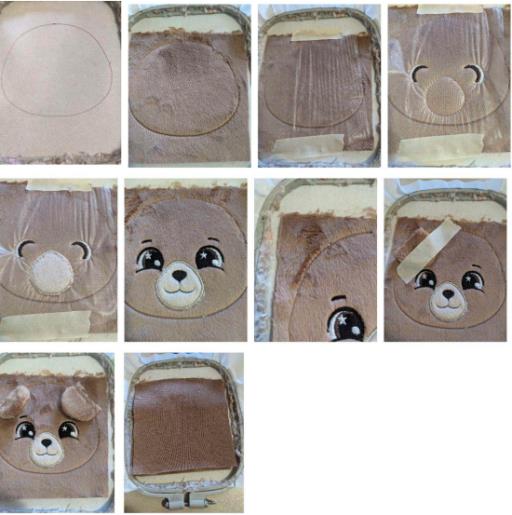 (Click Image to Enlarge) |
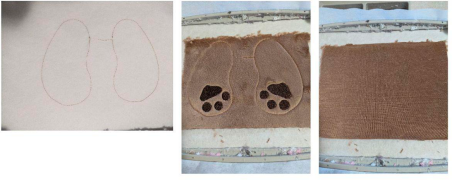
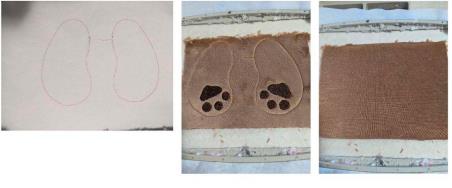
Step 3: | THE ARMS - This seam is done on your support. From this seam, take the measure to know the size of fabric you will need, always exceed the seams because you have to hide the seam, once your fabric cut, put on your support and well hold in place with temporary glue
- This sewing is done on your base fabric to sew your fabric on your support. Put on your water-soluble support before moving on to the next step.
- Embroidery stitches, take your fabric for the back of your arms and place it right on your work, hold it in place.
- Seam for sewing the back and front of you arms
- Step out of frame, cut excess fabric, turn and fill and sew by hand to close arms
|  |
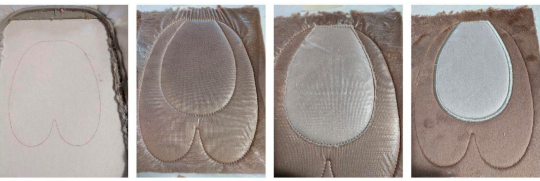
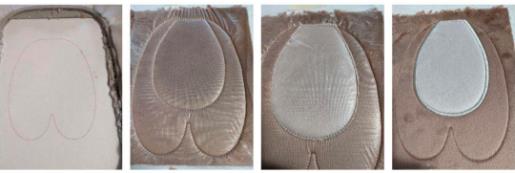
Step 4: | THE BODY - This seam is done on your support. From this seam, take the measure to know the size of fabric you will need, always exceed the seams because you have to hide the seam, once your fabric cut, put on your support and well hold in place with temporary glue
- This sewing is done on your base fabric to sew your fabric on your support.
- Sew on your base fabric to indicate the size and location of the bedon, take your fabric, put it on this seam and hold it firmly in place before doing the next step
- Sewing of the bedon. Once this sewing is complete, cut the excess fabric all the way around.
- No drone on the bedon. Once this sewing is done, take your piece of fabric for the back of the body, put it place against place on your work and move on to the next step.
- Seam to assemble the front with the back of the plush body.
|  (Click Image to Enlarge) |
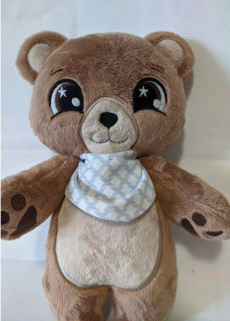
Step 5: | 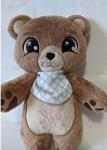 (Click Image to Enlarge) THE ASSEMBLY - Put the stuffing in all your parts, arms, body and head.
- For the head, I put a little fabric glue in the opening and glue on the body before making an invisible seam around the head.
- I do at least three rounds to make it very solid
|
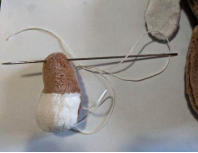
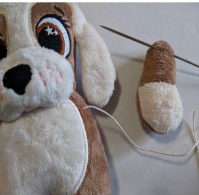
Step 6: | 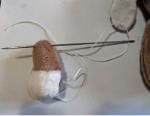 (Click Image to Enlarge) - Take a large needle with a small rope
- Take your left arm, pass your needle from the back to the front of your arm
|
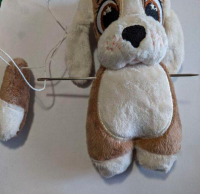
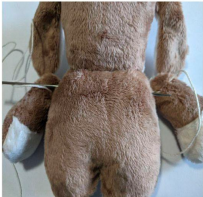
Step 7: | 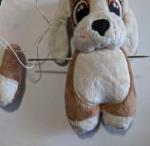 (Click Image to Enlarge) Pass your needle through the body, pass your needle over the front of the seam |
Step 8: | 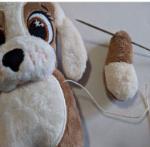 (Click Image to Enlarge) Once your needle with the small rope pass your body, take your right arm and go from the front to the back of the arm. Pass the needle through the back of the seam |
Step 9: | 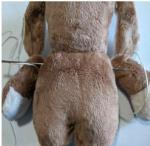 (Click Image to Enlarge) Once your needle goes through the body, tie a knot with the small rope, I do 3 knots, cut my rope and put fabric glue on the knots. |
|
|