Border OptionsHugging border, circle, square, or rectangle — with a 3mm satin stitch.
Backing OptionsAvailable with iron-on, sew-on, or velcro backing.
Fast ShippingShipped quickly from the USA.
Free Online Tools
Powerful embroidery utilities that save time and prevent costly mistakes.
Stitch AssistantRECOMMENDED
Get the exact stabilizer, machine settings, needle, and thread color sequence for every embroidery design you purchase — based on that design's stitch density, dimensions, and color count.
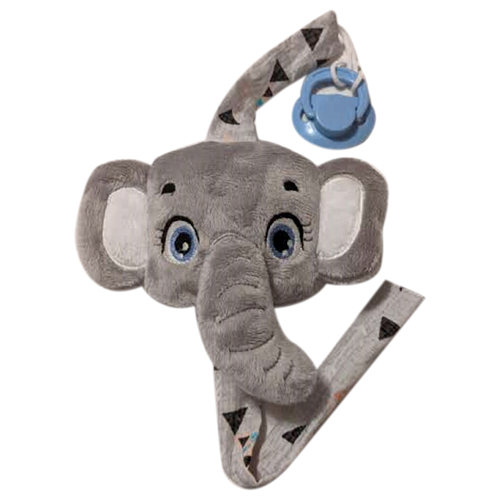
Create a delightful and functional pacifier holder with this ITH project featuring a charming elephant design. Perfect for keeping pacifiers easily accessible while adding a touch of cuteness. Step-by-step instructions are included.
This is a collaboration between ITH Boutique and Dzhiboux
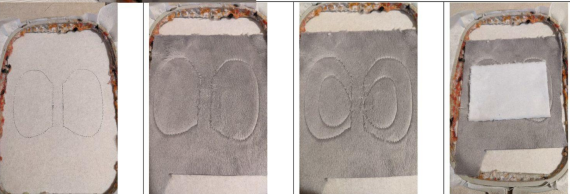
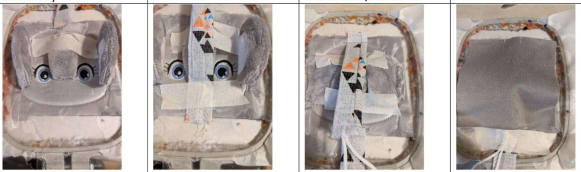
Step 1:
The first seam is done on your tearable support - Once this seam is finished, take your first piece of fabric and put the reverse on your support
Make the 2nd seam, this seam will hold your fabric on your support
The 3rd seam tell you the location of your inner ear fabric
Once this seam is finished, put your piece of fabric upside down against your base fabric
(Click Image to Enlarge)
Step 2:
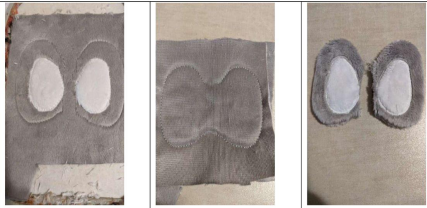
Sewing of your inner ear fabric once this seam is finished, cut the excess fabric and do the next step (bumblebee stitches) put your 2nd piece of fabric, place against your work
Sewing the close your ears ( sew the front and back of the ears together
Get out of the frame remove excess fabric, turn to the place and set aside
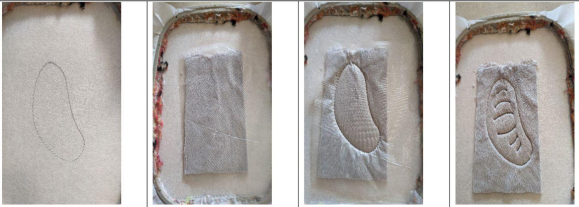
Step 3:
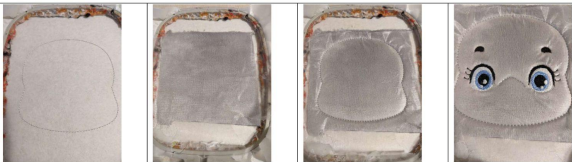
The first seam is done on your support to tell you the location of your fabric
Put on your first piece of fabric and water-soluble support - take well evening to hide theco utrue
This seam will keep your fabric and water-soluble support on your base support
Make the emboidery stitches
(Click Image to Enlarge)
Step 4:
(Click Image to Enlarge)
Put your 2nd piece of fabric, place against place on your work and make the last seam
Exit the frame, remove the excess tissue and return put a little stuff and set aside
Step 5:
The first seam is done on your support to tell you the location of your fabric
Put your piece of fabric for the front of the head, upside down against your support your put your water-solubel support
This seam will keep your fabric and water-soluble support on your support
Follow the embroidery stitches you will have a seam to indicate the place where to postion your proboscis
(Click Image to Enlarge)
Step 6:
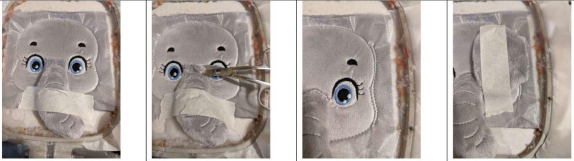
Once your embroidery stitches are finished, put your trunk in the place indicate, hold well in place
Sewing your trunk on your head once this seam is finished, remove the excess and do the next step ( bumblebee stitches)
This seam tells you the positioning of your left ears
Put your ear place against the place of your work put the ear towords the inside of the head when you are going to put your project back in the place the ears will come out of the head, keep well in place
(Click Image to Enlarge)
Step 7:
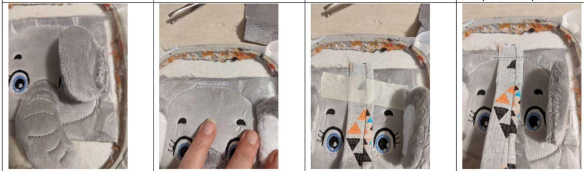
Seam to hold your left ear in place make the right ear the same way
Sewing to tell you where to put your location for the top of the nipple
Putting the place of your headband on the place of your work the part that attaches to the bottom of your work
Seam to hold in place your top ribbon
(Click Image to Enlarge)
Step 8:
To make the bottom part, take the proboscis and hold it in place upwards so as not to sew your proboscis
Make the seam to tell you the location of your tape from the bottom of the nipple hold in place and make the next seam to hold your tape in place
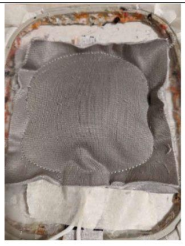
Pay attention to the next seam, put the trun ribbons and ears inside the seam of the head see with the seam you made in the 2nd step this seam where the next seam is going to be
Put your fabric for the back of the nipple you will see why your piece of fabric is larger then the front with the element that is insdie the head it takes a little more fabric advise you to reduce your speed to follow the seam and stop the machine if you need to replace the fabric
(Click Image to Enlarge)
Step 9:
(Click Image to Enlarge)
Voila all that remains is to get out of the frame rexmove the excess fabric and return to the place
Step 10:
(Click Image to Enlarge)
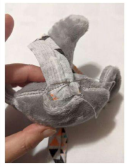
You must now close the small opening you have left handmade seam with invisilbe saem