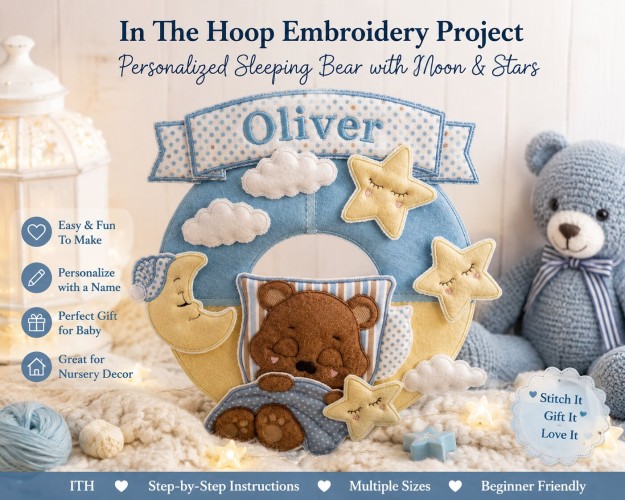
ITH Sleeping Bear Nursery Door Hanger
Zoom Watch Video View Larger
View Project Instructions
ITH Sleeping Bear Nursery Door Hanger Embroidery Project
Description
Create a charming ITH Sleeping Bear Nursery Door Hanger featuring a cozy bear beneath soft clouds, stars, and a crescent moon. Ideal for adding a personalized touch to baby rooms and nursery décor. Step-by-step instructions are included.
Jump to
ITH Sleeping Bear Nursery Door Hanger
By Sew Chic
Materials
Print Materials
Preface: © Broderie Dzhiboux. All rights reserved.
Designs used in this project
Final Product: What You Will Create
Preface: This is a collaboration between ITH Boutique and Dzhiboux
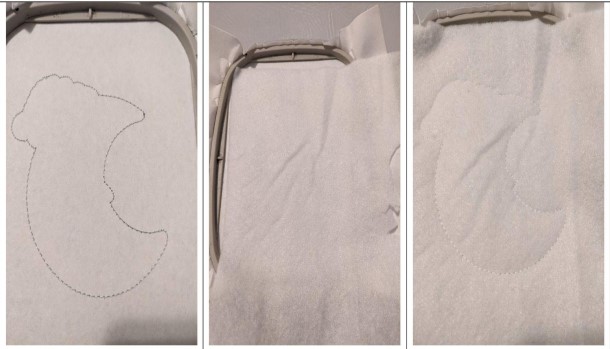
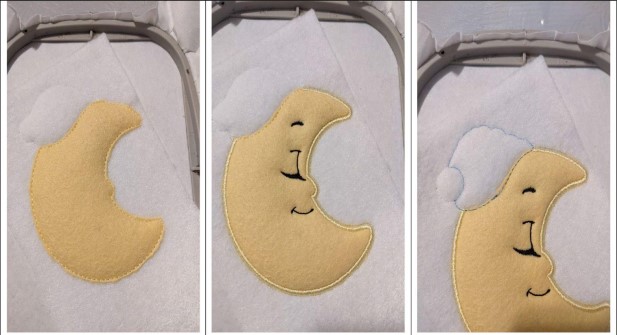
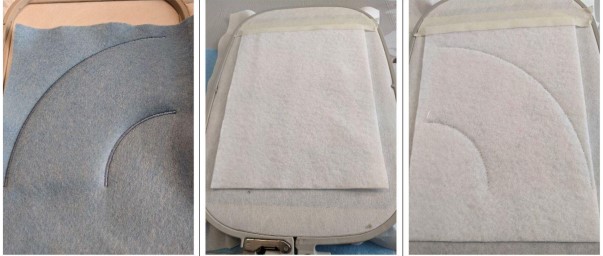
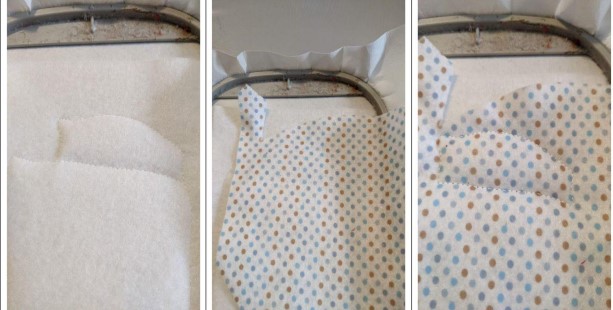
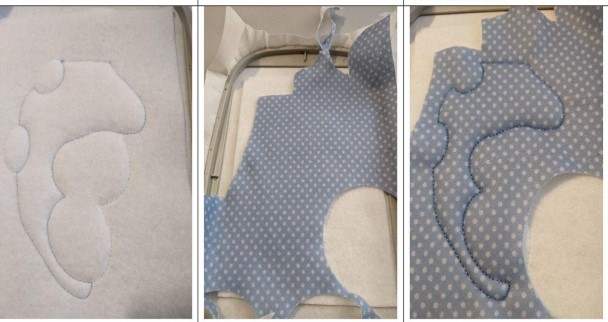
Step 1:
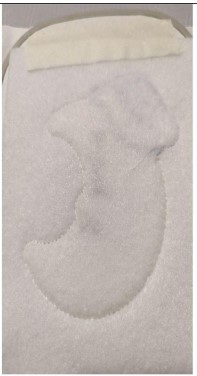
Seam 1: this seam is done on your non-woven stabilizer
Put your fleece on the seam
Seam 2: this seam is hold your fleece on your stabilizer
(Click Image to Enlarge)
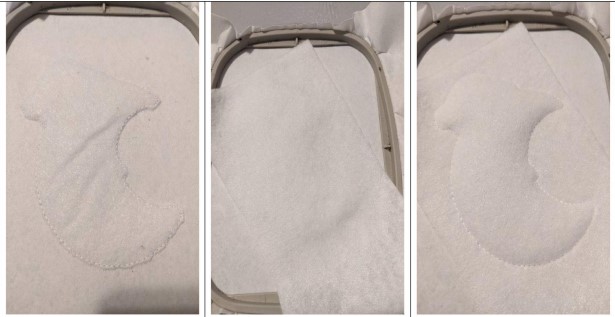
Step 2:
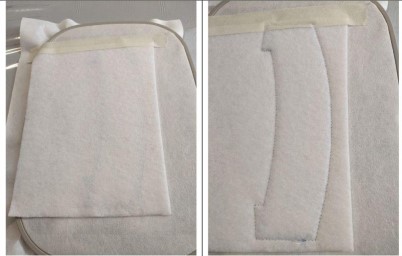
Cut excess fleece all the way around
Put your white felt Acrylic
Seam 3: this seam will hold your felt on your stabilizer. "DO NOT CUT THE EXCESS"
(Click Image to Enlarge)
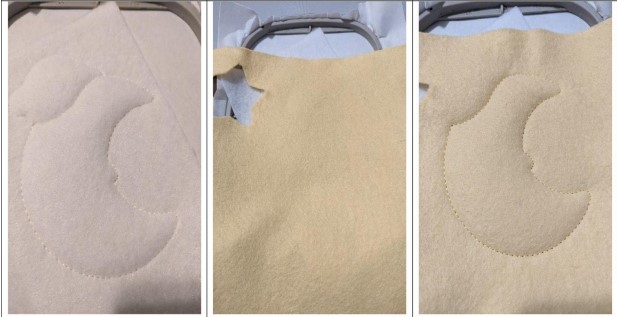
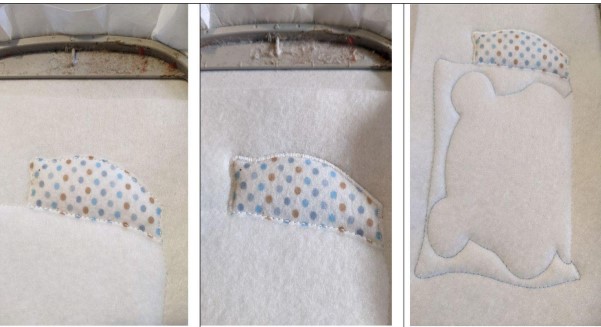
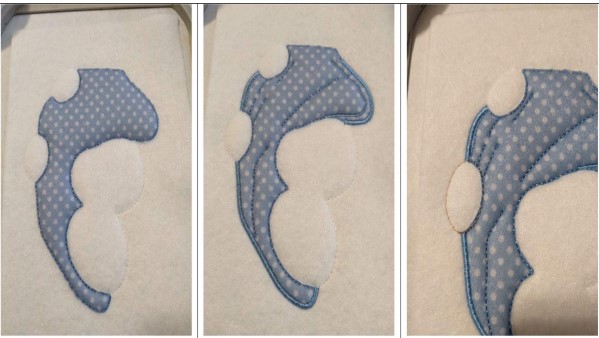
Step 3:
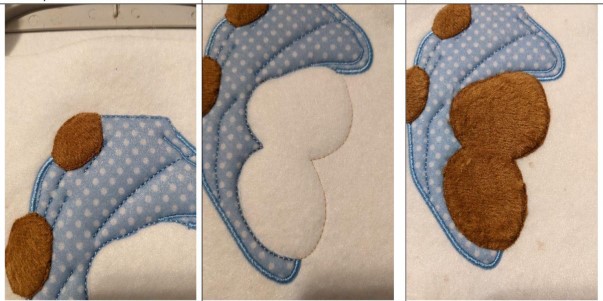
Seam 4: this stitch tells you the location for your moon felt
Put your felt
Seam 5: This seam will hold your felt in place
(Click Image to Enlarge)
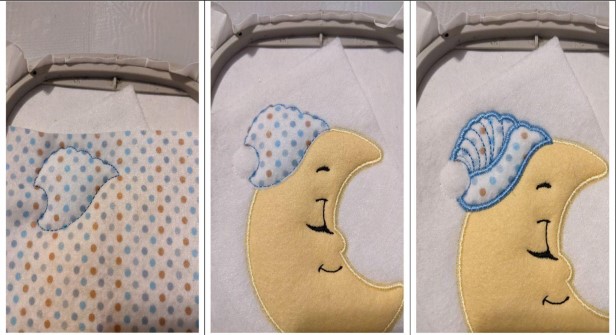
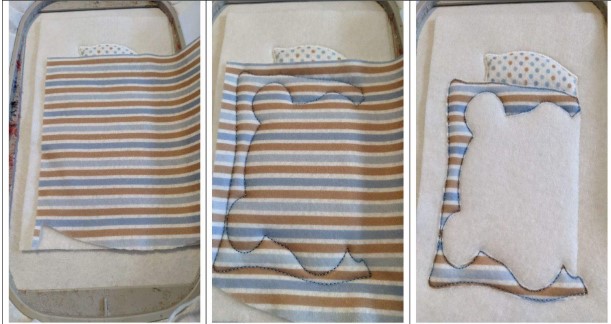
Step 4:
Cut off excess felt
Sewing 6-7: embroidery stitches
Seam 8: this stitch tells you the location of your felt for the hat
(Click Image to Enlarge)
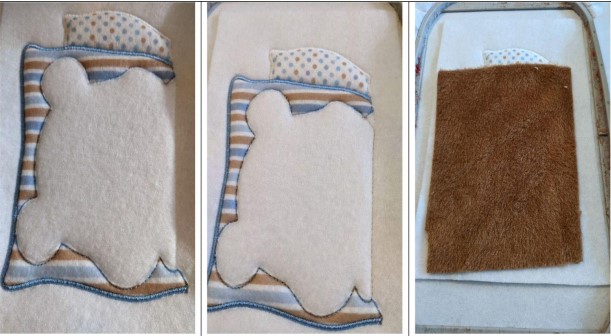
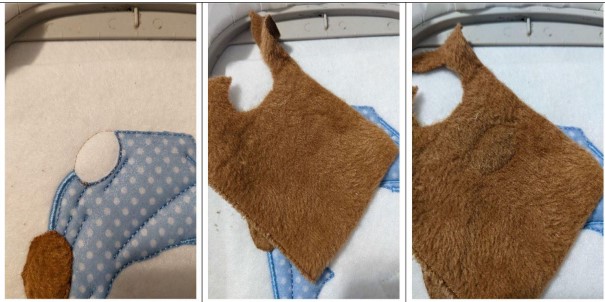
Step 5:
Seam 9: this seam will hold your felt in place
Cut off excess felt
Sewing 10: embroidery stitches
(Click Image to Enlarge)
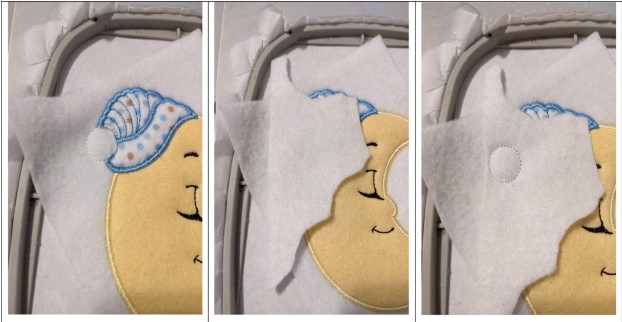
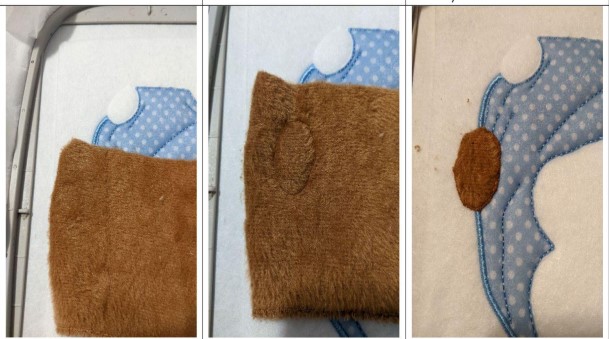
Step 6:
Seam 11: this seam tells you the location for the tassel.
put your felt
Seam 12: this seam whill hold your felt in the place
(Click Image to Enlarge)
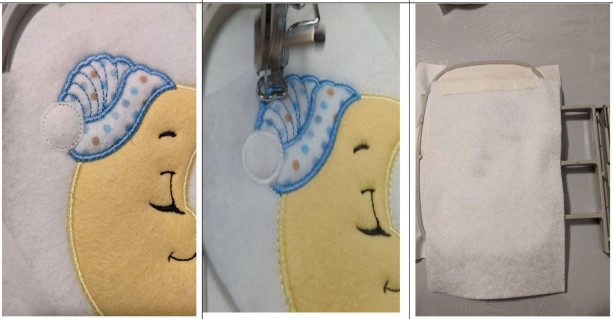
Step 7:
Cut off excess felt
Seam 13: emboridery stitches on the tassel
Put your 2nd piece of acrylic felt on the back of your project ( back of your frame)
(Click Image to Enlarge)
Step 8: (Click Image to Enlarge)
Sewing 14: this seam will join your 2 acrylic felt togethe
-Get out of the frame - Cut excess felt all around - Set aside until editing
Step 9:
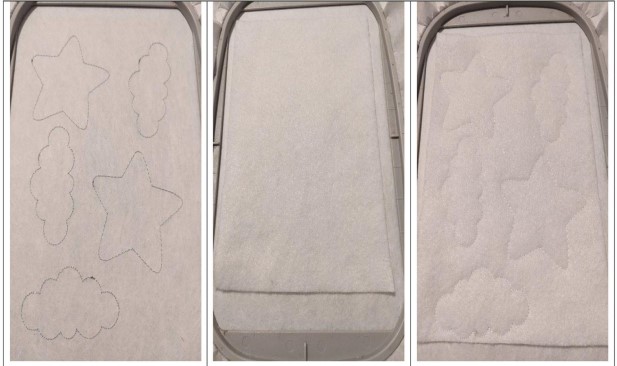
Seam 1: this seam is done on your non-woven stabilizer
Put your fleece on the seam
Seam 2: this seam will hold your fleece on your stabilizer
(Click Image to Enlarge)
Step 10:
Cut excess fleece all the way around
Put your white felt Acrylic
Seam 3: this seam will hold your felt on your stabilizer. "DO NOT CUT THE EXCESS"
(Click Image to Enlarge)
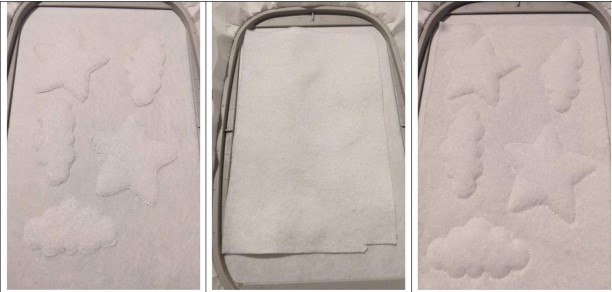
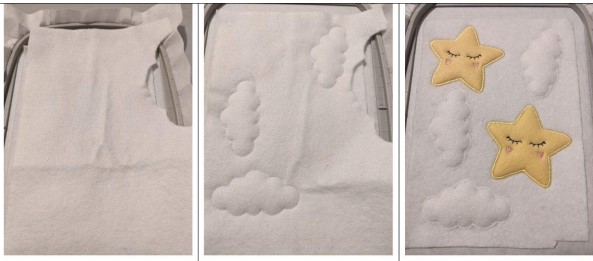
Step 11:
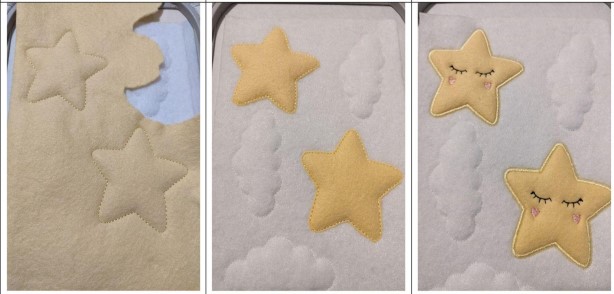
Seam4:: This seam will held felt o your stars - Put your felt on the stars
5-6-7 stitching: embroidery stitches
Cut excess felt all the way around
(Click Image to Enlarge)
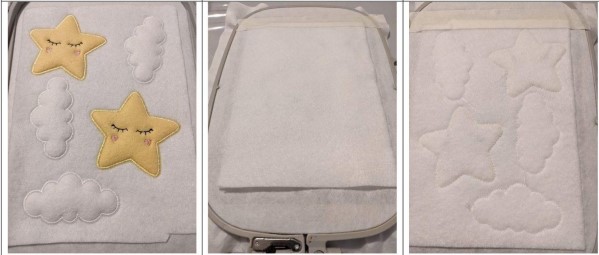
Step 12:
Put your white felt on the clouds
Seams 8: this seam will hold your felt in the place
Cut off excess felt
(Click Image to Enlarge)
Step 13:
Sewing 9: embrodery stritches
Put your 2nd piece of acrylic on the back of your work
Sewing 10:: this seam will join your 2 acrylic felt togther
(Click Image to Enlarge)
Step 14:
Seam 1: this seam is done on your non-woven stabilizer
Put your fleece on the seam
Seam 2: this seam will hold your fleece on your stabilizer
(Click Image to Enlarge)
Step 15:
Cut excess fleeca all the way around
put your felt or fabric
Seam 3: this seam will hold your felt or fabric in place
Seam 4: embroidery stitches in the point
Sewing 5: embroidery stitches
I did everyting the same color
(Click Image to Enlarge)
Step 16:
Put your acrylic felt on the back of your work
Sesm 6: this seam will join your back felt wioth the front of your banner
Thinking outside the box cut off axcess all arround set aside until assembly
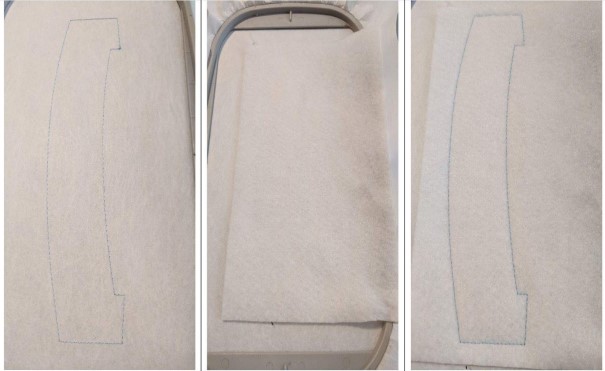
Step 17:
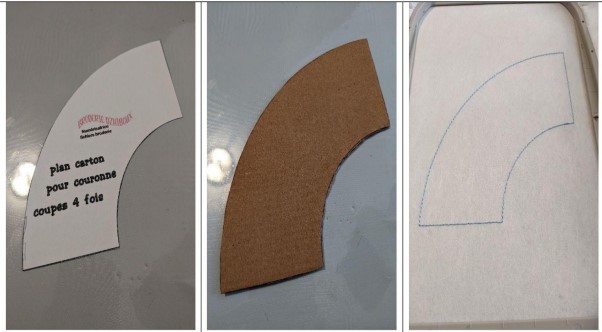
Print your pattern for cardboard
Cut your box
Seam 1: this seam is done on your non-woven stabilizer
(Click Image to Enlarge)
Step 18:
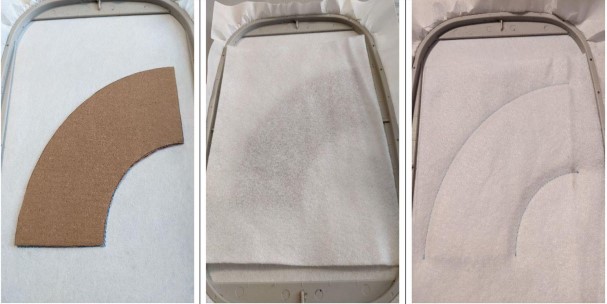
Once your seam is finished, stick your cardboard inside the seam, I take ordinary white glue
Put your fleece on your cardboard
Seam 2: this seam will hold your fleece on your stabilizer
(Click Image to Enlarge)
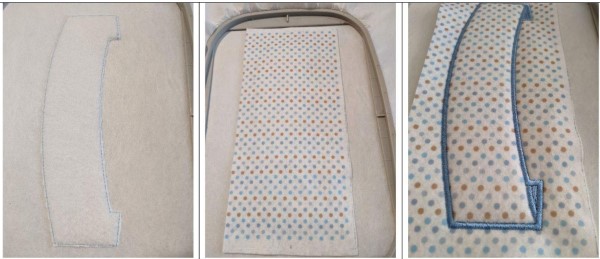
Step 19:
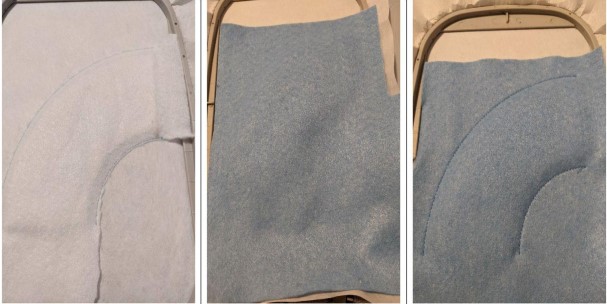
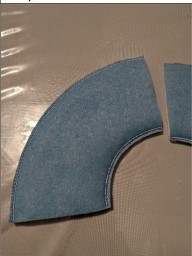
Cut excess fleece on the inside and outside of 1/4 of the crown
Put your felt
Seam 3: this seam will hold your felt in place
(Click Image to Enlarge)
Step 20:
Sewing 4: embroidery stitches
Put your 2nd piece of acrylic felt on the back of your work
Seam 5: this seam will join your back felt with the front
(Click Image to Enlarge)
Step 21: (Click Image to Enlarge)
Thinking outside the box Cut excess felt or fabric all the way around
Do the other 3 part.
You can make different color
Step 22:
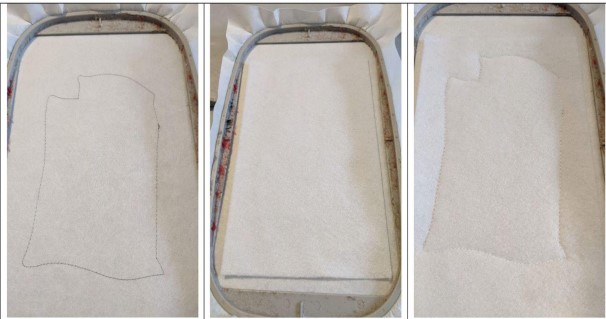
Seam 1: this seam is done on your non-woven stabilizer
Put your fleece on the seam
Seam 2: this seam will hold your fleece on your stabilizer
(Click Image to Enlarge)
Step 23:
Cut excess fleeca all the way around
Put yoyur white felt arcylic
Seam 3: this seam will hold your felt on your stabilizer . (Do not cut the excess)
(Click Image to Enlarge)
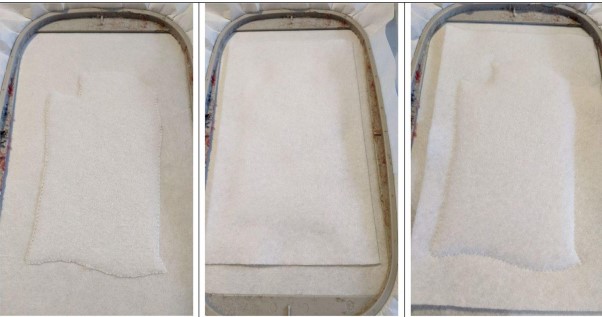
Step 24:
Sea 4: this stitch tells you the location of your felt
Put your felt
Seam 5: this seam will hold your felt in place
(Click Image to Enlarge)
Step 25:
Cut of excess all around
Sewing 6: embroidery sritches
Seam 7: this seam will tell you the location of your felt
(Click Image to Enlarge)
Step 26:
Put your felt on the seam, taking care to hide all the seam
Seam 8 : this seam will hold your felt in people
Cut off excess all around
(Click Image to Enlarge)
Step 27:
Sewing 9: embroidery stitches
Seam 10: this seam tells you the location of your Minky
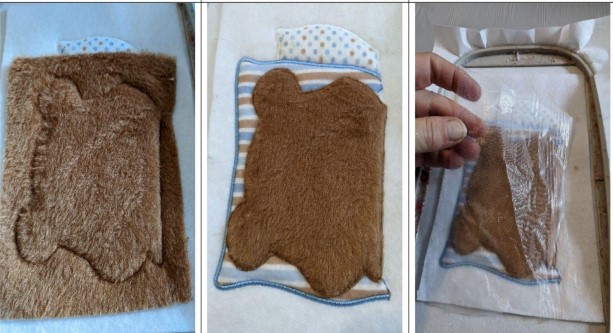
Put your Minky on the seam in full
(Click Image to Enlarge)
Step 28:
Seam 11: this seam will hold your Minky in place
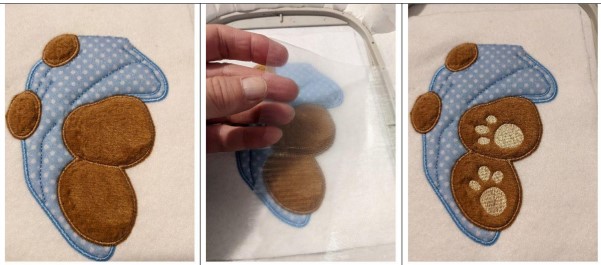
Cut off excess all around
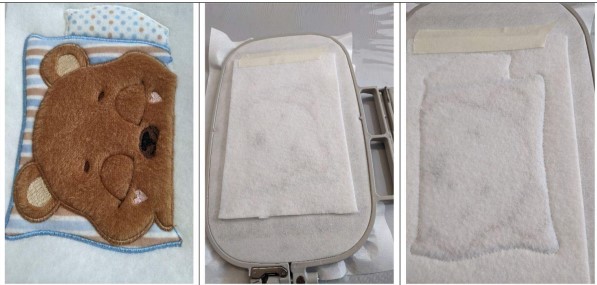
Put your water-soluble support
(Click Image to Enlarge)
Step 29:
Sewing 12-13-14-15-16: embroidery stiches
Put your 2nd piece of arcylic felt on the back of yor work (back of the frame) we hold in place
Sewing 17: this seam will less your 2 acrylic felt togther
(Click Image to Enlarge)
Step 30:
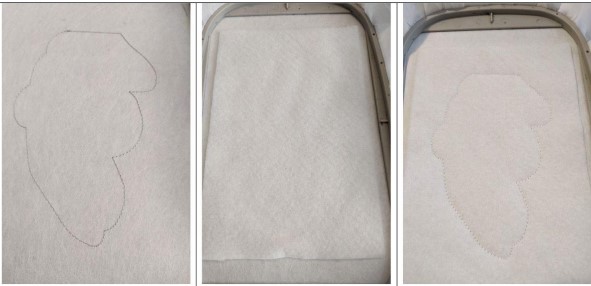
Seam 1: this seam will done on your non-woman stabilizer
Put your fleeca on the seam
Seam 2: this seam will hold your fleeca on stabilizer
(Click Image to Enlarge)
Step 31:
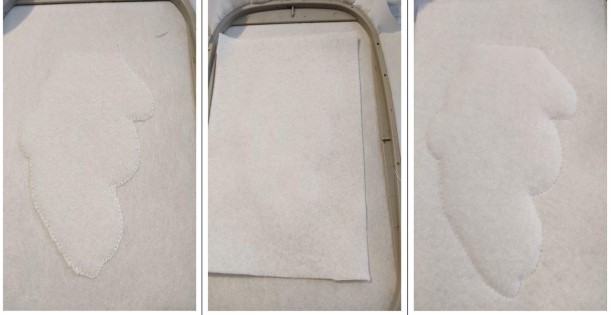
Cut excess fleece all the way around
Put your white felt Acrylic
Seam 3: this seam will hold your felt on your stabilizer. "DO NOT CUT THE EXCESS"
(Click Image to Enlarge)
Step 32:
Seam 4: this stitch tells you the location of your felt for the cover
Put your felt on the seam
Seam 5: this seam will hold your felt in place
(Click Image to Enlarge)
Step 33:
Cut off excess all around
Sewing 5-7: embroidery stitches
Seam 8: this seam shows you the location for your minky
(Click Image to Enlarge)
Step 34:
Put your Minky on the seam
Seam 9: this seam will hold your Minky in place
Cut off excess all around
(Click Image to Enlarge)
Step 35:
Seam 10: this seam tells you the location of your Minky
Put your Minky on the seam
Seam 11: this seam will hold your Minky in place
(Click Image to Enlarge)
Step 36:
Cut off excess all around
Seam 12: this seam tells you the location for your Minky legs - Put your Minky on the seam
Seam 13: this seam will hold your Minky in place - Cut off excess all around
(Click Image to Enlarge)
Step 37:
Sewing 14: embroidery stitches
Put your water-soluble support
Sewing 15: embroidery stitches
(Click Image to Enlarge)
Step 38:
Put your 2nd piece of acrylic felt on the back of your project
Sewing 16: this seam will join the 2 felt pens together
Thinking outside the box Cut off excess all around Set aside until editing
Step 39:
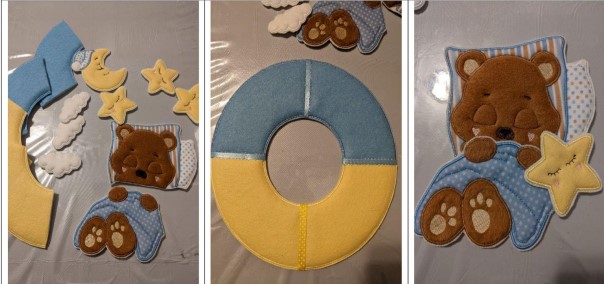
You must have all the parts
With your hot glue gun, start by gluing the crown. Stick a ribbon on the joint of each cartier of the crown
Stick the bottom on the top of the teddy bear, stick the star on the part of the blanket and pillow
(Click Image to Enlarge)
Step 40: (Click Image to Enlarge)
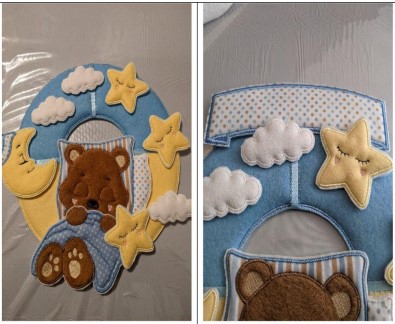
Arrange your elements on the crown
Stick the 2 ends of the banner under the banner and stick the banner on the crown
All you have to do is put your little ring (or other) at the back to make the attachment
Feedback
Please Login to Submit a Feedback
Invalid Characters, Please enter a valid Comment
Please enter a valid Comment
LOG IN
Submit
Link is Broken, Please check the URL