Border OptionsHugging border, circle, square, or rectangle — with a 3mm satin stitch.
Backing OptionsAvailable with iron-on, sew-on, or velcro backing.
Fast ShippingShipped quickly from the USA.
Free Online Tools
Powerful embroidery utilities that save time and prevent costly mistakes.
Stitch AssistantRECOMMENDED
Get the exact stabilizer, machine settings, needle, and thread color sequence for every embroidery design you purchase — based on that design's stitch density, dimensions, and color count.
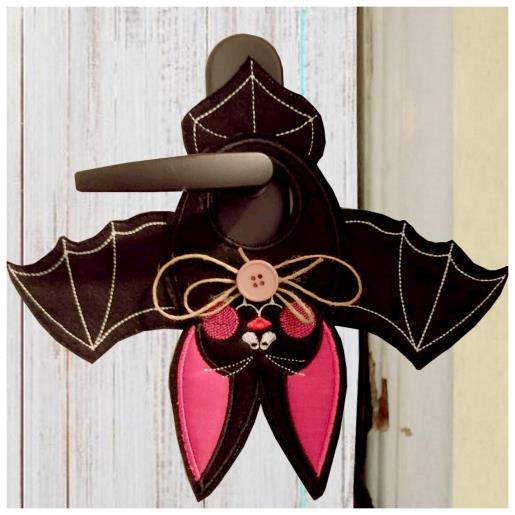
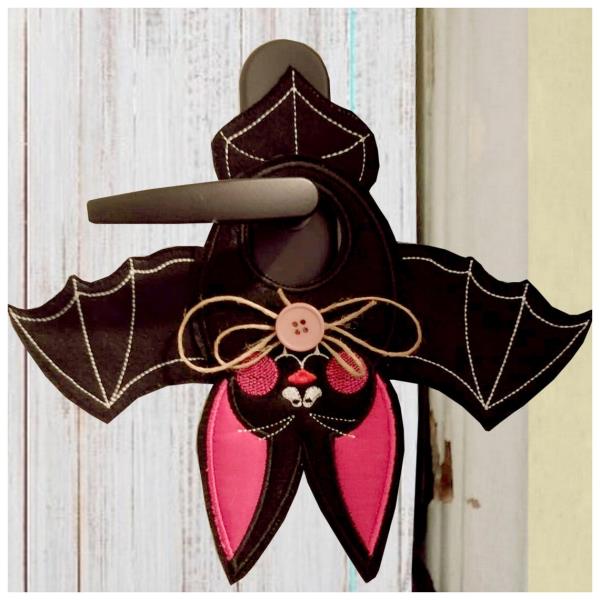
Create a spooky atmosphere with this In-The-Hoop bat door hanger, perfect for Halloween decor. This unique design features a bat hanging upside down, adding an eerie charm to any entryway. Step-by-step instructions are included.
5” x 7” - 6” x 10” or an extra-large embroidery hoop.
Fabric in your favorite colors.
2.5-ounce Cut-away Stabilizer.
Batting.
Repositionable adhesive spray.
Fabric scissors.
Final Product: What You Will Create
Preface:
This is a collaboration between ITH Boutique and Emerson
Step 1:
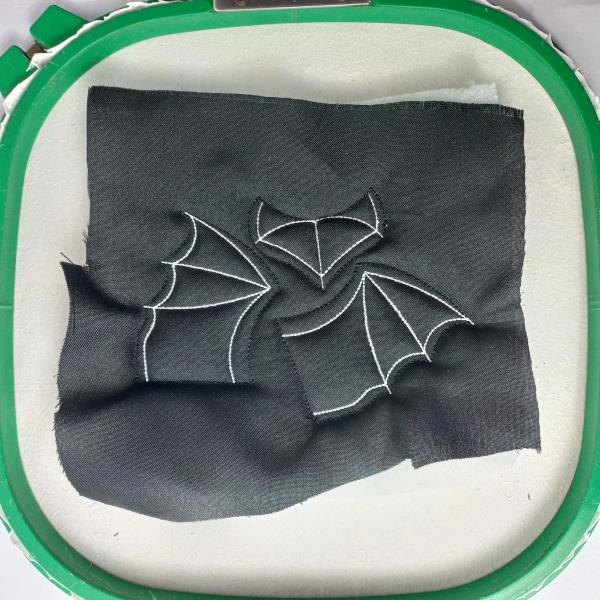
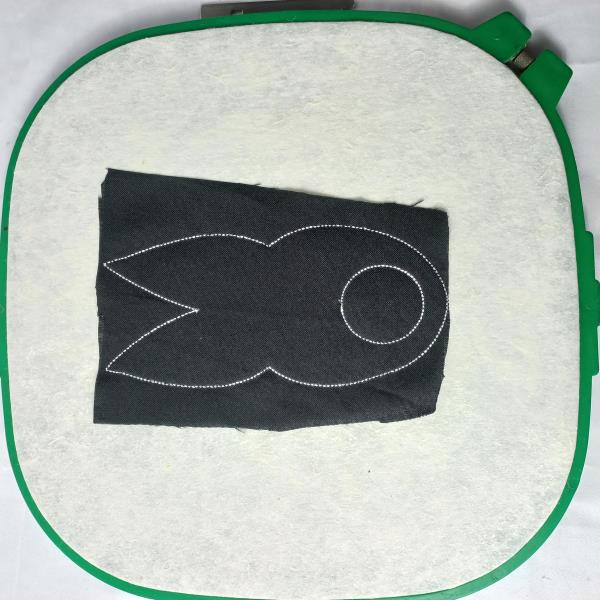
For the Wings and Tail part tautly hoop 2.5-ounce cutaway stabilizer in your embroidery hoop and cover the hoop with batting and black fabric with the help of repositionable adhesive spray. Run color-stop 1 through color-stop 7.
(Click Image to Enlarge)
Step 2:
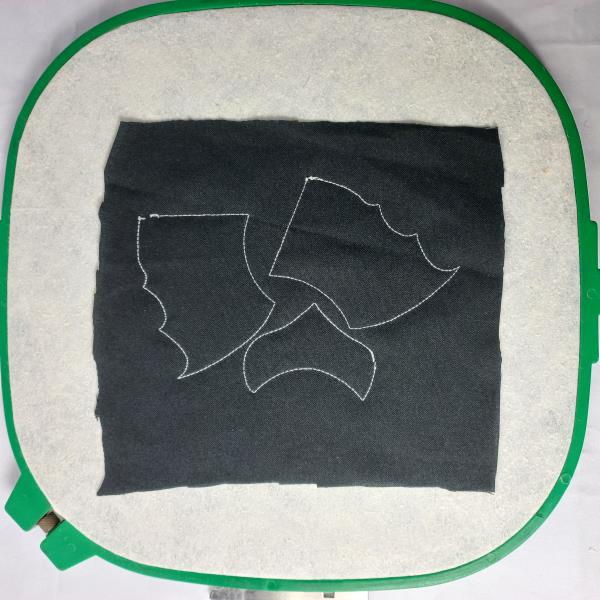
Remove the hoop from the machine, do not unhoop. Cover the back of the hoop with black fabric with the help of the repositionable adhesive spray and run color-stop 8.
(Click Image to Enlarge)
Step 3:
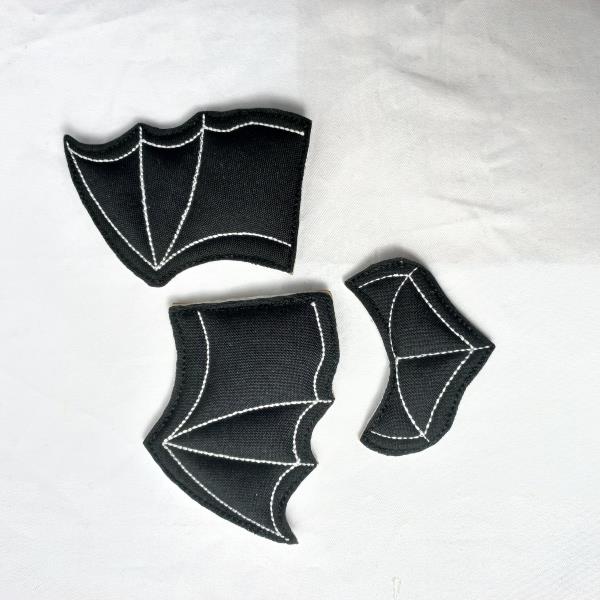
Remove the project from the hoop. Cut out the outline of the design, with sharp scissors, and save it for later.
(Click Image to Enlarge)
Step 4:
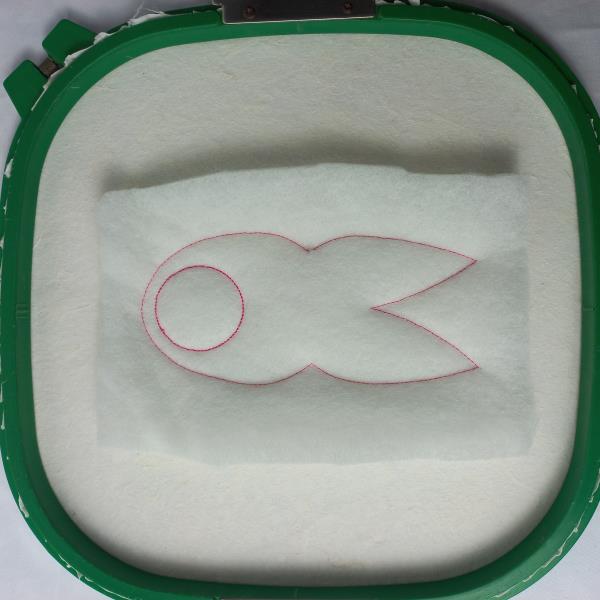
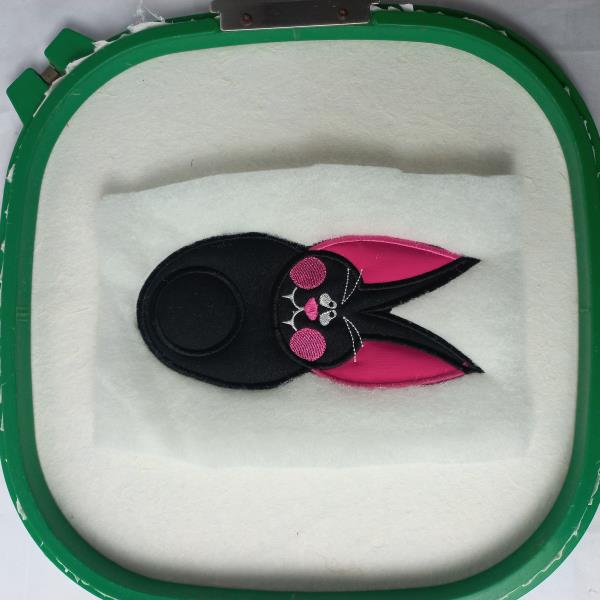
For the Bat part tautly hoop 2.5-ounce cutaway stabilizer in your embroidery hoop and run color-stop 1 as a placement line. Remove the hoop from the machine, do not unhoop. Cover the placement line with batting with the help of the repositionable adhesive spray, and run color-stop 2.
(Click Image to Enlarge)
Step 5:
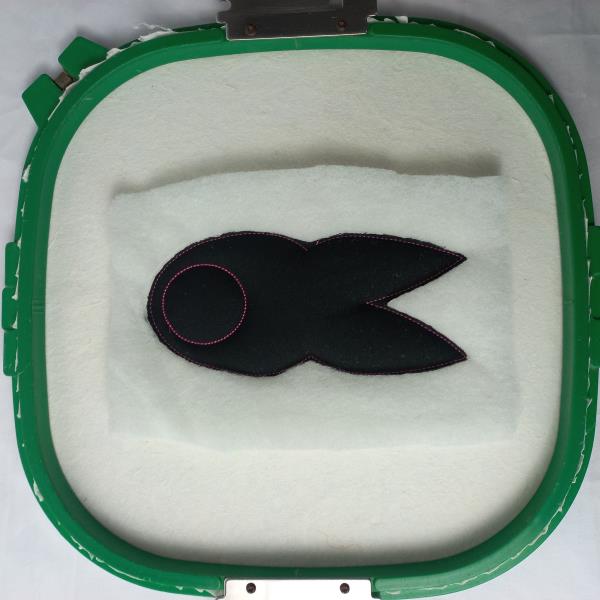
Cover the placement line with black fabric with the help of the repositionable adhesive spray, and run color-stop 3.
(Click Image to Enlarge)
Step 6:
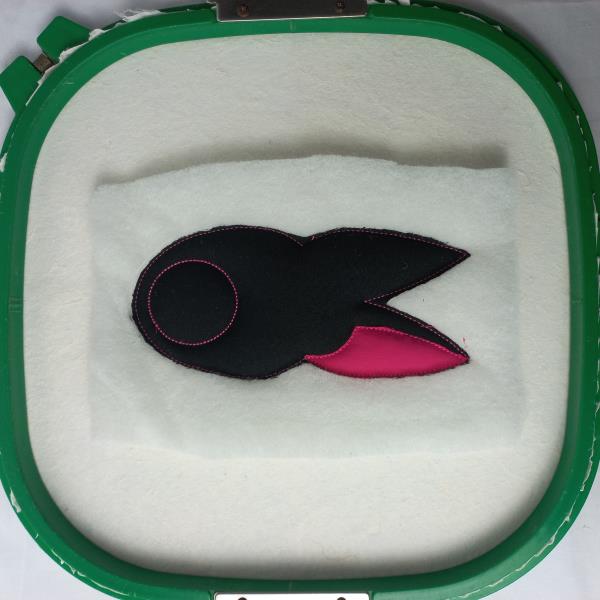
Run color-stop 4 as a placement line, cover the placement line with fuchsia fabric with the help of repositionable adhesive spray, and run color-stop 5.
(Click Image to Enlarge)
Step 7:
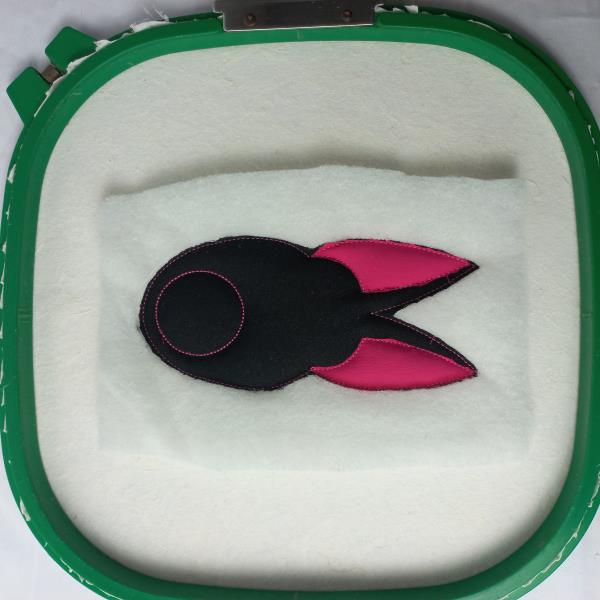
Follow the previous step for the other bat ear.
(Click Image to Enlarge)
Step 8:
Run color-stop 8 through color-stop 12.
(Click Image to Enlarge)
Step 9:
Remove the hoop from the machine, do not unhoop. Cover the back of the hoop with black fabric with the help of the repositionable adhesive spray and run color-stop 13.
(Click Image to Enlarge)
Step 10:
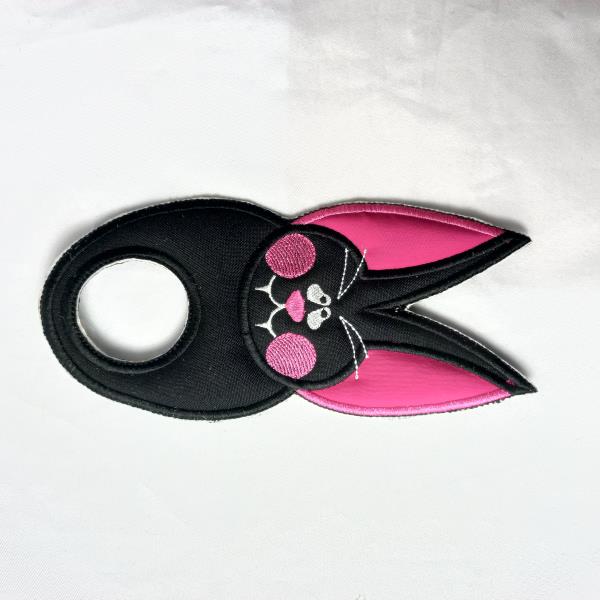
Remove the project from the hoop. Cut out the outline of the design, and the center part with sharp scissors, and save it for later.
(Click Image to Enlarge)
Step 11:
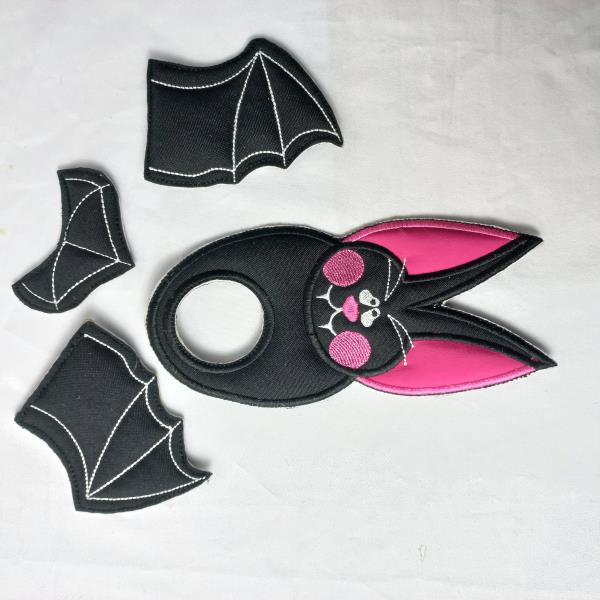
We put all the pieces together.
(Click Image to Enlarge)
Step 12:
With the help of a needle and thread or some type of textile glue. The Bat part will be the center part, join the tail with the body of the bat, and now join the wings at the height you prefer. Or as the reference image suggests.