Border OptionsHugging border, circle, square, or rectangle — with a 3mm satin stitch.
Backing OptionsAvailable with iron-on, sew-on, or velcro backing.
Fast ShippingShipped quickly from the USA.
Free Online Tools
Powerful embroidery utilities that save time and prevent costly mistakes.
Stitch AssistantRECOMMENDED
Get the exact stabilizer, machine settings, needle, and thread color sequence for every embroidery design you purchase — based on that design's stitch density, dimensions, and color count.
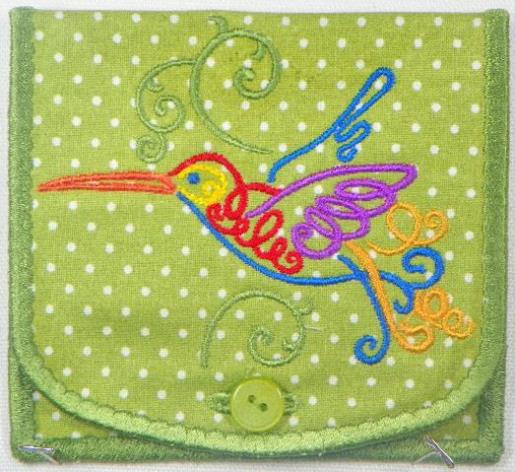
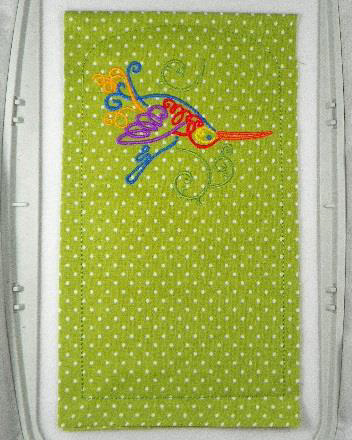
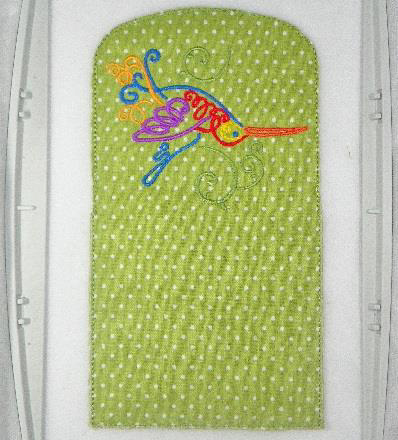
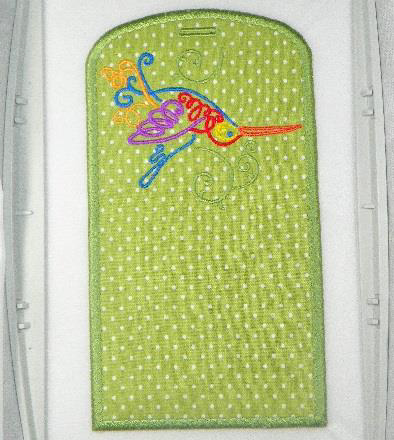
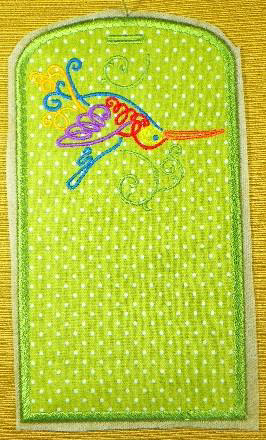
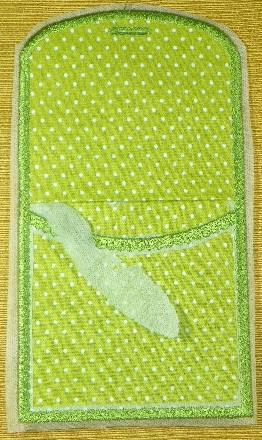
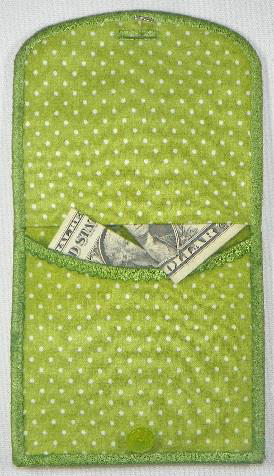
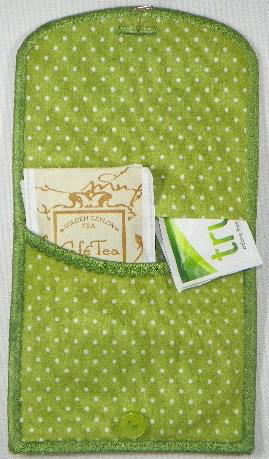
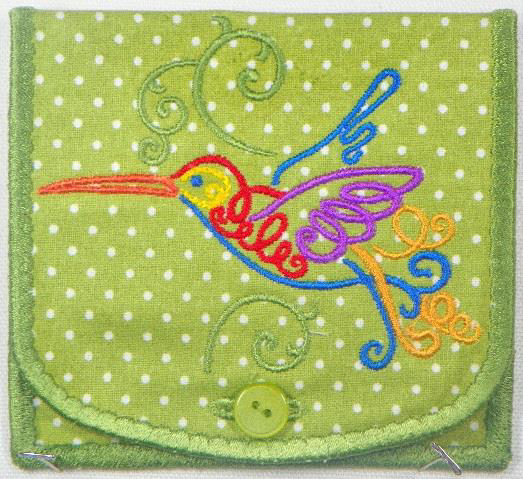
Create a vibrant 2-pocket pouch featuring a colorful hummingbird design using the In-The-Hoop technique. This functional pouch is perfect for organizing essentials with style and ease. Step-by-step instructions are included.
This is a collaboration between ITH Boutique and Holly
Step 1:
(Click Image to Enlarge)
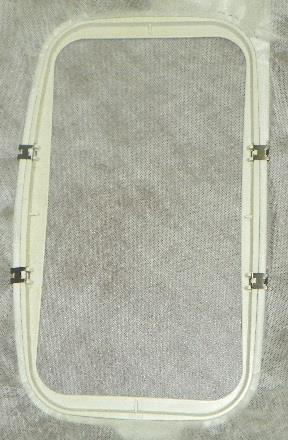
Hoop 1-layer of water soluble stabilizer in a 5 x 7 Hoop.
Step 2:
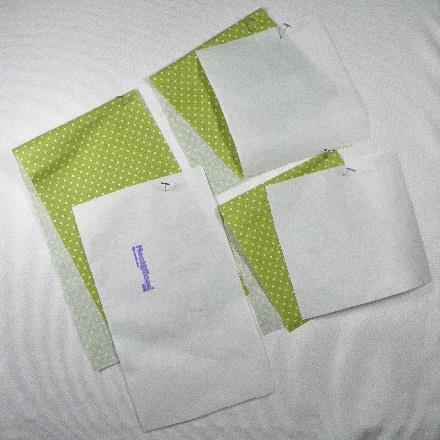
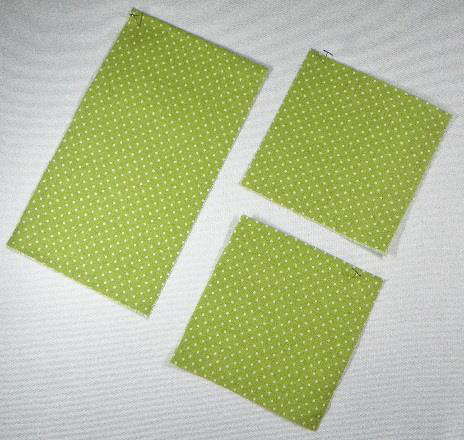
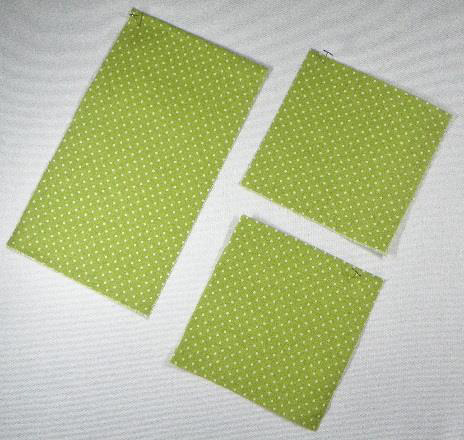
Cut 3 pieces of fabric
a. 1 @ 17 x 5 inches
b. 2 @ 10 x 5 inches
Step 3:
Cut 3 pieces of Heat-n-Bond lite:
a. 1 @ 8.5 x 5 inches
b. 2 @ 5 x 5 inches
Step 4:
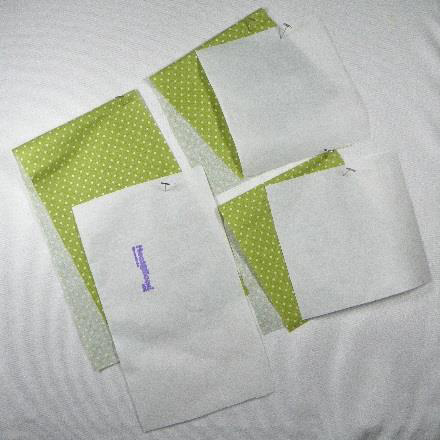
Fold the fabric pieces in half-lengthwise (one should measure 5 x 8.5 inches and the other two should measure 5 x 5 inches.
Step 5:
Place the Heat-n-Bond lite between the folded pieces, press, remove paper backing, and press again to fuse the Heat-n-Bond to the folded fabric.
Step 6:
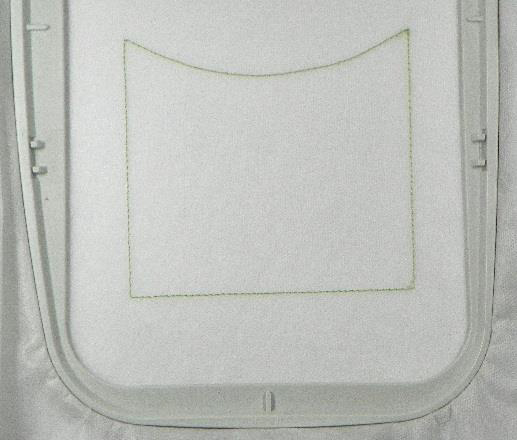
Attach hoop to machine and sew #1 in the Color Sequence.
(Click Image to Enlarge)
Step 7:
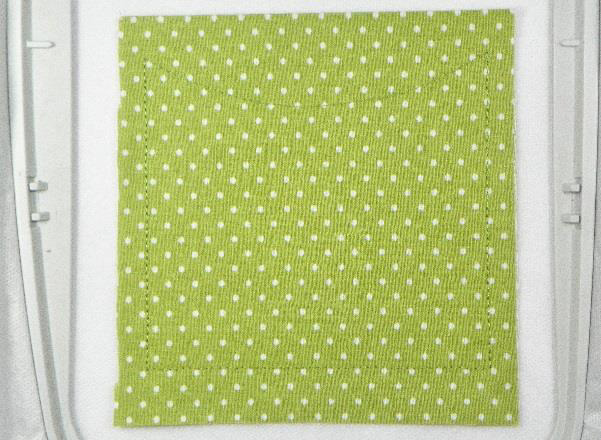
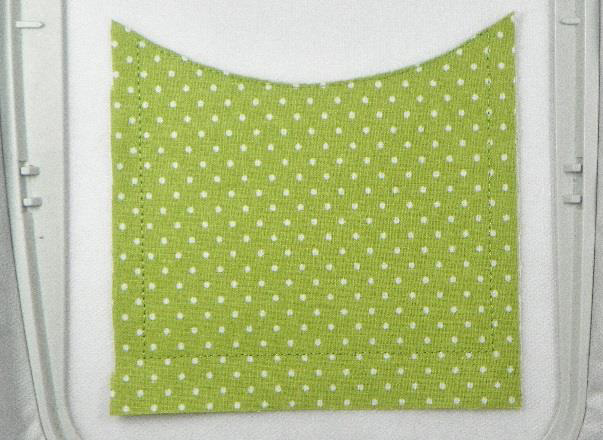
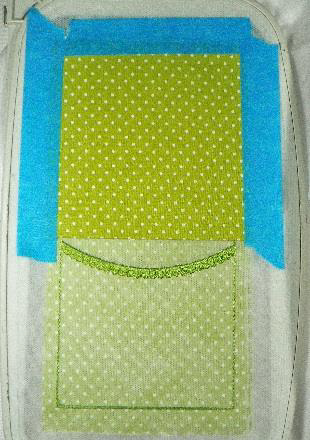
Place one of the 5 x 5 inch pieces over the placement stitches-making sure all stitches are covered and sew #2 in the Color Sequence. This will tack the fabric to the stabilizer.
(Click Image to Enlarge)
Step 8:
Remove hoop from machine and carefully cut the fabric away from the top of the pocket. (Do not cut the stabilizer.)
(Click Image to Enlarge)
Step 9:
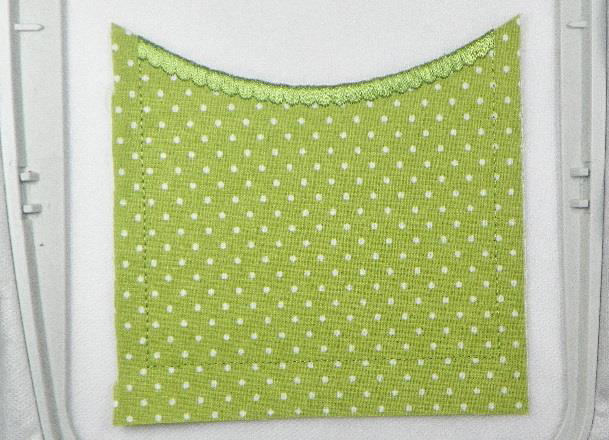
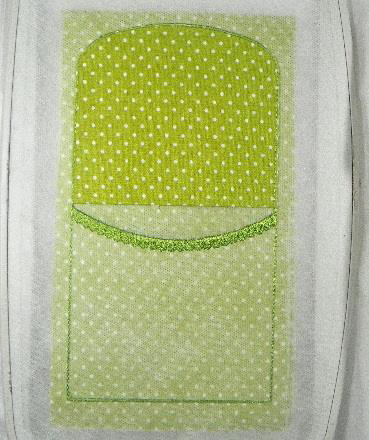
Make sure you are using the same color thread in the bobbin as in the needle for this step. Return the hoop to the machine and sew #3 in the Color Sequence. This will create the satin stitch for the top of the pocket.
(Click Image to Enlarge)
Step 10:
(Click Image to Enlarge)
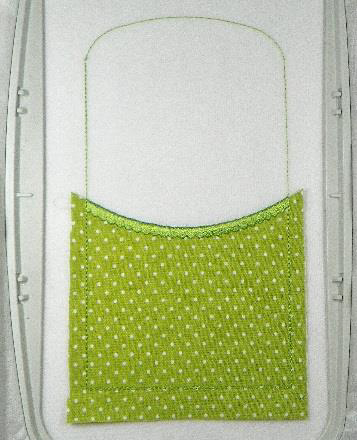
Sew #4 in the Color Sequence. This will create the placement stitches for the larger part of the pouch.
Step 11:
(Click Image to Enlarge)
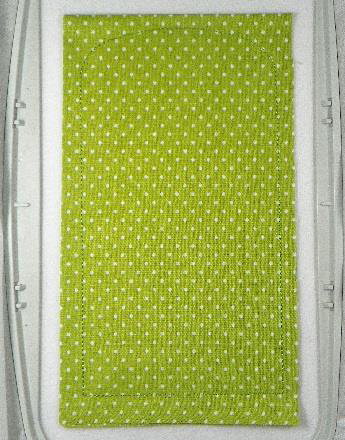
Place the 8.5 x 5 inches piece of fabric over the placement stitches and sew #5 in the Color Sequence Chart.
Step 12:
(Click Image to Enlarge)
Sew the design (#6-#13) following the colors shown in the Color Sequence Chart.
Step 13:
(Click Image to Enlarge)
Remove hoop from machine. Turn the hoop upside down and place the second piece of 5 x 5 inch fabric over the upper portion of the design. Use either tape or temporary adhesive spray to hold the fabric to the back of the hoop. The fold of the fabric should be placed toward the middle of the design. Also, change the bobbin thread to the same color as the needle thread. Sew #14 in the Color Sequence Chart.
Step 14:
(Click Image to Enlarge)
Remove hoop from machine and cut away the fabric from the back of the hoop.
Step 15:
(Click Image to Enlarge)
Cut away fabric from front of the hoop, being careful not to cut into the stitches.
Step 16:
(Click Image to Enlarge)
Sew the final set of stitches (#15 & #16) in the Color Sequence Chart. This will create the satin border and the buttonhole. Note-If you want to use a snap instead of a button and buttonhole, do not sew #16.
Step 17:
(Click Image to Enlarge)
Remove the hoop from the machine and the project from the hoop.
Step 18:
(Click Image to Enlarge)
Trim carefully around the project-leaving a little of the stabilizer to ensure the satin stitches are not cut.
Step 19:
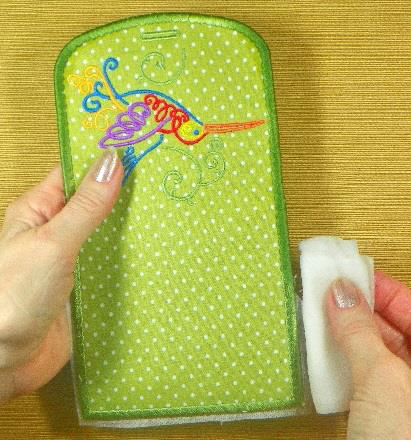
Use a wet paper towel or cloth to remove any remaining stabilizer.
Step 20:
(Click Image to Enlarge)
Let the project dry and cut the buttonhole (or add the snap.)
Step 21:
(Click Image to Enlarge)
Fold the pouch in half to determine where to place the button or snap.
Step 22:
Sew on the button (or add the snap) and lightly press fold. It is best to always use a pressing cloth and place the design face down on a towel.