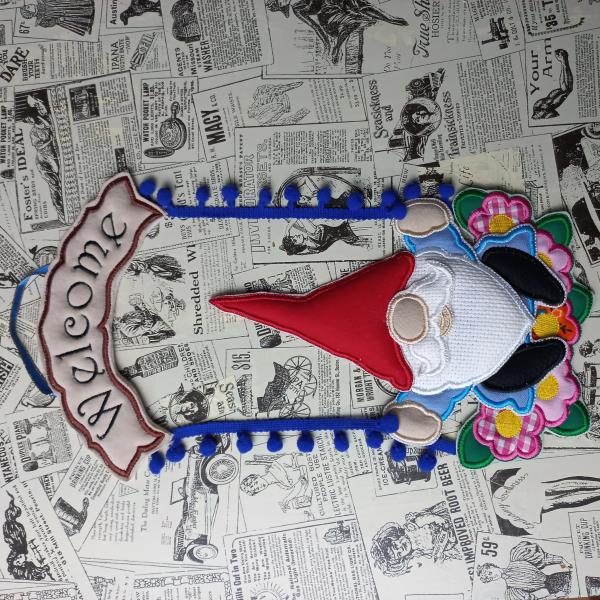
ITH Gnome Welcome Banner
Zoom Watch Video View Larger
View Project Instructions
ITH Gnome Welcome Banner Embroidery Project
Description
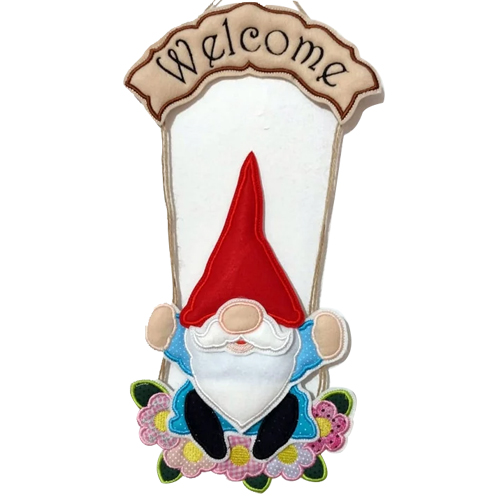
Create a charming In The Hoop banner featuring a cheerful gnome sitting on a floral swing. This decorative piece adds a welcoming touch to any space. Step-by-step instructions are included.
Jump to
ITH Gnome Welcome Banner
By Sew Chic
Materials
Print Materials
Materials ● 4” x 4 - 5” x 7” - 6” x 10” or an extra-large embroidery hoop.
● Fabric in your favorite colors.
● 2.5-ounce Cut-away Stabilizer.
● Batting
● Repositionable adhesive spray
● Fabric scissors
Designs used in this project
Final Product: What You Will Create
Preface: This is a collaboration between ITH Boutique and Emerson.
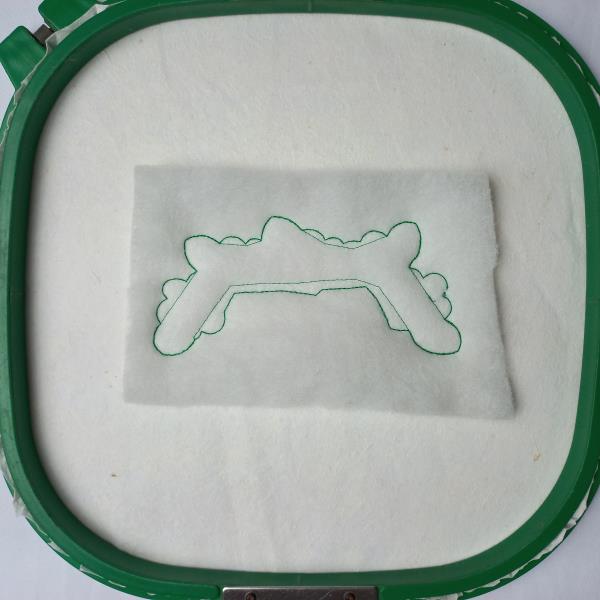
Step 1: For the A01 part tautly hoop 2.5-ounce cutaway stabilizer in your
embroidery hoop and run color-stop 1 as a placement line.
Remove the hoop from the machine, do not unhoop. Cover the
placement line with batting with the help of the repositionable
adhesive spray, and run color-stop 2 and 3.
(Click Image to Enlarge)
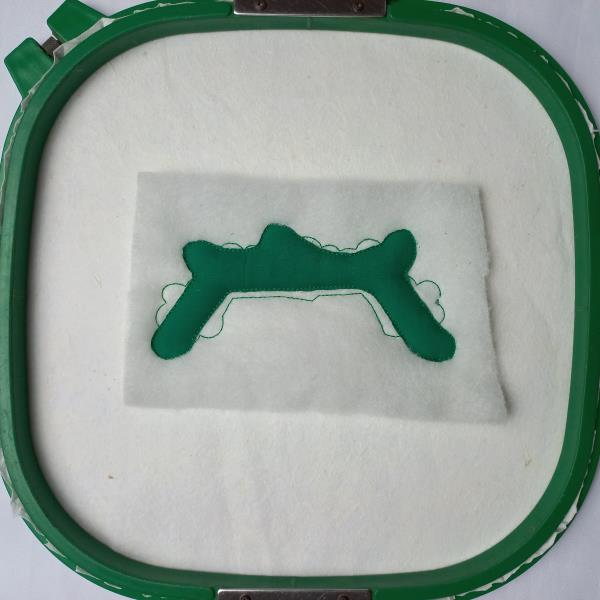
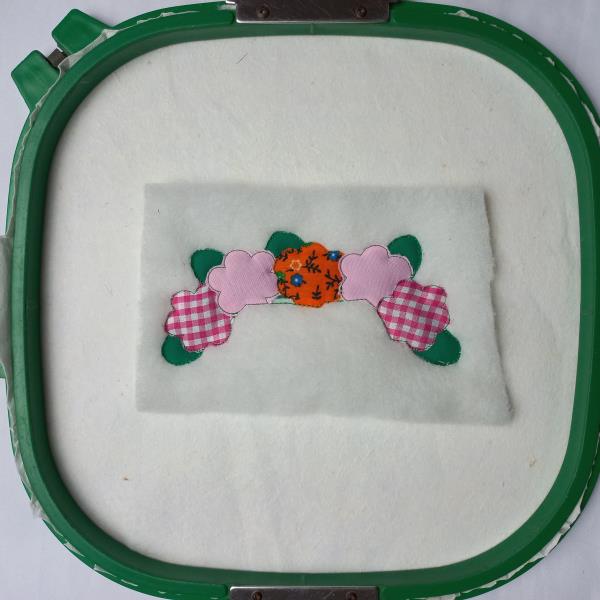
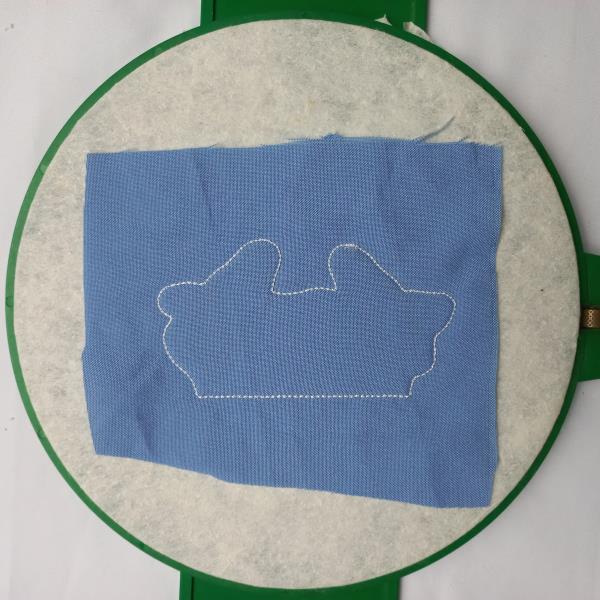
Step 2: Run color-stop 4 as a placement line. Cover the placement line
with green fabric with the help of the repositionable adhesive
spray, and run color-stop 5. Cut the excess fabric.
(Click Image to Enlarge)
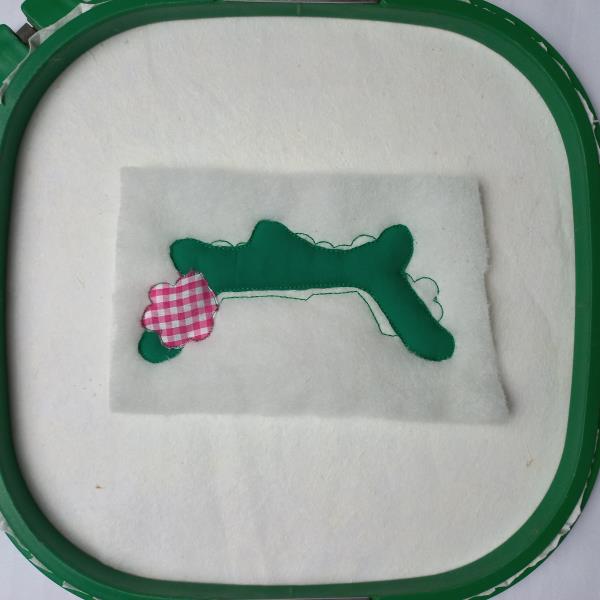
Step 3: Run color-stop 6 as a placement line. Cover the placement line
with printed fabric with the help of the repositionable adhesive
spray, and run color-stop 7. Cut the excess fabric.
(Click Image to Enlarge)
Step 4: For the next four flowers follow the previous step. Just change the
colors of the fabrics.
(Click Image to Enlarge)
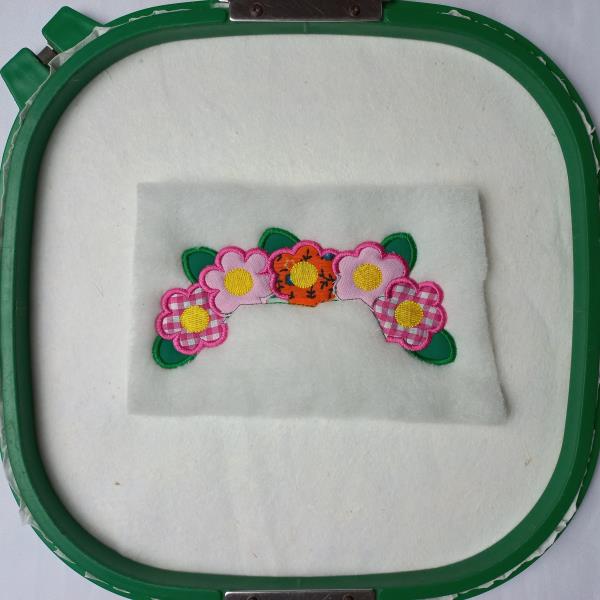
Step 5: Run color-stop 16 through color-stop 18.
(Click Image to Enlarge)
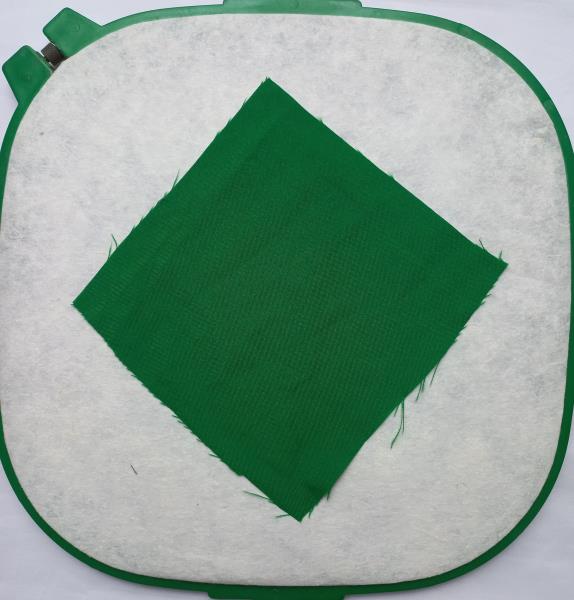
Step 6: Remove the hoop from the machine, do not unhoop. Cover the
back of the hoop with green fabric with the help of the
repositionable adhesive spray and run color-stop 19.
(Click Image to Enlarge)
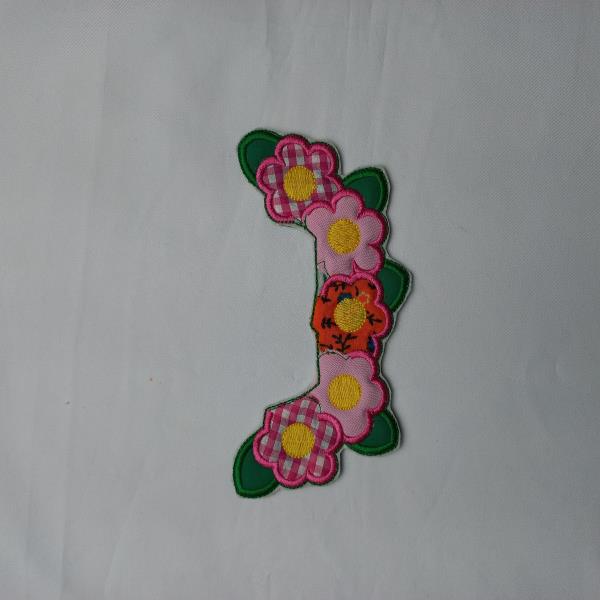
Step 7: Remove the project from the hoop. Cut out the outline of the
design, with sharp scissors, and save it for later.
(Click Image to Enlarge)
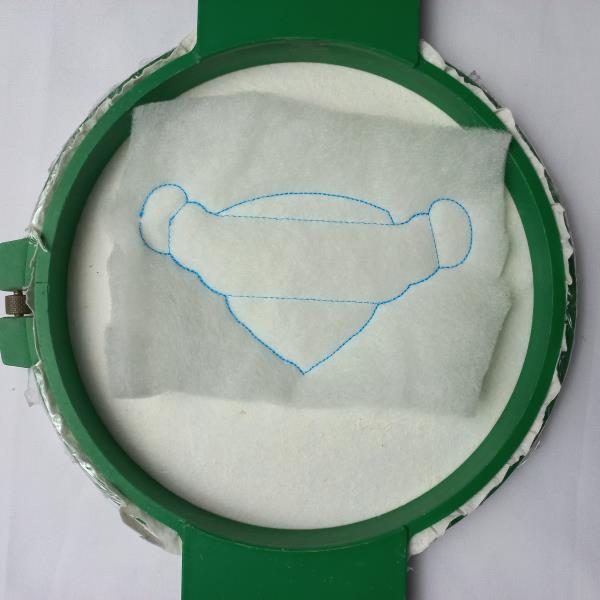
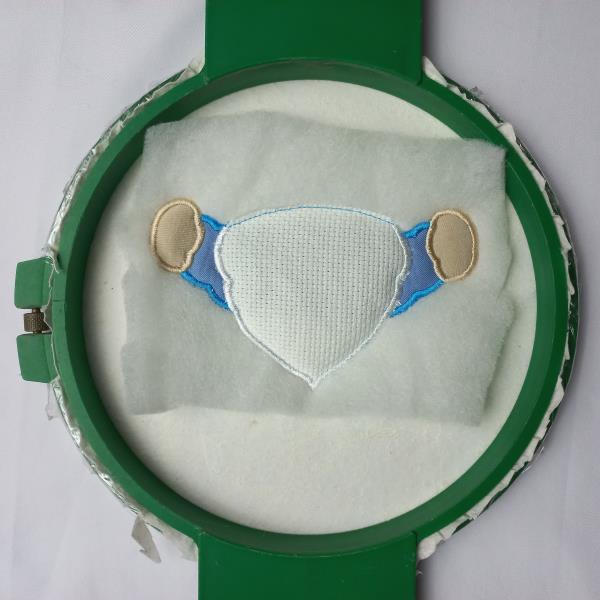
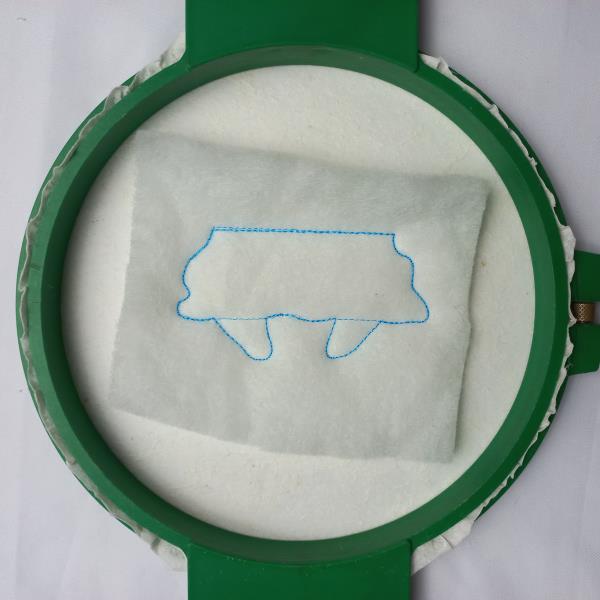
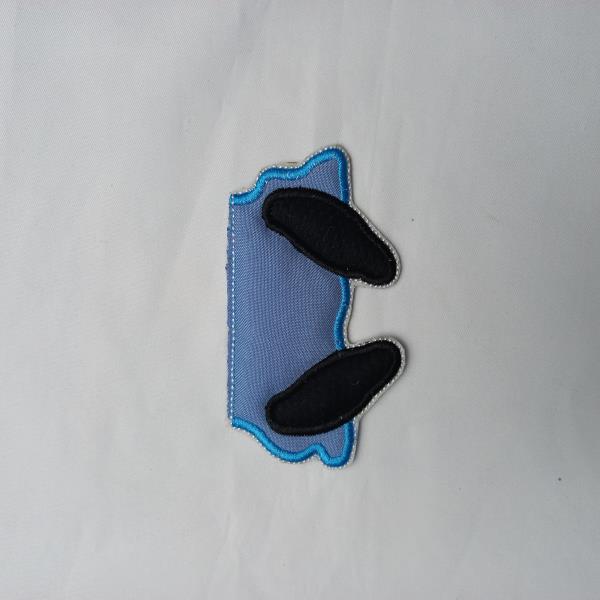
Step 8: For the A02 part tautly hoop 2.5-ounce cutaway stabilizer in your
embroidery hoop and run color-stop 1 as a placement line.
Remove the hoop from the machine, do not unhoop. Cover the
placement line with batting with the help of the repositionable
adhesive spray, and run color-stop 2 and 3.
(Click Image to Enlarge)
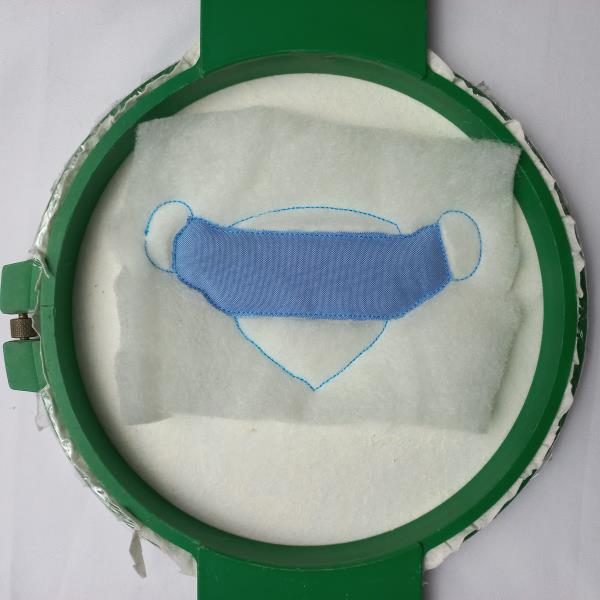
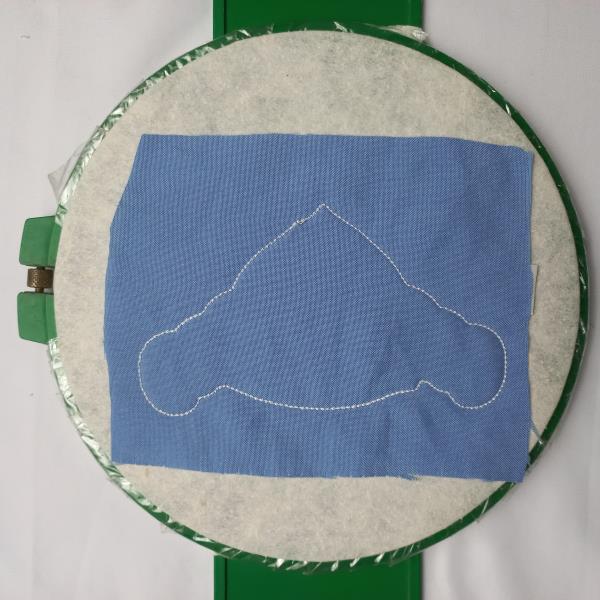
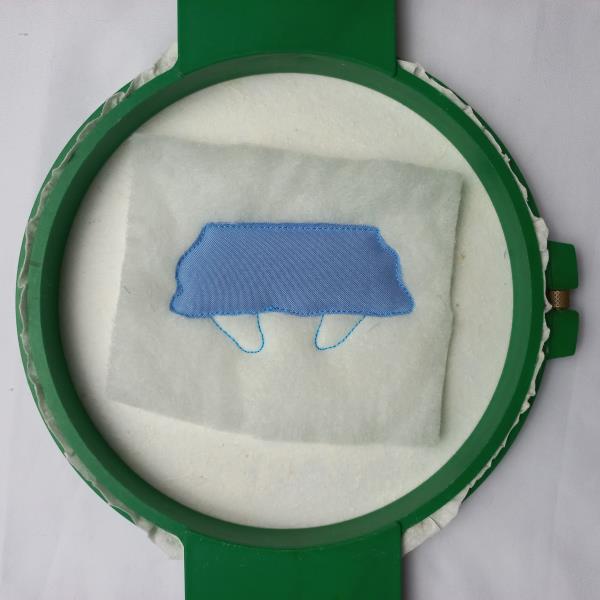
Step 9: Run color-stop 4 as a placement line. Cover the placement line
with sky blue fabric with the help of the repositionable adhesive
spray, and run color-stop 5. Cut the excess fabric.
(Click Image to Enlarge)
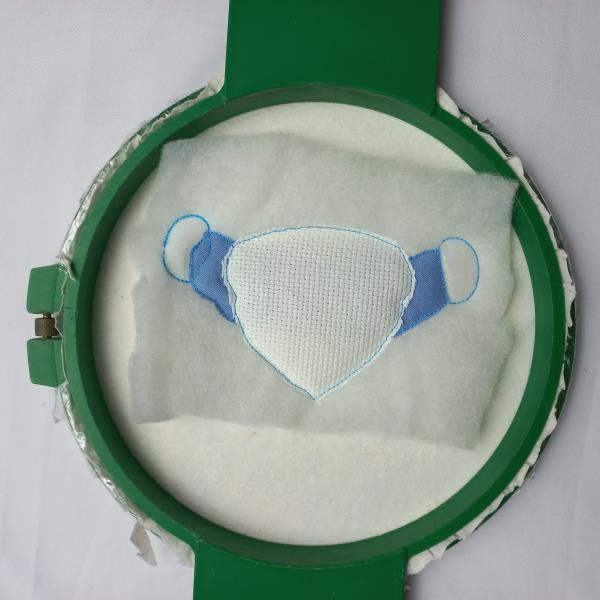
Step 10: Run color-stop 6 as a placement line. Cover the placement line
with white fabric with the help of the repositionable adhesive
spray, and run color-stop 7. Cut the excess fabric.
(Click Image to Enlarge)
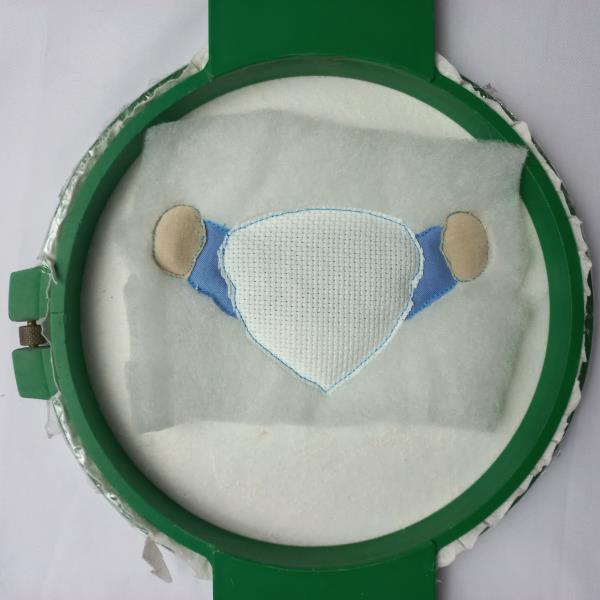
Step 11: Run color-stop 8 as a placement line. Cover the placement line
with khaki fabric with the help of the repositionable adhesive
spray, and run color-stop 9. Cut the excess fabric.
Follow the same step for the other hand o the Gnome.
(Click Image to Enlarge)
Step 12: Run color-stop 12 through color-stop 14.
(Click Image to Enlarge)
Step 13: Remove the hoop from the machine, do not unhoop. Cover the
back of the hoop with sky blue fabric with the help of the
repositionable adhesive spray and run color-stop 15.
(Click Image to Enlarge)
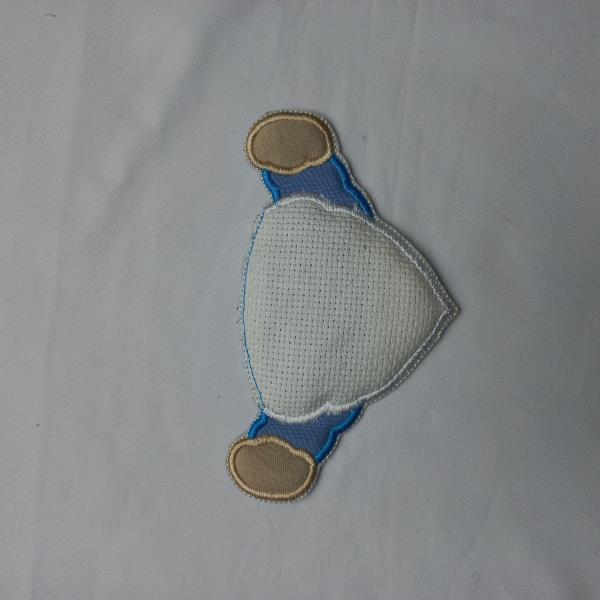
Step 14: Remove the project from the hoop. Cut out the outline of the
design, with sharp scissors, and save it for later.
(Click Image to Enlarge)
Step 15: For the A03 part tautly hoop 2.5-ounce cutaway stabilizer in your
embroidery hoop and run color-stop 1 as a placement line.
Remove the hoop from the machine, do not unhoop. Cover the
placement line with batting with the help of the repositionable
adhesive spray, and run color-stop 2 and 3.
(Click Image to Enlarge)
Step 16: Run color-stop 4 as a placement line. Cover the placement line
with sky blue fabric with the help of the repositionable adhesive
spray, and run color-stop 5. Cut the excess fabric.
(Click Image to Enlarge)
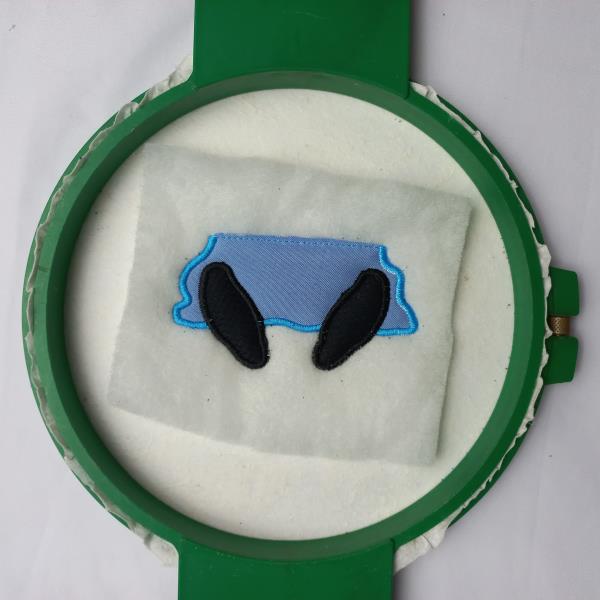
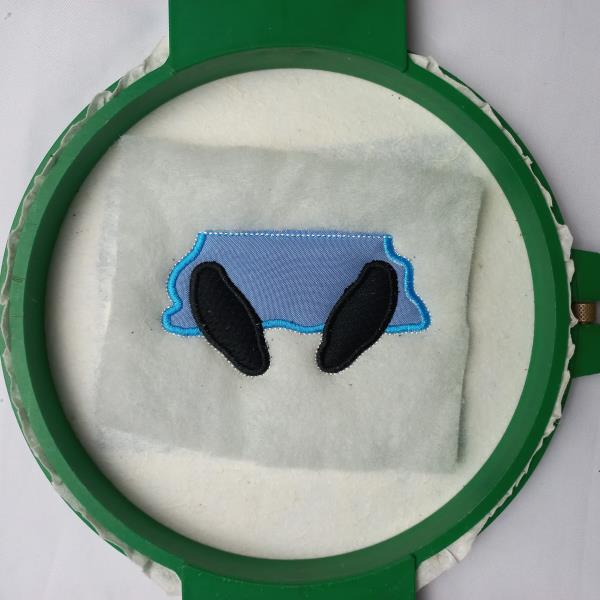
Step 17: Run color-stop 6 as a placement line. Cover the placement line
with black fabric with the help of the repositionable adhesive
spray, and run color-stop 7. Cut the excess fabric.
Follow the same step for the other shoe of the Gnome.
(Click Image to Enlarge)
Step 18: (Click Image to Enlarge)
Step 19: Remove the hoop from the machine, do not unhoop. Cover the
back of the hoop with sky blue fabric with the help of the
repositionable adhesive spray and run color-stop 12.
(Click Image to Enlarge)
Step 20: Remove the project from the hoop. Cut out the outline of the
design, with sharp scissors, and save it for later.
(Click Image to Enlarge)
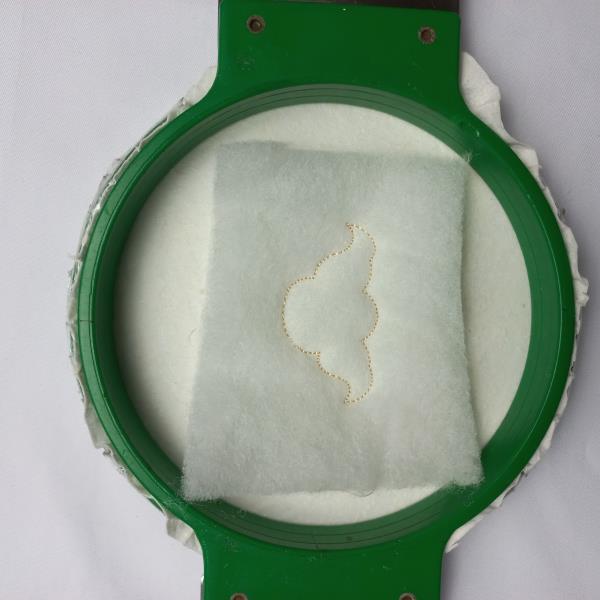
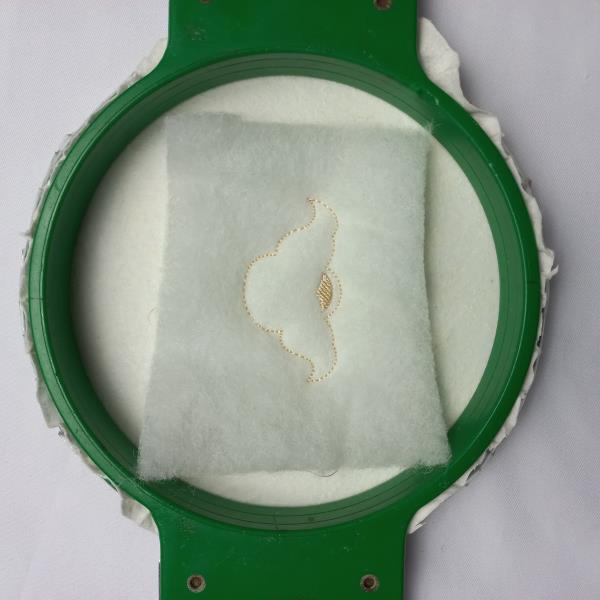
Step 21: For the A04 part tautly hoop 2.5-ounce cutaway stabilizer in your
embroidery hoop and run color-stop 1 as a placement line.
Remove the hoop from the machine, do not unhoop. Cover the
placement line with batting with the help of the repositionable
adhesive spray, and run color-stop 2 and 3.
(Click Image to Enlarge)
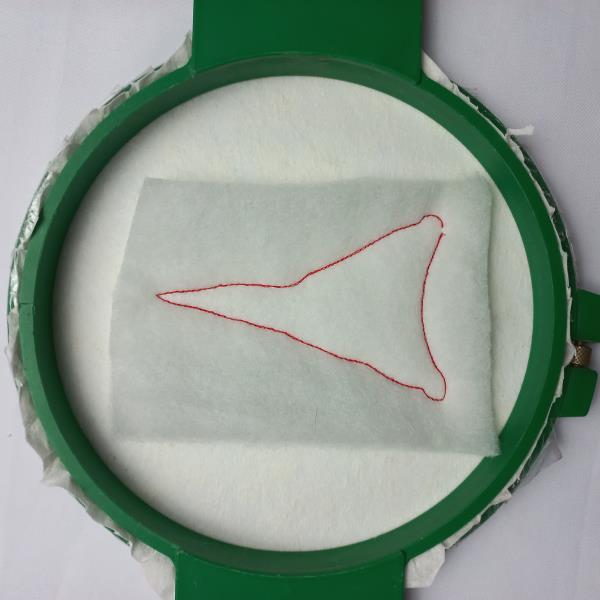
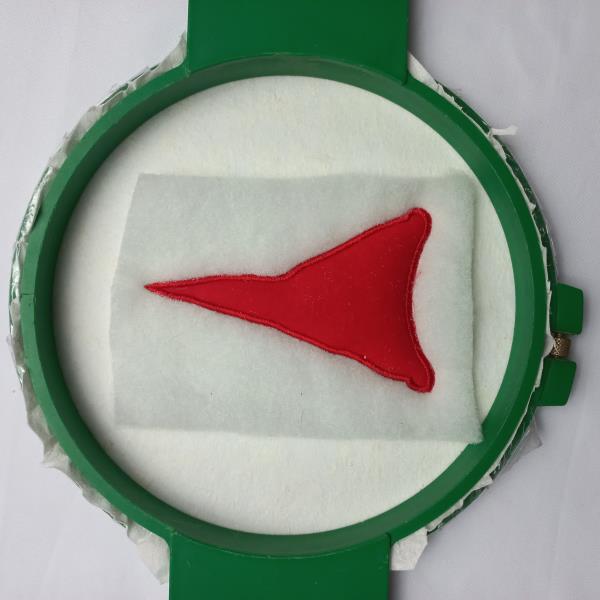
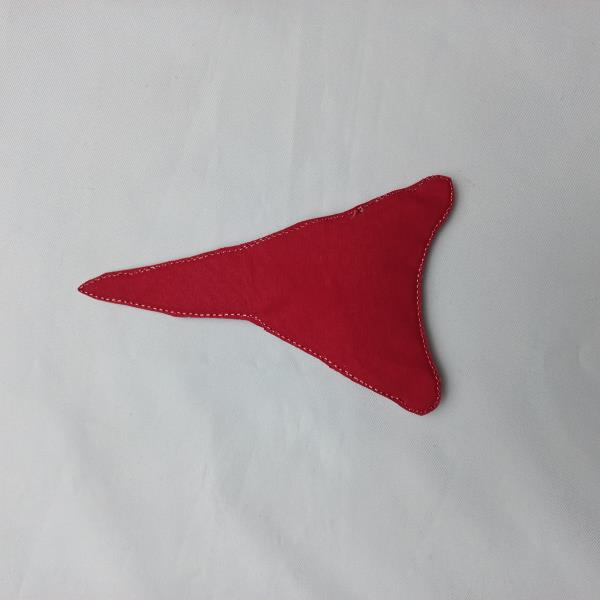
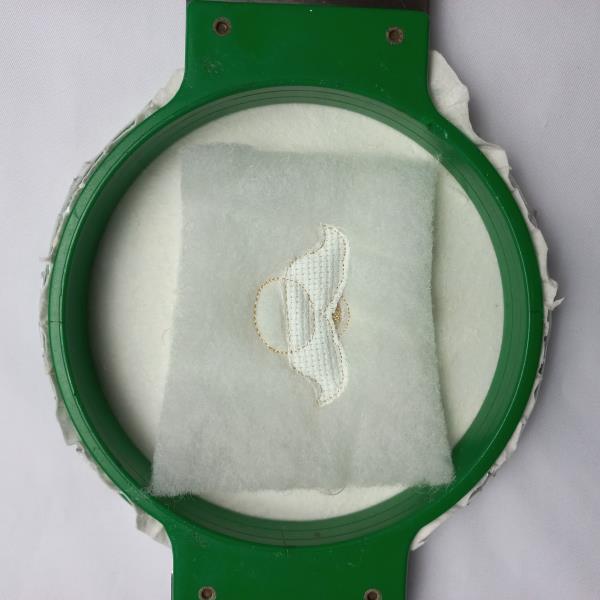
Step 22: Cover the placement line with red fabric with the help of the
repositionable adhesive spray, and run color-stops 4 and 5
(Click Image to Enlarge)
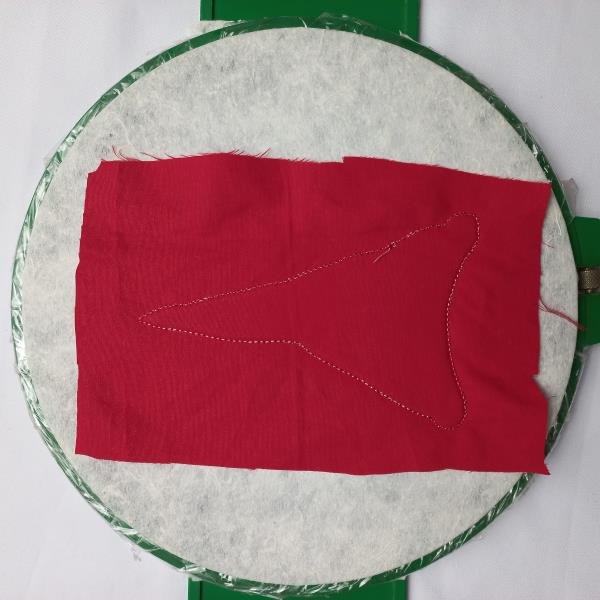
Step 23: Remove the hoop from the machine, do not unhoop. Cover the
back of the hoop with red fabric with the help of the repositionable
adhesive spray and run color-stop 6.
(Click Image to Enlarge)
Step 24: Remove the project from the hoop. Cut out the outline of the
design, with sharp scissors, and save it for later.
(Click Image to Enlarge)
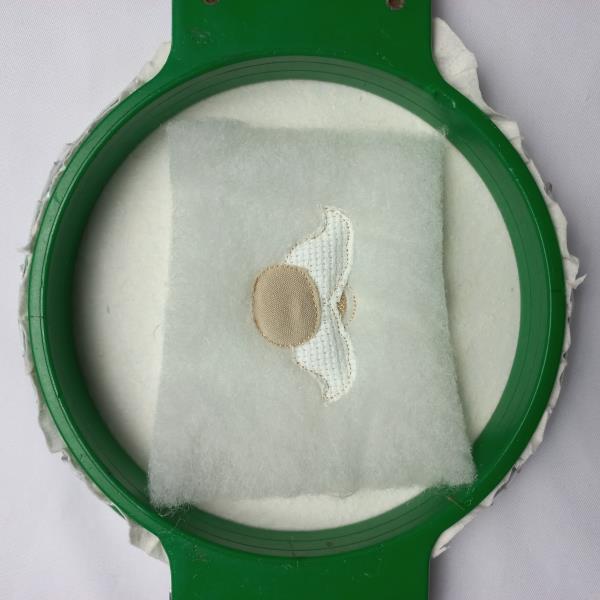
Step 25: For the A05 part tautly hoop 2.5-ounce cutaway stabilizer in your
embroidery hoop and run color-stop 1 as a placement line.
Remove the hoop from the machine, do not unhoop. Cover the
placement line with batting with the help of the repositionable
adhesive spray, and run color-stop 2 and 3.
(Click Image to Enlarge)
Step 26: (Click Image to Enlarge)
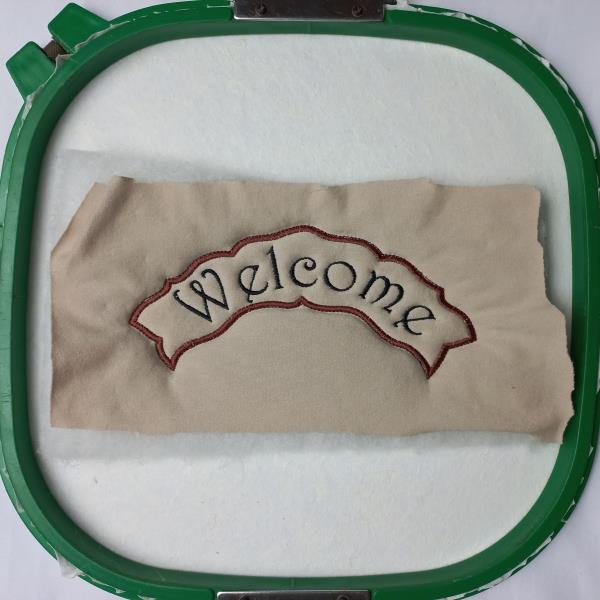
Step 27: Run color-stop 5 as a placement line. Cover the placement line
with white fabric with the help of the repositionable adhesive
spray, and run color-stop 6. Cut the excess fabric.
(Click Image to Enlarge)
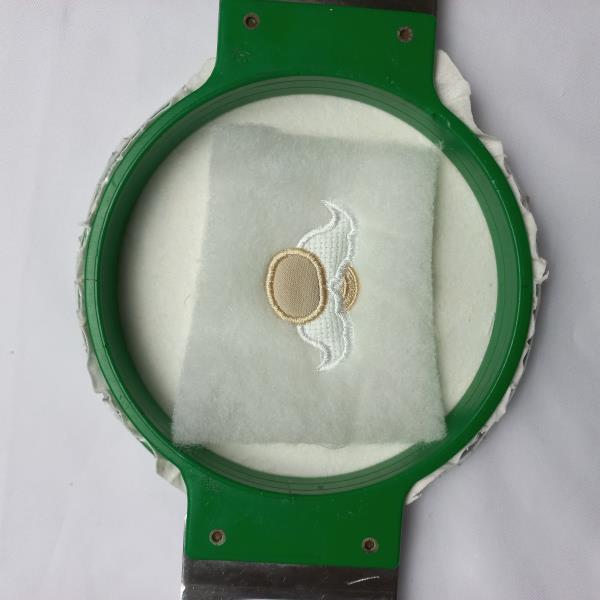
Step 28: Run color-stop 7 as a placement line. Cover the placement line
with khaki fabric with the help of the repositionable adhesive
spray, and run color-stop 8. Cut the excess fabric.
(Click Image to Enlarge)
Step 29: Run color-stop 9 through color-stop 11.
(Click Image to Enlarge)
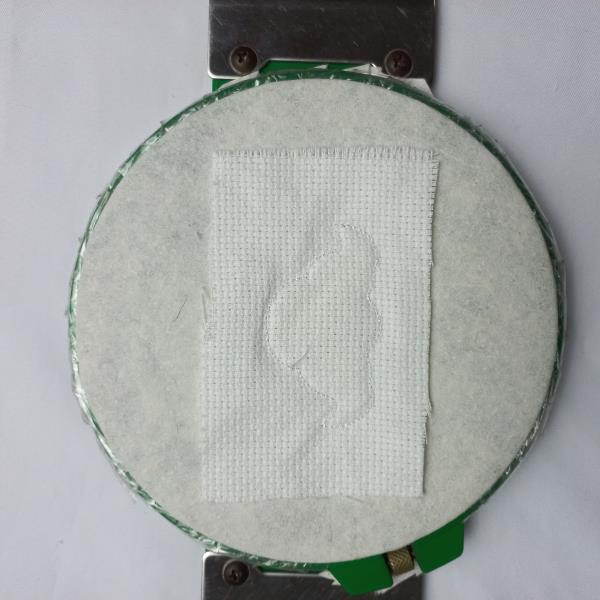
Step 30: Remove the hoop from the machine, do not unhoop. Cover the
back of the hoop with white fabric with the help of the
repositionable adhesive spray and run color-stop 12.
(Click Image to Enlarge)
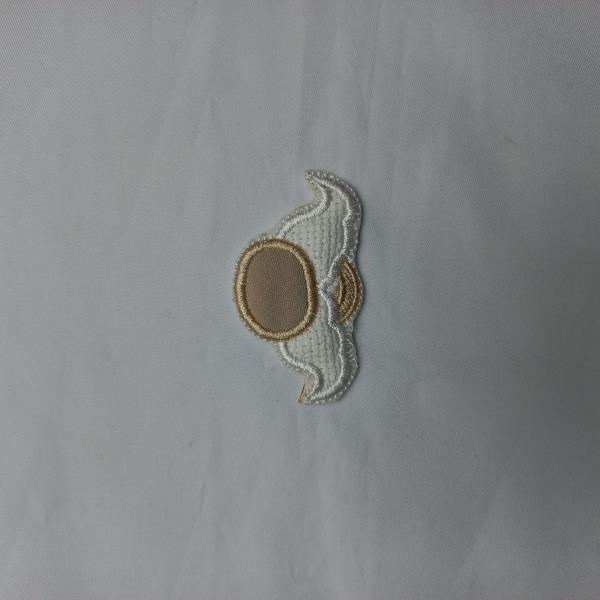
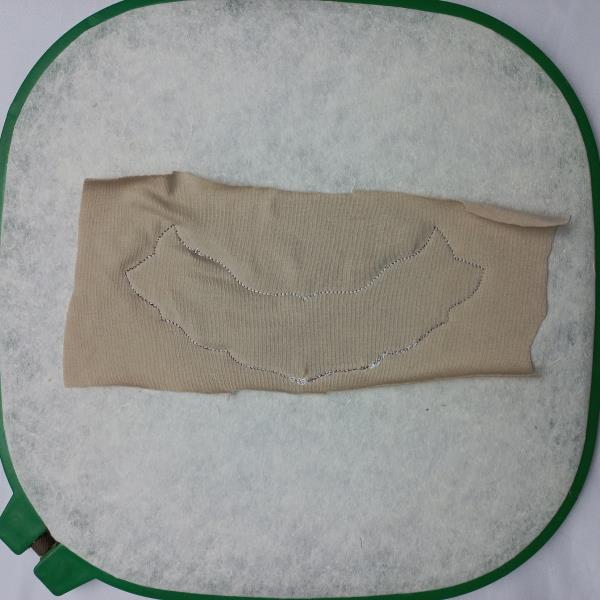
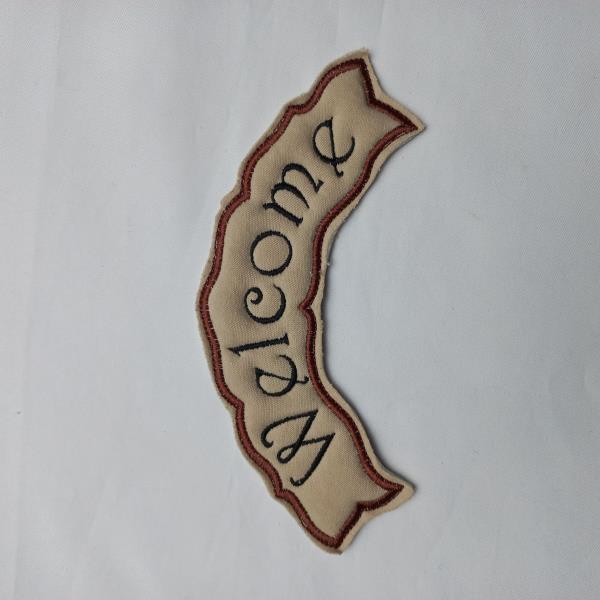
Step 31: Remove the project from the hoop. Cut out the outline of the
design, with sharp scissors, and save it for later.
(Click Image to Enlarge)
Step 32: For the A05 part tautly hoop 2.5-ounce cutaway stabilizer in your
embroidery hoop and run color-stop 1 as a placement line.
Remove the hoop from the machine, do not unhoop. Cover the
placement line with batting and khaki fabric with the help of the
repositionable adhesive spray, and run color-stops 2 through 4.
(Click Image to Enlarge)
Step 33: Remove the hoop from the machine, do not unhoop. Cover the
back of the hoop with khaki fabric with the help of the
repositionable adhesive spray and run color-stop 5.
(Click Image to Enlarge)
Step 34: Remove the project from the hoop. Cut out the outline of the
design, with sharp scissors, and save it for later.
(Click Image to Enlarge)
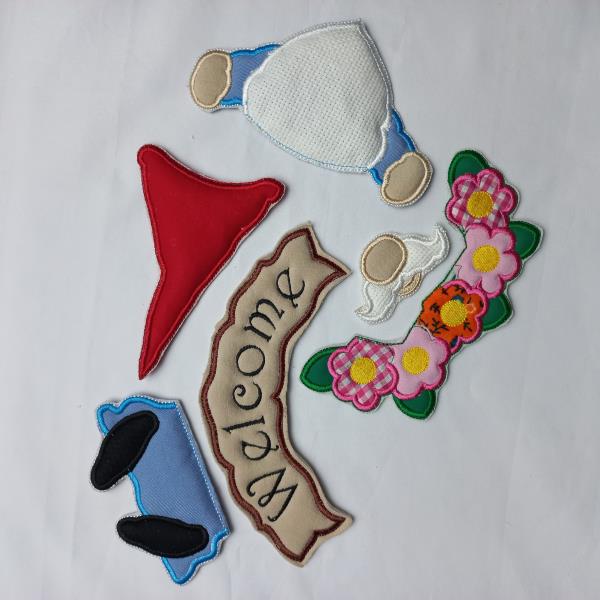
Step 35: We put all the pieces together.
(Click Image to Enlarge)
Step 36: With the help of a needle and thread or some type of textile glue.
The floral branches will be the lower center part. Join the hip and
shoes of the Gnome with the floral branches, fixing the endings in
the back parts. Join the arms to the hip part of the Gnome. Then
join the hat and the mustache. The banner will be the upper center
part join to the ribbon at the height you prefer.
Or as the reference image suggests
Use complementary decoration.
Have fun doing this beautiful project.
(Click Image to Enlarge)
Feedback
Please Login to Submit a Feedback
Invalid Characters, Please enter a valid Comment
Please enter a valid Comment
LOG IN
Submit
Link is Broken, Please check the URL