Border OptionsHugging border, circle, square, or rectangle — with a 3mm satin stitch.
Backing OptionsAvailable with iron-on, sew-on, or velcro backing.
Fast ShippingShipped quickly from the USA.
Free Online Tools
Powerful embroidery utilities that save time and prevent costly mistakes.
Stitch AssistantRECOMMENDED
Get the exact stabilizer, machine settings, needle, and thread color sequence for every embroidery design you purchase — based on that design's stitch density, dimensions, and color count.
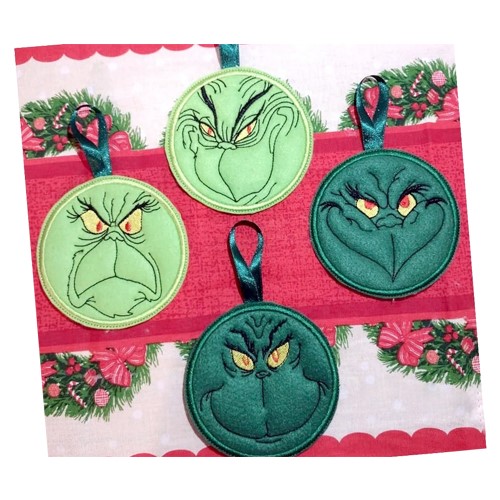
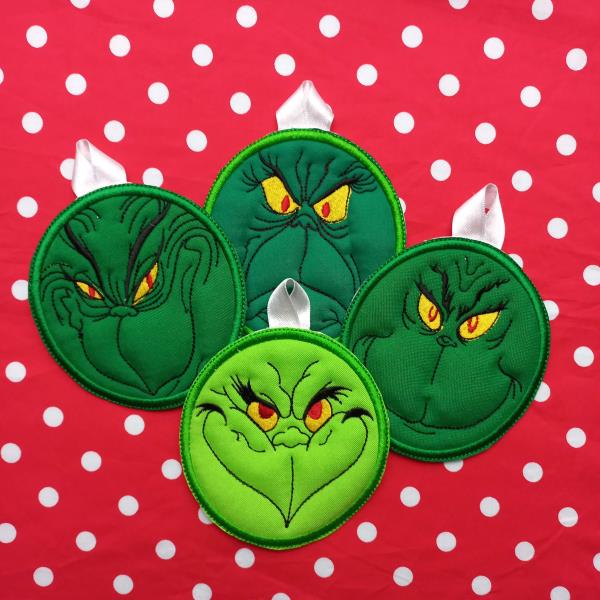
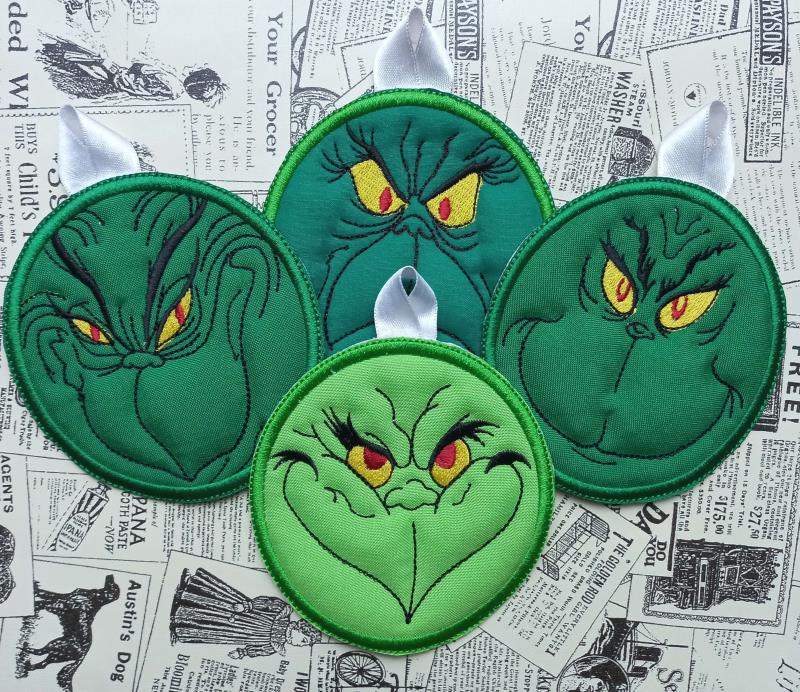
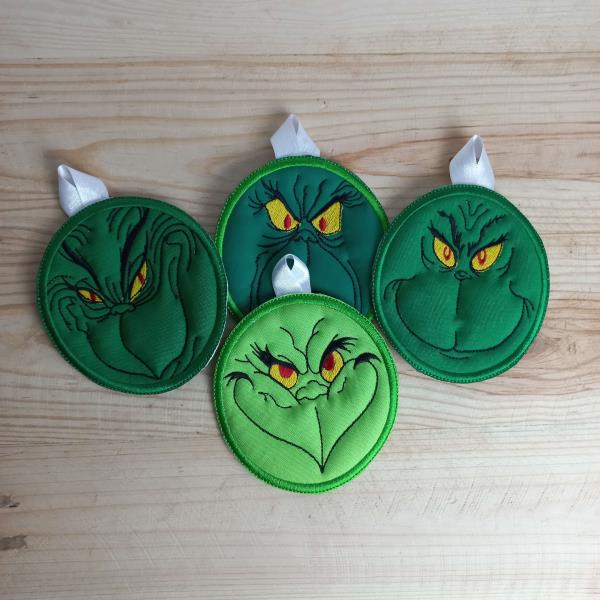
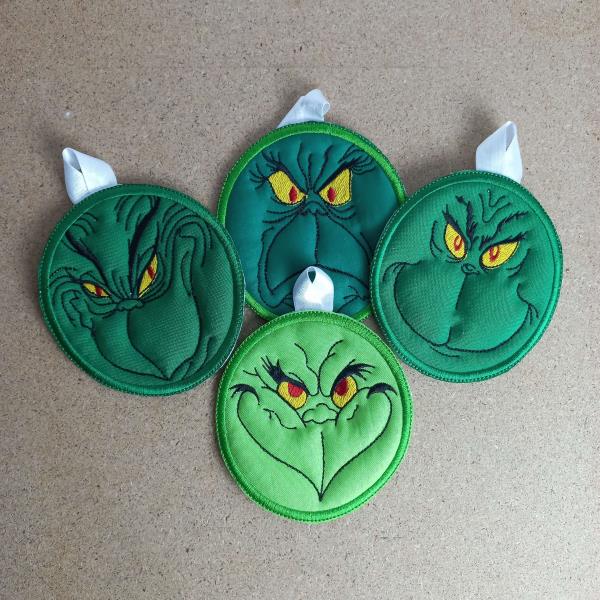
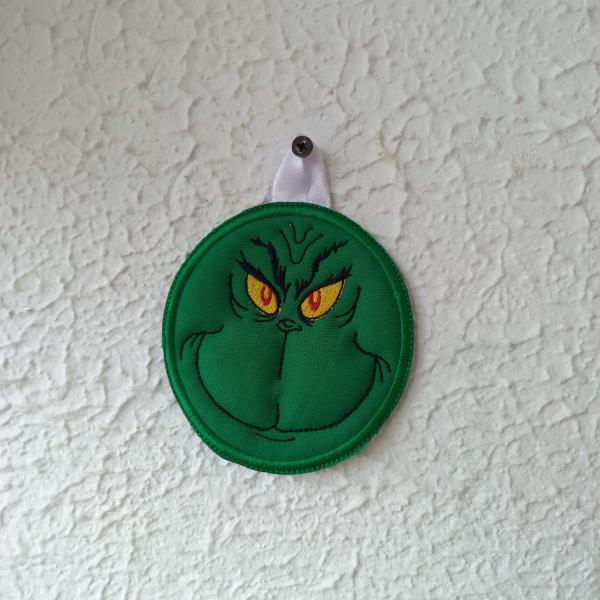
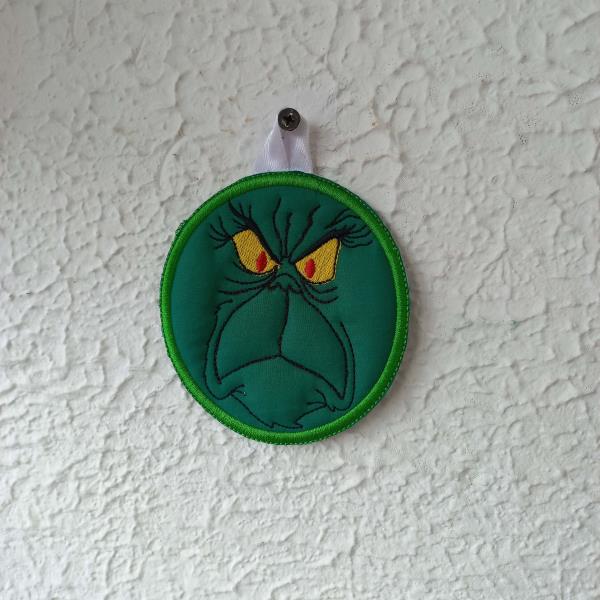
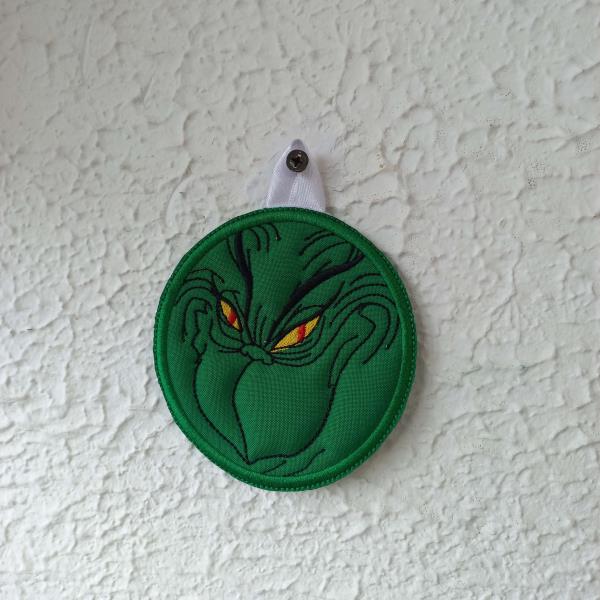
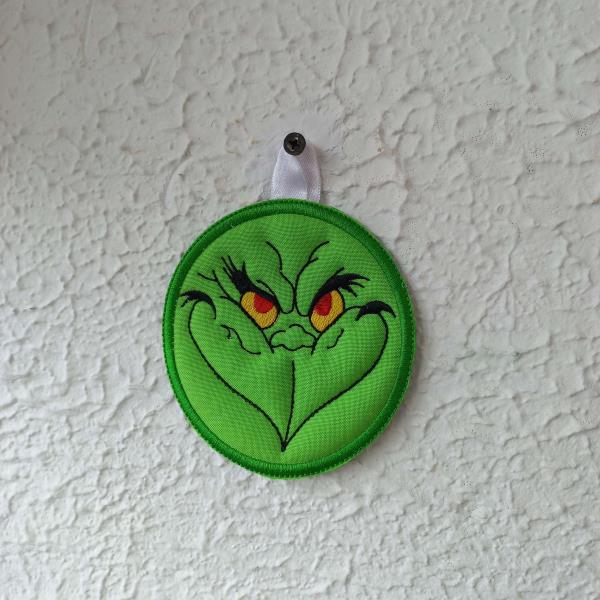
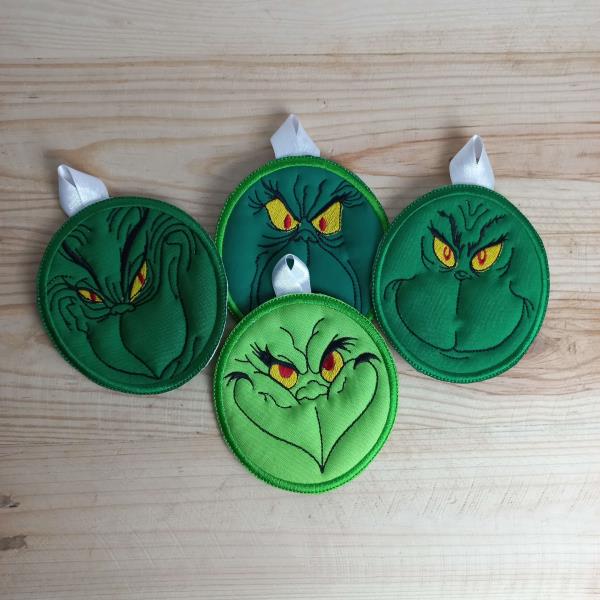
Create a festive Grinch ornament using the In The Hoop technique. This beginner-friendly project adds a whimsical touch to your holiday decor. Perfect for personalizing gifts. Step-by-step instructions are included.
This is a collaboration between ITH Boutique and Emerson.
Step 1:
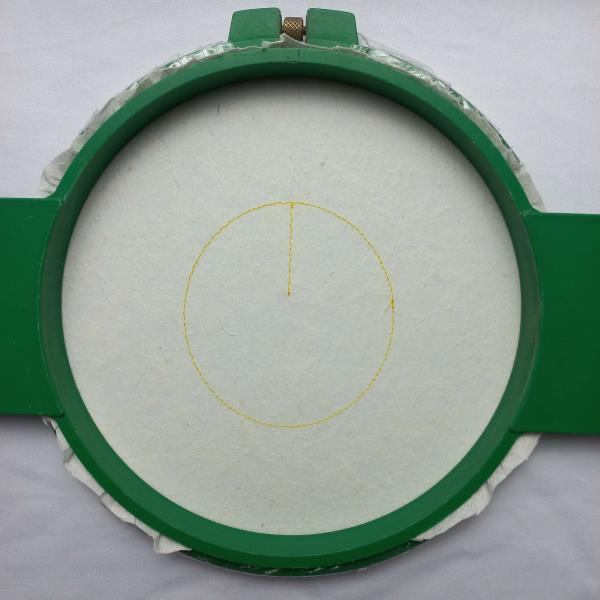
For one of the ornaments tautly hoop a 2.5-ounce cutaway stabilizer in your embroidery hoop, and run color-stop 1 and 2 as a placement line.
(Click Image to Enlarge)
Step 2:
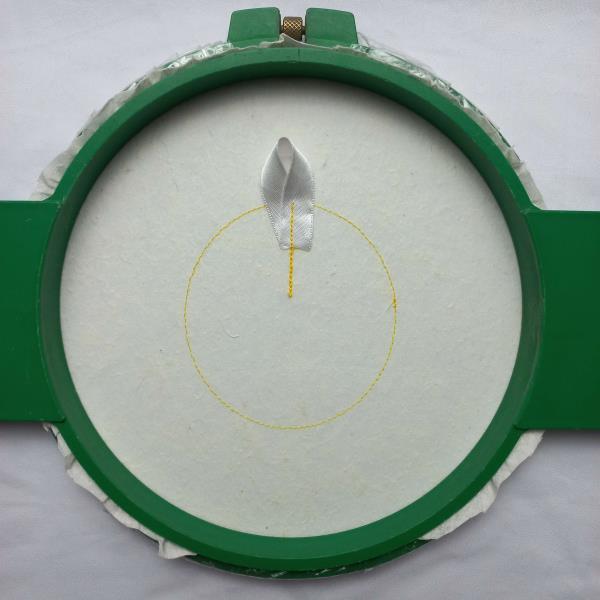
Remove the hoop from the machine, do not unhoop. Put a ribbon in the vertical placement line with the help of the repositionable adhesive spray, that way you can hold your ornament when you finish the project. Now run color-stop 3.
(Click Image to Enlarge)
Step 3:
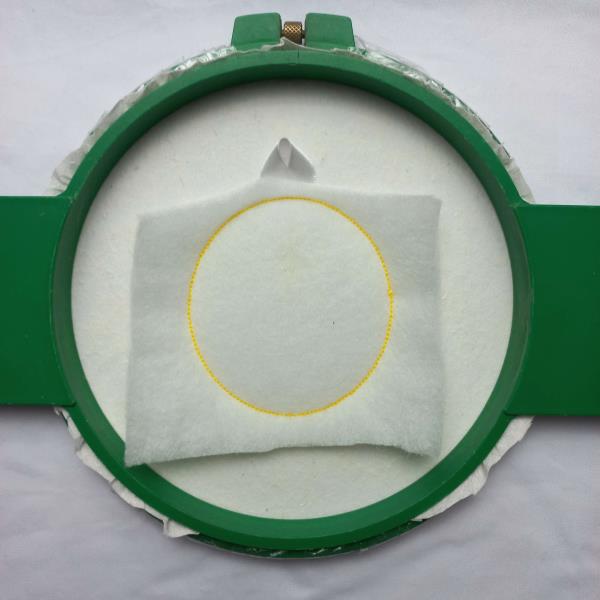
Remove the hoop from the machine, do not unhoop. Cover the placement line with batting with the help of the repositionable adhesive spray, and run color-stop 4.
(Click Image to Enlarge)
Step 4:
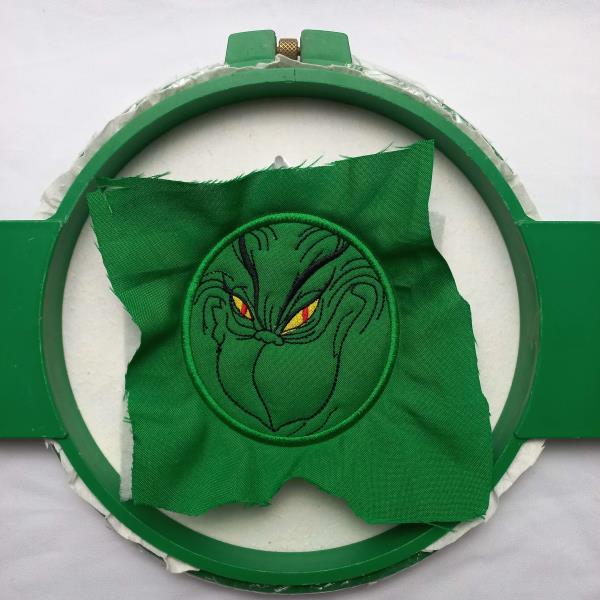
Remove the hoop from the machine, do not unhoop. Cover the placement line with green fabric with the help of the repositionable adhesive spray, and run color-stop 5 through color-stop 9.
(Click Image to Enlarge)
Step 5:
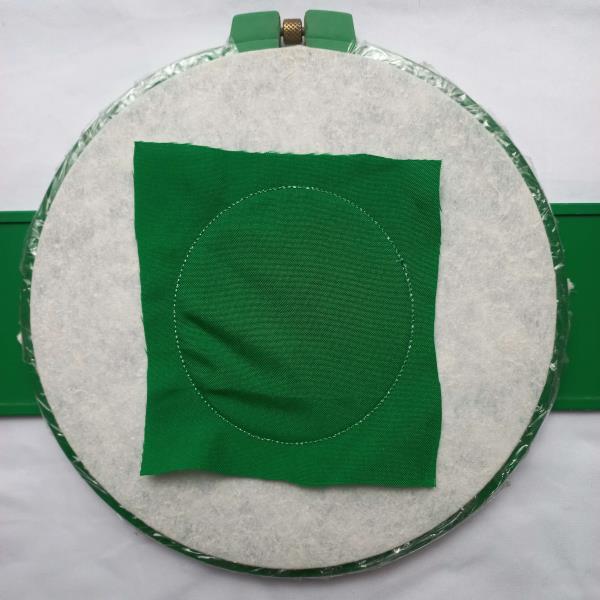
Remove the hoop from the machine, do not unhoop. Cover the back of the hoop with green fabric with the help of the repositionable adhesive spray and run color-stop 10.
(Click Image to Enlarge)
Step 6:
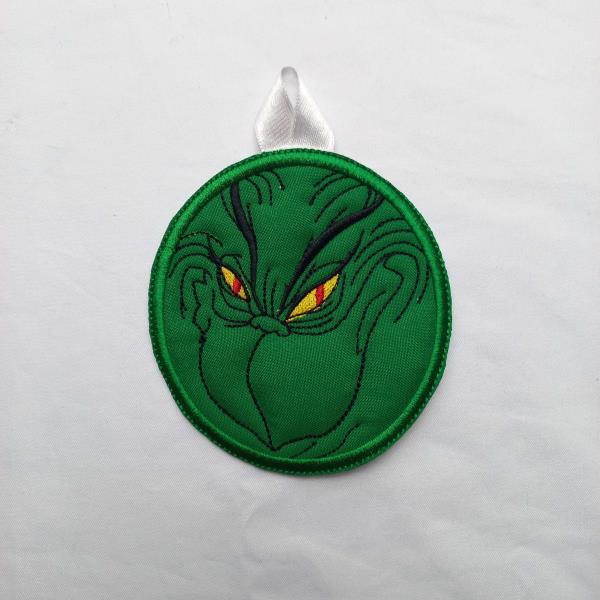
Remove the project from the hoop. Cut out the outline of the design, with sharp scissors, Be Careful don't cut the ribbon and save the ornament for later.
(Click Image to Enlarge)
Step 7:
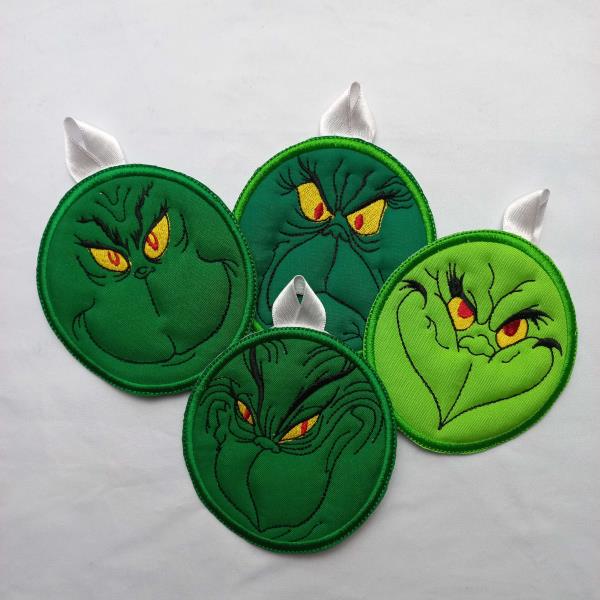
For the others ornaments follow the same steps.
(Click Image to Enlarge)
Step 8:
Put all of them together and use complementary decorations.