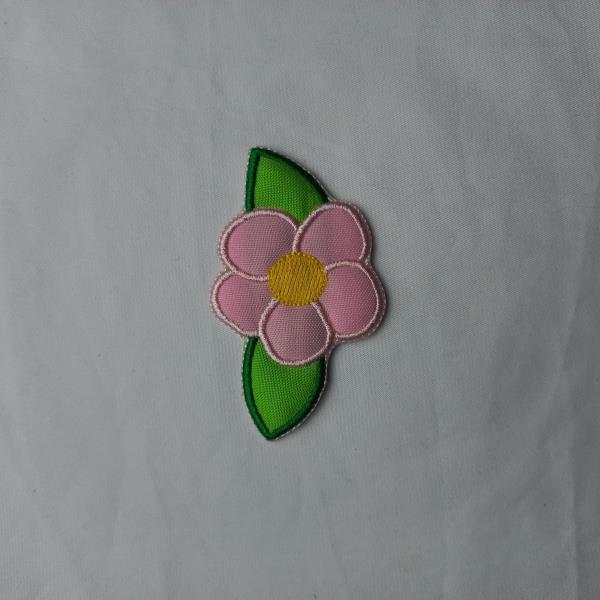
Border OptionsHugging border, circle, square, or rectangle — with a 3mm satin stitch.
Backing OptionsAvailable with iron-on, sew-on, or velcro backing.
Fast ShippingShipped quickly from the USA.
Free Online Tools
Powerful embroidery utilities that save time and prevent costly mistakes.
Stitch AssistantRECOMMENDED
Get the exact stabilizer, machine settings, needle, and thread color sequence for every embroidery design you purchase — based on that design's stitch density, dimensions, and color count.
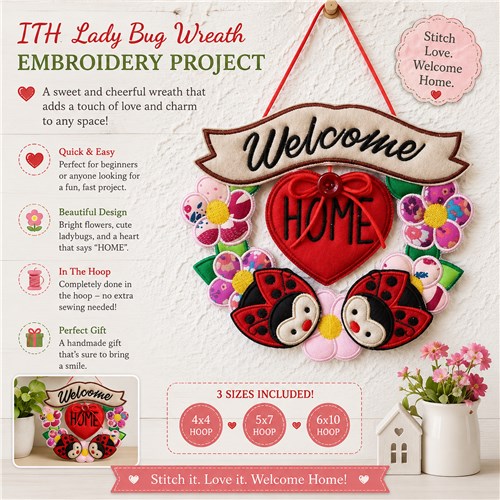
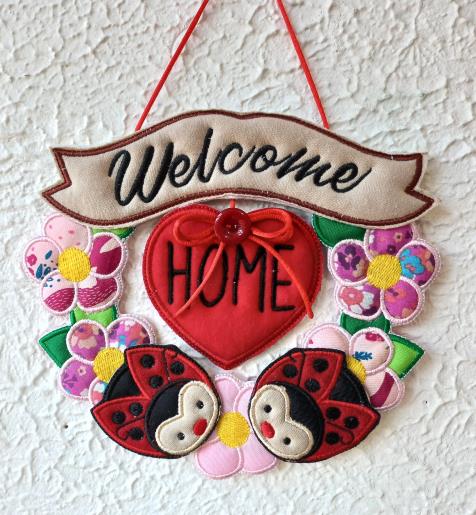
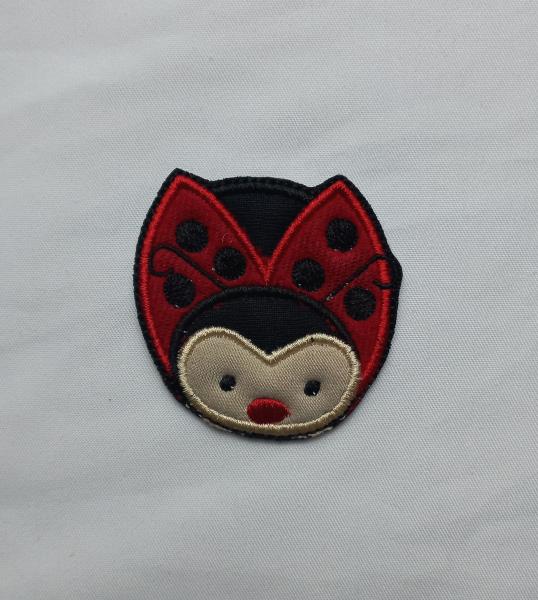
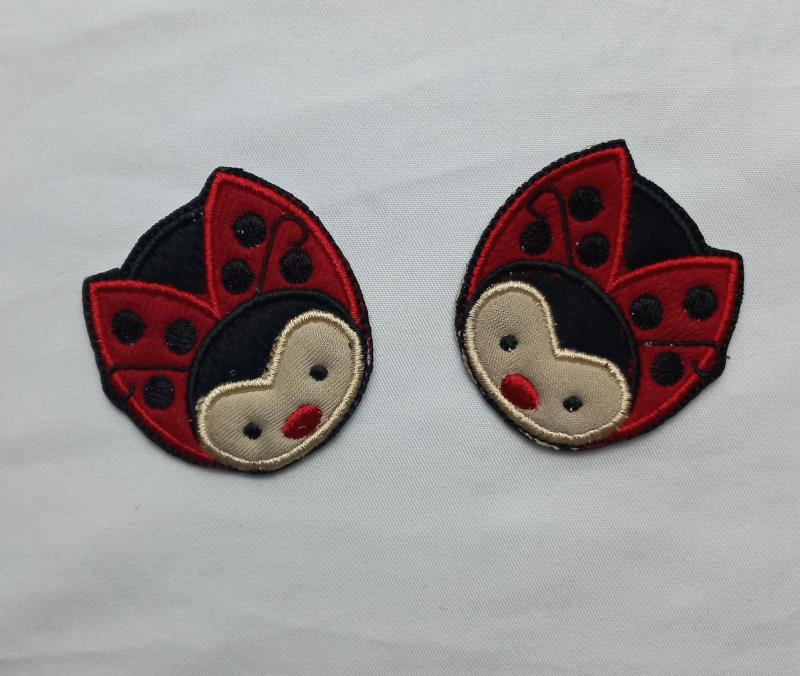
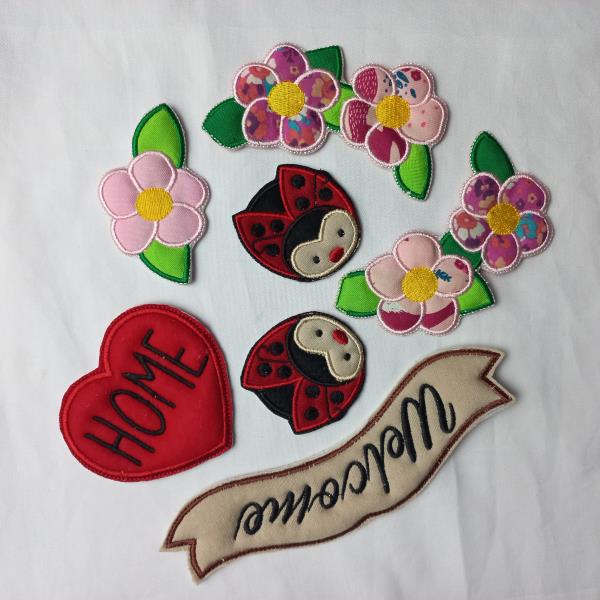
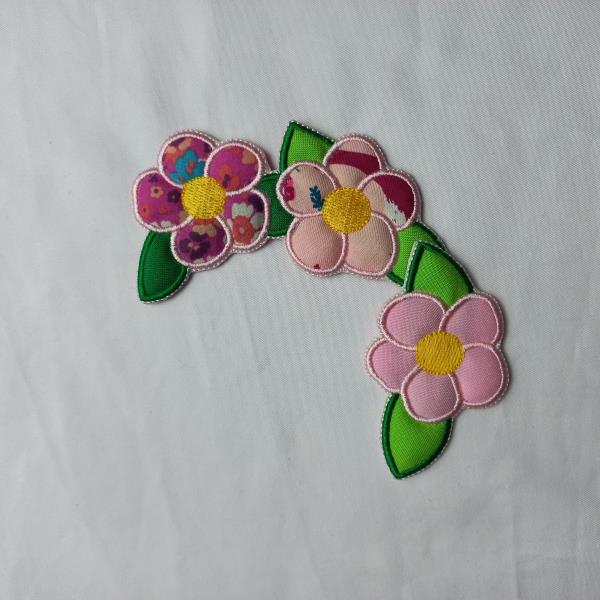
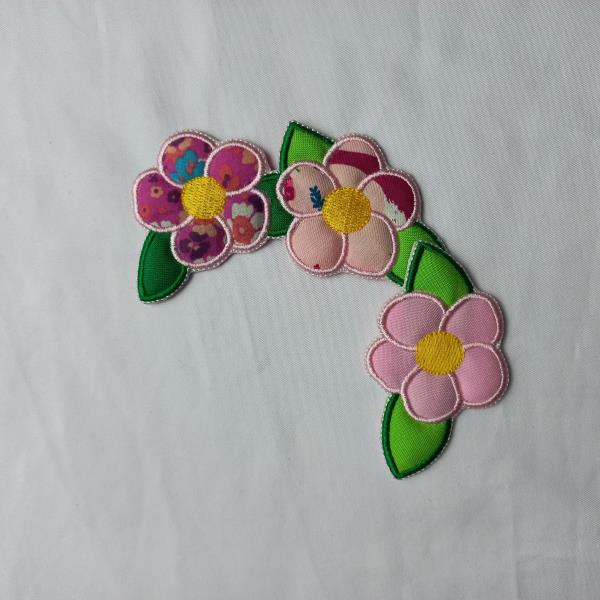
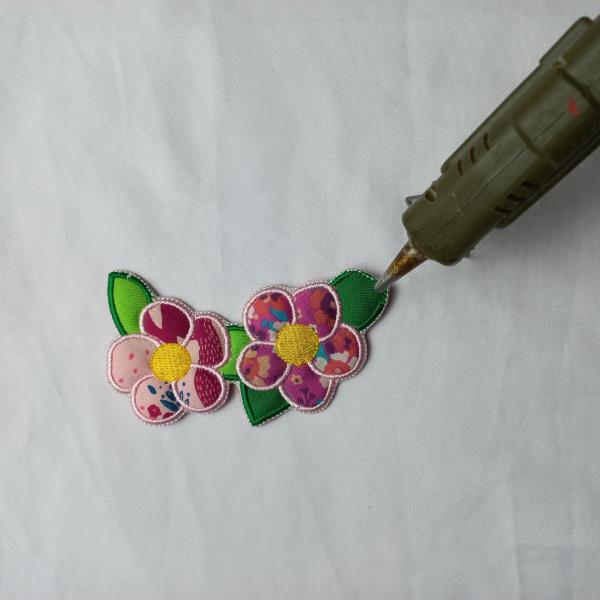
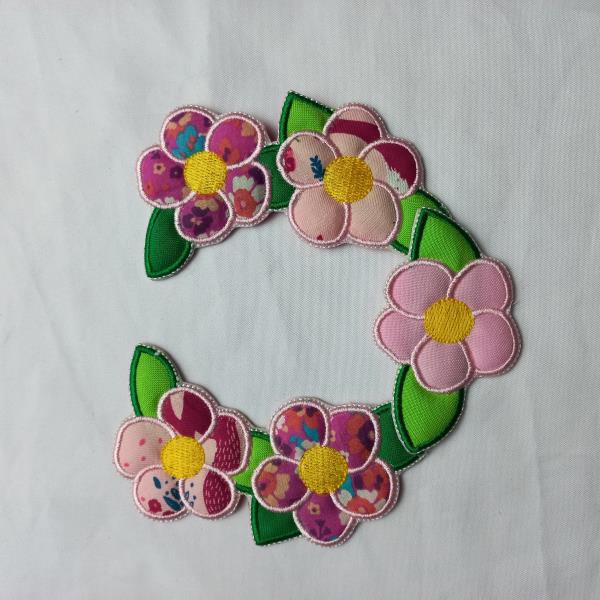
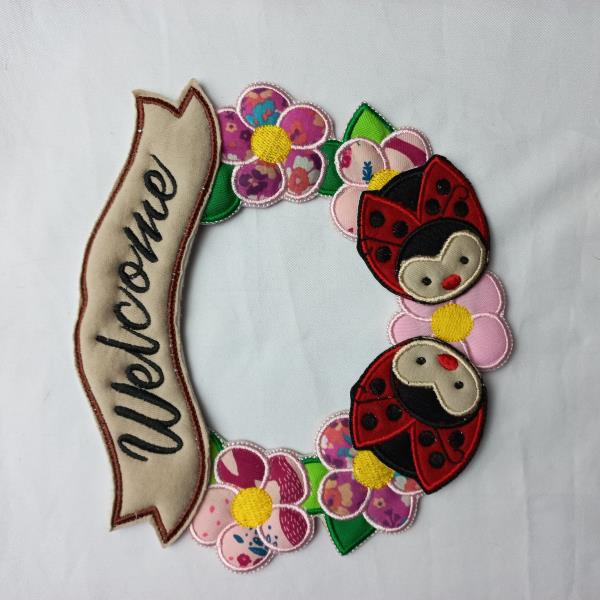
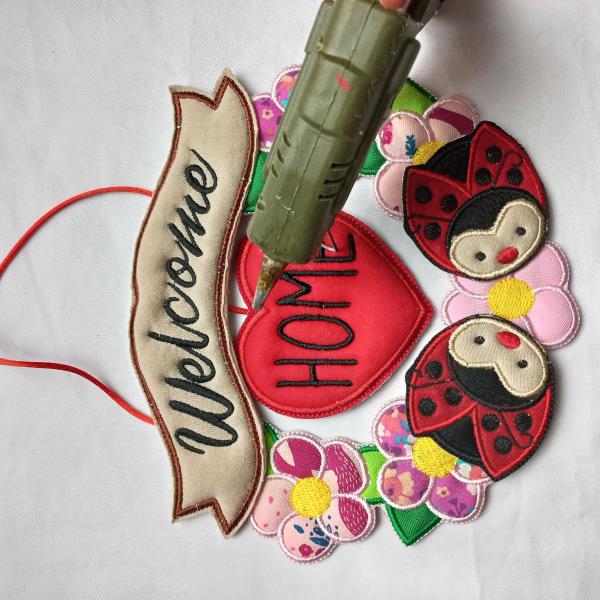
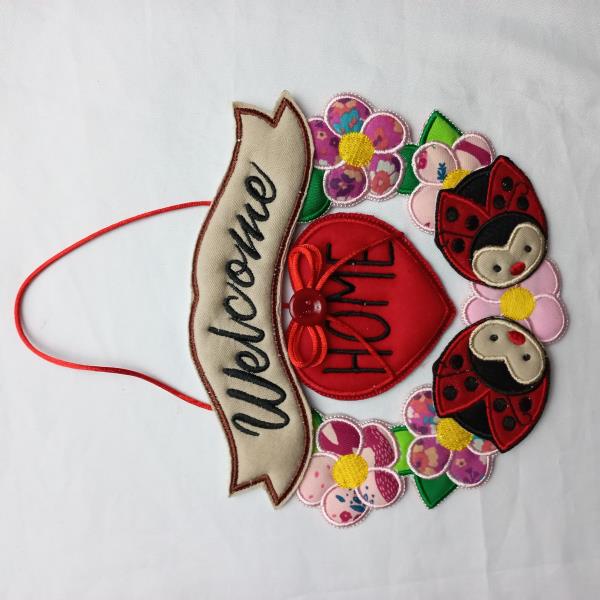
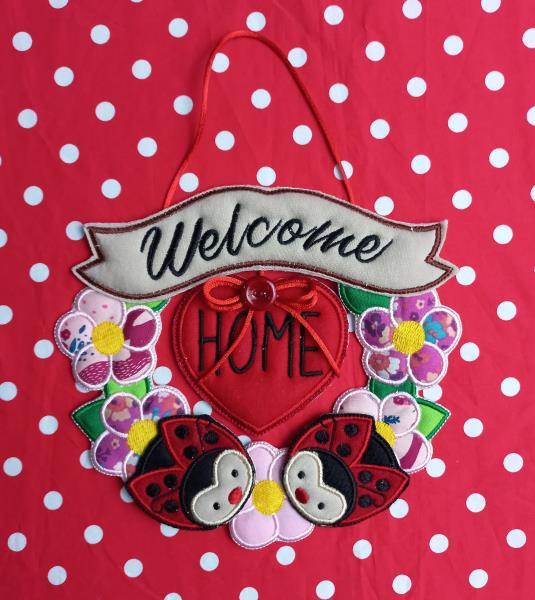
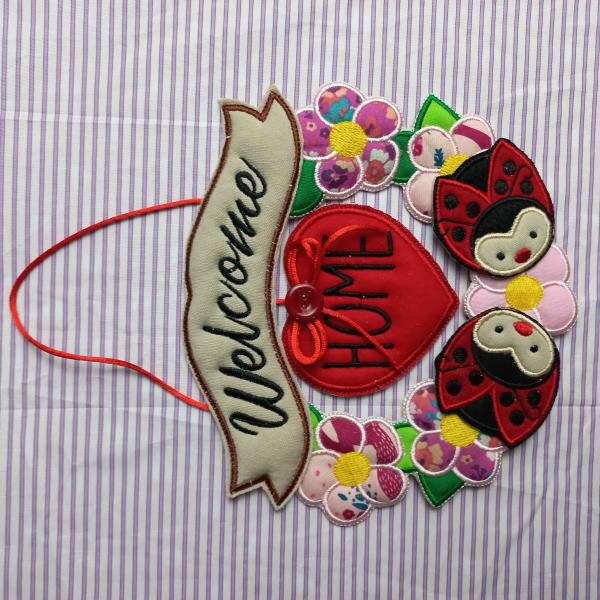
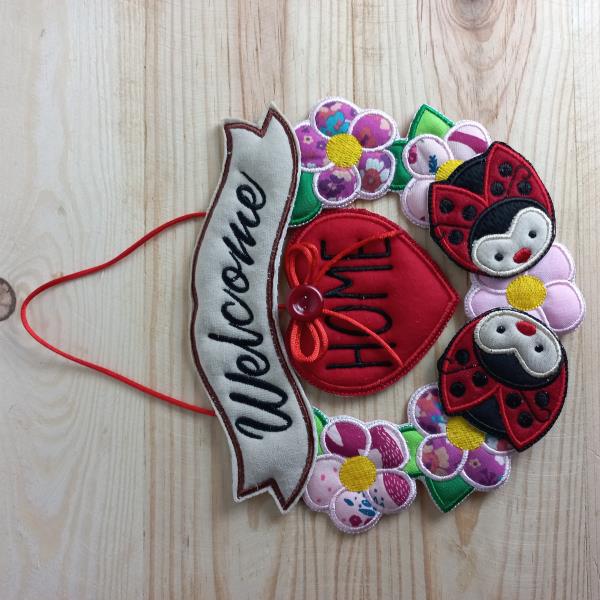
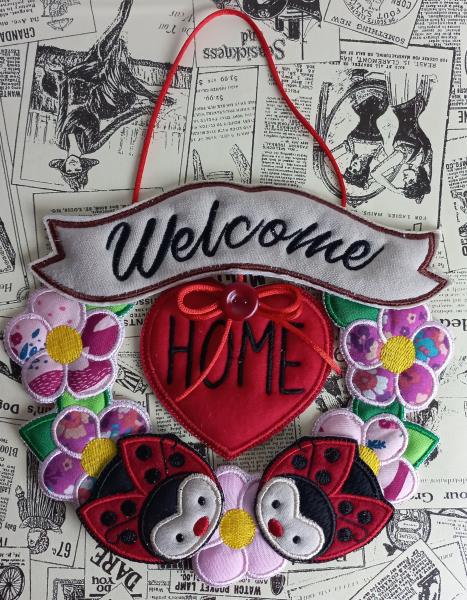
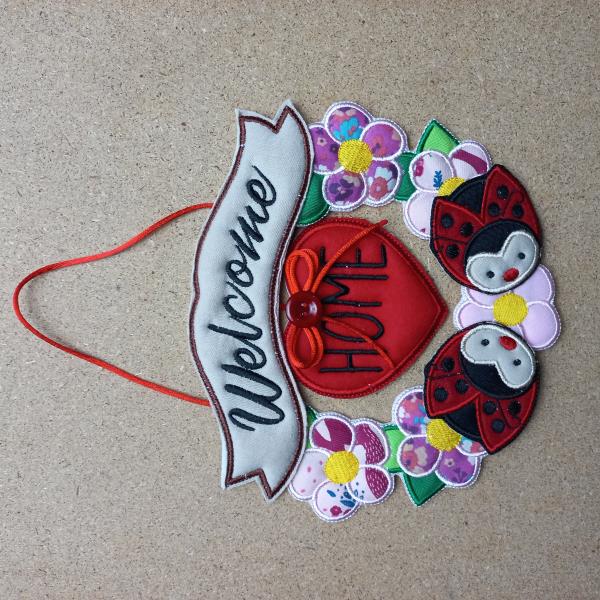
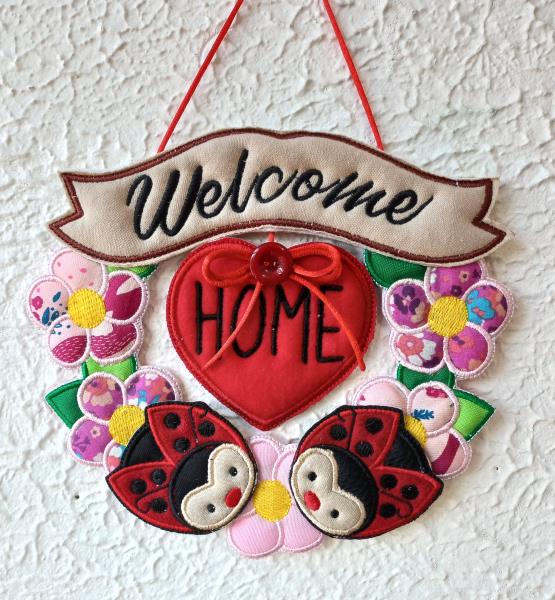
Create a charming 'Welcome Home' wreath featuring adorable ladybugs and colorful flowers, made entirely In The Hoop. This delightful decoration is perfect for your front door or as a thoughtful housewarming gift. Suitable for beginners and includes everything needed for a quick and satisfying project. Step-by-step instructions are included.
This is a collaboration between ITH Boutique and Emerson.
Step 1:
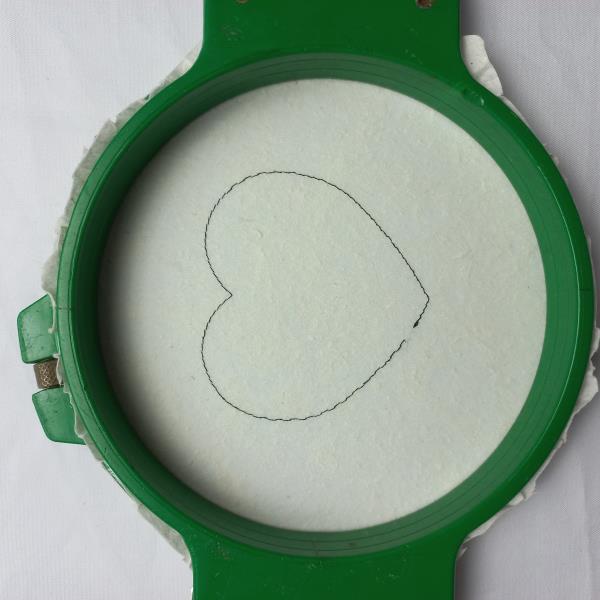
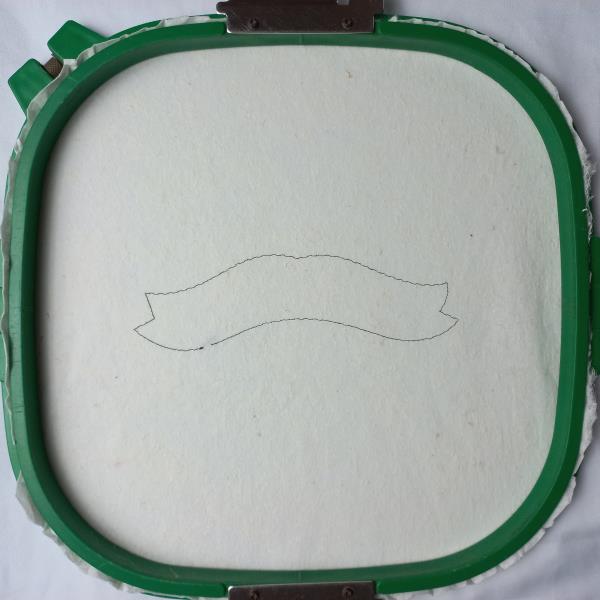
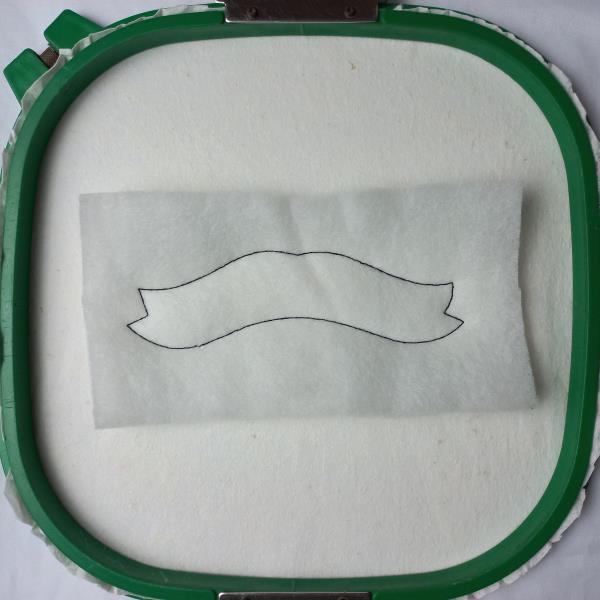
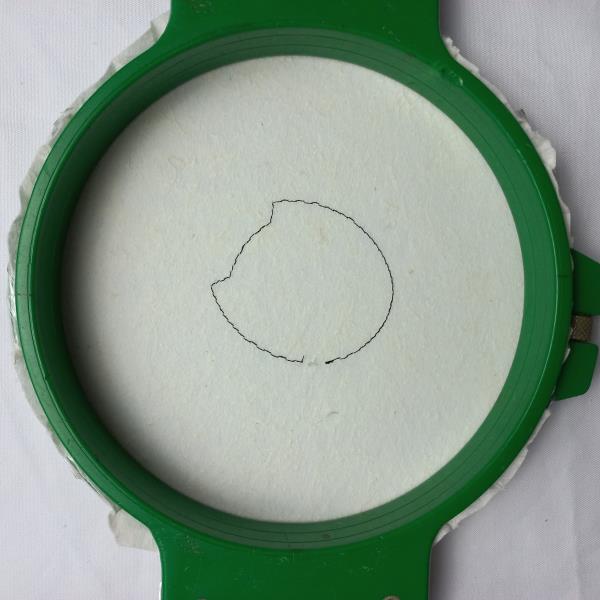
For the A01 part tautly hoop 2.5-ounce cutaway stabilizer in your embroidery hoop and run color-stop 1 as a placement line.
(Click Image to Enlarge)
Step 2:
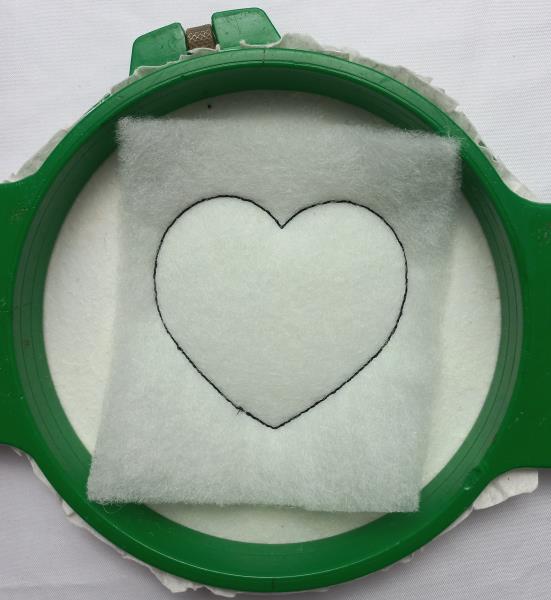
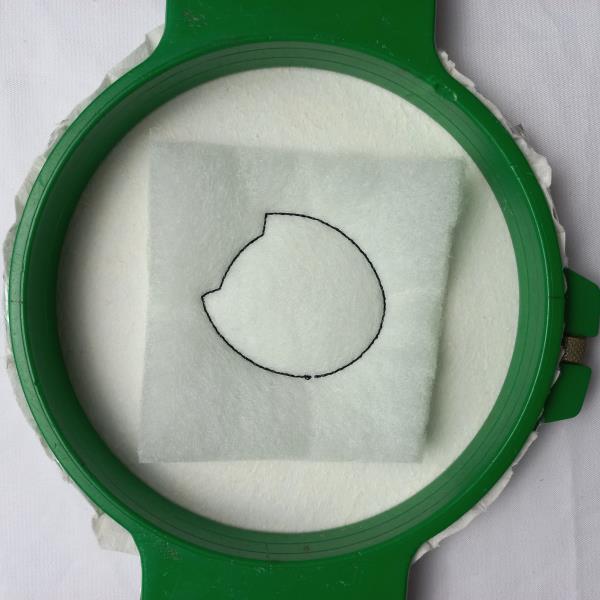
Remove the hoop from the machine, do not unhoop. Cover the placement line with batting with the help of the repositionable adhesive spray, and run color-stop 2.
(Click Image to Enlarge)
Step 3:
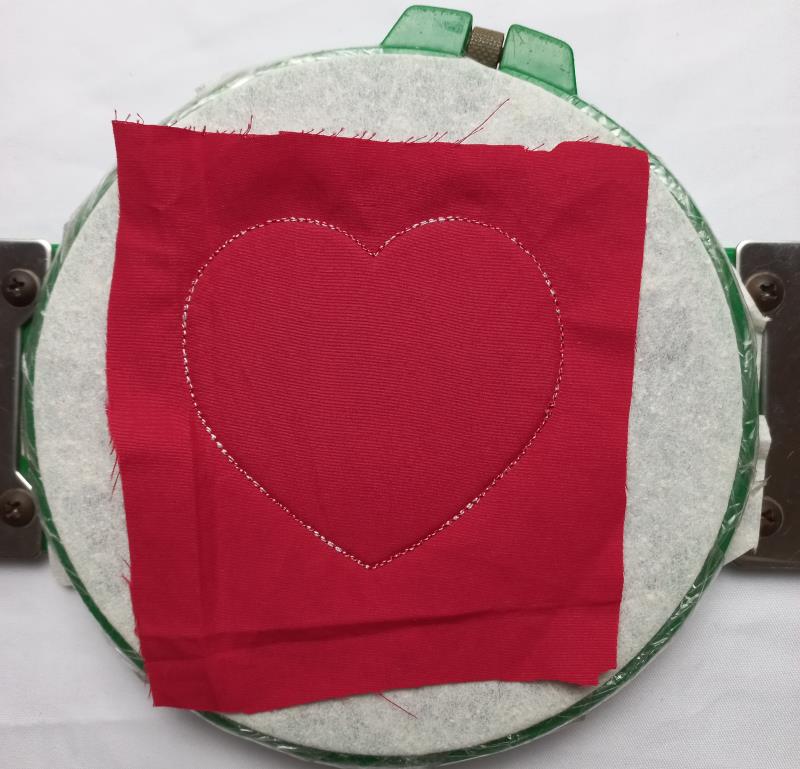
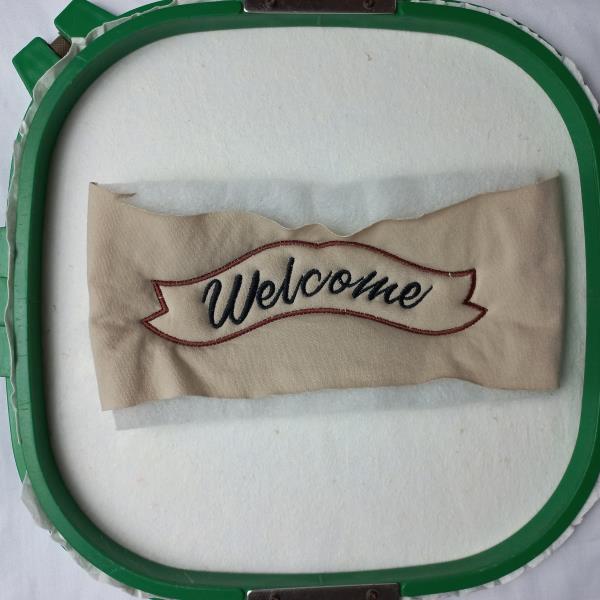
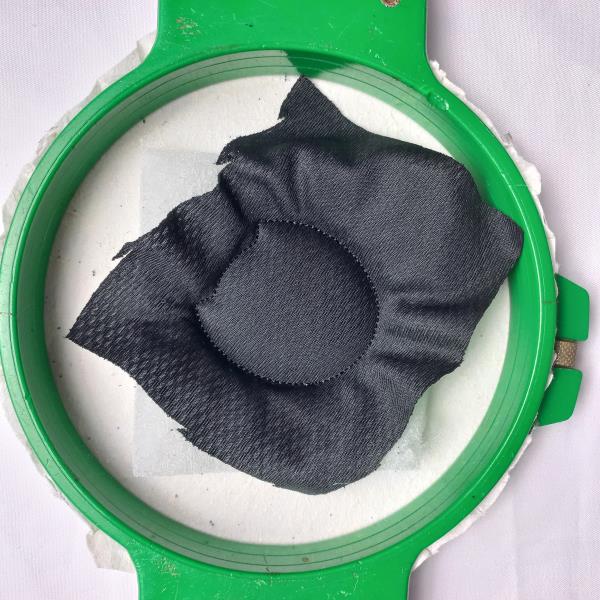
Remove the hoop from the machine, do not unhoop. Cover the placement line with red fabric with the help of the repositionable adhesive spray, and run color-stop 3 through color-stop 6.
(Click Image to Enlarge)
Step 4:
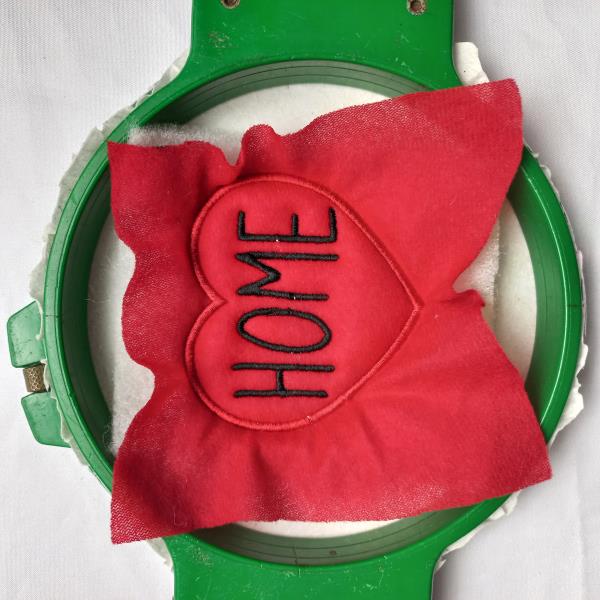
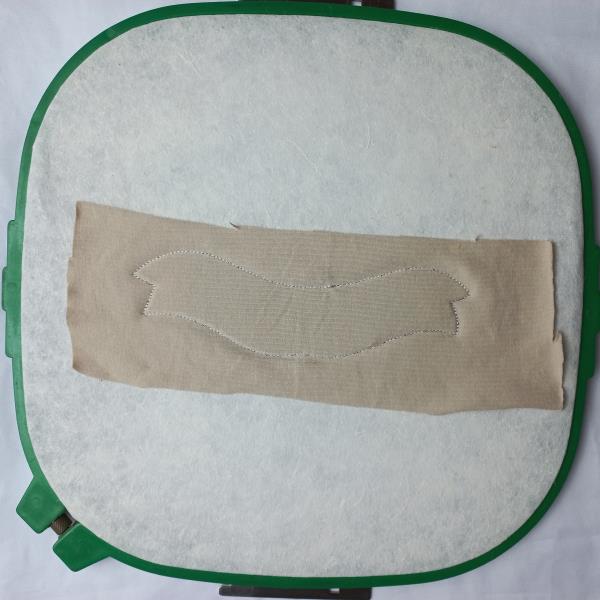
Remove the hoop from the machine, do not unhoop. Cover the back of the hoop with red fabric with the help of the repositionable adhesive spray and run color-stop 7.
(Click Image to Enlarge)
Step 5:
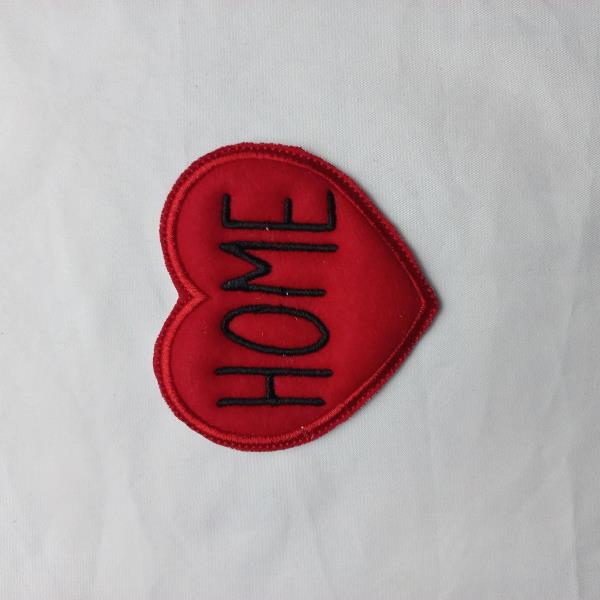
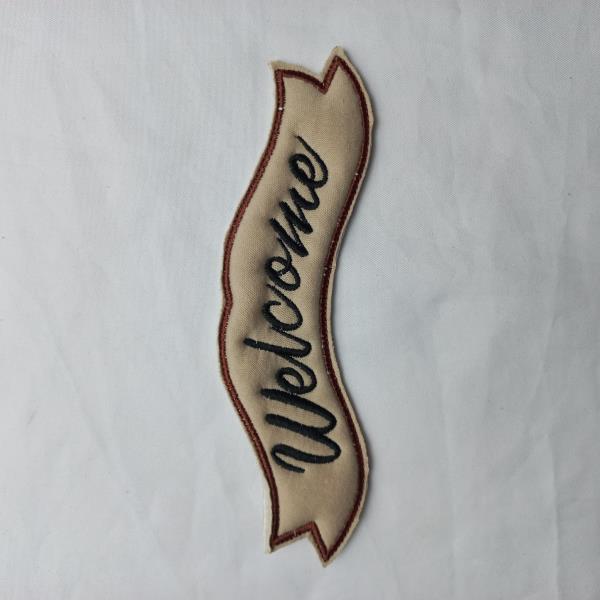
Remove the project from the hoop. Cut out the outline of the design, with sharp scissors, and save it for later.
(Click Image to Enlarge)
Step 6:
For the A02 part tautly hoop 2.5-ounce cutaway stabilizer in your embroidery hoop and run color-stop 1 as a placement line.
(Click Image to Enlarge)
Step 7:
Remove the hoop from the machine, do not unhoop. Cover the placement line with batting with the help of the repositionable adhesive spray, and run color-stop 2.
(Click Image to Enlarge)
Step 8:
Remove the hoop from the machine, do not unhoop. Cover the placement line with khaki fabric with the help of the repositionable adhesive spray, and run color-stop 3 through color-stop 6.
(Click Image to Enlarge)
Step 9:
Remove the hoop from the machine, do not unhoop. Cover the back of the hoop with khaki fabric with the help of the repositionable adhesive spray and run color-stop 7.
(Click Image to Enlarge)
Step 10:
Remove the project from the hoop. Cut out the outline of the design, with sharp scissors, and save it for later.
(Click Image to Enlarge)
Step 11:
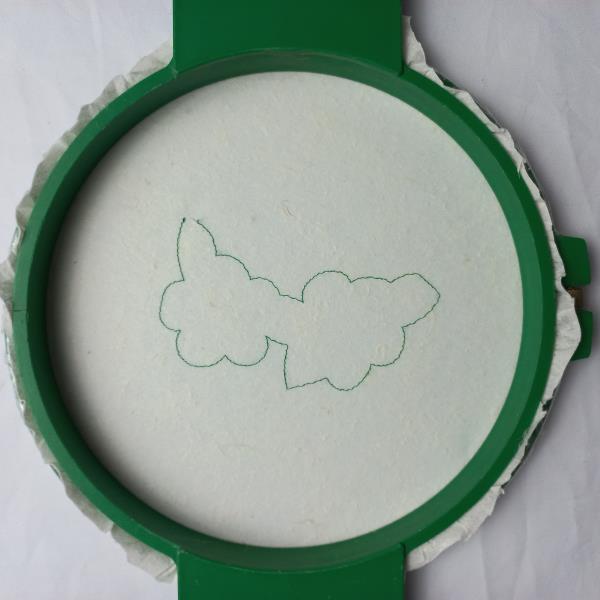
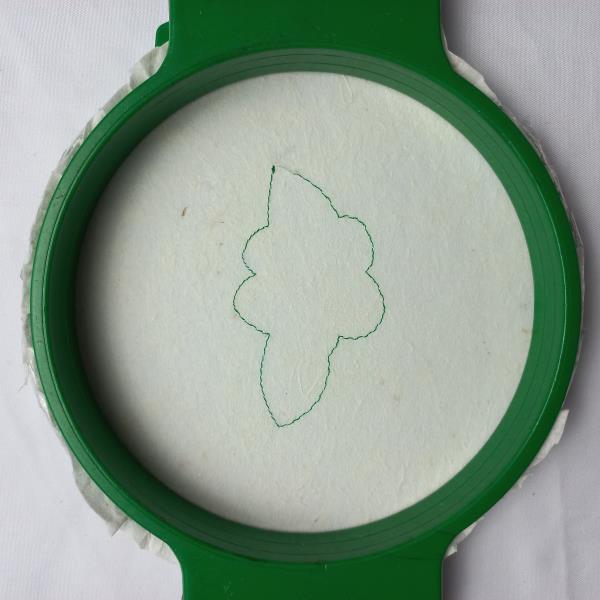
For the A03 part tautly hoop 2.5-ounce cutaway stabilizer in your embroidery hoop and run color-stop 1 as a placement line.
(Click Image to Enlarge)
Step 12:
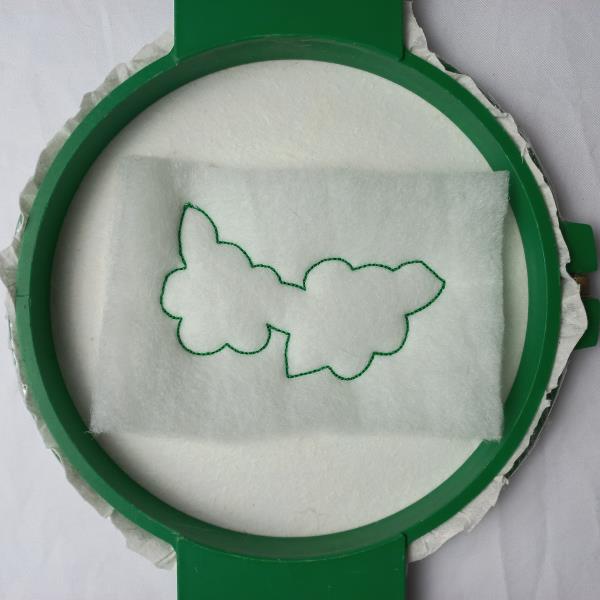
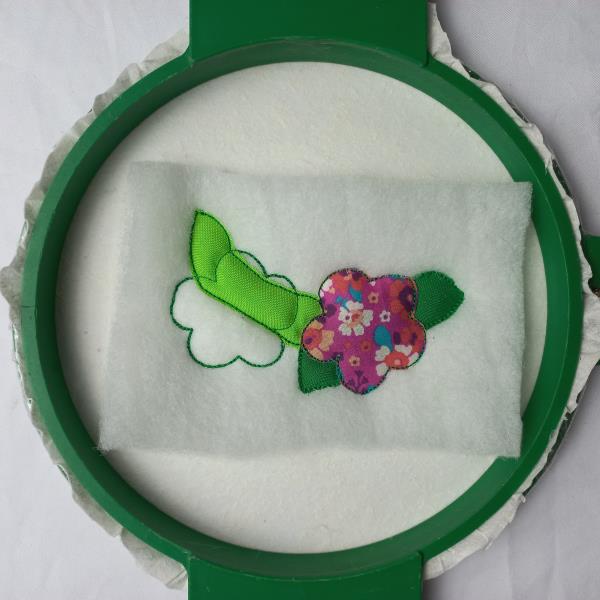
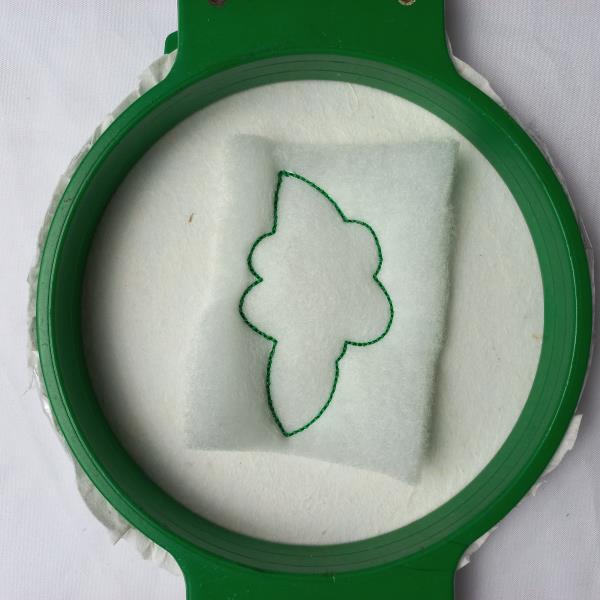
Remove the hoop from the machine, do not unhoop. Cover the placement line with batting with the help of the repositionable adhesive spray, and run color-stop 2 and 3.
(Click Image to Enlarge)
Step 13:
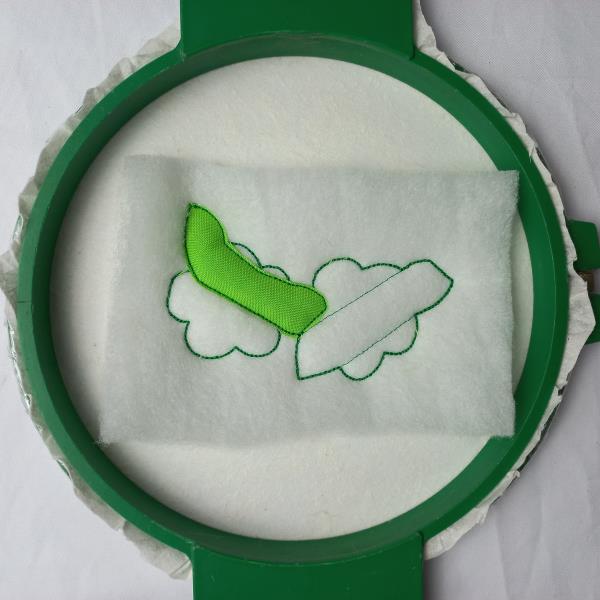
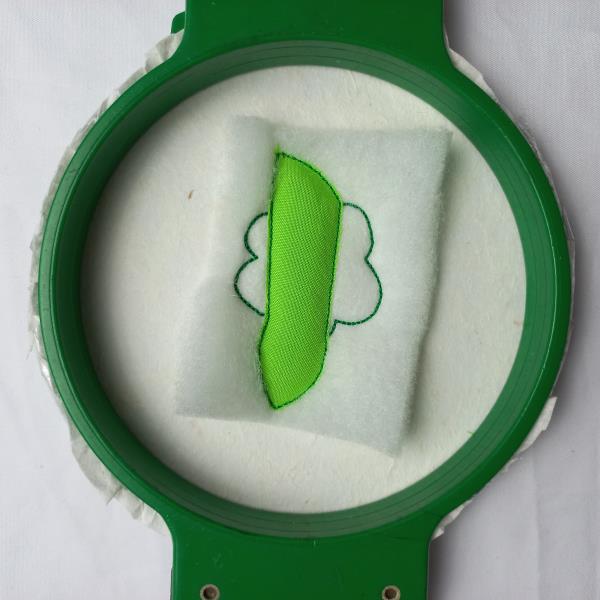
Run color-stop 4 as a placement line. Cover the placement line with green light fabric with the help of the repositionable adhesive spray, and run color-stop 5. Cut the excess fabric.
(Click Image to Enlarge)
Step 14:
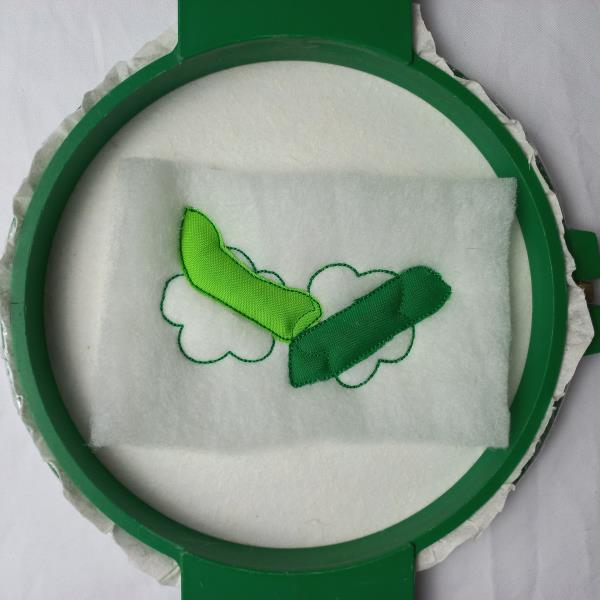
Run color-stop 6 as a placement line. Cover the placement line with green fabric with the help of the repositionable adhesive spray, and run color-stop 7. Cut the excess fabric.
(Click Image to Enlarge)
Step 15:
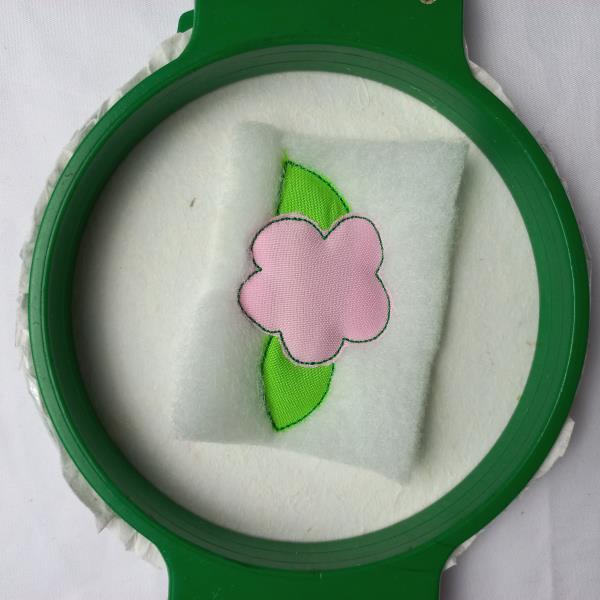
Run color-stop 8 as a placement line. Cover the placement line with printed fabric with the help of the repositionable adhesive spray, and run color-stop 9. Cut the excess fabric.
(Click Image to Enlarge)
Step 16:
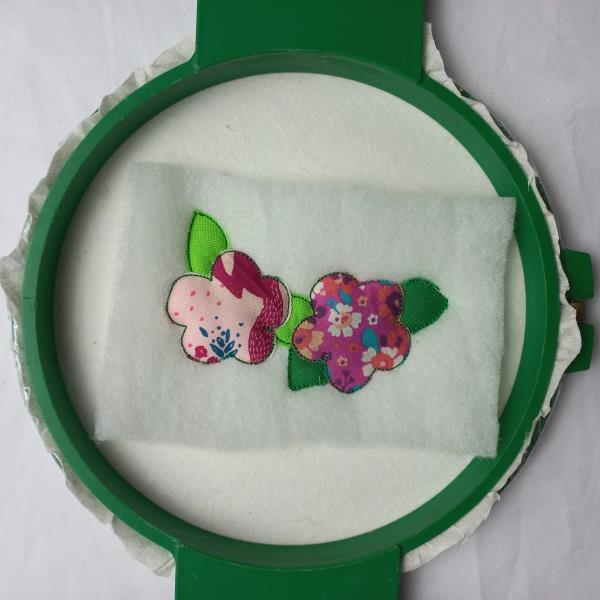
Run color-stop 10 as a placement line. Cover the placement line with printed fabric with the help of the repositionable adhesive spray, and run color-stop 11. Cut the excess fabric.
(Click Image to Enlarge)
Step 17:
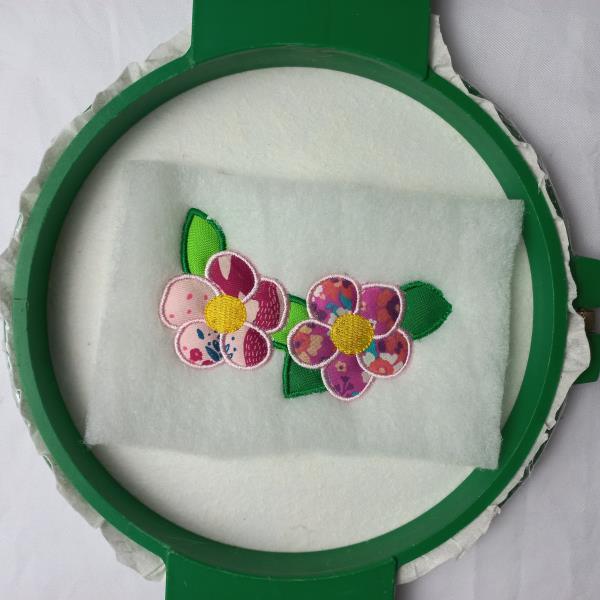
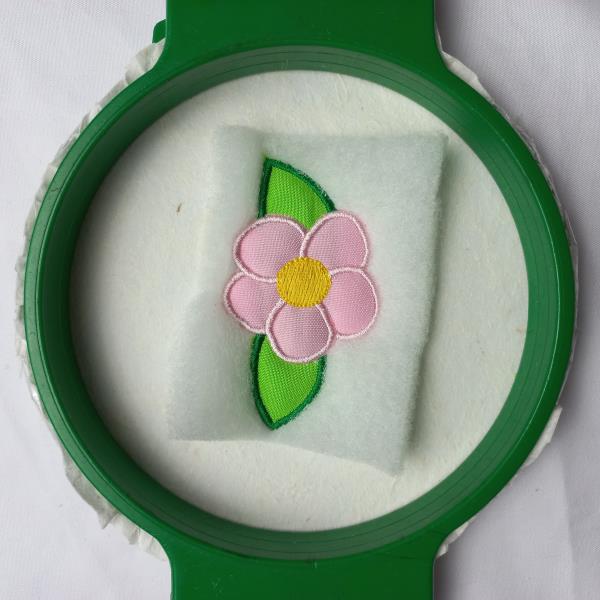
Run color-stop 12 through color-stop 16.
(Click Image to Enlarge)
Step 18:
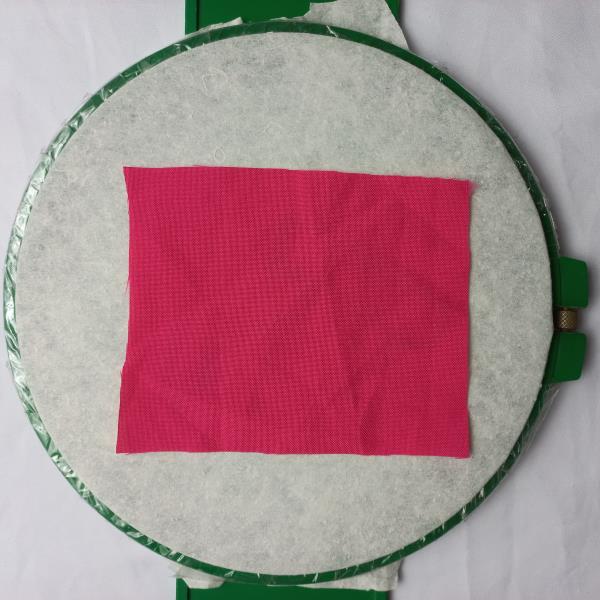
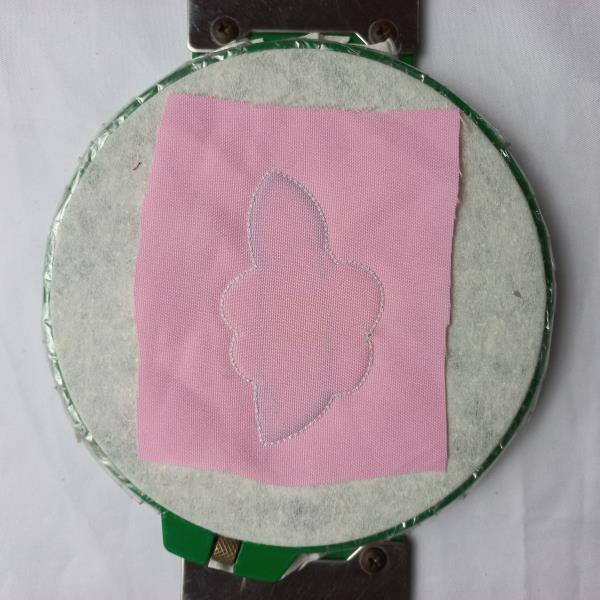
Remove the hoop from the machine, do not unhoop. Cover the back of the hoop with fuchsia fabric with the help of the repositionable adhesive spray and run color-stop 17.
(Click Image to Enlarge)
Step 19:
Remove the project from the hoop. Cut out the outline of the design, with sharp scissors, and save it for later.
(Click Image to Enlarge)
Step 20:
For the A04 part, follow the steps of the A03 part. Invert the colors of the fabrics if you wish.☺
(Click Image to Enlarge)
Step 21:
For the A05 part tautly hoop 2.5-ounce cutaway stabilizer in your embroidery hoop and run color-stop 1 as a placement line.
(Click Image to Enlarge)
Step 22:
Remove the hoop from the machine, do not unhoop. Cover the placement line with batting with the help of the repositionable adhesive spray, and run color-stop 2 and 3.
(Click Image to Enlarge)
Step 23:
Run color-stop 4 as a placement line. Cover the placement line with green light fabric with the help of the repositionable adhesive spray, and run color-stop 5. Cut the excess fabric.
(Click Image to Enlarge)
Step 24:
Run color-stop 6 as a placement line. Cover the placement line with pink fabric with the help of the repositionable adhesive spray, and run color-stop 7. Cut the excess fabric.
(Click Image to Enlarge)
Step 25:
Run color-stop 8 through color-stop 10.
(Click Image to Enlarge)
Step 26:
Remove the hoop from the machine, do not unhoop. Cover the back of the hoop with pink fabric with the help of the repositionable adhesive spray and run color-stop 11.
(Click Image to Enlarge)
Step 27:
Remove the project from the hoop. Cut out the outline of the design, with sharp scissors, and save it for later.
(Click Image to Enlarge)
Step 28:
For the A06 part tautly hoop 2.5-ounce cutaway stabilizer in your embroidery hoop and run color-stop 1 as a placement line.
(Click Image to Enlarge)
Step 29:
Remove the hoop from the machine, do not unhoop. Cover the placement line with batting with the help of the repositionable adhesive spray, and run color-stop 2.
(Click Image to Enlarge)
Step 30:
Remove the hoop from the machine, do not unhoop. Cover the placement line with black fabric with the help of the repositionable adhesive spray, and run color-stop 3.
(Click Image to Enlarge)
Step 31:
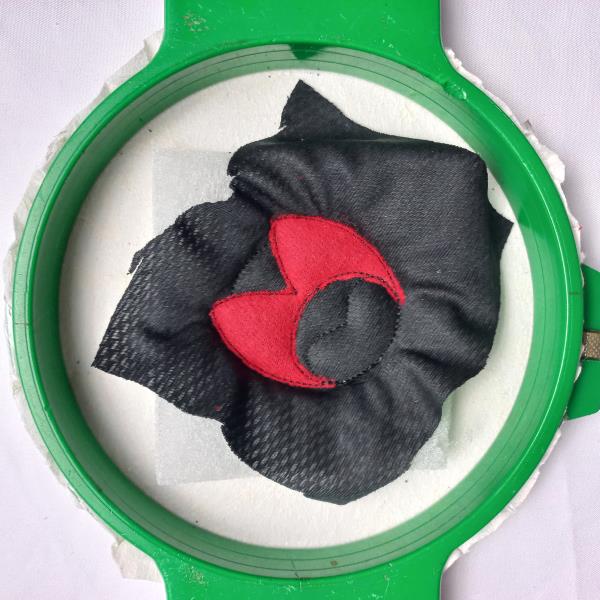
Run color-stop 4 as a placement line. Cover the placement line with red fabric with the help of the repositionable adhesive spray, and run color-stop 5. Cut the excess fabric.
(Click Image to Enlarge)
Step 32:
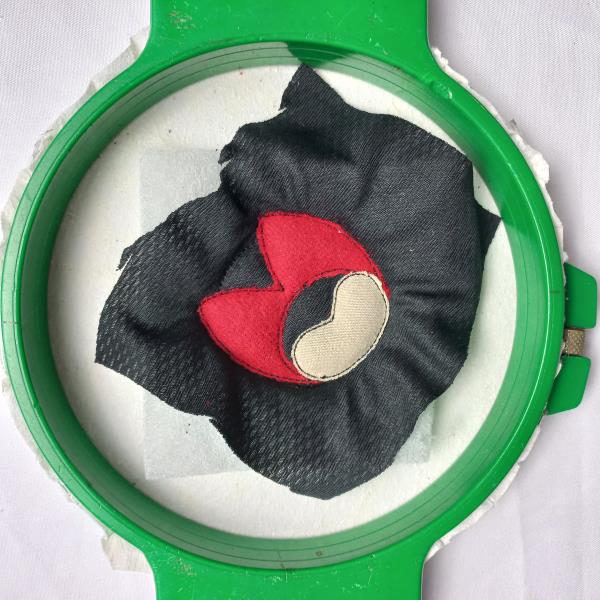
Run color-stop 6 as a placement line. Cover the placement line with khaki fabric with the help of the repositionable adhesive spray, and run color-stop 7. Cut the excess fabric.
(Click Image to Enlarge)
Step 33:
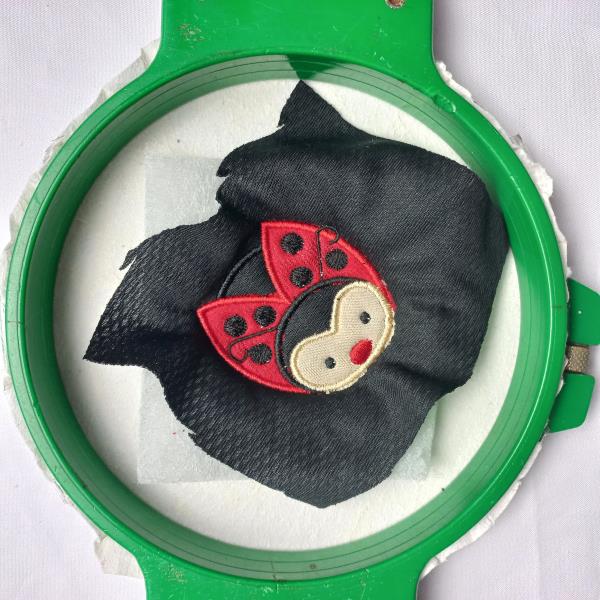
Run color-stop 8 through color-stop 11.
(Click Image to Enlarge)
Step 34:
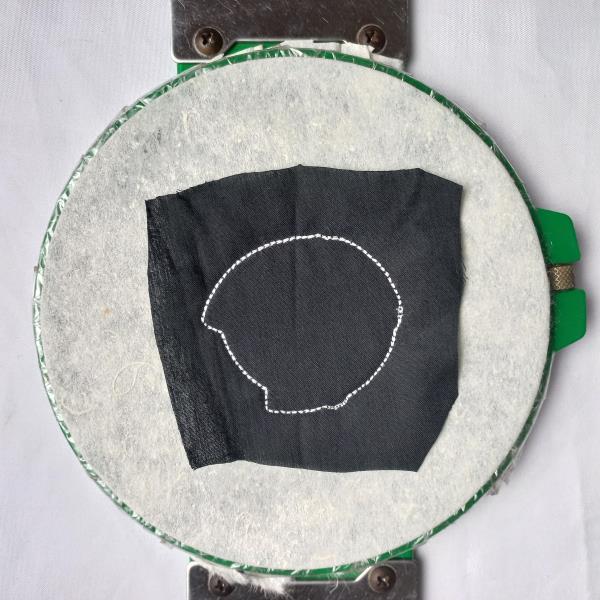
Remove the hoop from the machine, do not unhoop. Cover the back of the hoop with black fabric with the help of the repositionable adhesive spray and run color-stop 12.
(Click Image to Enlarge)
Step 35:
Remove the project from the hoop. Cut out the outline of the design, with sharp scissors, and save it for later.
(Click Image to Enlarge)
Step 36:
For the A07 part, follow the steps of the A06 part.
(Click Image to Enlarge)
Step 37:
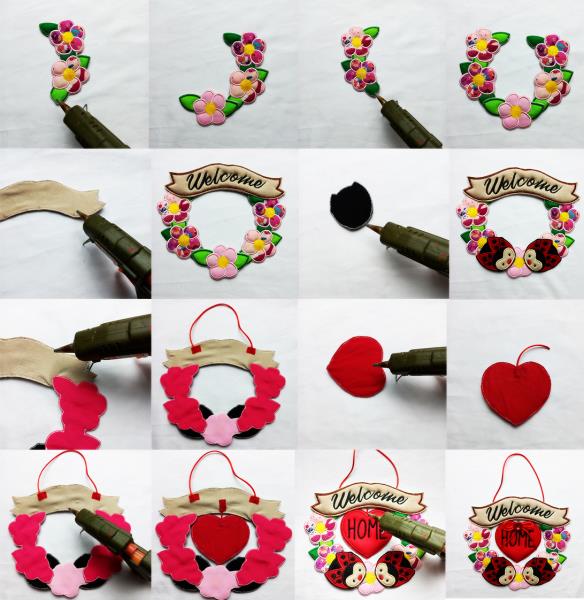
We put all the pieces together.
(Click Image to Enlarge)
Step 38:
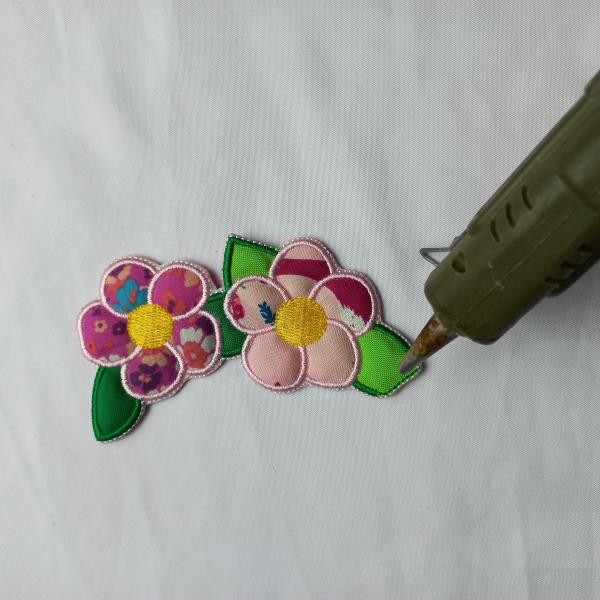
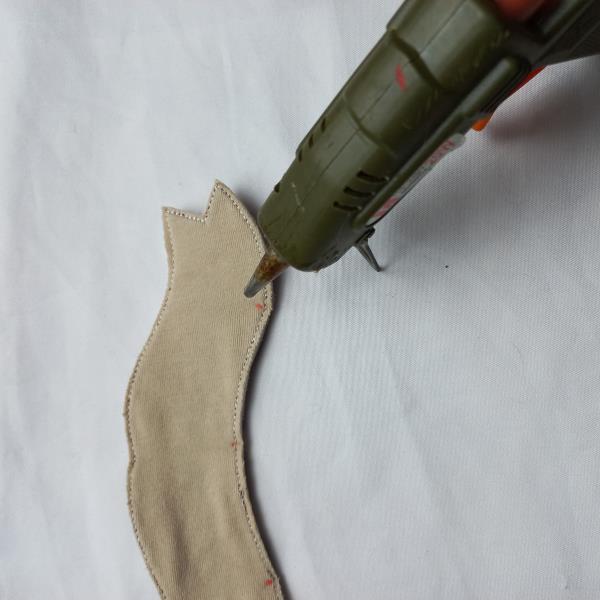
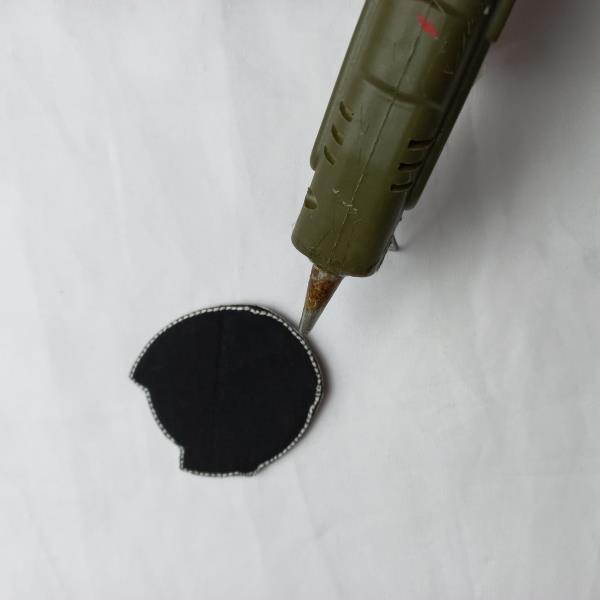
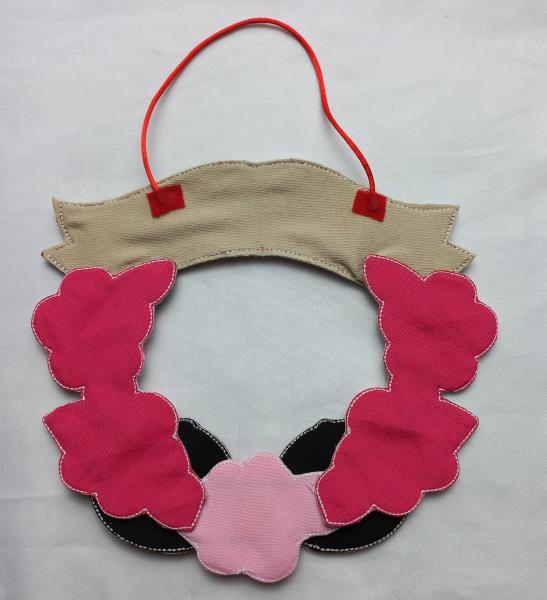
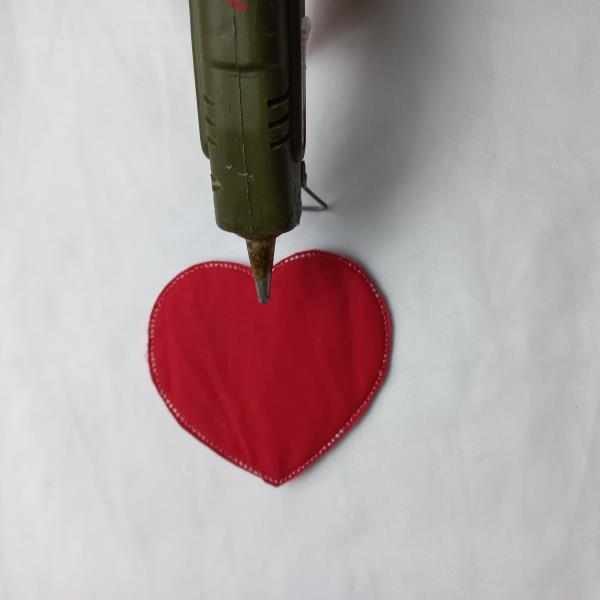
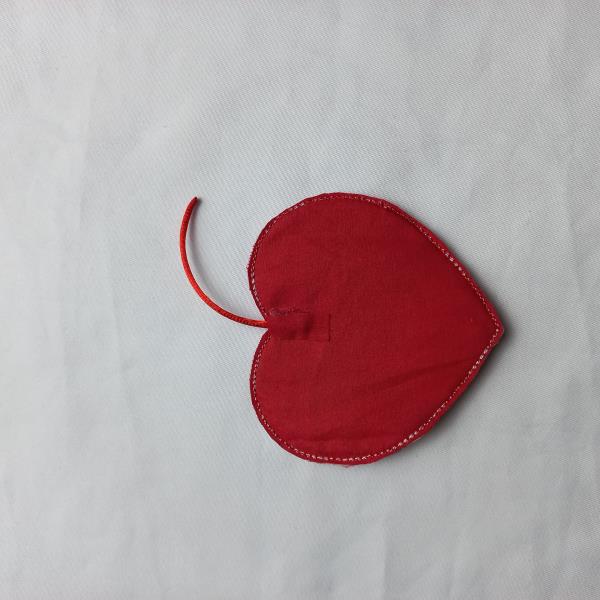
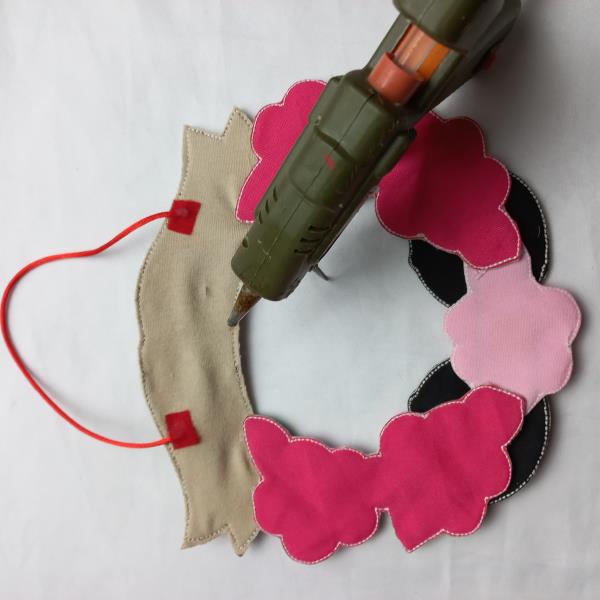
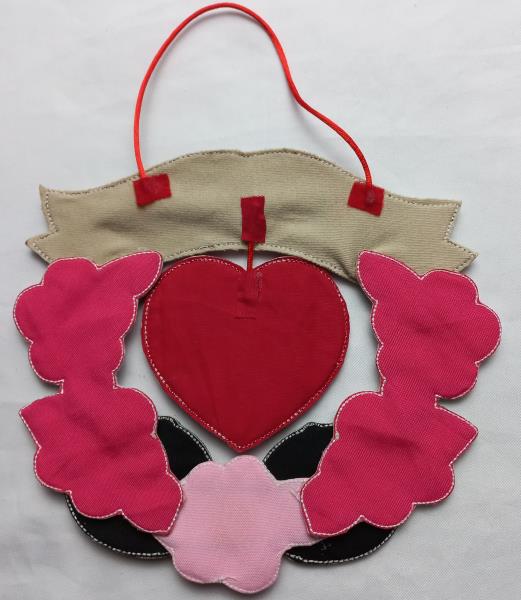
With the help of a needle and thread or some type of textile glue. The banner will be the upper center part. Join the part of the banner with the floral branches, fixing the endings in the back parts of the banner. The little flower will be in the center of the floral branches. Then fix the ladybugs one on each branch at the height you prefer. And the heart will be in the center of the banner. As the reference image suggests
(Click Image to Enlarge)
Step 39:
.
(Click Image to Enlarge)
Step 40:
.
(Click Image to Enlarge)
Step 41:
.
(Click Image to Enlarge)
Step 42:
.
(Click Image to Enlarge)
Step 43:
.
(Click Image to Enlarge)
Step 44:
.
(Click Image to Enlarge)
Step 45:
.
(Click Image to Enlarge)
Step 46:
.
(Click Image to Enlarge)
Step 47:
.
(Click Image to Enlarge)
Step 48:
.
(Click Image to Enlarge)
Step 49:
.
(Click Image to Enlarge)
Step 50:
.
(Click Image to Enlarge)
Step 51:
.
(Click Image to Enlarge)
Step 52:
.
(Click Image to Enlarge)
Step 53:
.
(Click Image to Enlarge)
Step 54:
.
(Click Image to Enlarge)
Step 55:
.
(Click Image to Enlarge)
Step 56:
.
(Click Image to Enlarge)
Step 57:
.
(Click Image to Enlarge)
Step 58:
Use complementary decoration. Have fun doing this beautiful project.