Border OptionsHugging border, circle, square, or rectangle — with a 3mm satin stitch.
Backing OptionsAvailable with iron-on, sew-on, or velcro backing.
Fast ShippingShipped quickly from the USA.
Free Online Tools
Powerful embroidery utilities that save time and prevent costly mistakes.
Stitch AssistantRECOMMENDED
Get the exact stabilizer, machine settings, needle, and thread color sequence for every embroidery design you purchase — based on that design's stitch density, dimensions, and color count.
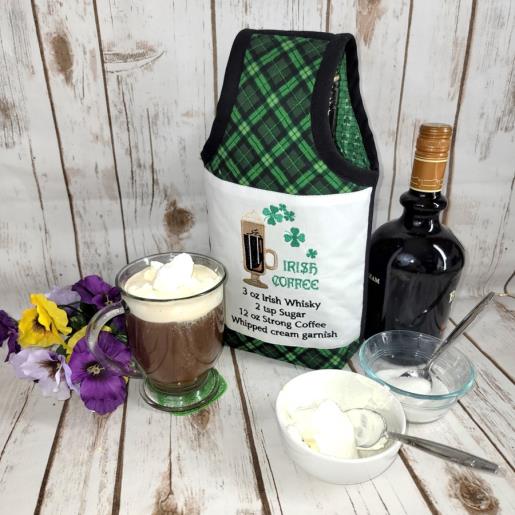
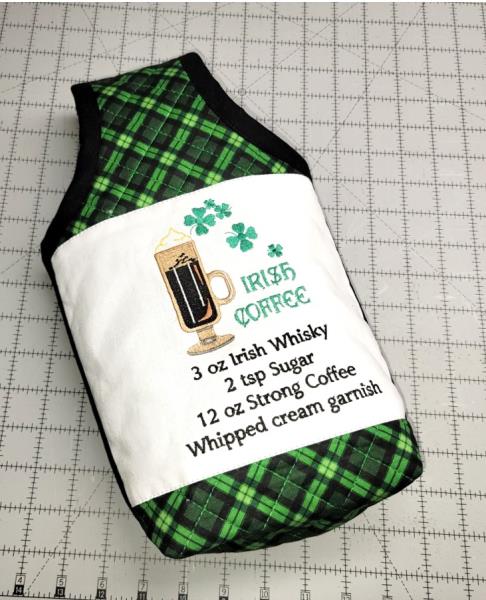
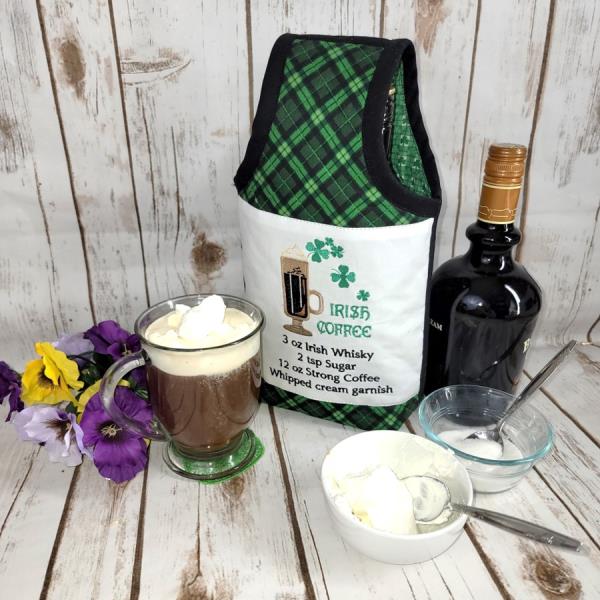
This quilted tote bag features a charming Irish coffee design, perfect for carrying your favorite bottle. Crafted with a sturdy pattern, it combines practicality and style for any occasion. Step-by-step instructions are included.
All bottles vary in size, so the pattern may need to be adjusted. Instead of lining the bag, the top and back fabrics are quilted together, seams created, and binding added. This makes a very sturdy tote which will accommodate heavier bottles.
Step 1:
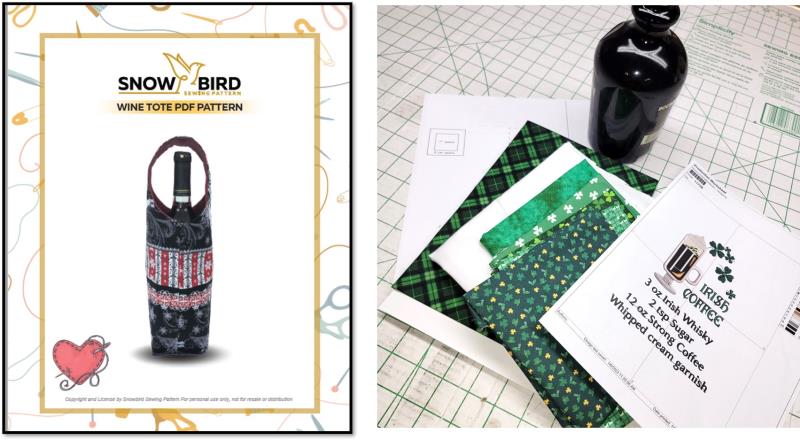
Read through the instructions thoroughly before beginning and assemble all the materials needed to complete the project. Follow all manufacturers’ instructions for the products being used. It’s fun to get more than one use of a pattern. This tutorial shows you another way to use the pattern by quilting the fabrics first, and then adding binding over the seams and edges. Choose the fabrics you’d like. For this tutorial, fabrics were chosen from the stash and mixed and matched. Print out the embroidery design at actual size. Print out the pattern at actual size.
(Click Image to Enlarge)
Step 2:
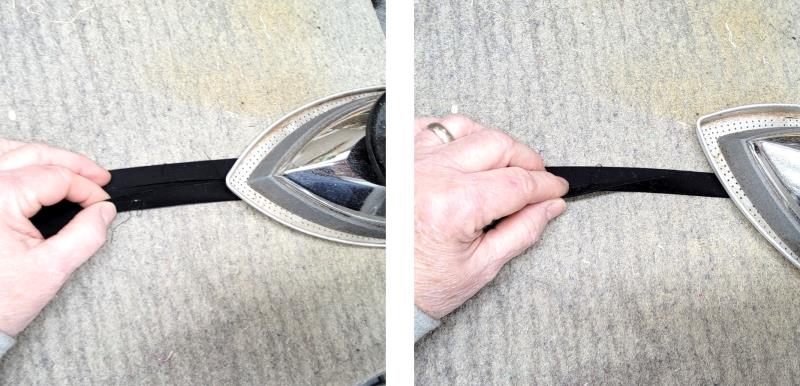
The binding used in the project is black Kona cotton cut 2.5” wide. For the curved edges, the binding is cut on the bias. For the top seam, side seams and bottom seam, the binding is cut on the straight of grain at 2.5” wide. Lengths will vary depending upon any alterations done on the pattern. You’ll have to measure the pattern for the lengths needed—don’t forget to add about an extra 2” to make sure you’ll have enough to work with. Some of the binding will be pressed in half lengthwise and used that way. Other pieces will be pressed into a double fold binding by meeting the long cut edges to the center and pressing, and then bringing the folded edges together and pressing.
(Click Image to Enlarge)
Step 3:
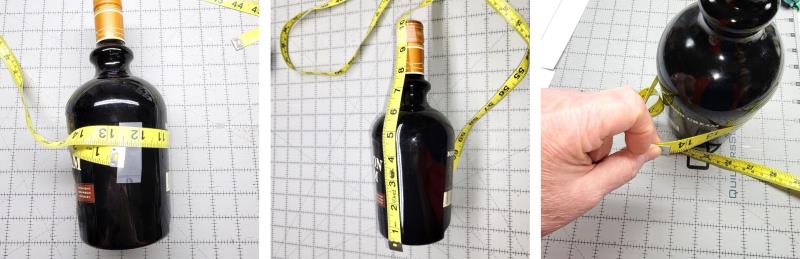
Begin by measuring around the bottle and the height of the bottle. Because the bag is quilted, you’ll want to add about 2” extra in the width.
(Click Image to Enlarge)
Step 4:
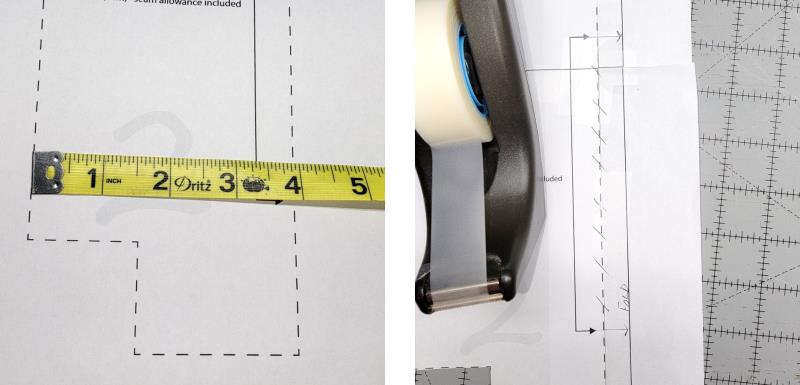
The base of the pattern, including the seam allowance measured 4”. That makes the bag, when sewn, about 14.5” in width. For this project, the fold line was extended ½” out all the way from the top to the bottom which adds 2” to the width after sewn. Figure out what you need for your project.
(Click Image to Enlarge)
Step 5:
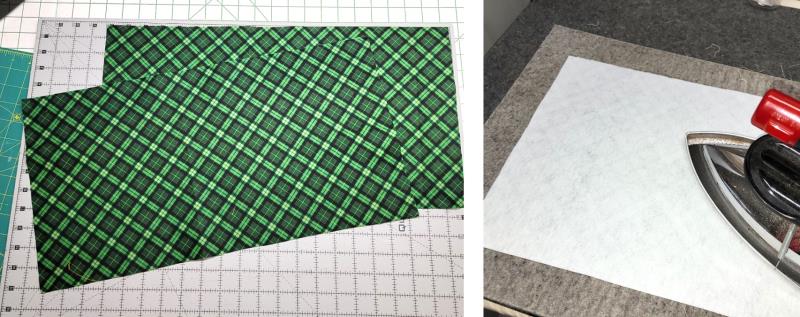
Two pieces of fabric for the outside of the outside of the bag, larger than needed, to accommodate the quilting. Fusible batting was pressed on to the back of each piece.
(Click Image to Enlarge)
Step 6:
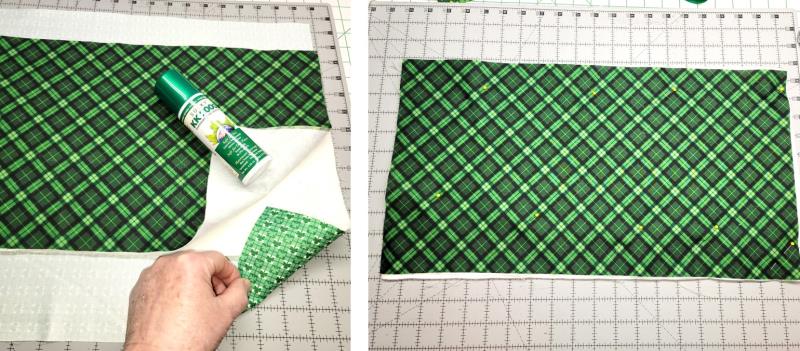
Two pieces of batting and backing fabric were cut the same size as the front piece and the layers placed together in a quilt sandwich using temporary spray adhesive. If you prefer, use pins to hold the layers together.
(Click Image to Enlarge)
Step 7:
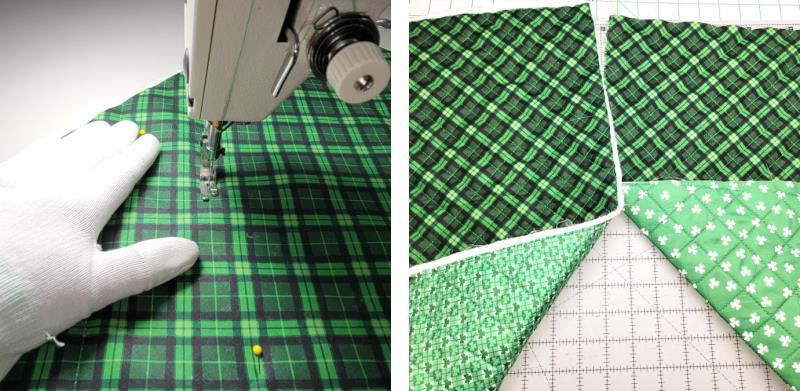
Quilt the pieces as desired. For this fabric, the lines of the fabric were used. Tip: quilting gloves really help grip the fabric while quilting.
(Click Image to Enlarge)
Step 8:
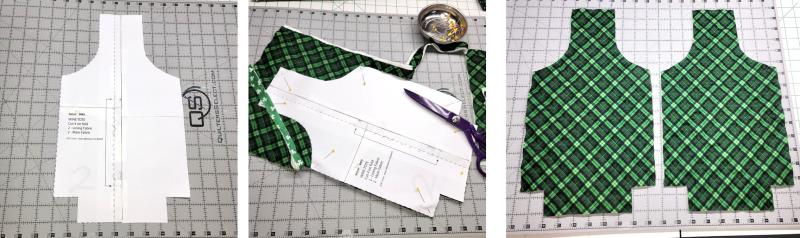
It is easier to cut quilted fabric in a single layer, so a duplicate of the pattern was made and the pieces taped together along the fold line. The pattern is pinned to the fabric and cut out for both pieces.
(Click Image to Enlarge)
Step 9:
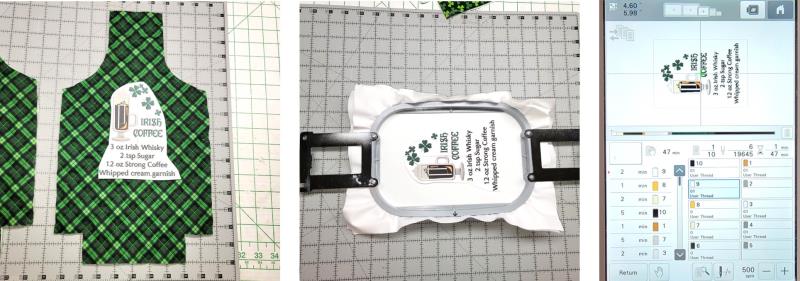
Next is to determine where the design will be placed. The fabric for embroidery needs to be wide enough to go from side seam to side seam, long enough to accommodate the embroidery plus seam allowances at the top and bottom. Hoop the fabric with stabilizer. Load the design on the machine and choose the thread colors.
(Click Image to Enlarge)
Step 10:
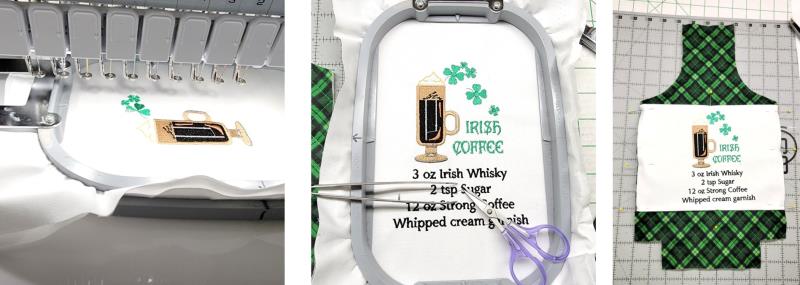
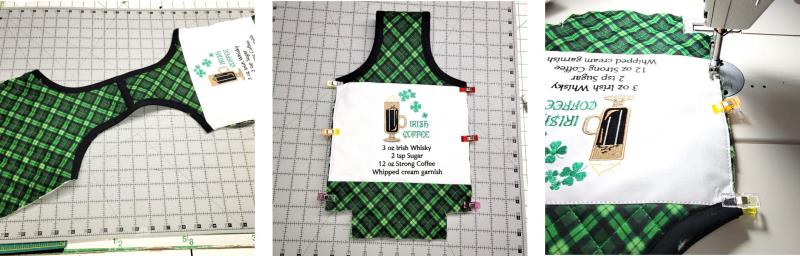
Stitch the design. If there are any jump threads, trim them using tweezers to pick up the thread and trim with the point of a small sharp scissors. Remove the embroidery from the hoop and press. Fit the embroidered piece to the quilted fabric front, turning under the top and bottom edges as shown, and pin in place.
(Click Image to Enlarge)
Step 11:
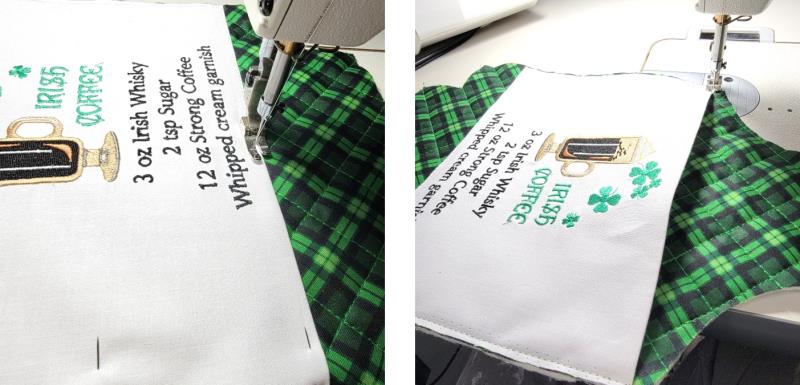
Stitch the embroidered piece to the quilted fabric. Another option: this piece could actually also be used as a pocket if it is lined before it is sewn on.
(Click Image to Enlarge)
Step 12:
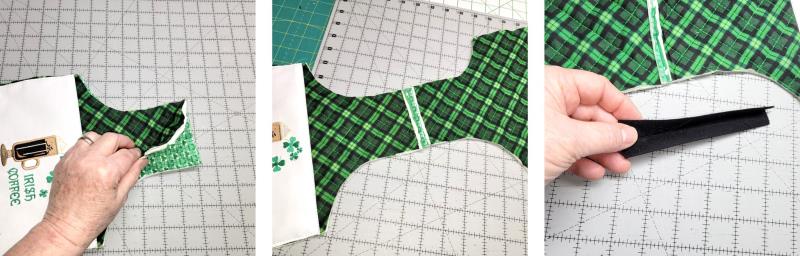
For the top and side seams, the wrong sides are sewn together. Begin with the top seam. Pin them in place and stitch. Measure the length and cut a strip of black fabric the length, and press it into a double fold tape.
(Click Image to Enlarge)
Step 13:
Center the strip over the seam and stitch it on along both long edges. Trim off the excess even with the quilted fabric.
(Click Image to Enlarge)
Step 14:
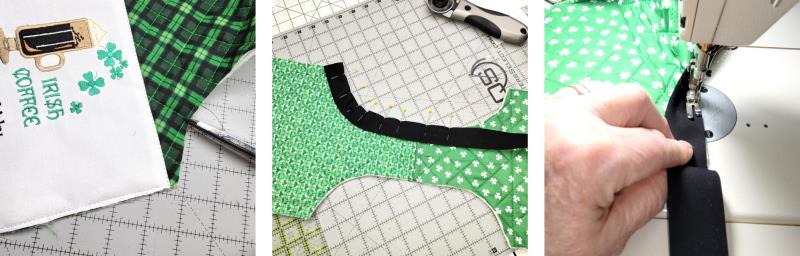
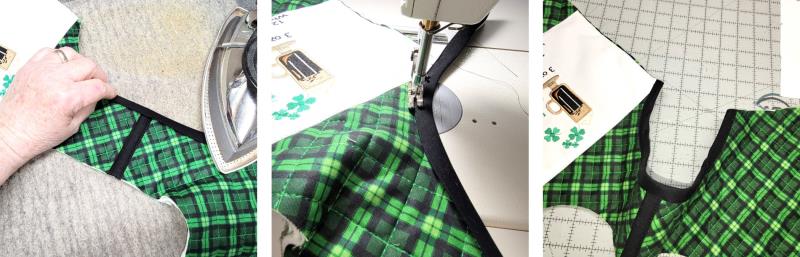
Next is to bind the curved handle edges. Clip the curves on the handle edges. Measure the length of the curve. Cut two bias strips that length plus 2”. Fold the bias strips in half lengthwise. Pin the binding to the wrong side of the handle edge, matching cut edges. Stitch the fabric in place.
(Click Image to Enlarge)
Step 15:
Roll the binding to the front and press it in place, molding the binding with the iron. Stitch the binding in place along the fold.
(Click Image to Enlarge)
Step 16:
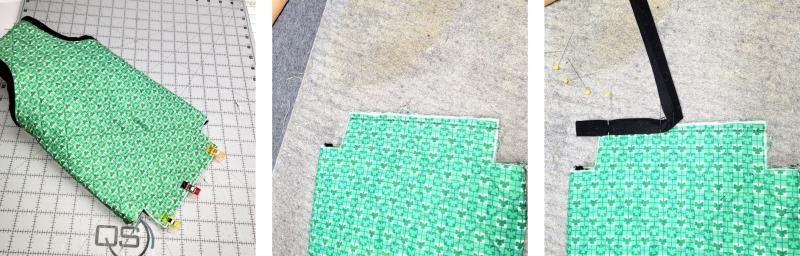
Repeat for the other curved handle edge. Now the side seams. These will be done like the top seam. Place the side seams, wrong sides together and pin or clip; sew the seam.
(Click Image to Enlarge)
Step 17:
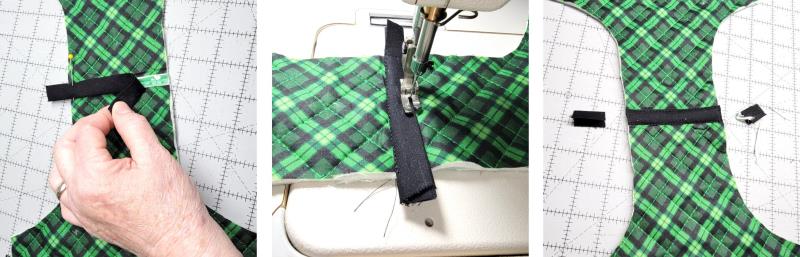
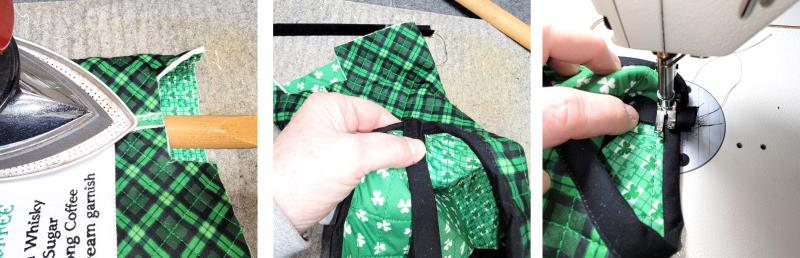
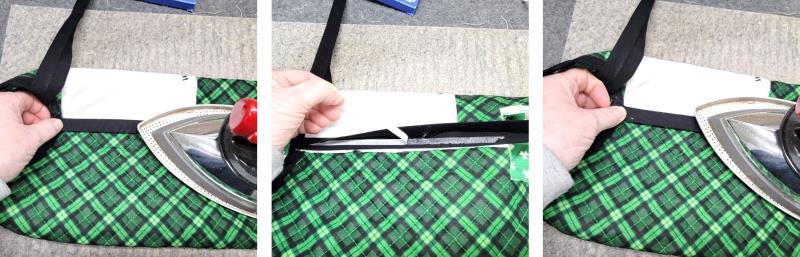
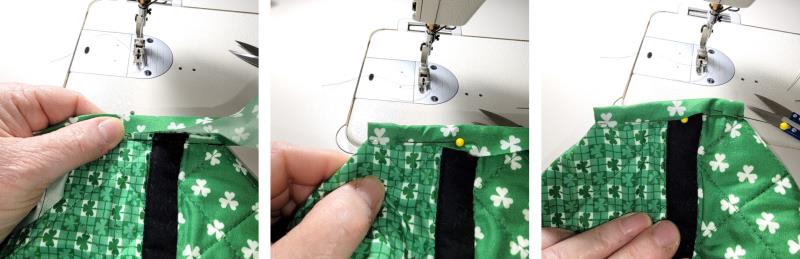
Press the seam open. Double fold straight strips will be used for the sides. Cut the strips the length of the seam, plus about 2”. Begin by creating a clean finish at the top. Lay the edge of one strip on the inside of the bag, centering the strip on the seam, and meeting the cut edge of the strip to the top edge of the seam. Stitch across the top about 1/2” down from the top.
(Click Image to Enlarge)
Step 18:
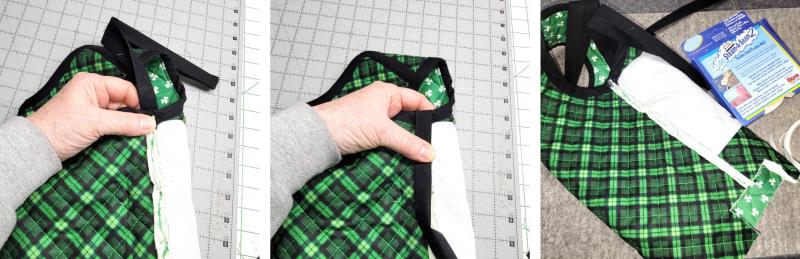
Now bring the strip over the top of the bag and down the seam, pulling the binding snug against the top. The binding will be centered along the side seam. If you’d like, use strips of ¼” Steam a Seam Lite to help hold the binding in place before stitching.
(Click Image to Enlarge)
Step 19:
Press the binding in place over the seam.
(Click Image to Enlarge)
Step 20:
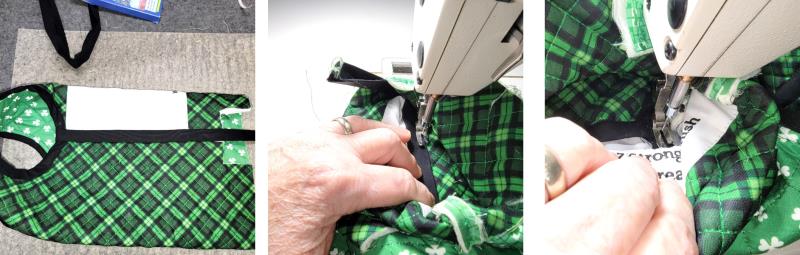
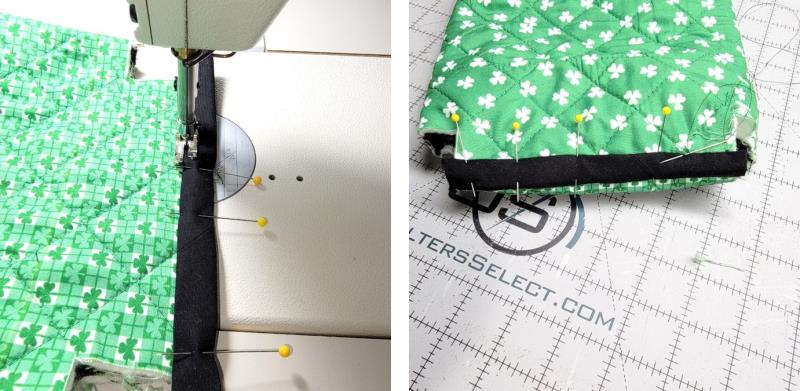
Stitch the binding along each edge. It may be easier to turn the bag inside out to do this step. When stopping to adjust the fabric, be sure to keep the needle in the fabric.
(Click Image to Enlarge)
Step 21:
Stitch down one side, across the bottom and up again. Trim the excess binding at the bottom even with the cut edge of the quilted fabric.
(Click Image to Enlarge)
Step 22:
Repeat for the other side seam.
(Click Image to Enlarge)
Step 23:
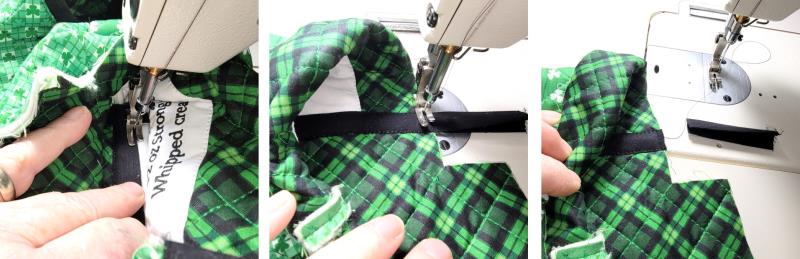
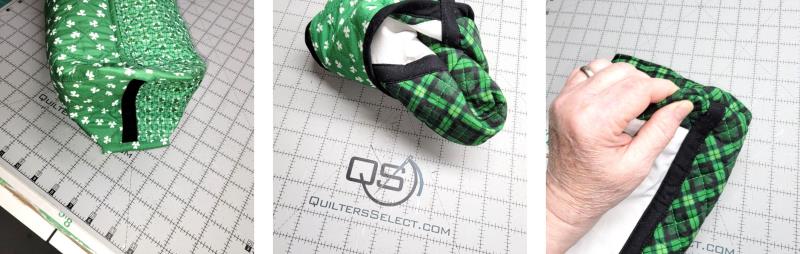
Turn the bag wrong side out to do the next steps. Pin or clip the bag bottom edges together and seam. Use a piece of straight cut binding to cover the bottom seam. This is double fold.
(Click Image to Enlarge)
Step 24:
One side is stitched over the seam edge. Then the binding is folded over the seam and hand stitched in place.
(Click Image to Enlarge)
Step 25:
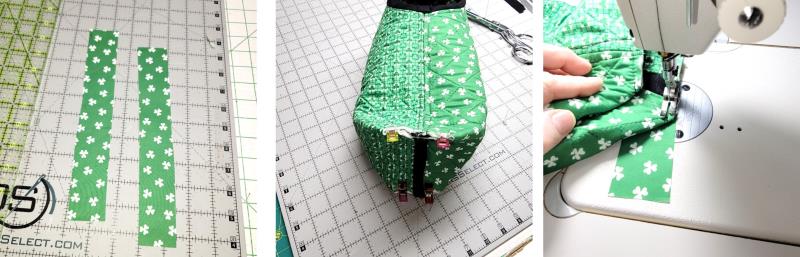
Cut strips 1 ½” wide by the length of the boxed corners, plus 2”. Box the corners. Stitch the binding to the seam.
(Click Image to Enlarge)
Step 26:
Fold the remaining long cut edge to meet the cut edge of the seam and then fold over again to cover the seam line, trimming and tucking in the ends to create a neat binding. Machine or hand stitch the binding in place.
(Click Image to Enlarge)
Step 27:
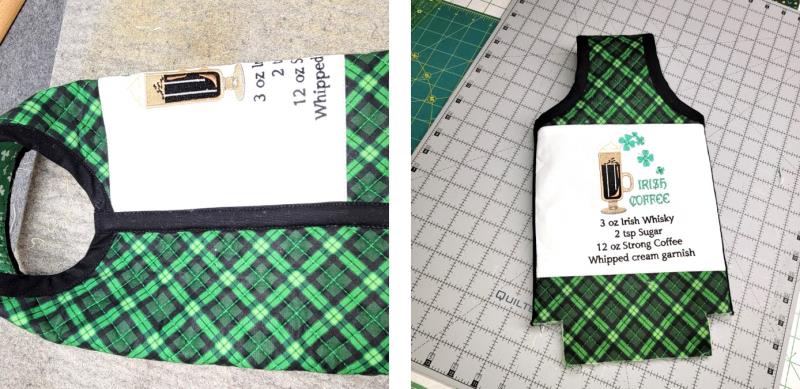
The entire bag is quilted and all the seams are neatly finished. Turn the bag right side out, forming the corners well.
(Click Image to Enlarge)
Step 28:
Congratulations on finishing your quilted tote. Thank you for purchasing the pattern and embroidery design.
(Click Image to Enlarge)
Step 29:
St. Patrick’s Day is coming and this makes a great gift with a bottle of Irish Whiskey, and perhaps some special coffee to share with family, friends and neighbors.
Ramona Baird has been in the embroidery industry for over 23 years. She and her husband owned a commercial and retail embroidery store in Arizona for many years. She is an experienced digitizer having been mentored by award-winners Pat Williams and Lindee Goodall. Ramona is a contributor to “Creative Machine Embroidery” magazine having 5 covers to her credit. Ramona has worked for Wilcom America and served many years as Education Director for the American Sewing Guild. With a degree in fashion design, she is able to design and execute patterns which Pat Williams says are “out of the box” in creativity and application. Ramona likes to challenge the boundaries of embroidery and bring new and exciting designs, ideas, and projects to EmbroideryDesigns.com. She wants embroiderers of all levels to increase their skills and enjoyment in using their embroidery machine for gift-making and personal pleasure.