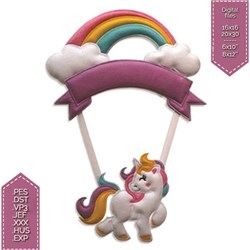
| Preface: | This is a collaboration between ITH Boutique and Laura workshop. The copyrights to digitizing belongs to Laura |
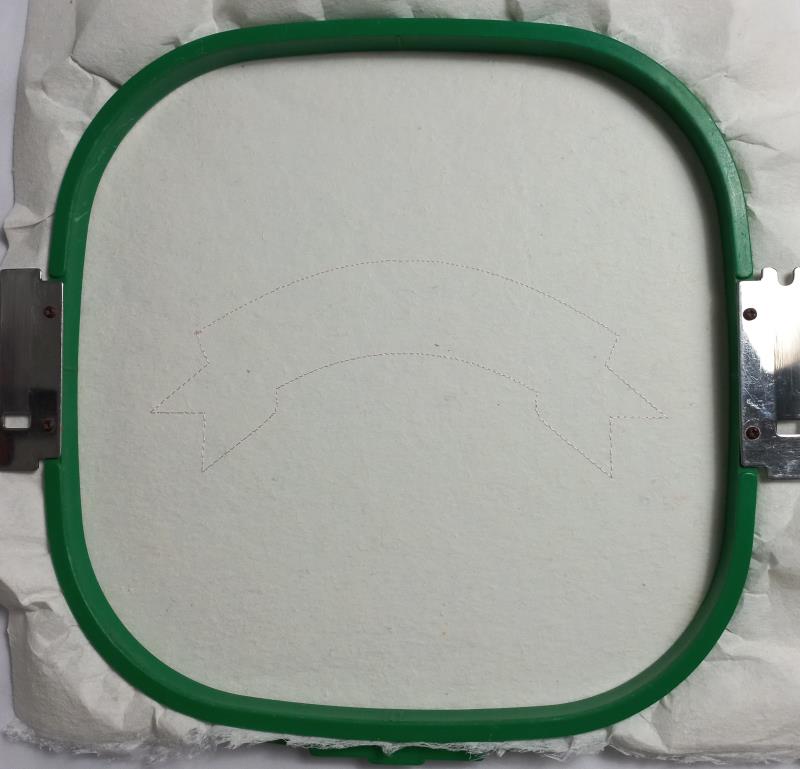
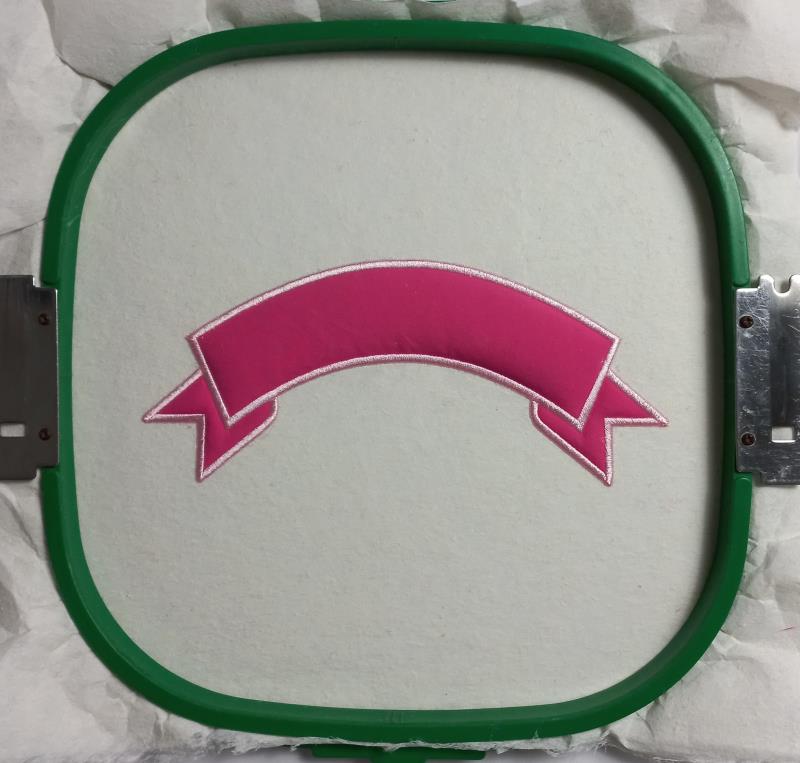
Step 1: | For the Banner part tautly hoop 2.5-ounce cutaway stabilizer in your embroidery hoop and run color-stop 1 as a placement line. | 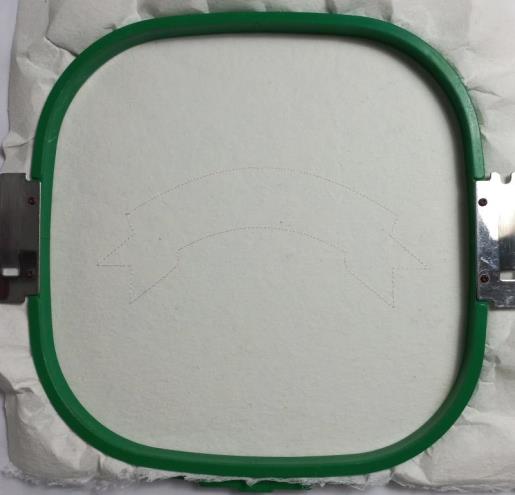 (Click Image to Enlarge) |
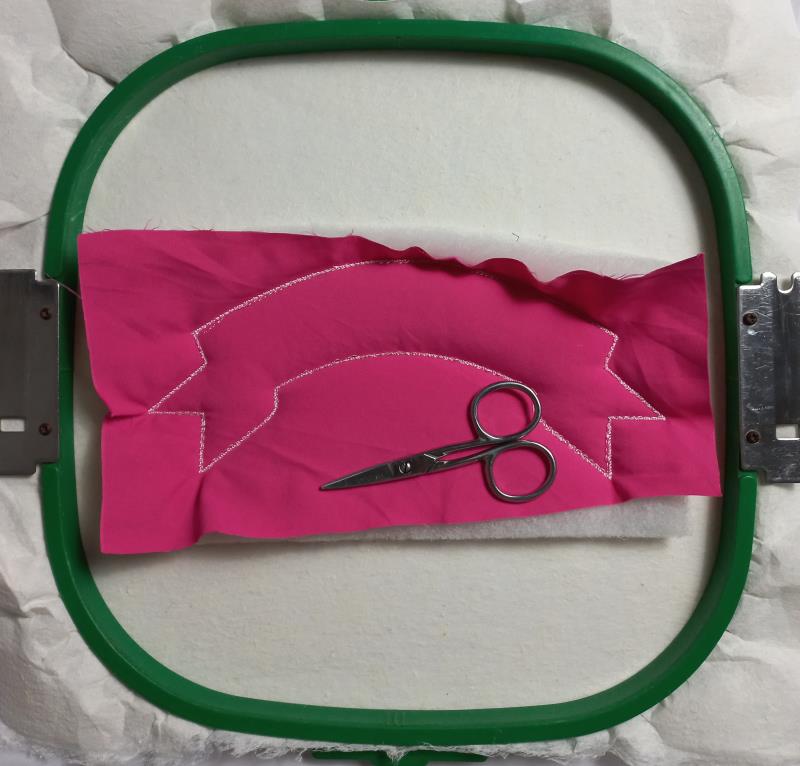
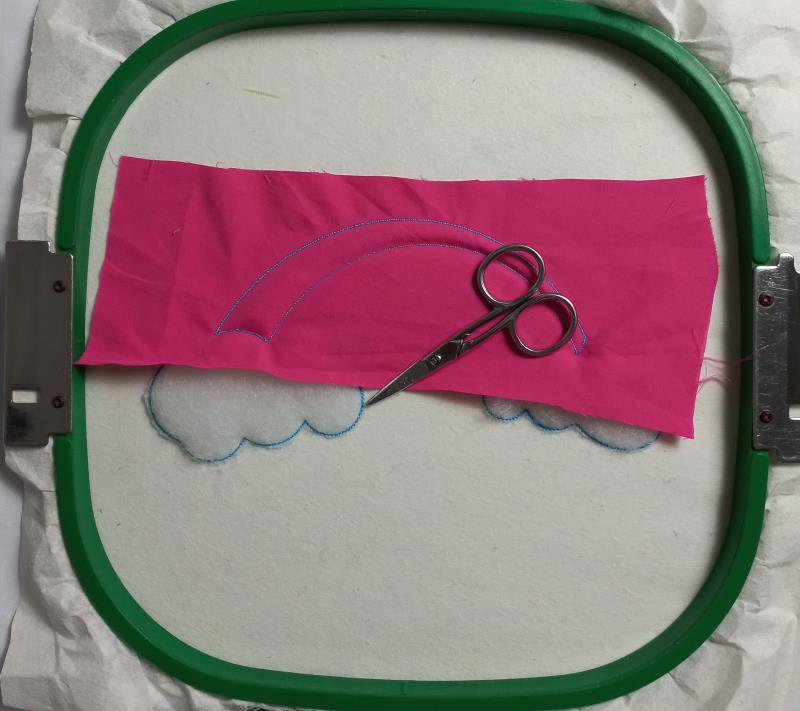
Step 2: | Remove the hoop from the machine, do not unhoop. Cover the placement line with wadding and Pink fabric with the help of the repositionable adhesive spray, and run color-stop 2 through color-stop 4. | 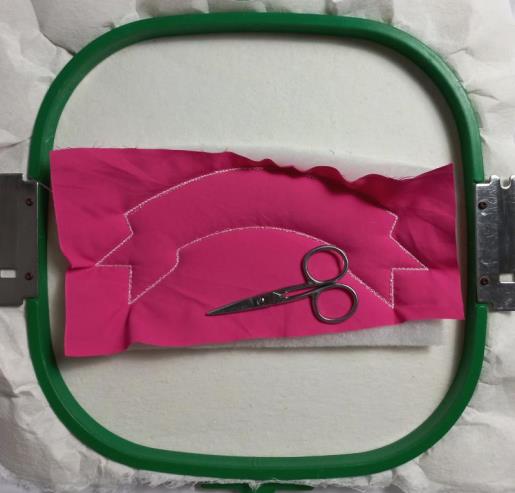 (Click Image to Enlarge) |
Step 3: | Cut off the excess fabric and run color-stop 5 | 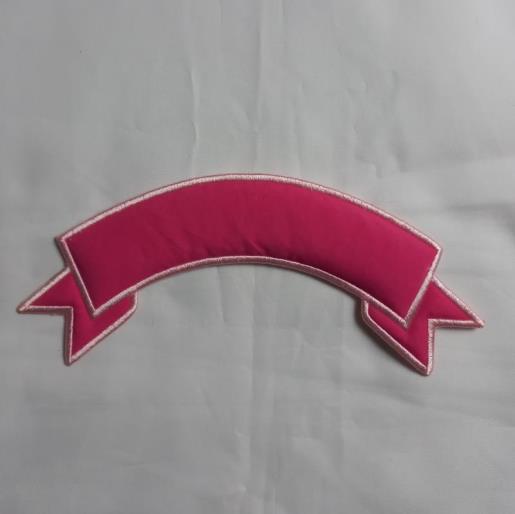 (Click Image to Enlarge) |
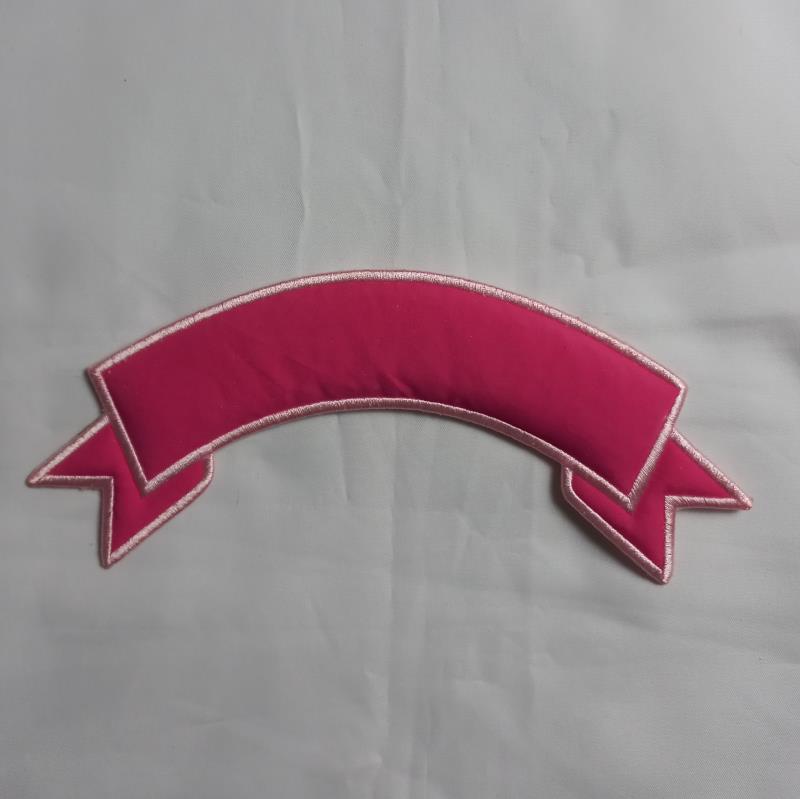
Step 4: | Remove the project from the hoop, cut out the design's outline with sharp scissors and save it for later. | 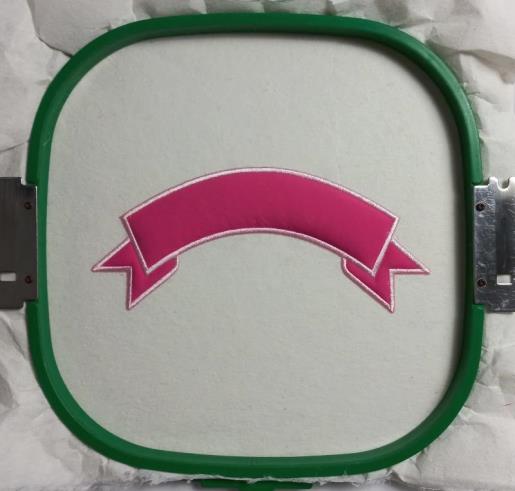 (Click Image to Enlarge) |
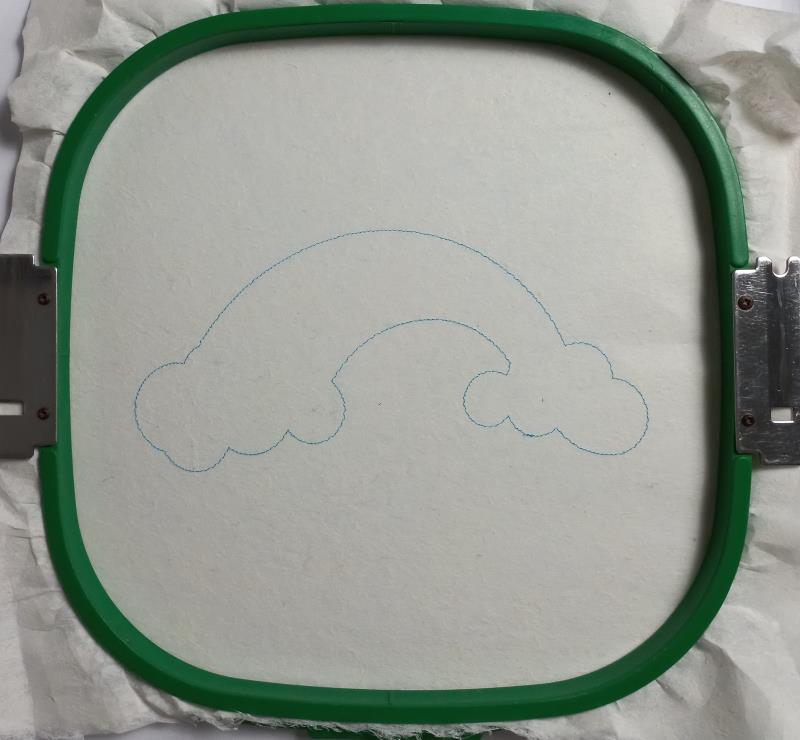
Step 5: | For the Rainbow part tautly hoop 2.5-ounce cutaway stabilizer in your embroidery hoop and run color-stop 1 as a placement line. | 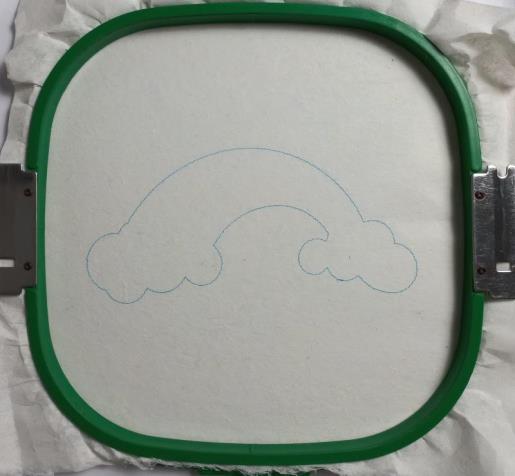 (Click Image to Enlarge) |
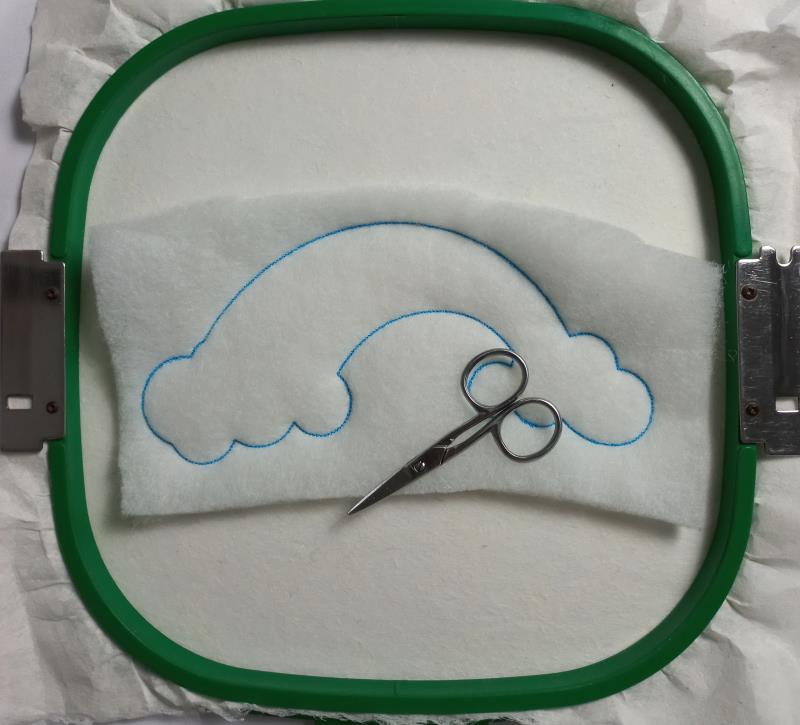
Step 6: | Remove the hoop from the machine, do not unhoop. Cover the placement line with wadding with the help of the repositionable adhesive spray, and run color-stop 2 through color-stop 3 to fix the fabric | 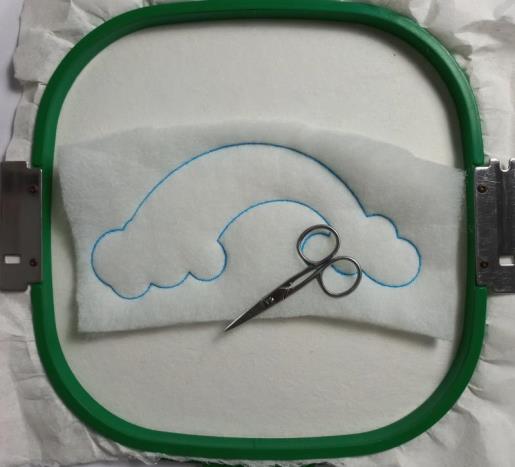 (Click Image to Enlarge) |
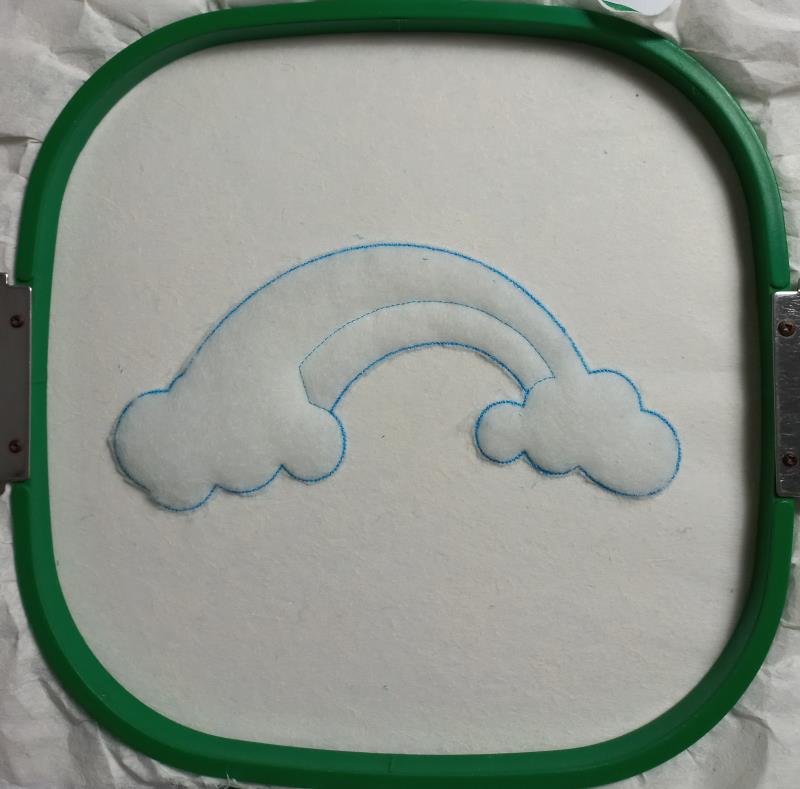
Step 7: | Cut off the excess wadding, and run color-stop 4 as a placement line. | 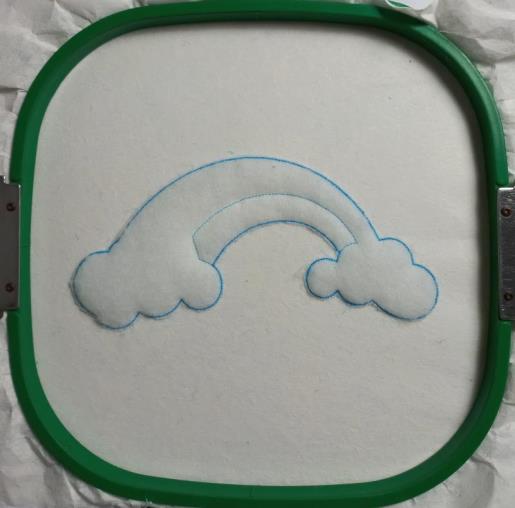 (Click Image to Enlarge) |
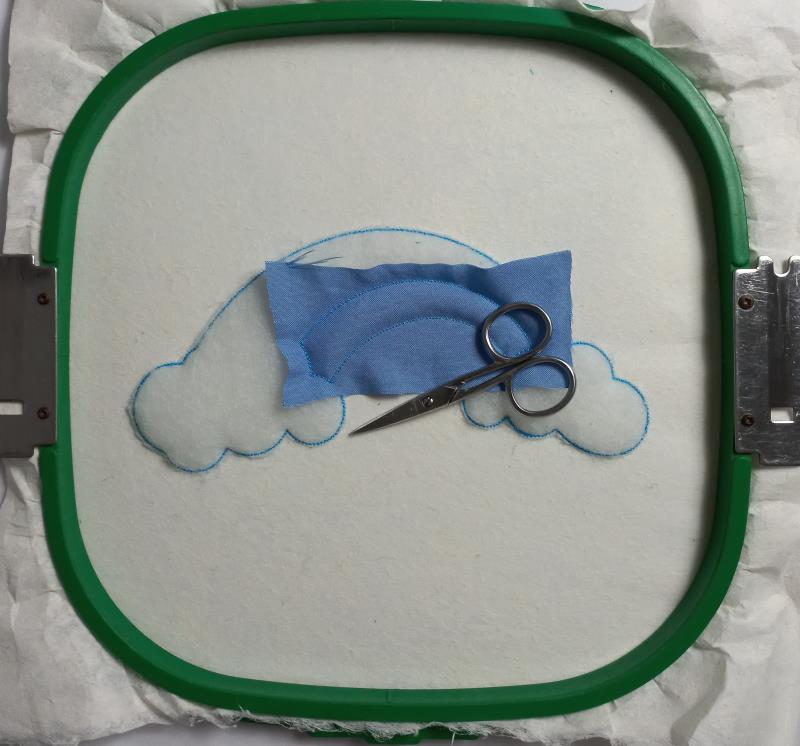
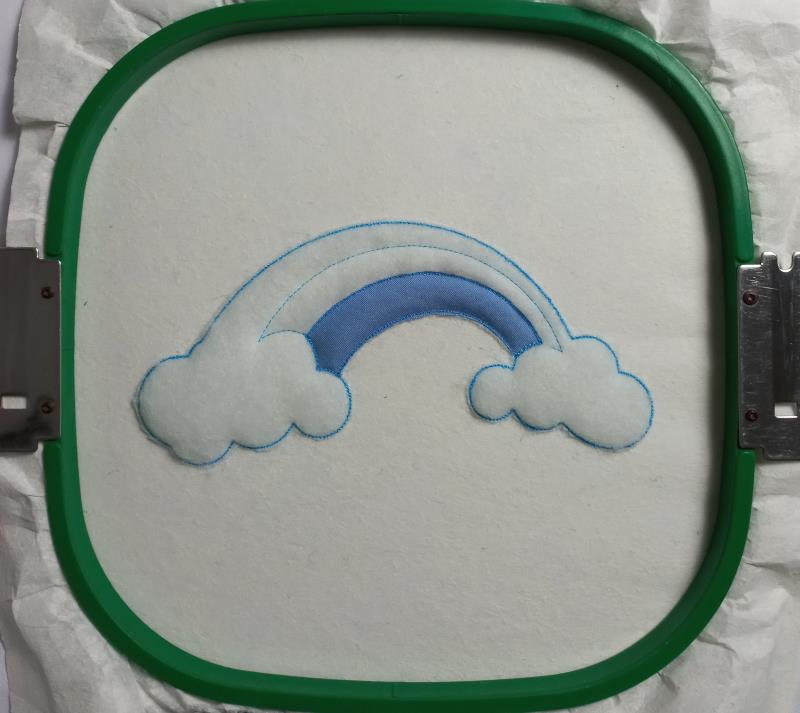
Step 8: | Remove the hoop from the machine, do not unhoop. Cover the placement line with Light blue fabric with the help of the repositionable adhesive spray, and run color-stop 5. | 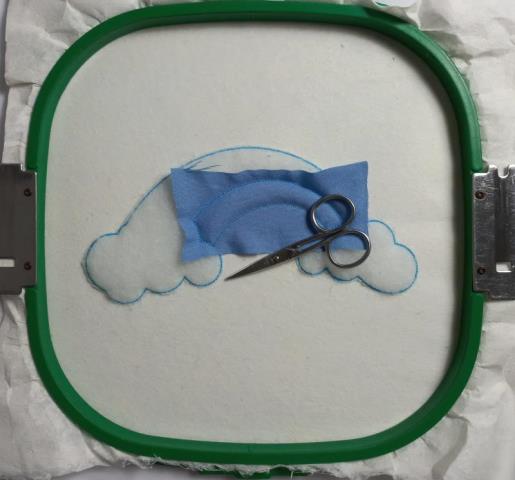 (Click Image to Enlarge) |
Step 9: | Cut off the excess fabric, and run color-stop 6 as a placement line. | 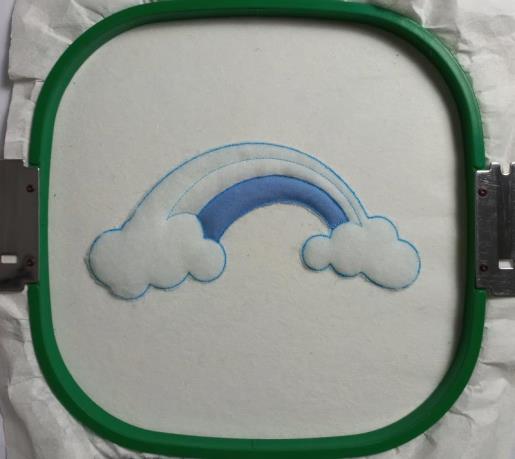 (Click Image to Enlarge) |
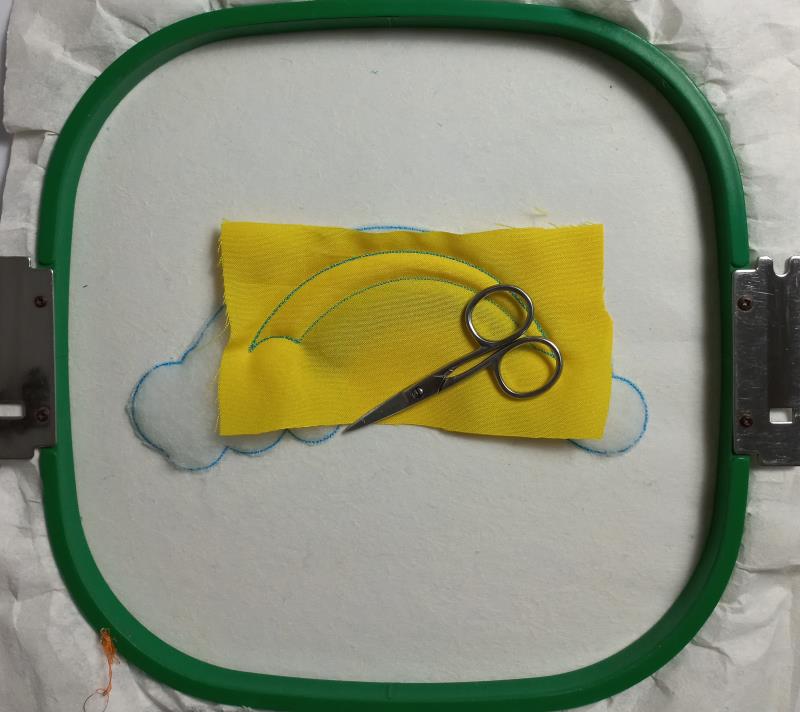
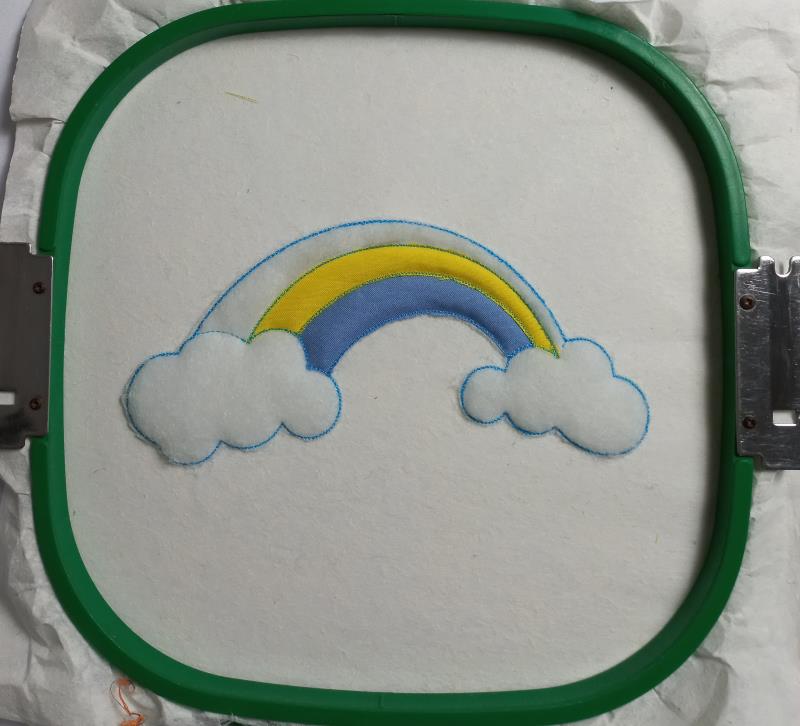
Step 10: | Remove the hoop from the machine, do not unhoop. Cover the placement line with Yellow fabric with the help of the repositionable adhesive spray, and run color-stop 7. | 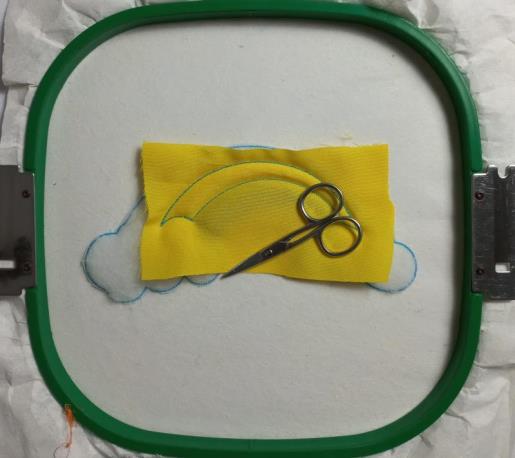 (Click Image to Enlarge) |
Step 11: | Cut off the excess fabric, and run color-stop 8 as a placement line. | 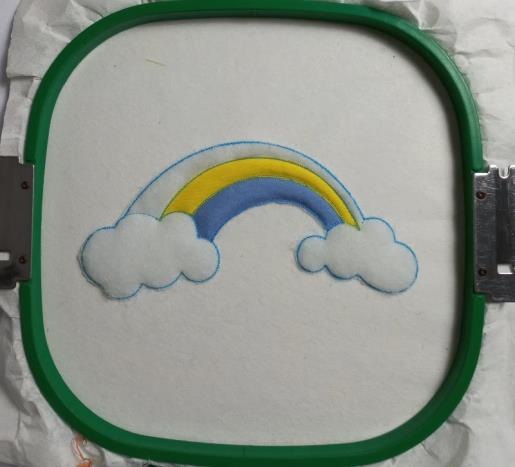 (Click Image to Enlarge) |
Step 12: | Remove the hoop from the machine, do not unhoop. Cover the placement line with Pink fabric with the help of the repositionable adhesive spray, and run color-stop 9 | 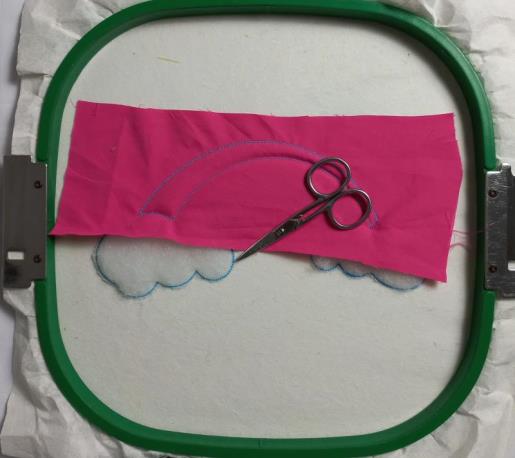 (Click Image to Enlarge) |
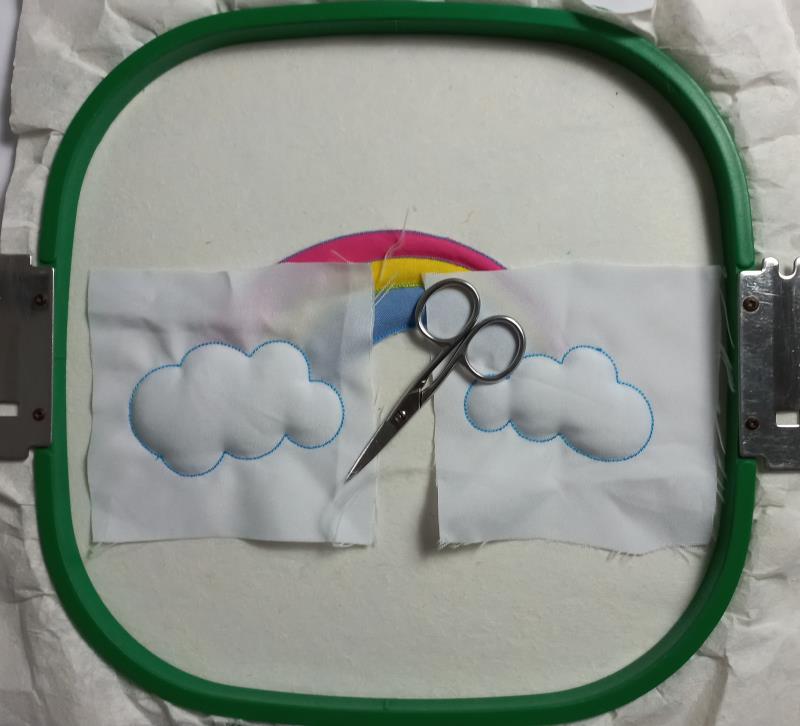
Step 13: | Cut off the excess fabric, cover the cloud-shaped ends with white fabric with the help of the repositionable adhesive spray, and run color-stop 10 and color-stop 11. | 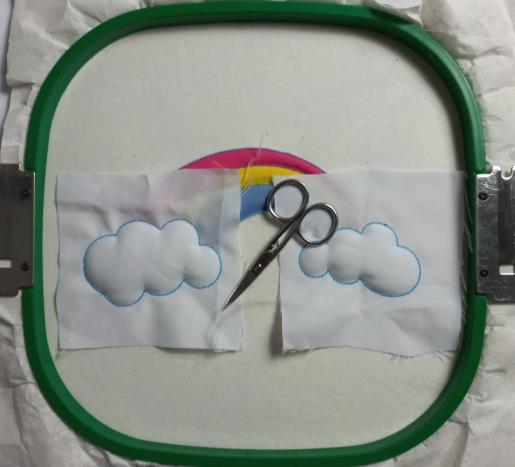 (Click Image to Enlarge) |
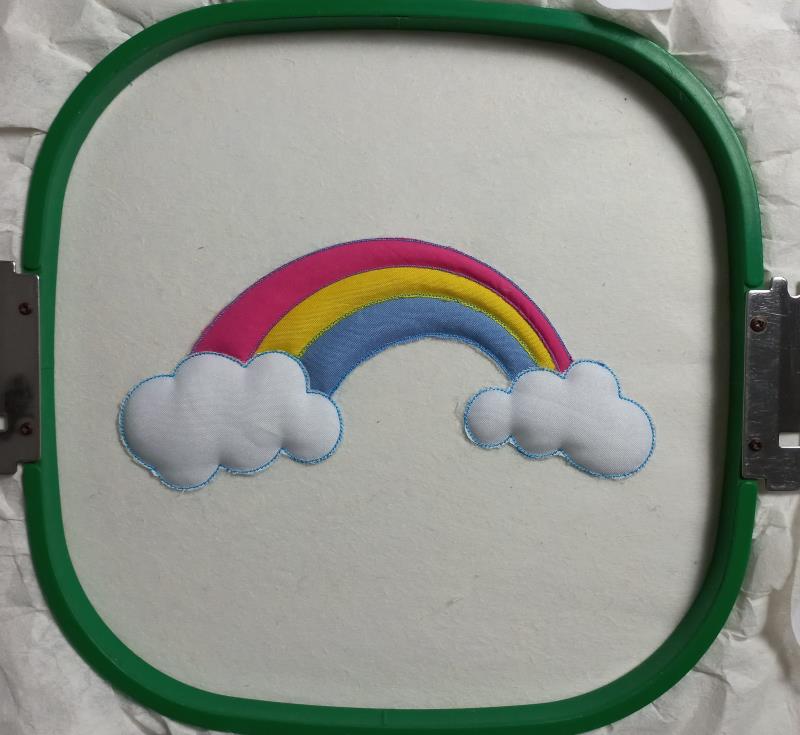
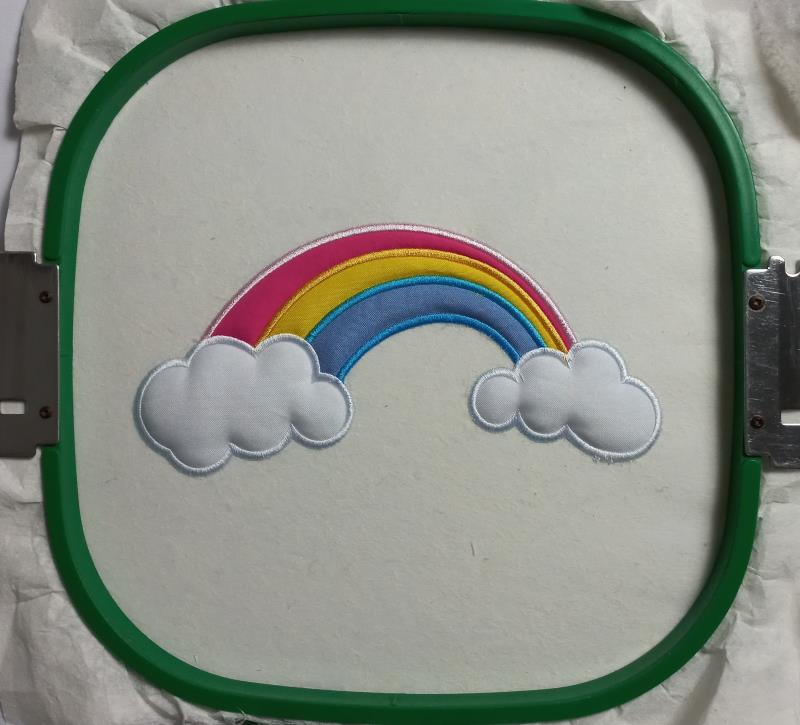
Step 14: | Cut off the excess fabric, and run color-stop 12 through color-stop 16. | 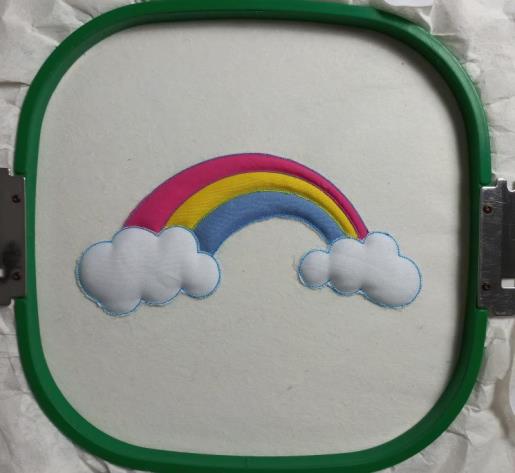 (Click Image to Enlarge) |
Step 15: | Remove the project from the hoop, cut out the design's outline with sharp scissors, and save it for later | 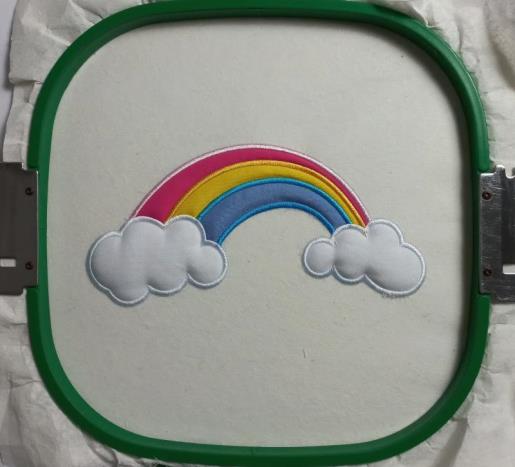 (Click Image to Enlarge) |
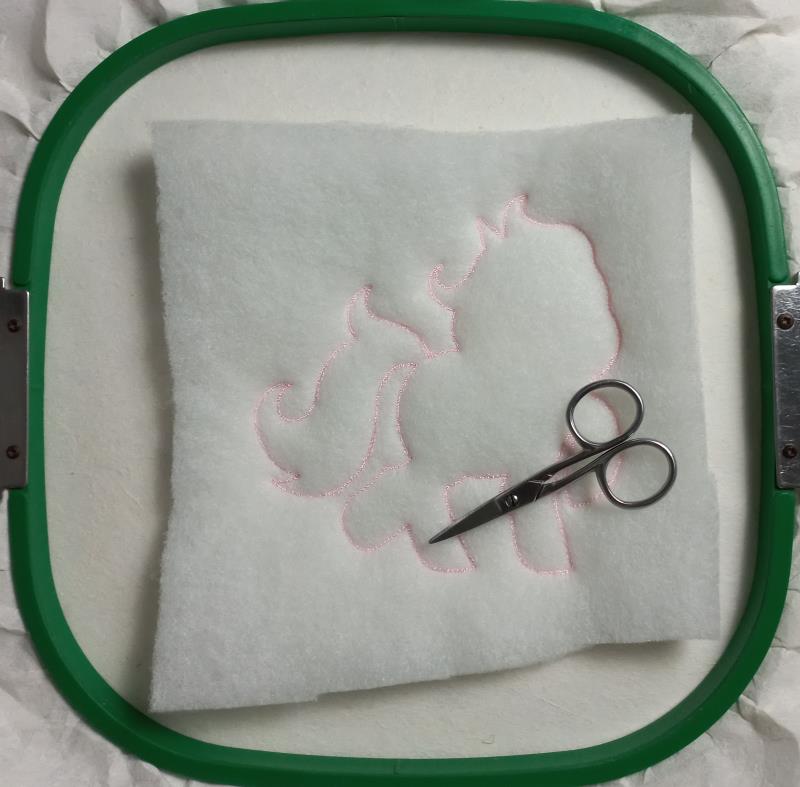
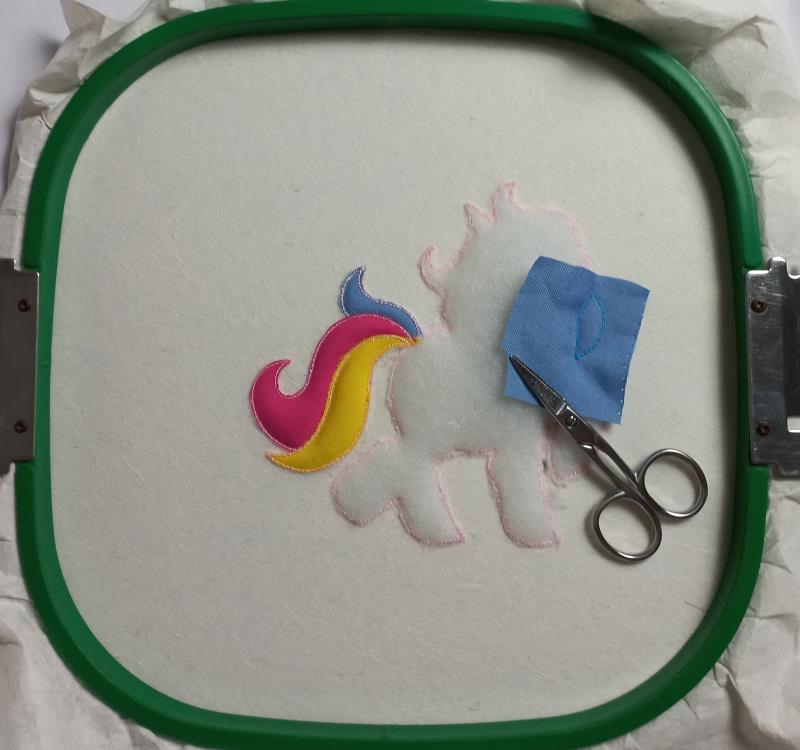
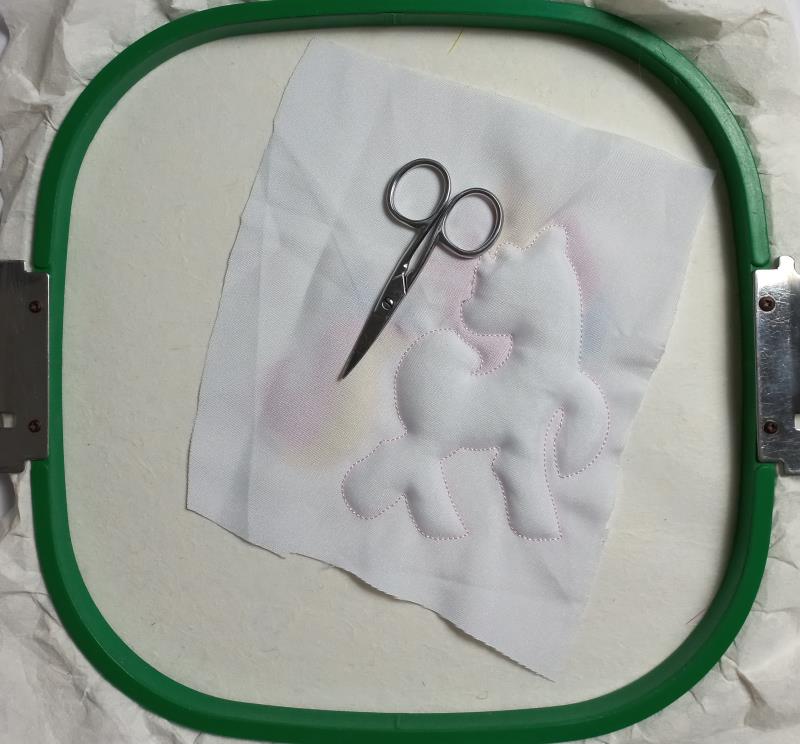
Step 16: | For the Unicorn part tautly hoop 2.5-ounce cutaway stabilizer in your embroidery hoop and run color-stop 1 as a placement line. Cover the placement line with wadding with the help of the repositionable adhesive spray, and run color-stop 2 through color-stop 3 to fix the fabric. | 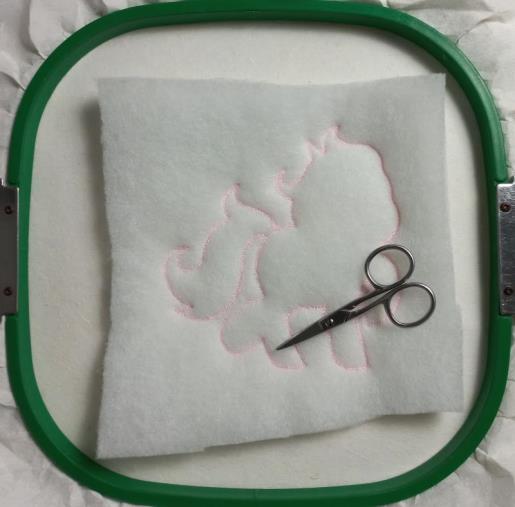 (Click Image to Enlarge) |
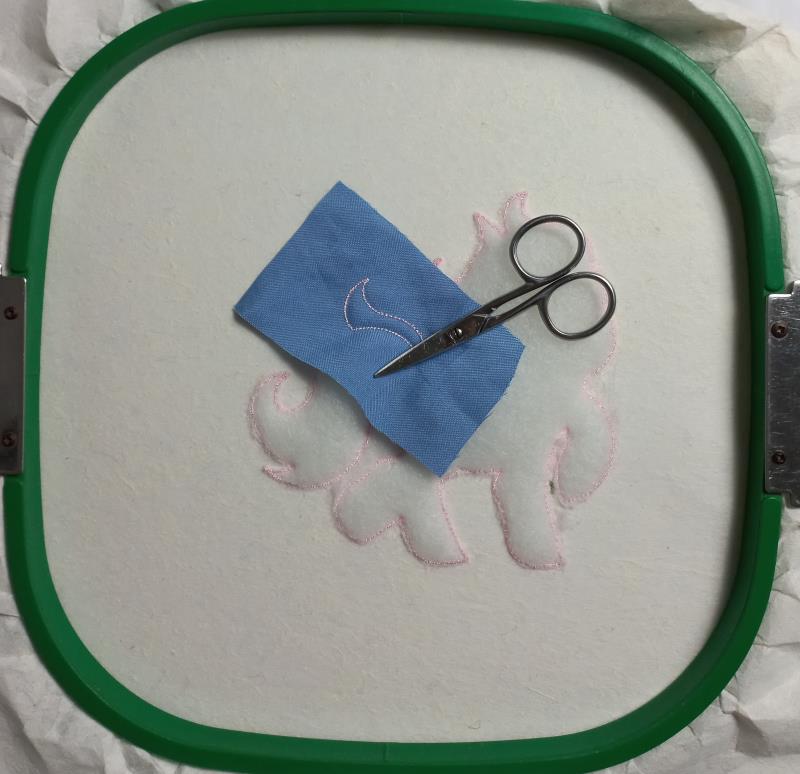
Step 17: | Cut off the excess wadding, and run color-stop 4 as a placement line. Cover the placement line with Light blue fabric with the help of the repositionable adhesive spray, and run color-stop 5 to fix the fabric. | 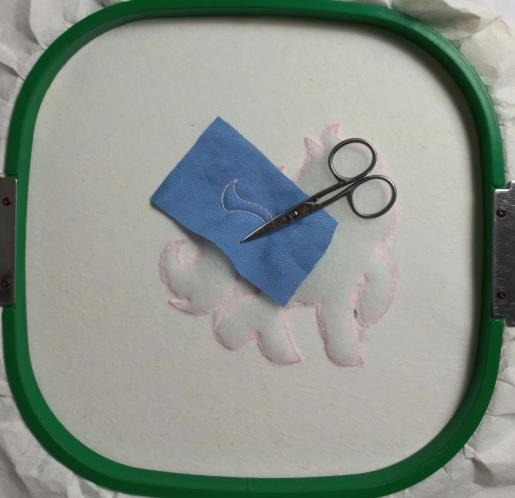 (Click Image to Enlarge) |
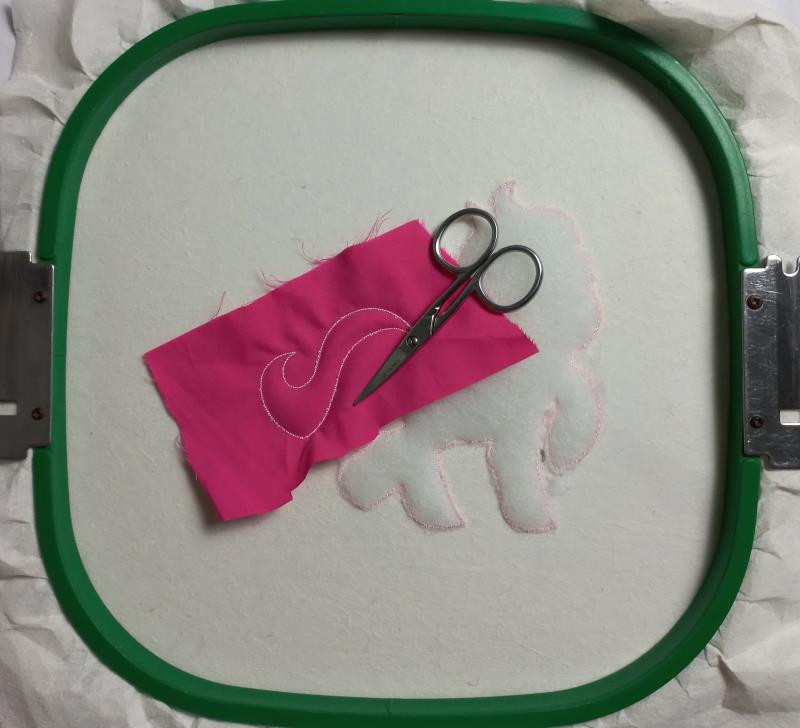
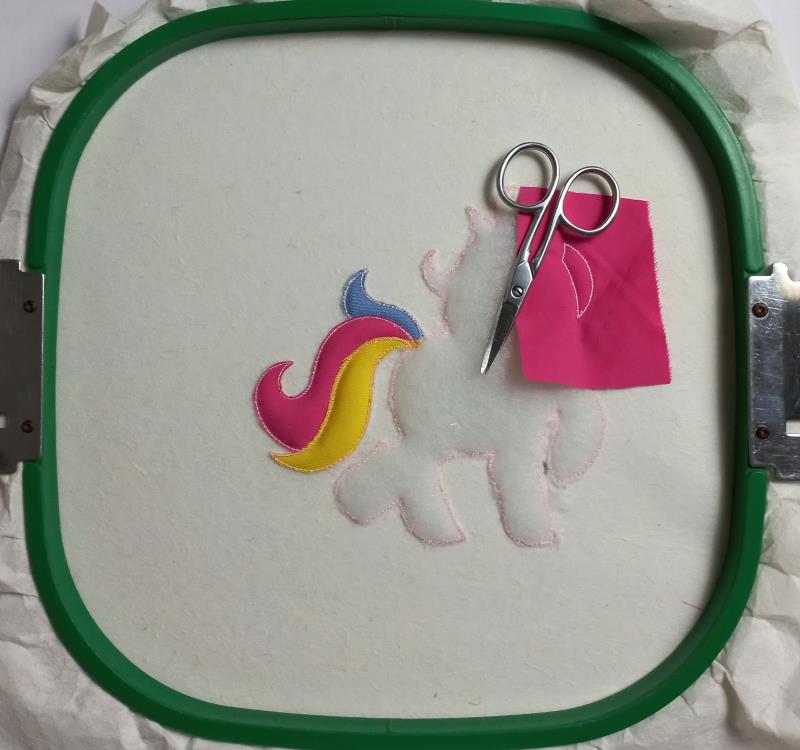
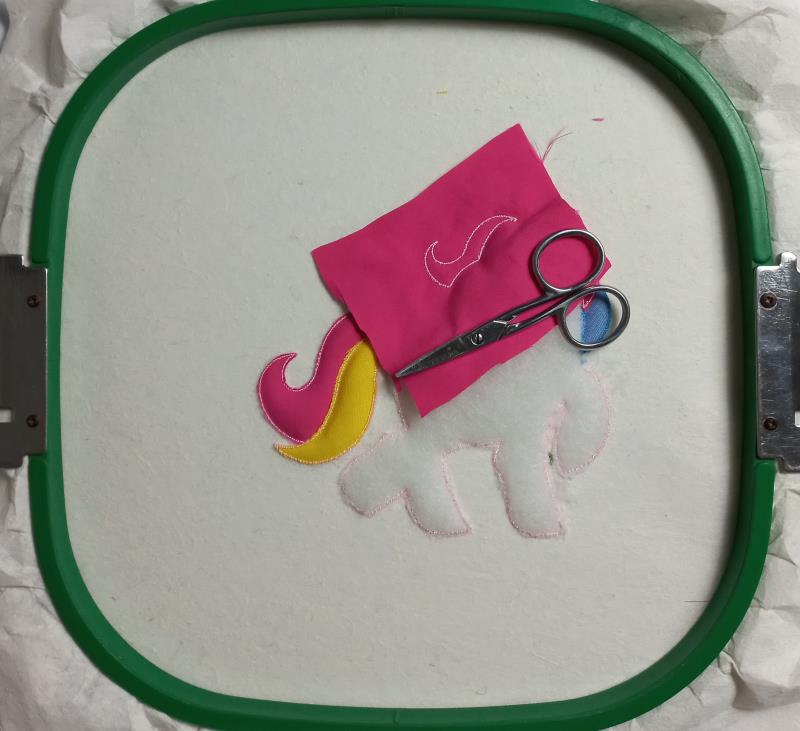
Step 18: | Cut off the excess fabric, and run color-stop 6 as a placement line. Cover the placement line with Pink fabric with the help of the repositionable adhesive spray, and run color-stop 7 to fix the fabric | 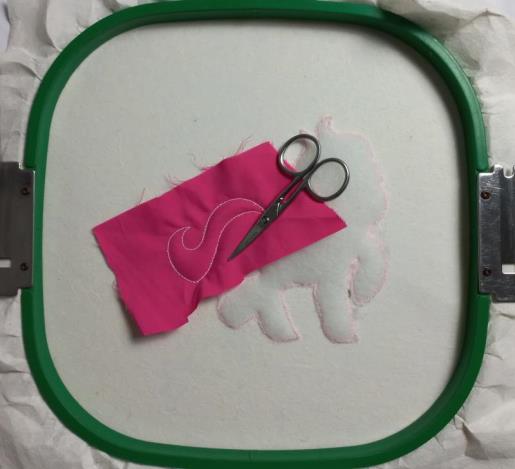 (Click Image to Enlarge) |
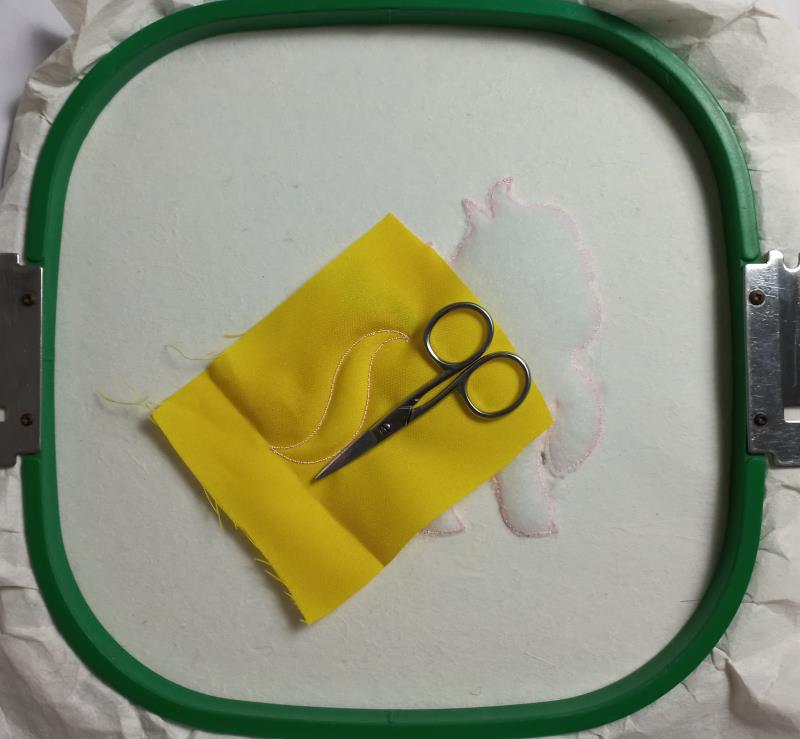
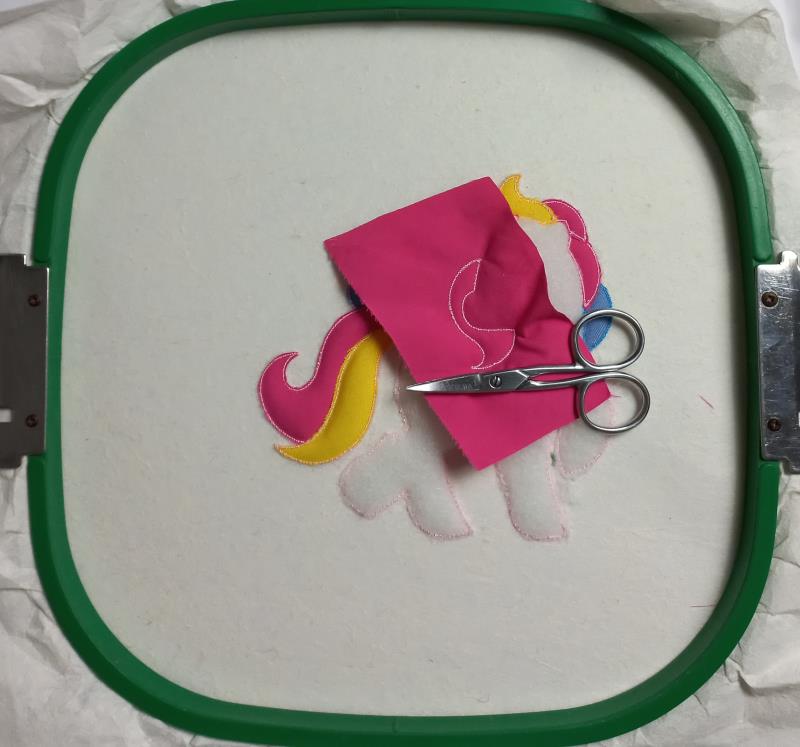
Step 19: | Cut off the excess fabric, and run color-stop 8 as a placement line. Cover the placement line with Yellow fabric with the help of the repositionable adhesive spray, and run color-stop 9 to fix the fabric. | 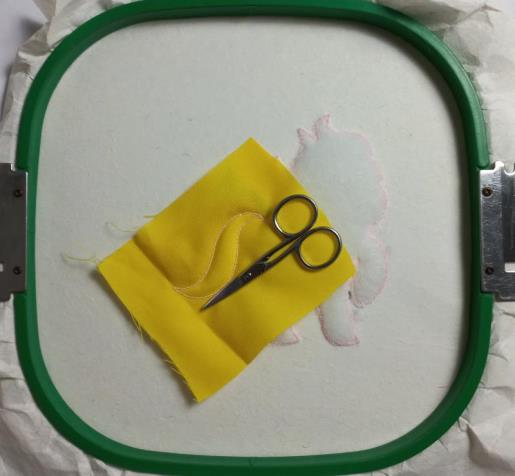 (Click Image to Enlarge) |
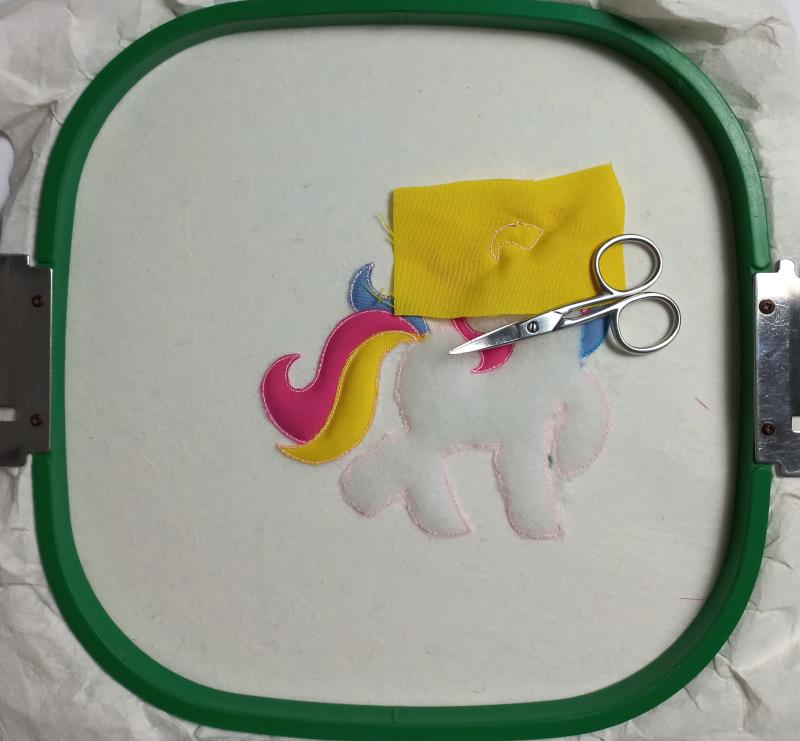
Step 20: | Cut off the excess fabric, and run color-stop 10 as a placement line. Cover the placement line with Light blue fabric with the help of the repositionable adhesive spray, and run color-stop 11 to fix the fabric. | 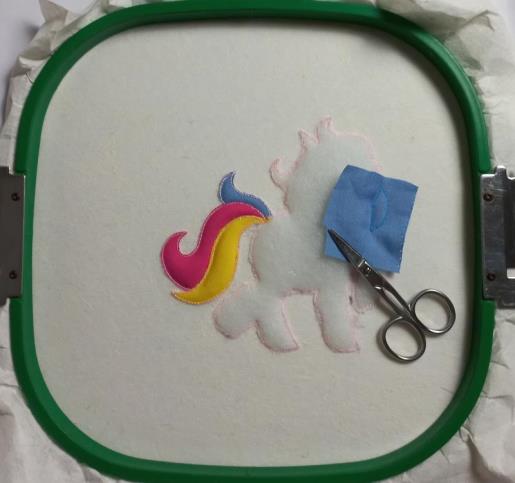 (Click Image to Enlarge) |
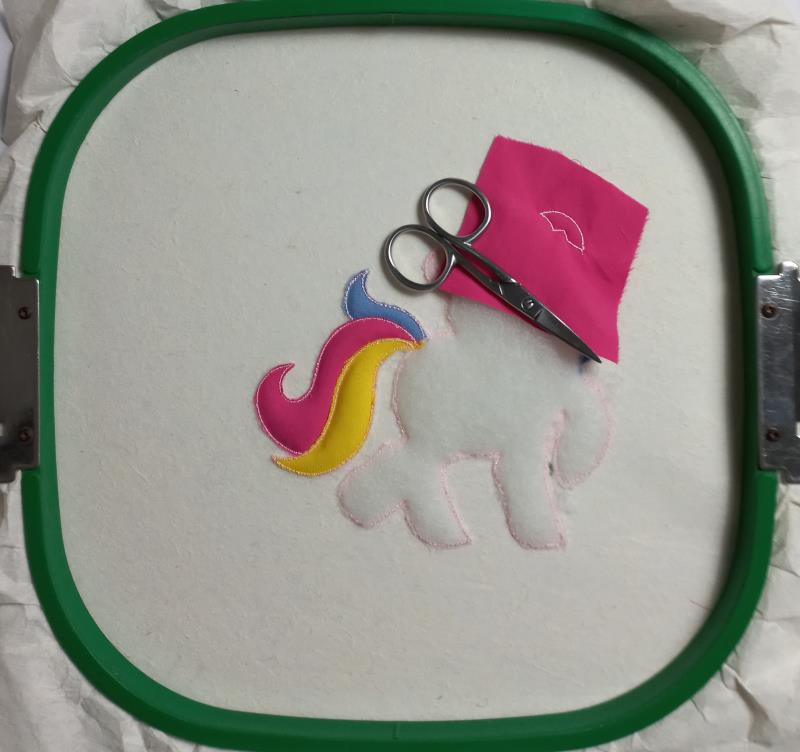
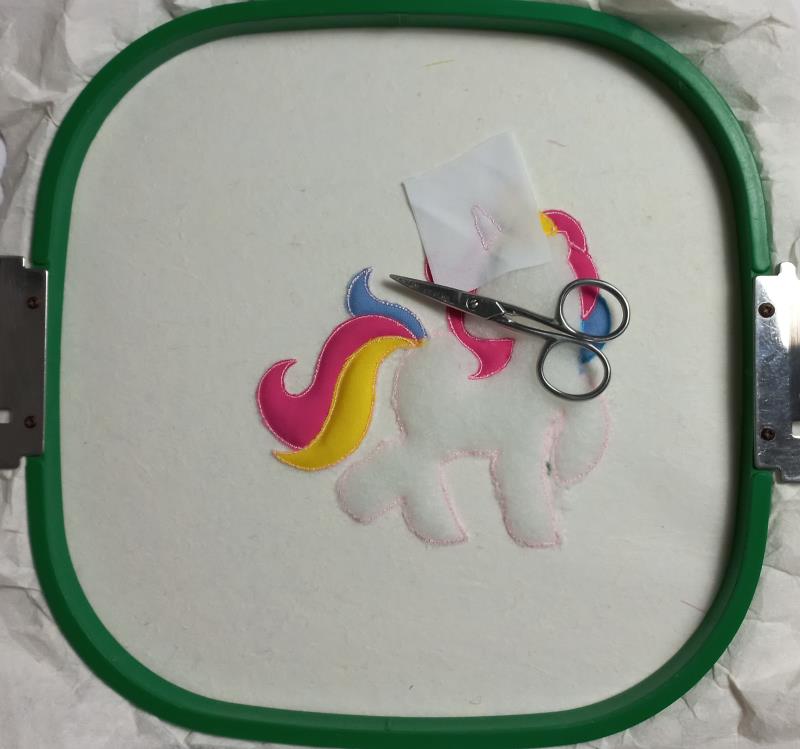
Step 21: | Cut off the excess fabric, and run color-stop 12 as a placement line. Cover the placement line with Pink fabric with the help of the repositionable adhesive spray, and run color-stop 13 to fix the fabric | 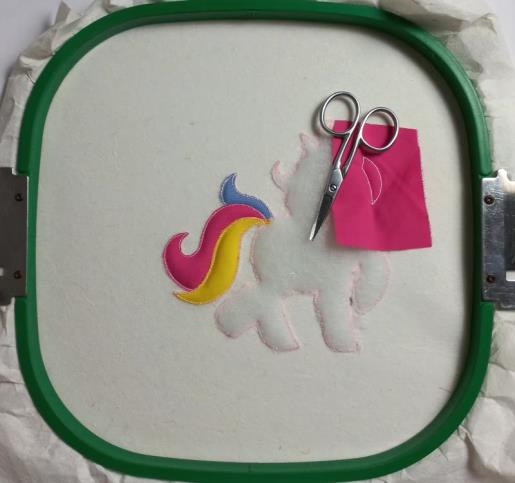 (Click Image to Enlarge) |
Step 22: | Cut off the excess fabric, and run color-stop 14 as a placement line. Cover the placement line with Pink fabric with the help of the repositionable adhesive spray, and run color-stop 15 to fix the fabric. | 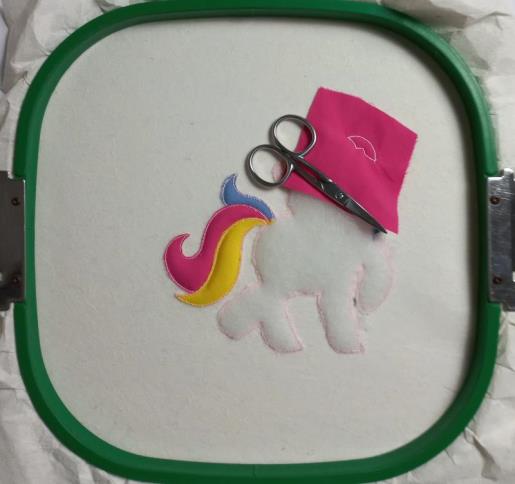 (Click Image to Enlarge) |
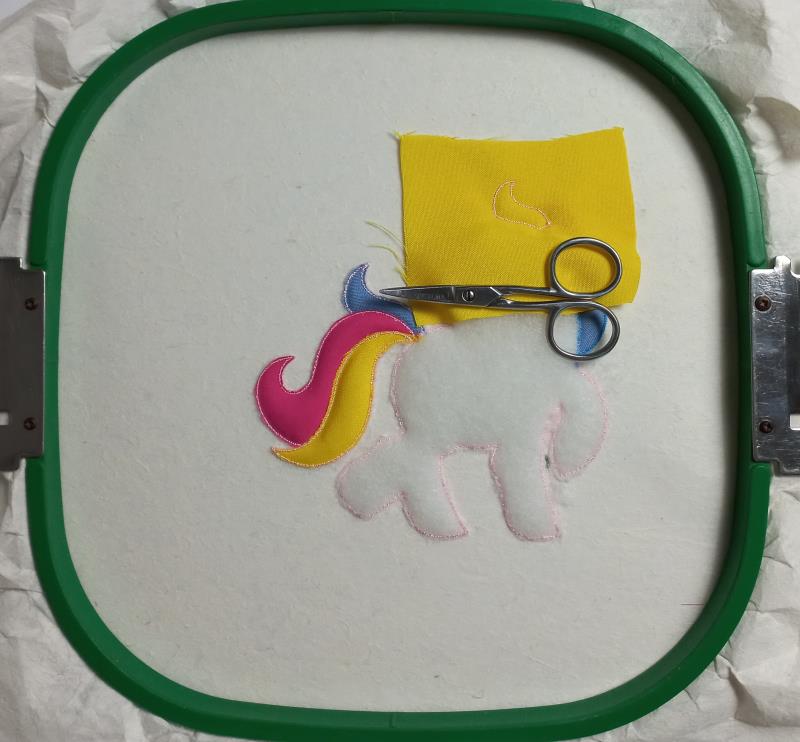
Step 23: | Cut off the excess fabric, and run color-stop 16 as a placement line. Cover the placement line with Yellow fabric with the help of the repositionable adhesive spray, and run color-stop 17 to fix the fabric. | 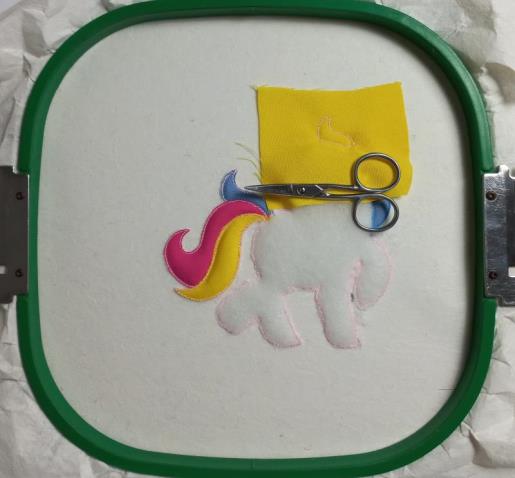 (Click Image to Enlarge) |
Step 24: | Cut off the excess fabric, and run color-stop 18 as a placement line. Cover the placement line with Pink fabric with the help of the repositionable adhesive spray, and run color-stop 19 to fix the fabric | 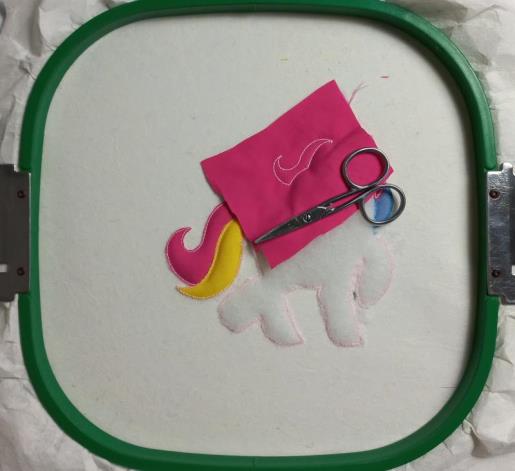 (Click Image to Enlarge) |
Step 25: | Cut off the excess fabric, and run color-stop 20 as a placement line. Cover the placement line with Pink fabric with the help of the repositionable adhesive spray, and run color-stop 21 to fix the fabric. | 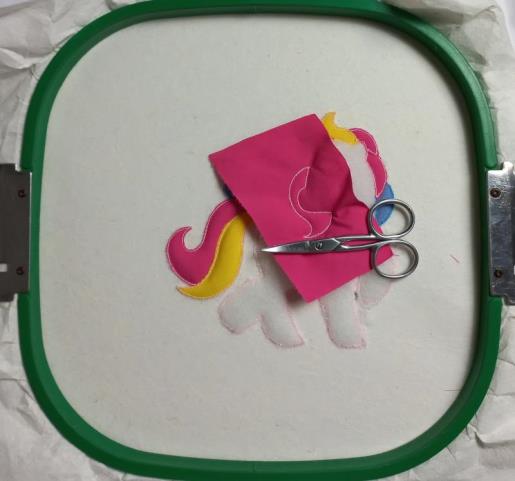 (Click Image to Enlarge) |
Step 26: | Cut off the excess fabric, and run color-stop 22 as a placement line. Cover the placement line with Yellow fabric with the help of the repositionable adhesive spray, and run color-stop 23 to fix the fabric. | 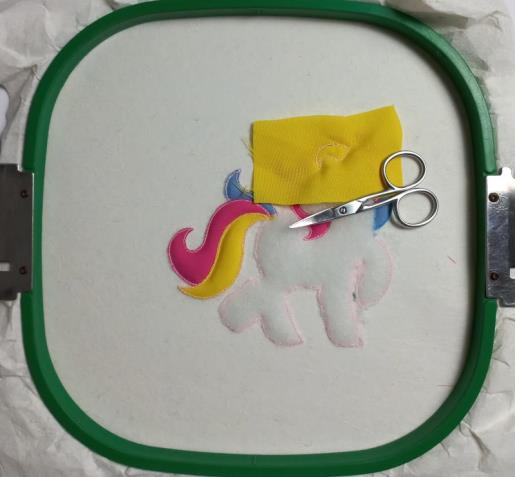 (Click Image to Enlarge) |
Step 27: | Cut off the excess fabric, and run color-stop 24 as a placement line. Cover the placement line with White fabric with the help of the repositionable adhesive spray, and run color-stop 25 to fix the fabric | 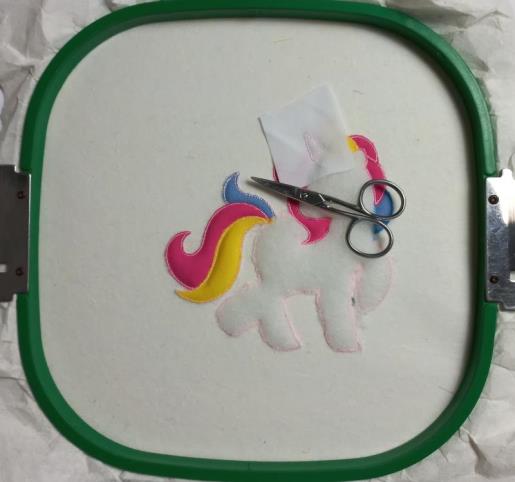 (Click Image to Enlarge) |
Step 28: | Cut off the excess fabric, and run color-stop 26 as a placement line. Cover the placement line with White fabric with the help of the repositionable adhesive spray, and run color-stop 27 to fix the fabric. | 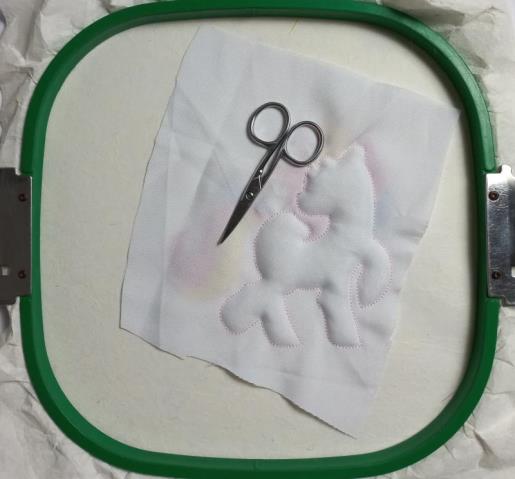 (Click Image to Enlarge) |
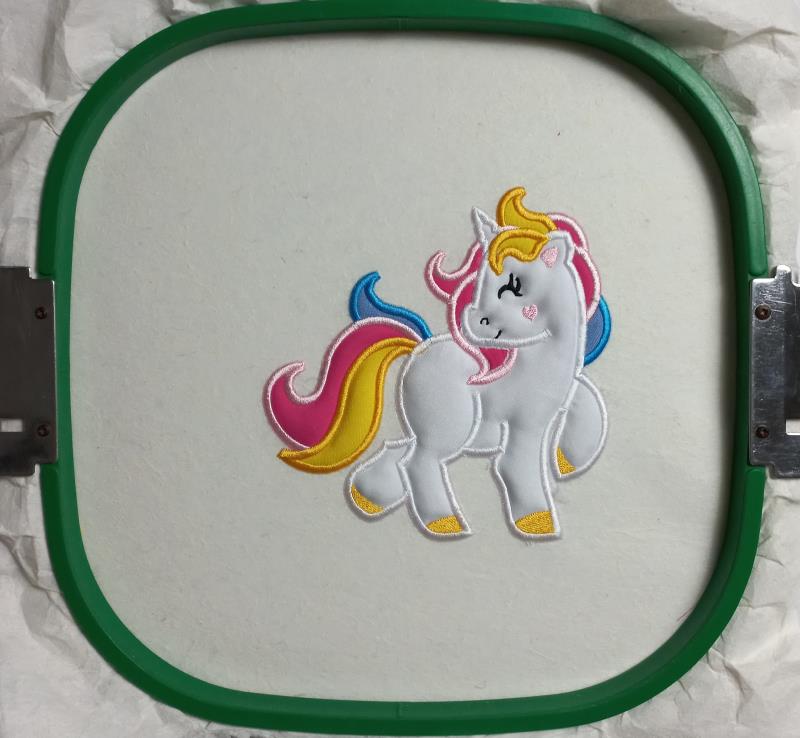
Step 29: | Cut off the excess fabric, and run color-stop 28 through color-stop 42. | 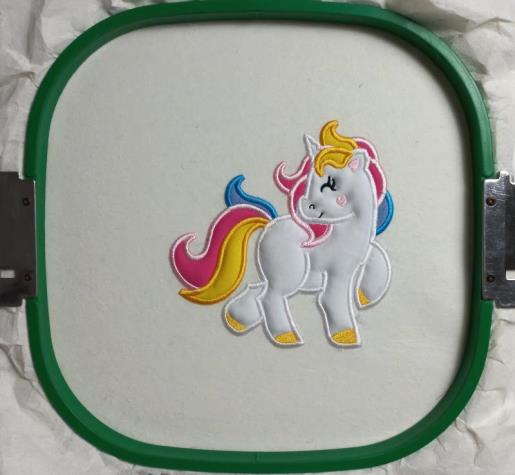 (Click Image to Enlarge) |
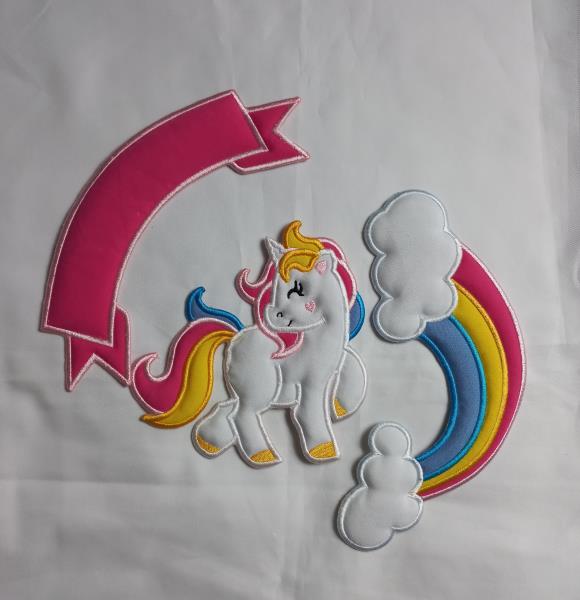
Step 30: | Remove the project from the hoop, cut out the design's outline with sharp scissors and then put all the pieces together | 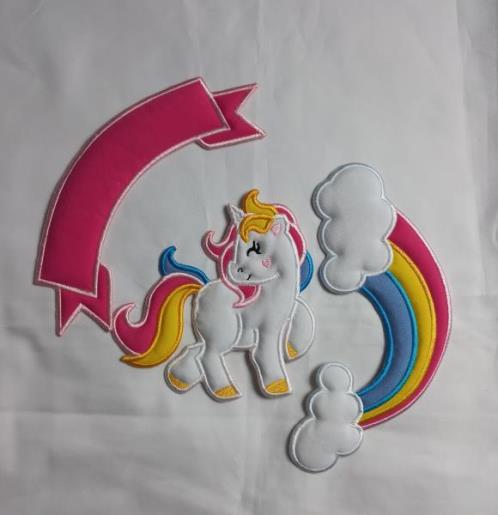 (Click Image to Enlarge) |
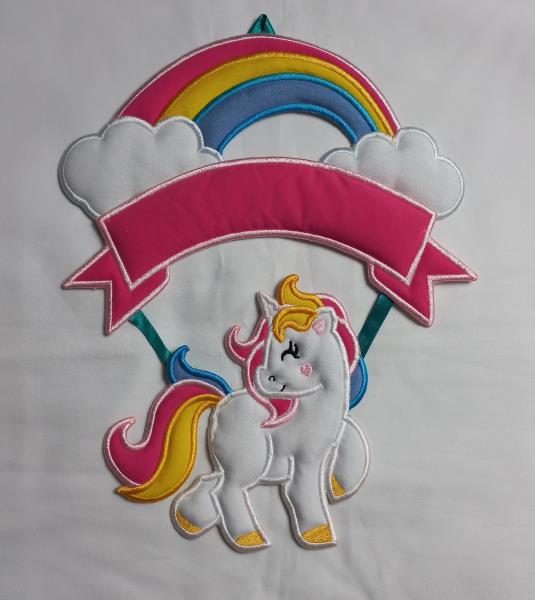
Step 31: | With the help of a needle and thread or some type of textile glue, join the pieces as they are arranged in the image. Use a ribbon as a complementary decoration. Have fun doing this beautiful project | 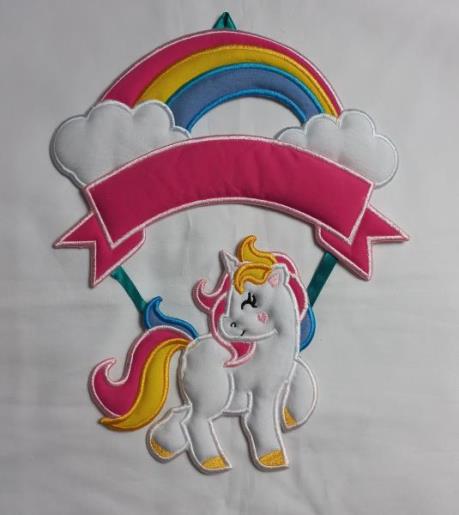 (Click Image to Enlarge) |
|