Border OptionsHugging border, circle, square, or rectangle — with a 3mm satin stitch.
Backing OptionsAvailable with iron-on, sew-on, or velcro backing.
Fast ShippingShipped quickly from the USA.
Free Online Tools
Powerful embroidery utilities that save time and prevent costly mistakes.
Stitch AssistantRECOMMENDED
Get the exact stabilizer, machine settings, needle, and thread color sequence for every embroidery design you purchase — based on that design's stitch density, dimensions, and color count.
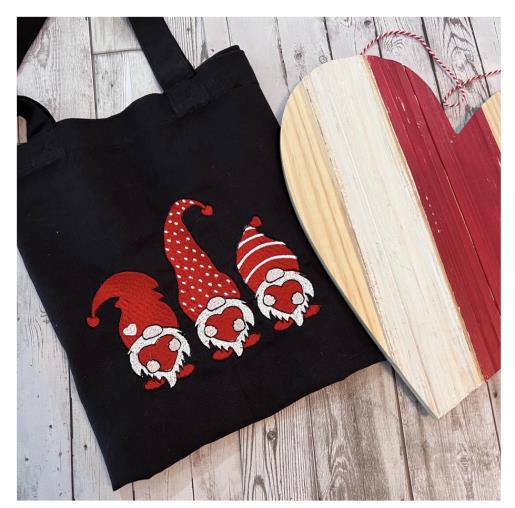
Celebrate Valentine's Day with this charming tote bag featuring appliqued gnomes. Perfect for carrying gifts or everyday essentials, this bag is both festive and functional. Step-by-step instructions are included.
Easy to follow tutorial for a beginner/some experience machine embroiderer in mind with basic sewing skills. Purchase a blank canvas/cotton tote back and remove one side seam for easier hooping for the embroidering. Using a canvas/cotton tote makes it reusable and eco-friendly which is perfect to take to markets and everyday activities. The design used 6.5" x 5.28 and is from the Moxie Embroidery collection.
Step 1:
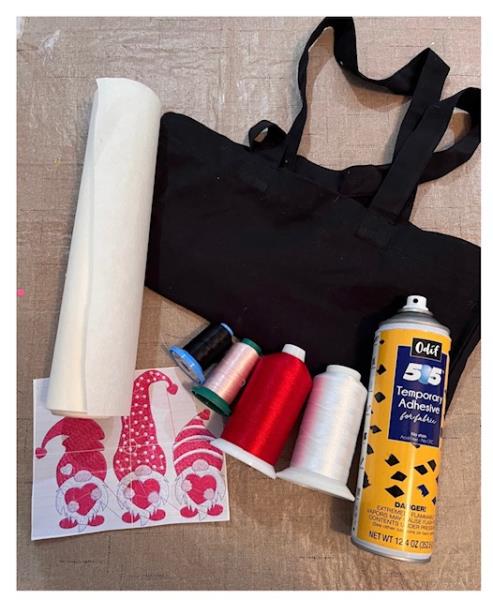
Gather all supplies and review instructions before beginning. Print out paper template of embroidery design.
(Click Image to Enlarge)
Step 2:
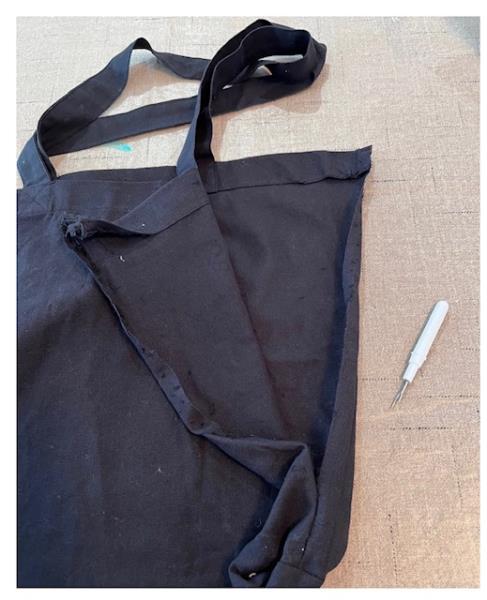
Carefully rip out one side seam of your tote bag as this will allow for easier hooping.
(Click Image to Enlarge)
Step 3:
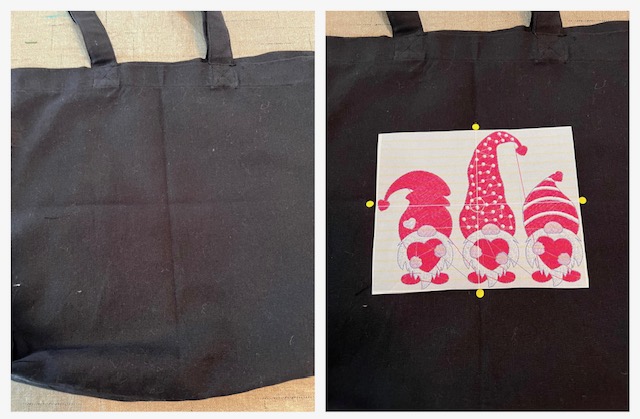
Find center front of bag. Fold in half. Finger press. Fold in half again for a quarter fold. This will create a creased cross hair. Center place embroidery design paper template using the crosshair as your guide. Mark axis points.
(Click Image to Enlarge)
Step 4:
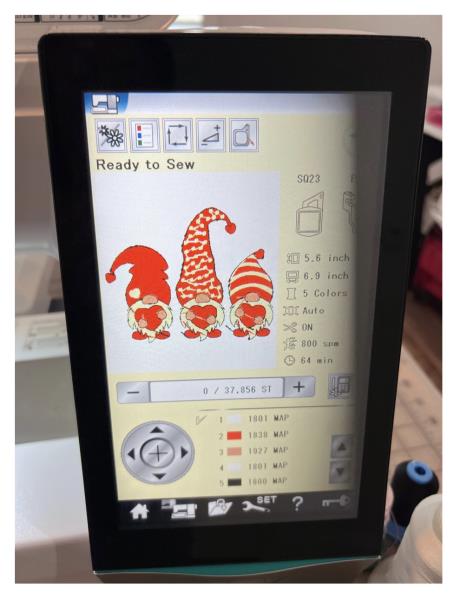
Load design file into your machine.
(Click Image to Enlarge)
Step 5:
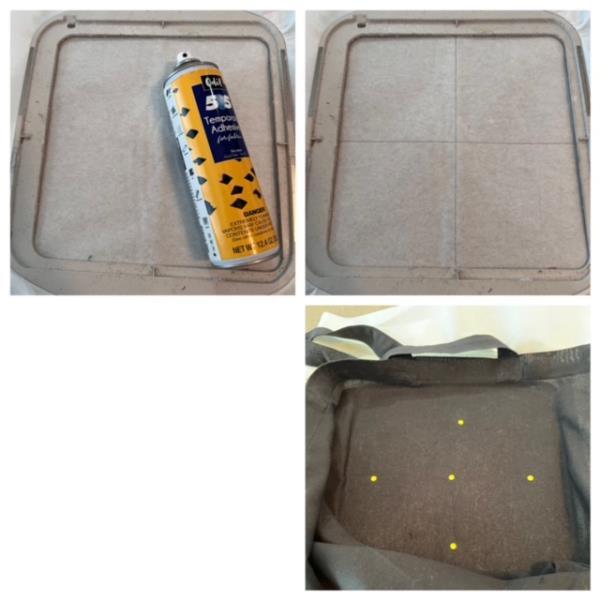
Hoop stabilizer. Spray temporary adhesive spray directly onto your stabilizer. Center tote matching marked axis points to your hoops built in axis markings. If your hoop does not have the built in axis markings, draw a crosshair directly onto your stabilizer to help guide with placement.
(Click Image to Enlarge)
Step 6:
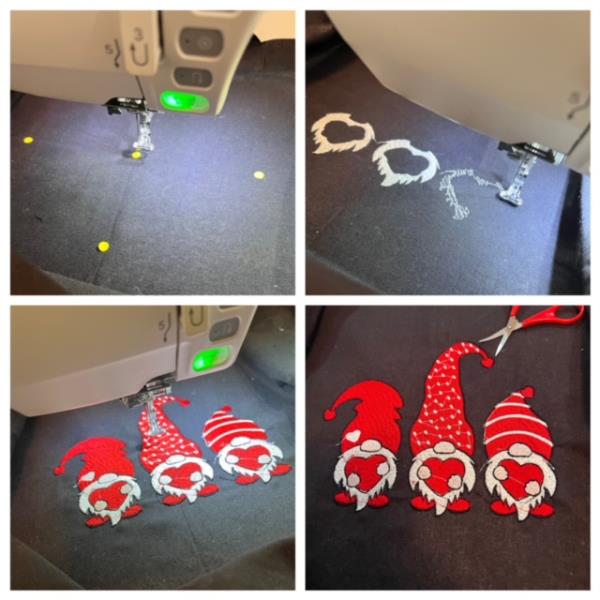
Attach hoop to machine. Confirm center needle placement. Make any necessary adjustments. Begin the stitch out process. Refer to design file for thread colors used. Stitch out complete. Detach hoop from machine. Cut/trim all jump stitches and loose thread ends. Remove stabilizer.
(Click Image to Enlarge)
Step 7:
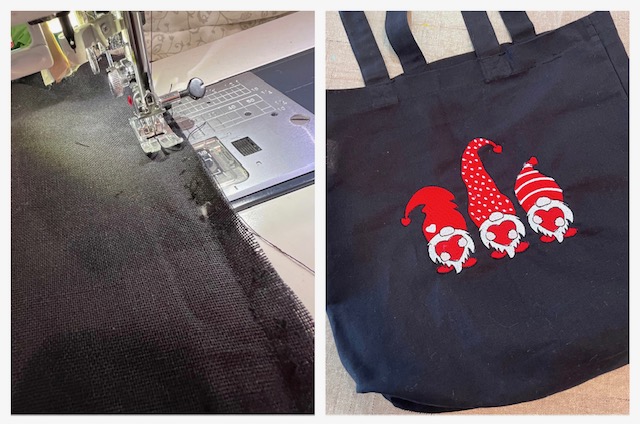
Re-stitch side seam of tote using matching thread color. Serge or zig zag raw edge to reduce fraying. Iron press and you are done! Great job!