Border OptionsHugging border, circle, square, or rectangle — with a 3mm satin stitch.
Backing OptionsAvailable with iron-on, sew-on, or velcro backing.
Fast ShippingShipped quickly from the USA.
Free Online Tools
Powerful embroidery utilities that save time and prevent costly mistakes.
Stitch AssistantRECOMMENDED
Get the exact stabilizer, machine settings, needle, and thread color sequence for every embroidery design you purchase — based on that design's stitch density, dimensions, and color count.
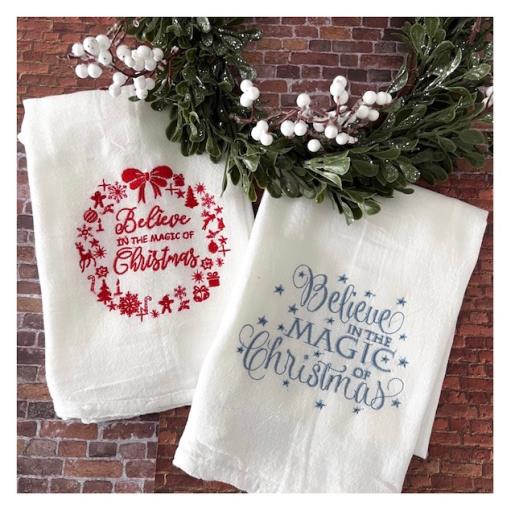
Enhance your holiday kitchen décor with these charming Christmas-themed flour sack towels featuring intricate applique designs. Perfect for adding a festive touch to your home during the holiday season. Step-by-step instructions are included.
Step
of
Applique Christmas Flour Sack Towels
By Linda Mills
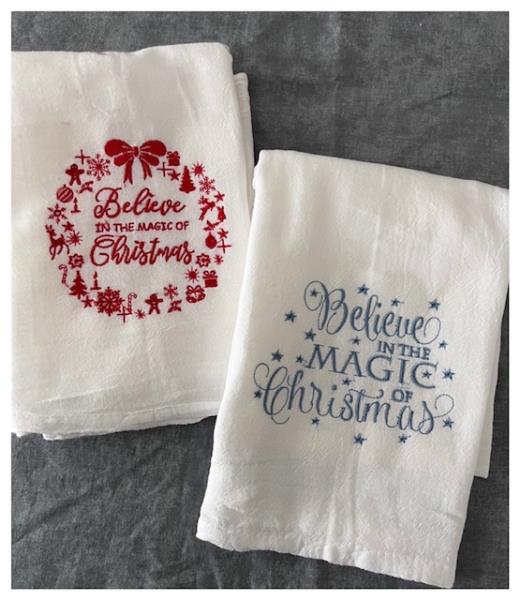
Festive flour sack towel tutorial for the beginner machine embroiderer in mind. Design files used in this tutorial uses just one thread color for each for a simpler stitch out.Flour sack towels won’t fray or tear and the thin weave makes for easy DIY embroidery. A 75/11 or size 11 sewing or embroidery needle is used for best results. Time stated for completion of project are for both towels. Two wonderfully digitzed designs from the Tea Box and Mira Embroidery Collection. Christmas Magic design file from the Tea Box Collection comes in 4 sizes. Size used in this tutorial 4.99" x 3.83" .
Step 1:
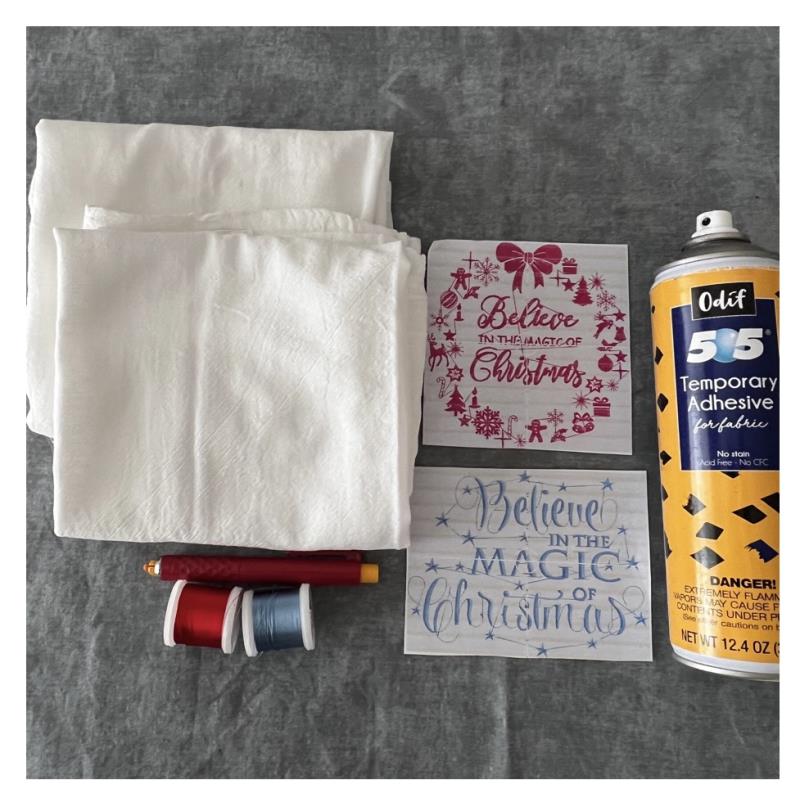
Gather all supplies and review instructions before beginning. Print out paper template of embroidery design files. Iron press towels.
(Click Image to Enlarge)
Step 2:
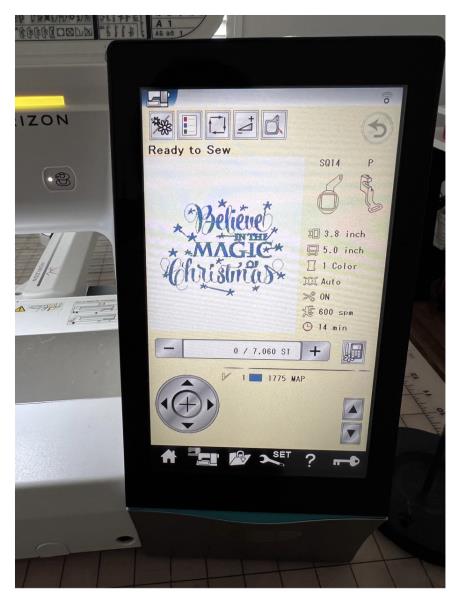
Load design file Christmas Magic into your machine.
(Click Image to Enlarge)
Step 3:
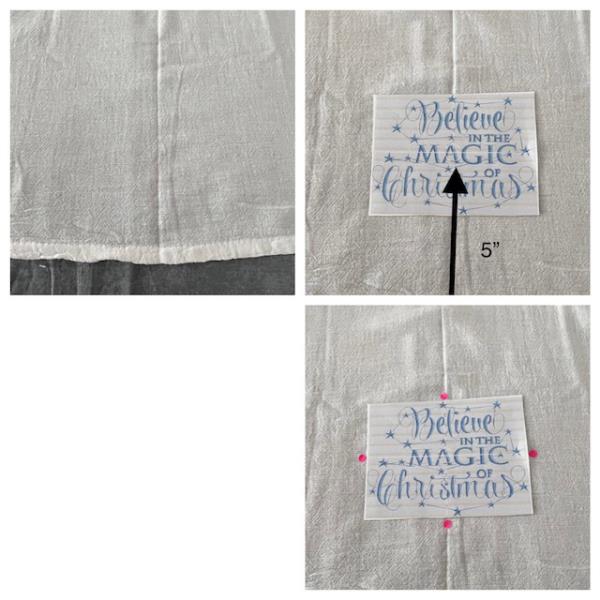
Fold towel in half lengthwise to find center. Fingertip press or iron press to create a center crease line. Center paper design template approximately 5” up from the hemmed edge to center of design. Use your folded crease to help center template. Mark axis points.
(Click Image to Enlarge)
Step 4:
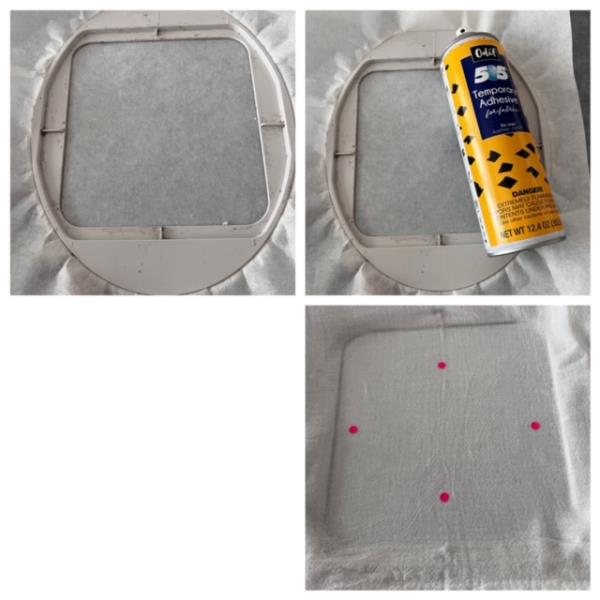
Hoop stabilizer. Spray temporary adhesive spray directly onto stabilizer. Place towel atop matching marked axis points to hoop’s built in axis markings. Finger press onto stabilizer and smooth out towel.
(Click Image to Enlarge)
Step 5:
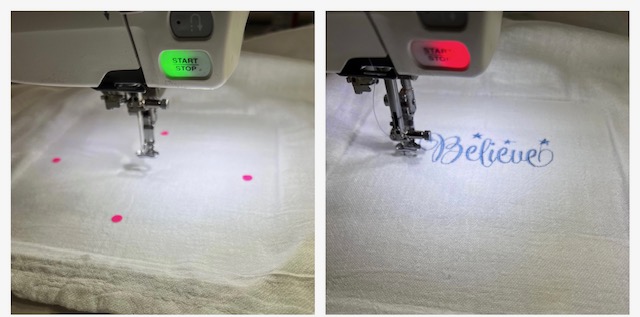
Attach hoop to machine. Confirm center placement of needle . Make any necessary adjustments if needed. (Refer to your machine’s instructional manual) Begin the stitch out process.
(Click Image to Enlarge)
Step 6:
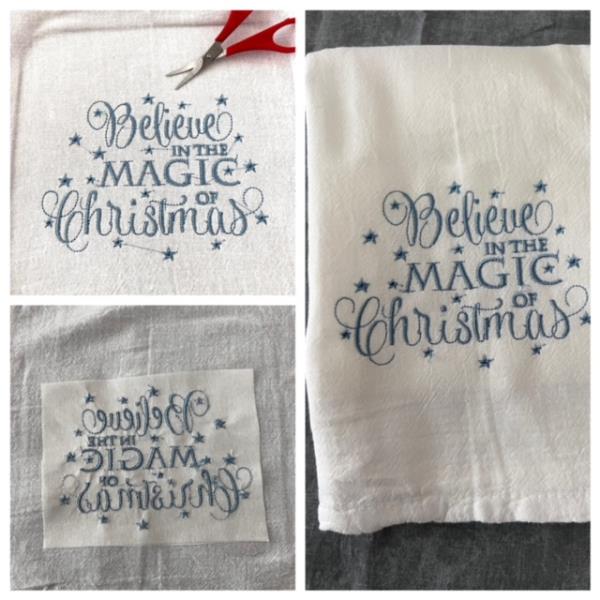
Stitch out complete. Detach hoop. Cut and trim all jump stitches and loose thread ends. Cut away stabilizer ½” from embroidered design. Iron press. And you are done. Way to go!
(Click Image to Enlarge)
Step 7:
Repeat steps for the second design file. “Believe in the Magic”