Border OptionsHugging border, circle, square, or rectangle — with a 3mm satin stitch.
Backing OptionsAvailable with iron-on, sew-on, or velcro backing.
Fast ShippingShipped quickly from the USA.
Free Online Tools
Powerful embroidery utilities that save time and prevent costly mistakes.
Stitch AssistantRECOMMENDED
Get the exact stabilizer, machine settings, needle, and thread color sequence for every embroidery design you purchase — based on that design's stitch density, dimensions, and color count.
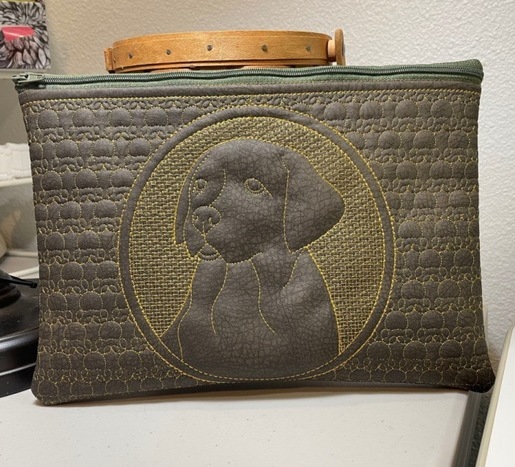
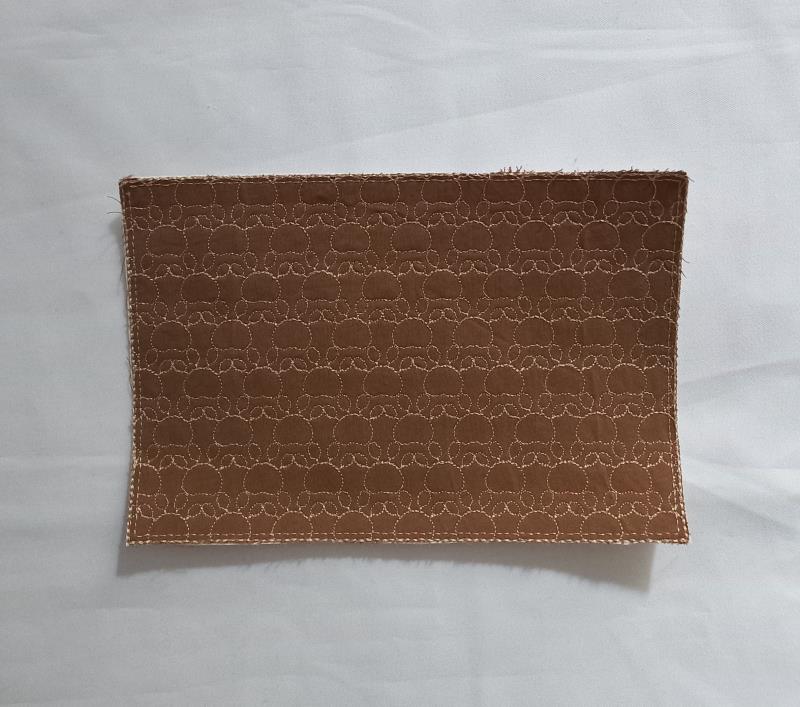
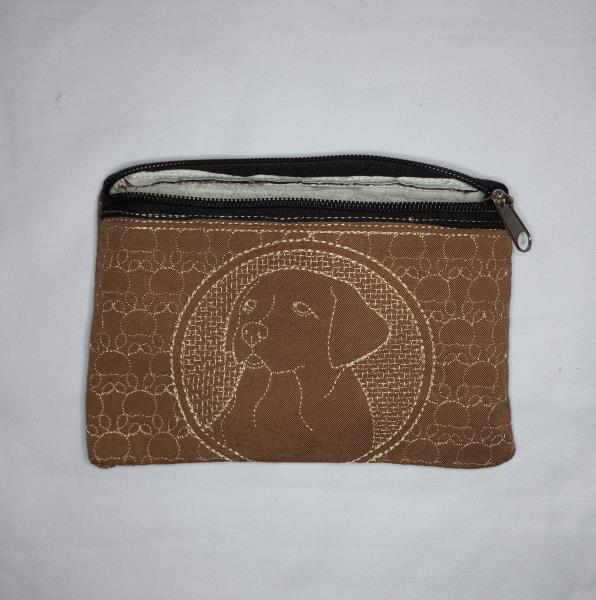
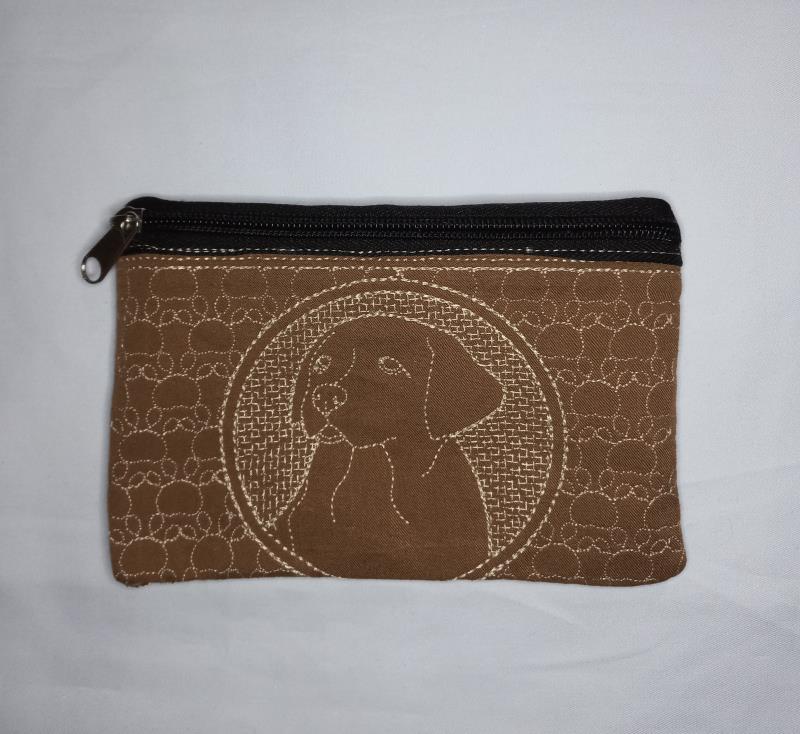
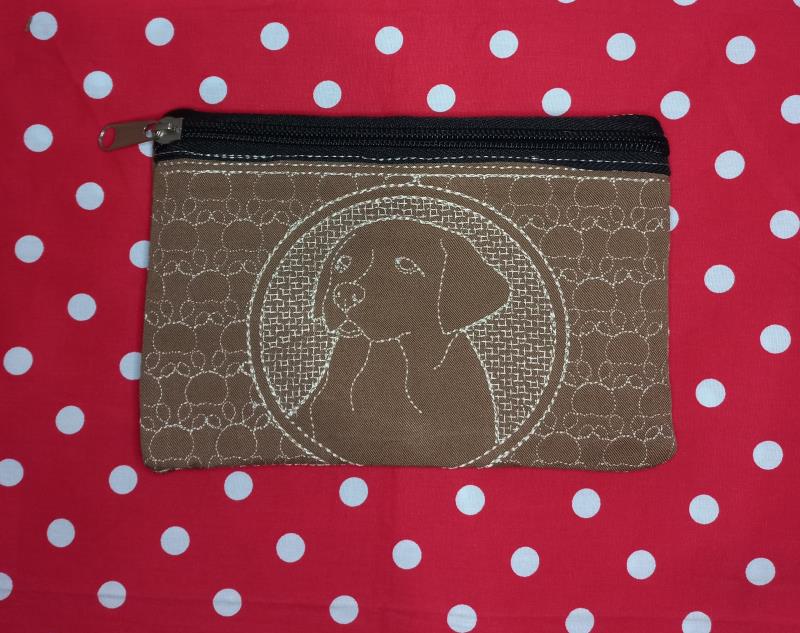
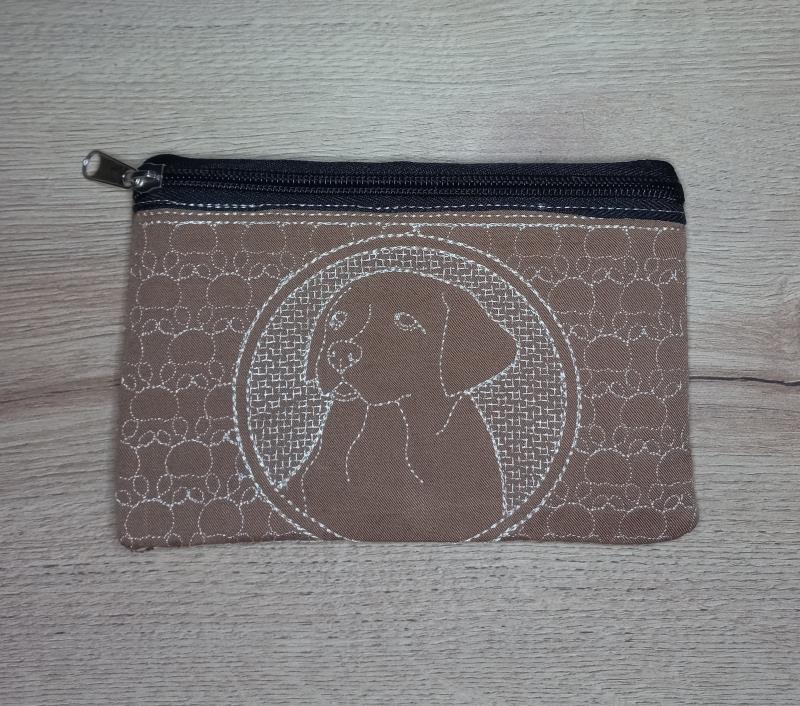
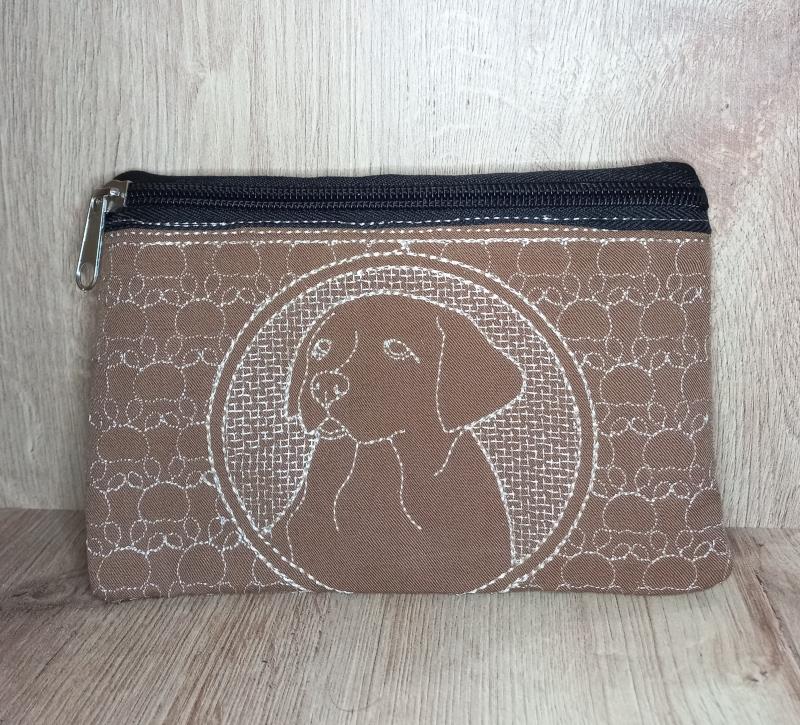
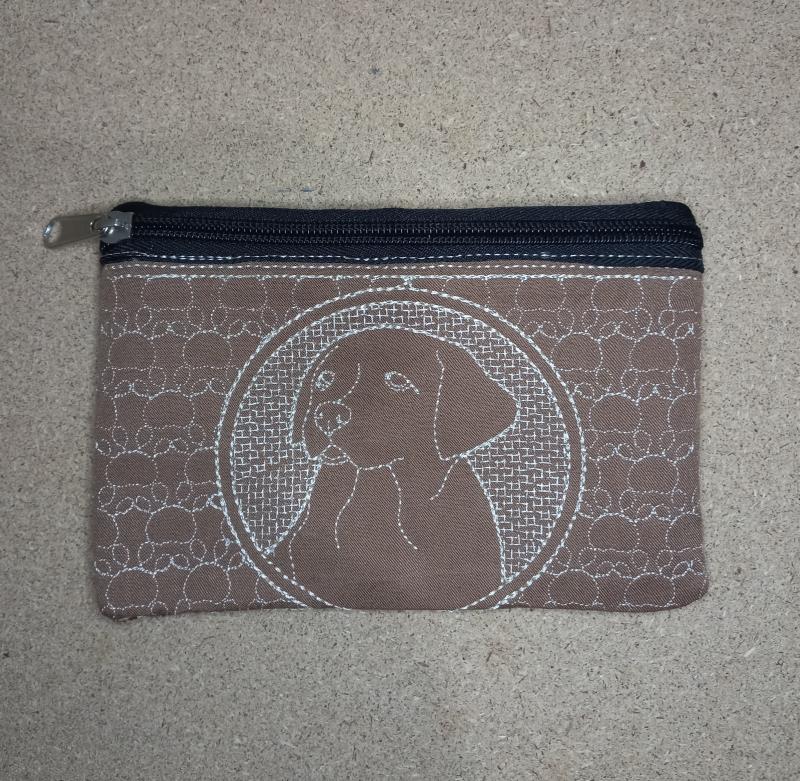
Create a charming in-the-hoop small hand purse featuring an adorable Labrador design. Perfect for quick crafting sessions, this purse can be completed in under 60 minutes. Ideal for casual outings or as a thoughtful gift. Step-by-step instructions are included.
This project is by Nancy and is in collaboration with ITH Boutique and Imilova
Step 1:
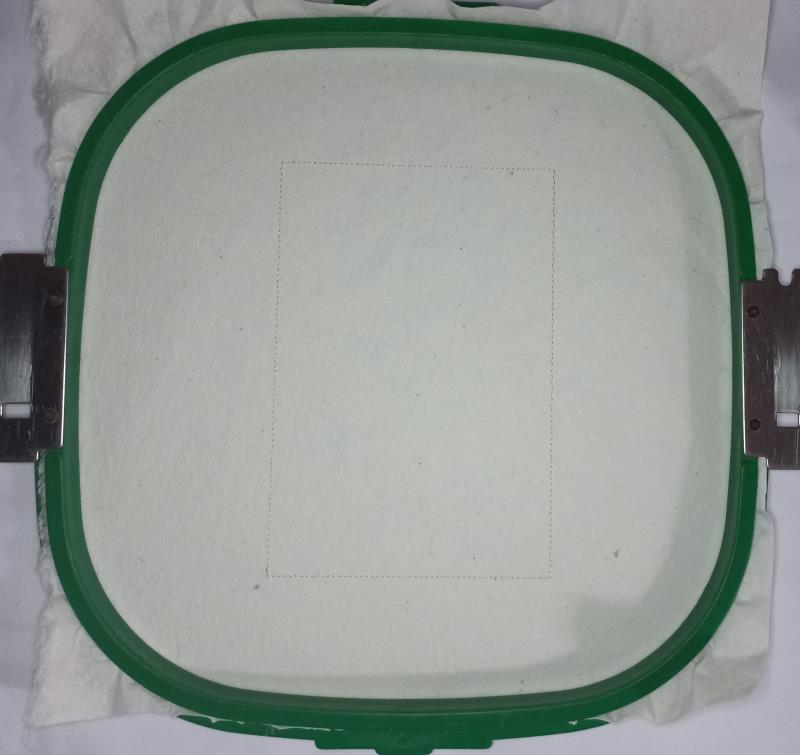
For the back part tautly hoop 2.5-ounce cutaway stabilizer in your embroidery hoop and run color-stop 1 as a placement line.
(Click Image to Enlarge)
Step 2:
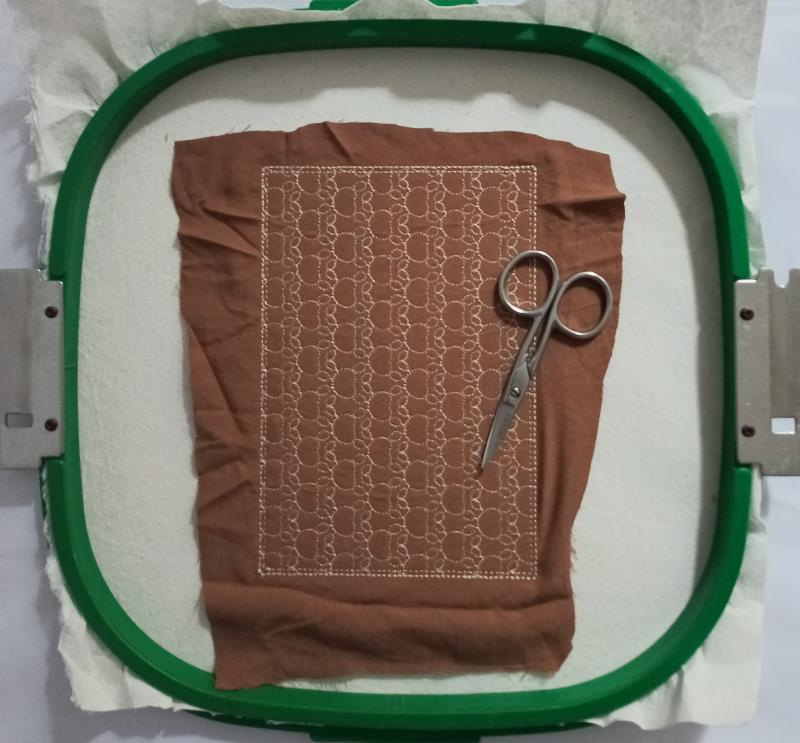
Remove the hoop from the machine, do not unhoop. Cover the placement line with brown fabric with the help of the repositionable adhesive spray, and run again color-stop 1 through color-stop 3.
(Click Image to Enlarge)
Step 3:
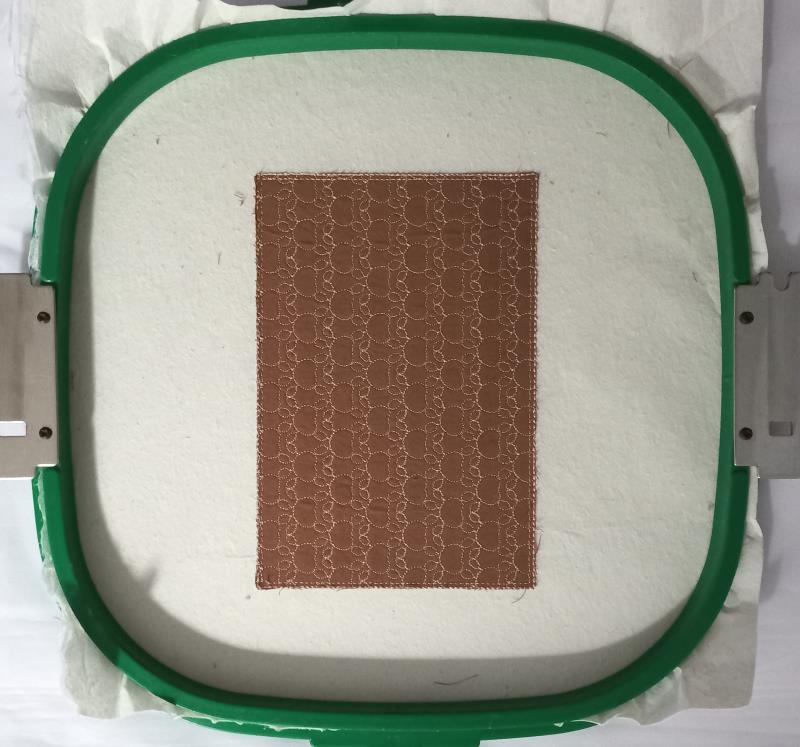
Cut off the excess fabric.
(Click Image to Enlarge)
Step 4:
Remove the project from the hoop, and cut out the outline of the design with sharp scissors.
(Click Image to Enlarge)
Step 5:
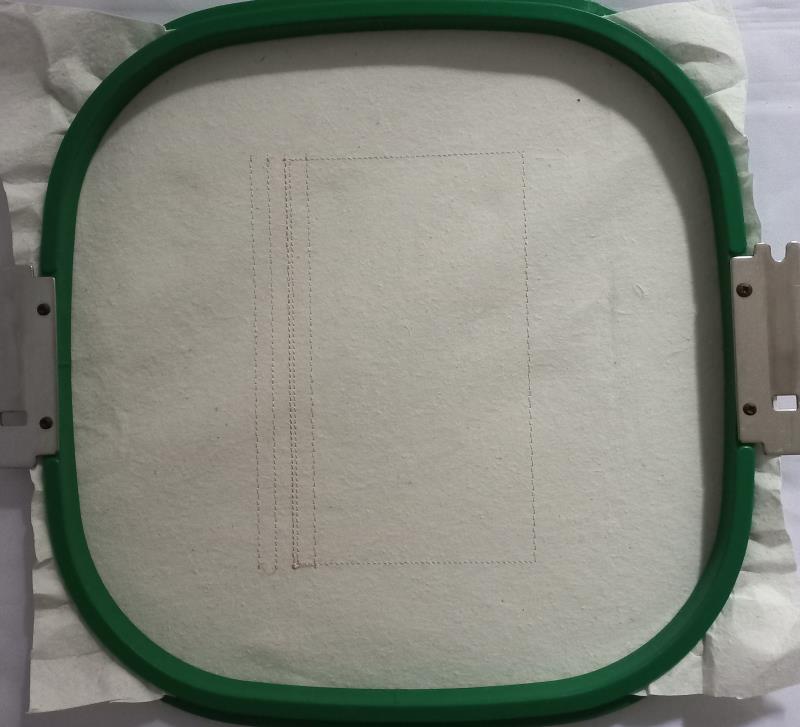
For the front part tautly hoop 2.5-ounce cutaway stabilizer in your embroidery hoop and run color-stop 1 through color-stop 4 as a placement line.
(Click Image to Enlarge)
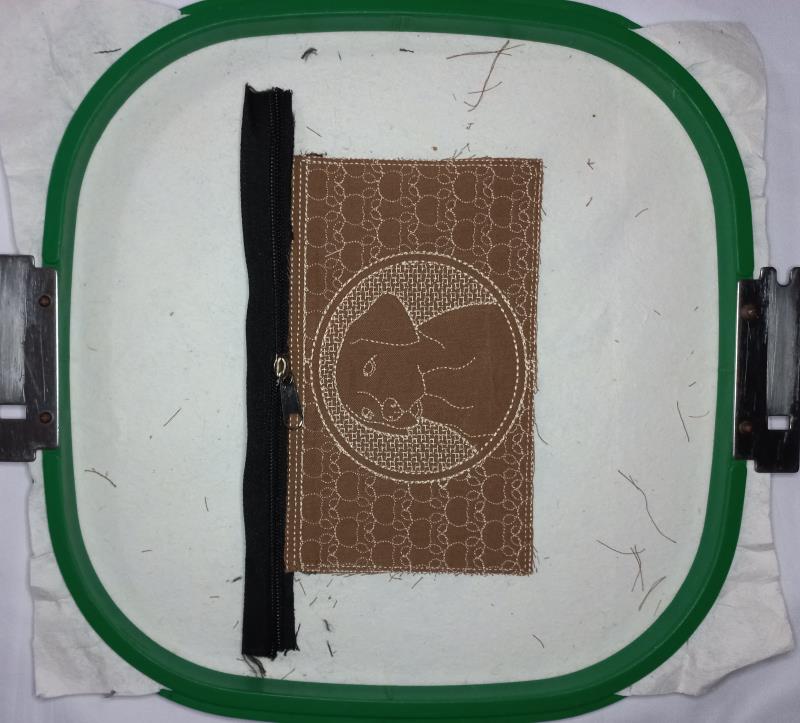
Step 6:
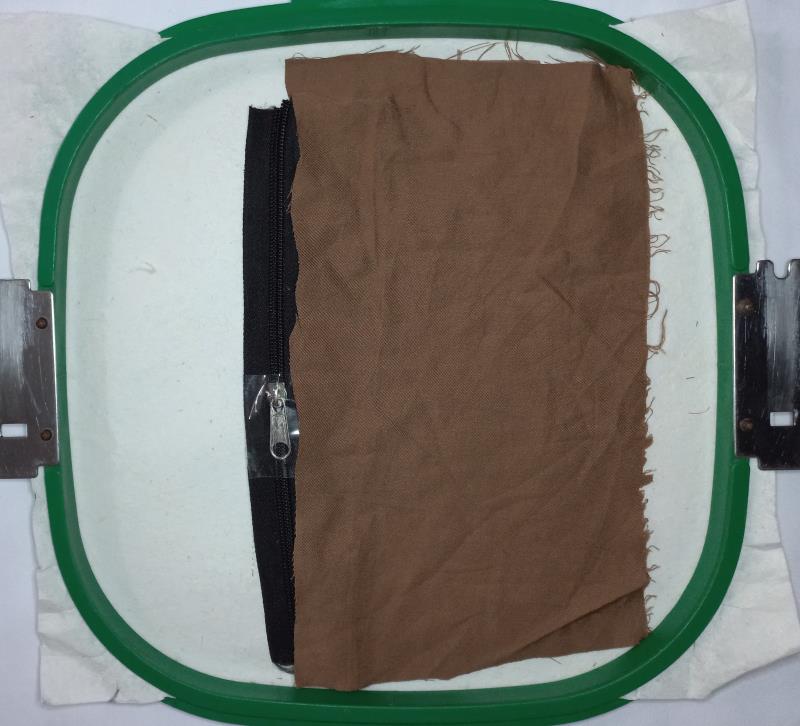
Remove the hoop from the machine, do not unhoop. Cover the placement line with a zipper and brown fabric as shown in the picture, with the help of duct tape and the repositionable adhesive spray.
(Click Image to Enlarge)
Step 7:
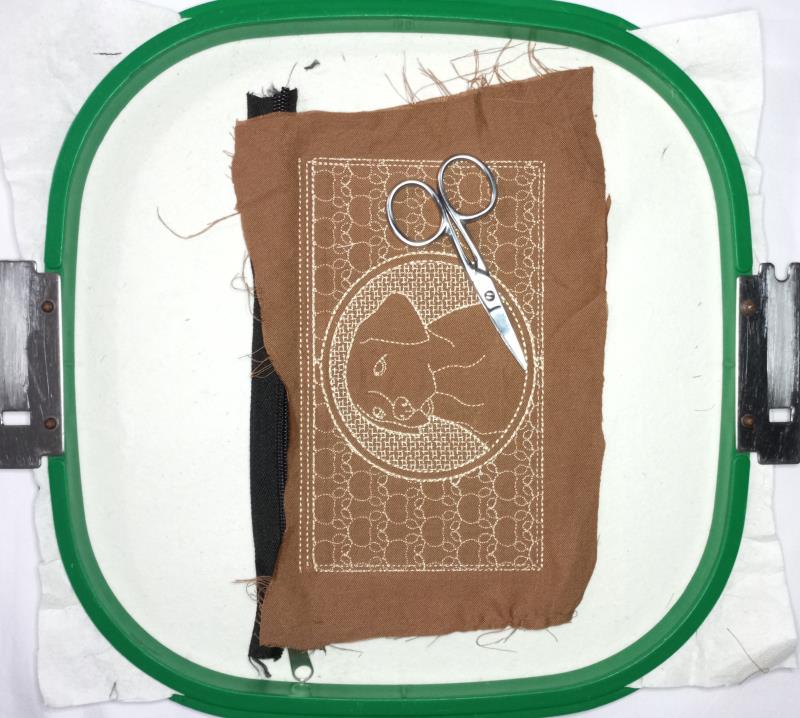
Run again color-stop 4 through color-stop 8.
(Click Image to Enlarge)
Step 8:
Cut off the excess fabric
(Click Image to Enlarge)
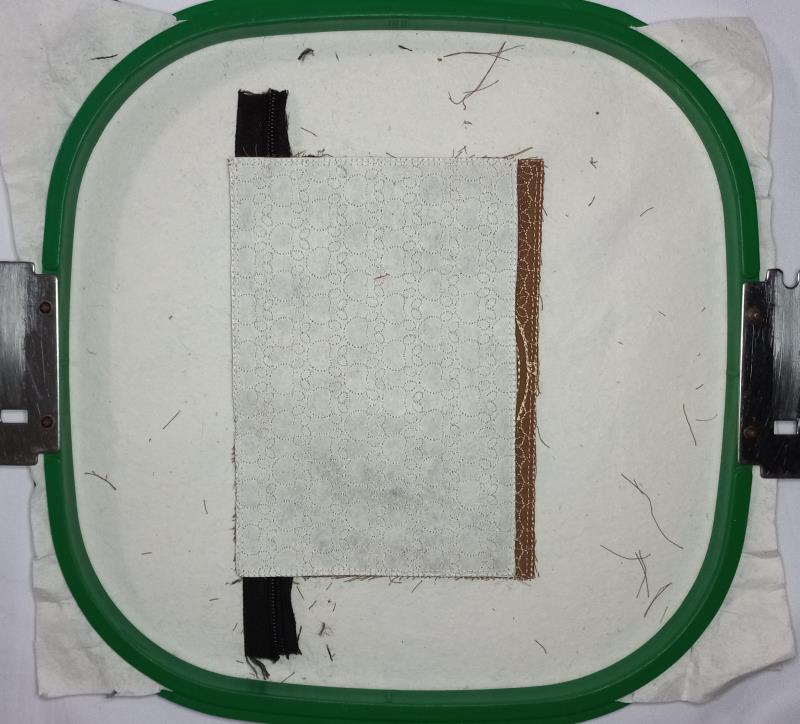
Step 9:
Remove the hoop from the machine, do not unhoop. Cover the placement line with the back part with the help of the repositionable adhesive spray.
(Click Image to Enlarge)
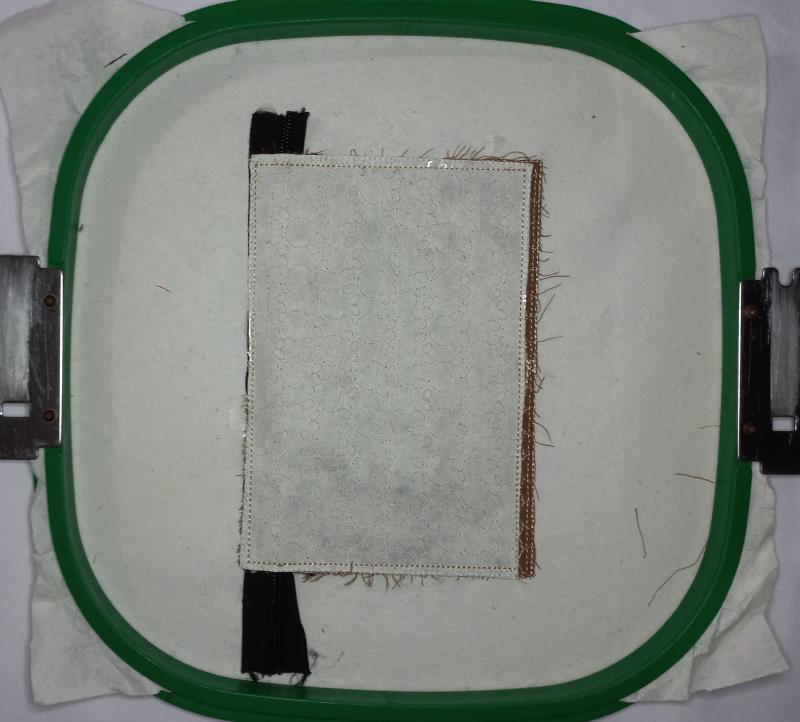
Step 10:
Run color-stop 9 through color-stop 11 to fix the fabric.
(Click Image to Enlarge)
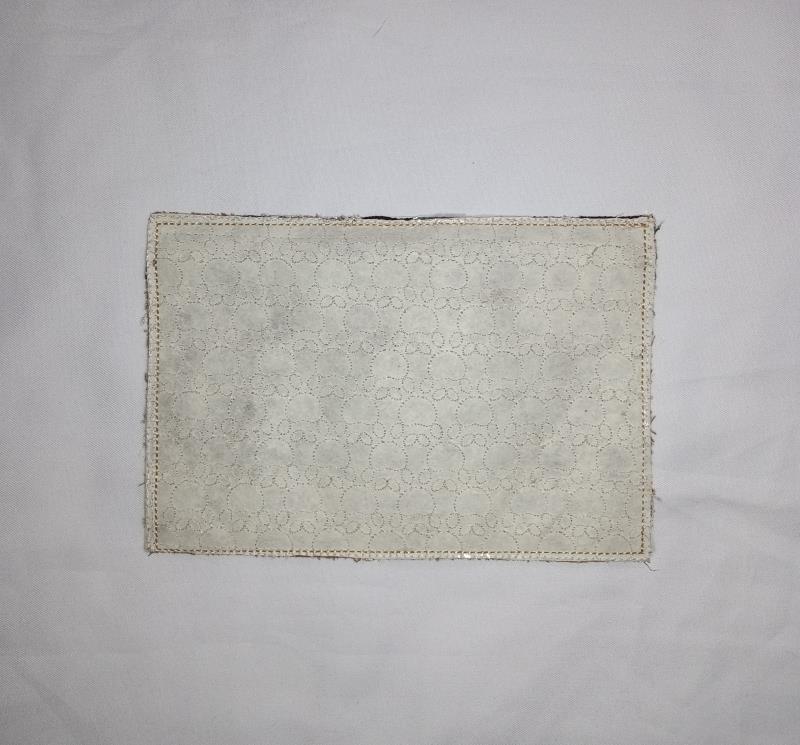
Step 11:
Remove the project from the hoop and cut out the outline of the design with sharp scissors.
(Click Image to Enlarge)
Step 12:
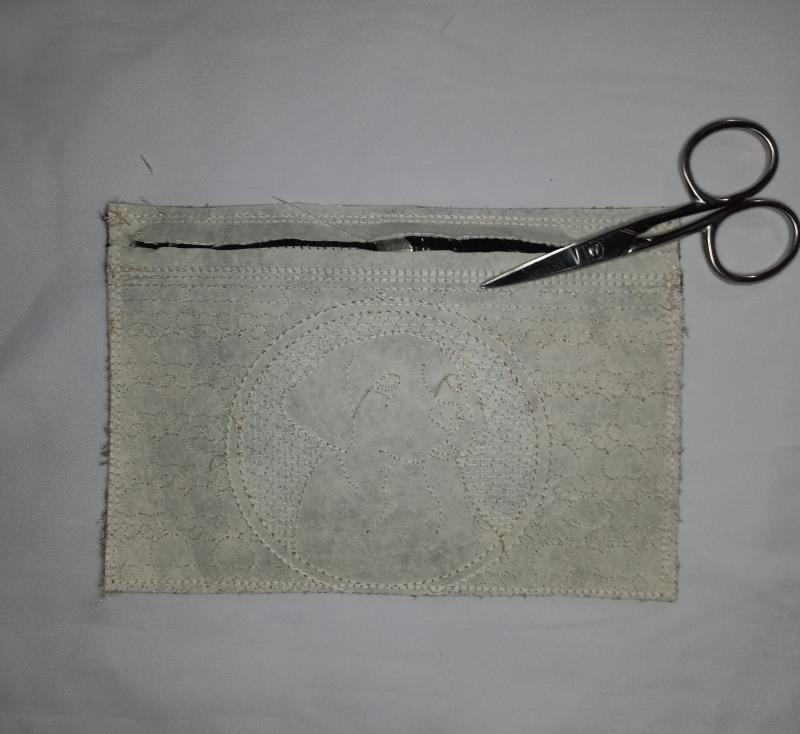
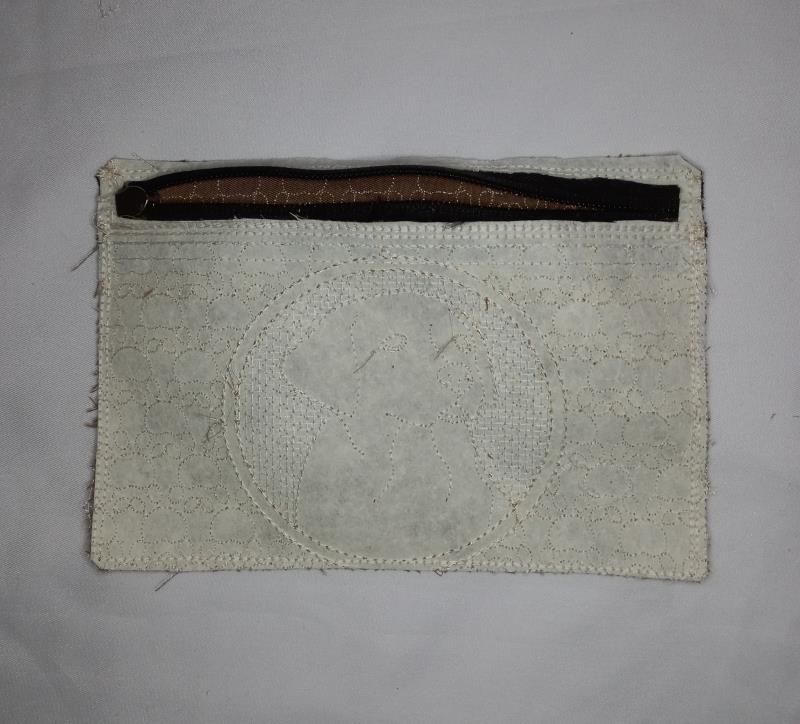
With the help of scissors, carefully cut the stabilizer to reveal the part where the zipper is located.
(Click Image to Enlarge)
Step 13:
Pull the top and bottom of the zipper to open it.
(Click Image to Enlarge)
Step 14:
Turn it inside out as if you were turning a sock and you’re ready to go. Have fun doing this beautiful project.