Border OptionsHugging border, circle, square, or rectangle — with a 3mm satin stitch.
Backing OptionsAvailable with iron-on, sew-on, or velcro backing.
Fast ShippingShipped quickly from the USA.
Free Online Tools
Powerful embroidery utilities that save time and prevent costly mistakes.
Stitch AssistantRECOMMENDED
Get the exact stabilizer, machine settings, needle, and thread color sequence for every embroidery design you purchase — based on that design's stitch density, dimensions, and color count.
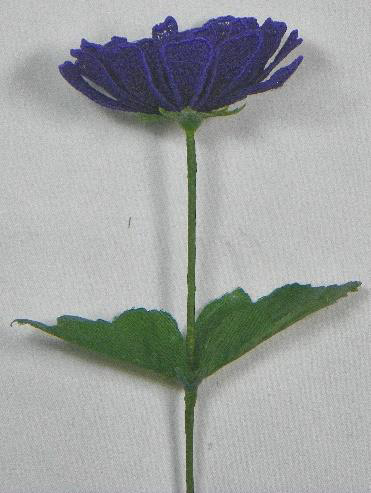
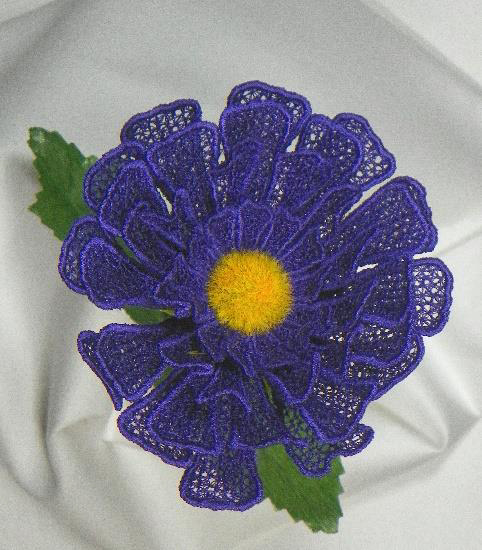
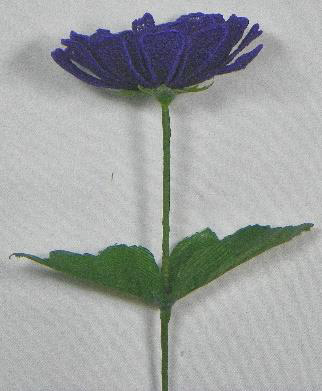
Create a stunning 3D freestanding lace aster flower with intricate detailing. Perfect as a decorative piece or for enhancing floral arrangements. Step-by-step instructions are included.
Purchased flower parts (These actually hold the flowers together)
Floral tape
Hot glue gun & glue stick
Preface:
This project is by Nancy and is in collaboration with Holly and Artsy Knots
Step 1:
To obtain the “hardware” (or plastic parts) of the various flower centers and stems, I purchased silk flowers and removed parts for my FSL Flowers. It is important to purchase the type of silk flower you plan to create so it mimics the real flower type.
Step 2:
(Click Image to Enlarge)
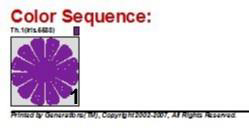
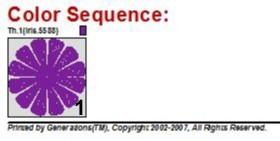
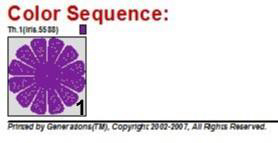
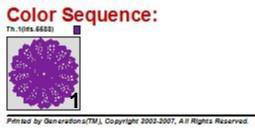
The four Color Sequence Charts for the Aster flower are shown above and differ in size from the first one to the last. Because they are a one-color flower, they are easy to create.
Step 3:
(Click Image to Enlarge)
.
Step 4:
(Click Image to Enlarge)
.
Step 5:
(Click Image to Enlarge)
.
Step 6:
1. Sew each of the four sections using water soluble stabilizer in a 4 x 4 inch hoop.
2. Remove from hoop and trim excess stabilizer-leaving 1⁄4 inch around the outside.
3. Hold design sections under running water until stabilizer falls away.
4. Blot with paper towel.
5. While flower sections are still wet, insert the flower center piece (stamen section from a purchased silk flower) through the center (smallest set of petals) of the flower.
6. Continue adding the other three sections-smallest to largest-to the center of the flower.
7. Add the calyx on to the center post so it fits snuggly. If it does not fit well, use a bit of hot glue to secure it in
place.
8. Insert the stem (from purchased silk flower) into the bottom of the stamen section.
9. Arrange petals as desired and let dry. Hanging them upside down to dry helps to keep their shape.
10. Depending on the stem, you may want to use floral tape to wrap it. Your Aster flower is complete.