Border OptionsHugging border, circle, square, or rectangle — with a 3mm satin stitch.
Backing OptionsAvailable with iron-on, sew-on, or velcro backing.
Fast ShippingShipped quickly from the USA.
Free Online Tools
Powerful embroidery utilities that save time and prevent costly mistakes.
Stitch AssistantRECOMMENDED
Get the exact stabilizer, machine settings, needle, and thread color sequence for every embroidery design you purchase — based on that design's stitch density, dimensions, and color count.
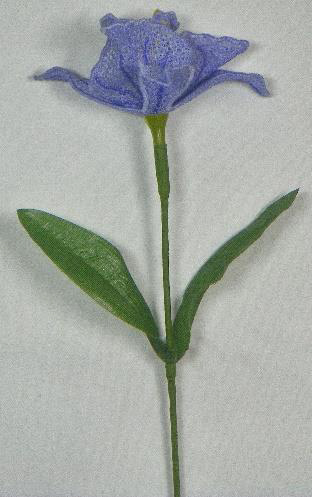
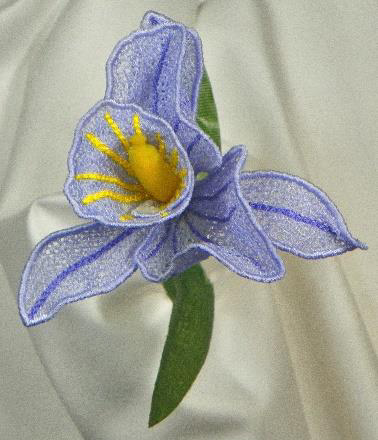
Create a stunning 3D orchid flower using in-the-hoop techniques. This project results in a lifelike floral piece perfect for home decor or gifting. Step-by-step instructions are included.
This project is by Nancy and is in collaboration with Holly and Artsy Knots
Step 1:
To obtain the “hardware” (or plastic parts) of the various flower centers and stems, I purchased silk flowers and removed parts for my FSL Flowers. It is important to purchase the type of silk flower you plan to create so it mimics the real flower type.
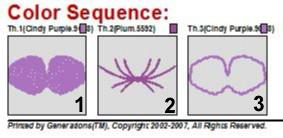
Orchid Color Sequence Chart 1
Step 2:
(Click Image to Enlarge)
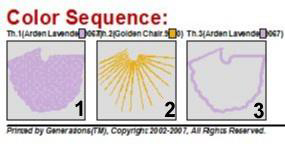
Orchid Color Sequence Chart 2
Step 3:
(Click Image to Enlarge)
Orchid Color Sequence Chart 3
Step 4:
(Click Image to Enlarge)
There are three parts to the orchid flower, the back, the middle and the front. One hooping (4 x 4 inch) is required for each part and is sewn on water soluble stabilizer.
1. Create each of the parts as described in previous instructions.
2. Assemble all parts:
a. Three petal parts
b. Stem and center pieces from purchased silk flower
3. For the front, using the same technique as shown in the Calla Lily flower previously, construct the “bell” section
of the orchid. You will need to use a bit of hot glue to secure the “bell” section to together.
4. While flower sections are still wet, push the flower center stamen through the “bell” section.
5. Add the two petal section.
6. Add the final three-petal section to the post.
7. Insert the flower stem into the bottom of the orchid flower stamen section.
8. Arrange the wet petals as desired and hang upside down to dry.
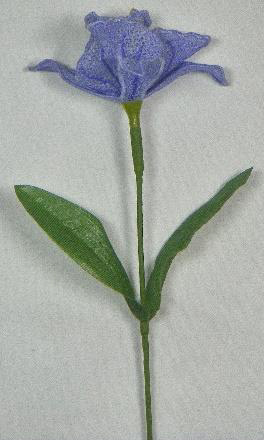
9. Wrap the stem with floral tape. Your Orchid flower is complete.