Border OptionsHugging border, circle, square, or rectangle — with a 3mm satin stitch.
Backing OptionsAvailable with iron-on, sew-on, or velcro backing.
Fast ShippingShipped quickly from the USA.
Free Online Tools
Powerful embroidery utilities that save time and prevent costly mistakes.
Stitch AssistantRECOMMENDED
Get the exact stabilizer, machine settings, needle, and thread color sequence for every embroidery design you purchase — based on that design's stitch density, dimensions, and color count.
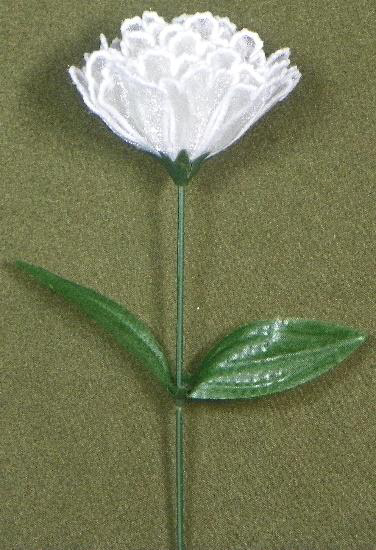
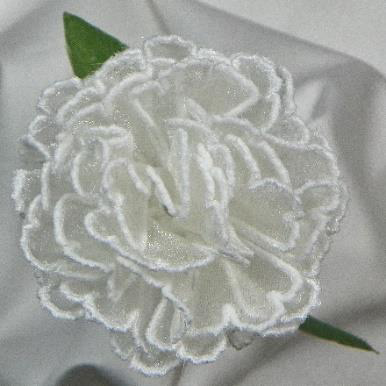
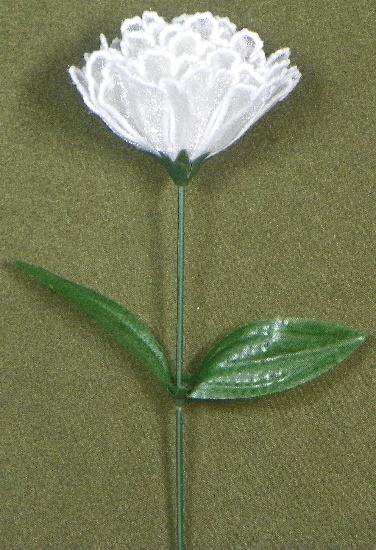
Create a stunning freestanding lace carnation flower that adds a touch of elegance to any setting. This 3D flower is perfect for home decor or as a unique gift. Step-by-step instructions are included.
Organza fabric for flower petals in color of choice (fat quarter)
Preface:
This project is by Nancy and is in collaboration with Holly and Artsy Knots
This flower requires “four” stitch-outs of the one design.
Step 1:
(Click Image to Enlarge)
To obtain the “hardware” (or plastic parts) of the various flower centers and stems, I purchased silk flowers and removed parts for my FSL Flowers. It is important to purchase the type of silk flower you plan to create so it mimics the real flower type.
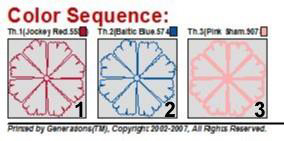
See color sequence below
Step 2:
(Click Image to Enlarge)
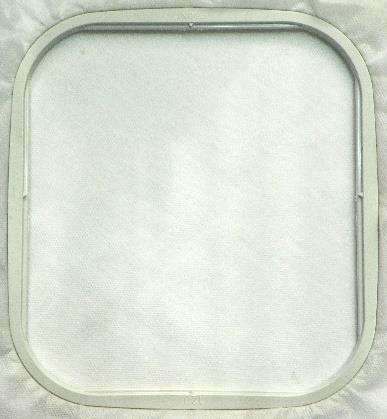
Hoop water-soluble stabilizer in a 4 x 4 hoop.
Step 3:
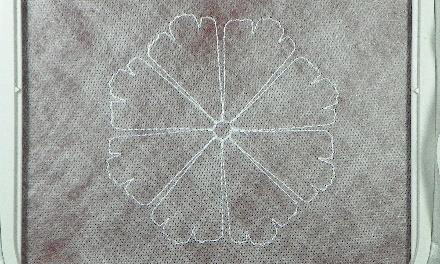
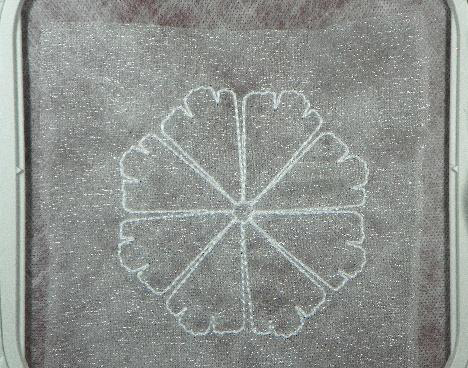
Stitch #1 in the Color Sequence Chart. These stitches will create the placement stitches for the organza.
Step 4:
Lay the organza fabric over the placement stitches and sew #2 in the Color Sequence Chart. These stitches will tack the organza to the stabilizer.
Step 5:
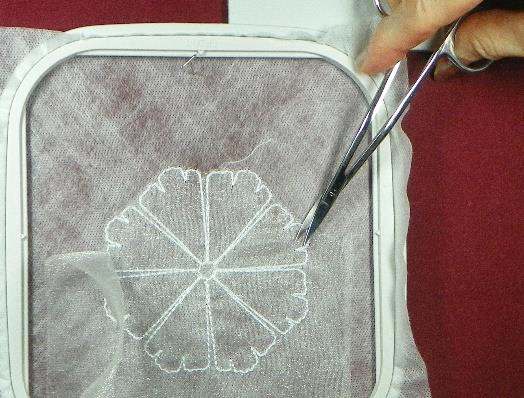
Remove hoop from machine and carefully trim away excess organza from around the design. (Don’t worry about the tiny bit of organza between the petals.)
Step 6:
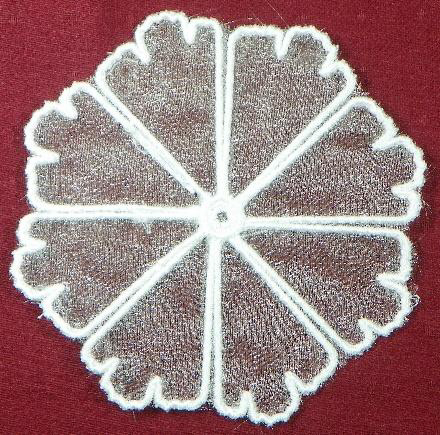
Return hoop to machine and sew #3 in the Color Sequence Chart. These stitches will create the satin border around the petals.
(Click Image to Enlarge)
Step 7:
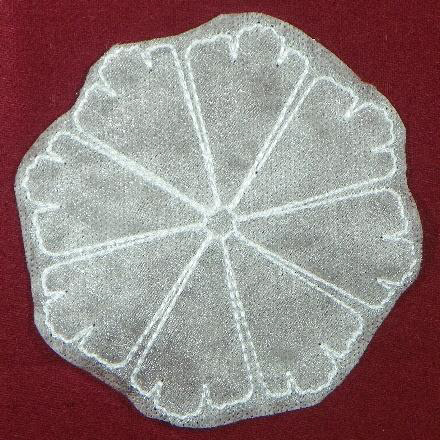
Remove design from hoop and cut away excess stabilizer, leaving 1⁄4 inch around the outside to prevent cutting the stitches
Step 8:
Hold under running water until the stabilizer is falling away.
Step 9:
Place between a paper towel and press to remove water.
Step 10:
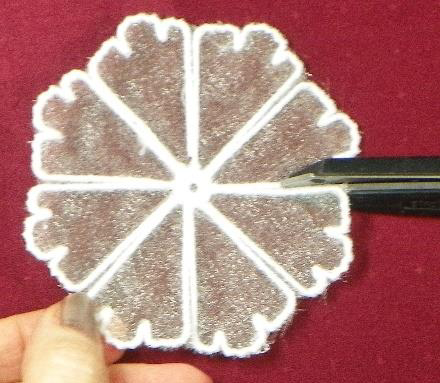
Carefully cut 1⁄2 way down between the petals.
Step 11:
Sew three more of the carnation petals following the same procedure.
Step 12:
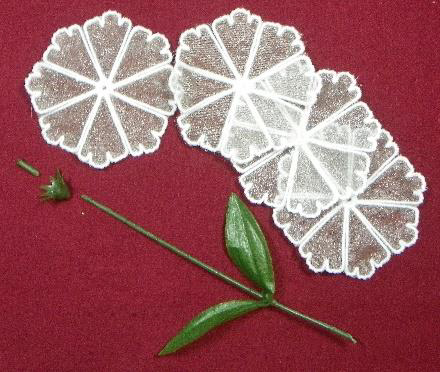
Gather the materials together for the flower. (Petal sections are still wet.)
a. Four of the flower design
b. Flower parts (stem & center) from purchased silk flowers.
Step 13:
Use a very sharp pair of scissors to carefully cut a hole through thevorganza, in the center of each of the petal sections-make sure the flower center will fit into the center—don’t cut too large.
Step 14:
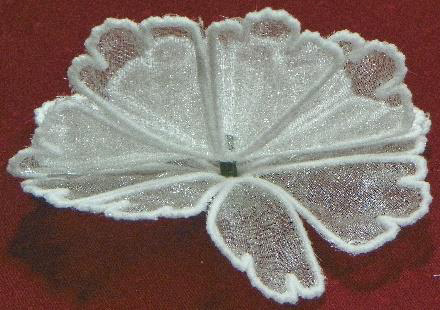
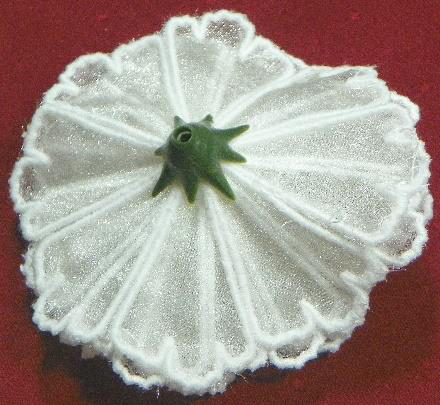
Push the flower center through the first set of petals-pull it snug to the bottom.
Step 15:
Add the second set of petals, pull it snug as you did the first one.
Step 16:
Continue adding flower sections until all four have been added.
Step 17:
Turn layers upside down and press the calyx part of the flower over the flower center post snuggly.
Note: if the layers are too thick for the calyx part of the flower to fit snugly, use a bit of hot glue to secure it. You can also “cut” the calyx slightly toward the center to create a more secure fit-this decreases the “cup” area of the calyx.
Step 18:
(Click Image to Enlarge)
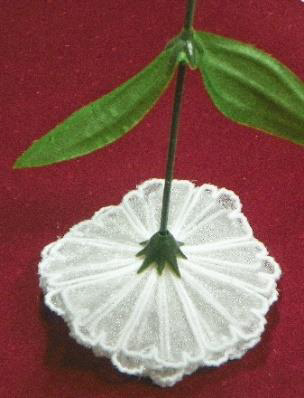
Firmly insert the stem section into the calyx (base) of the flower
Step 19:
(Click Image to Enlarge)
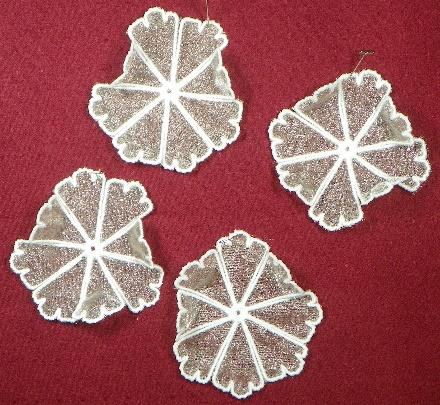
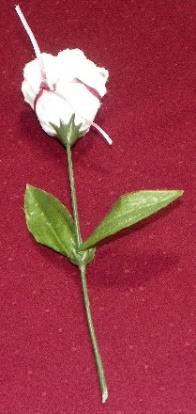
Gather the damp petals upward and secure with a ribbon or string.
Step 20:
Hang upside down until dry. (I use a clothespin and attach it to one of my thread holders.)
Step 21:
(Click Image to Enlarge)
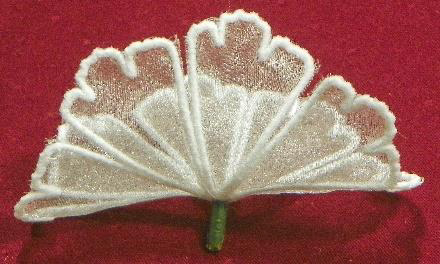
Once completely dry (it will be somewhat stiff from the remaining stabilizer), arrange the petal as desired. I use a straight pin to hold the very center in place during the drying process to make sure the center post is covered.