Border OptionsHugging border, circle, square, or rectangle — with a 3mm satin stitch.
Backing OptionsAvailable with iron-on, sew-on, or velcro backing.
Fast ShippingShipped quickly from the USA.
Free Online Tools
Powerful embroidery utilities that save time and prevent costly mistakes.
Stitch AssistantRECOMMENDED
Get the exact stabilizer, machine settings, needle, and thread color sequence for every embroidery design you purchase — based on that design's stitch density, dimensions, and color count.
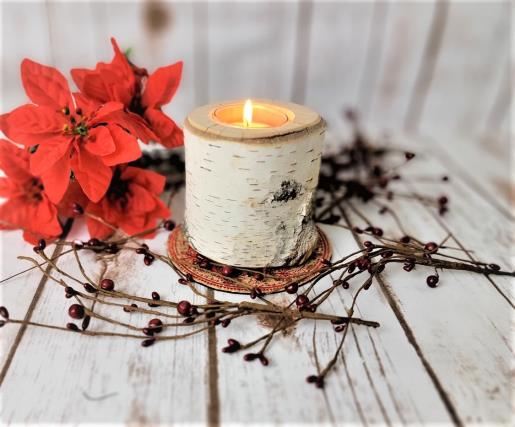
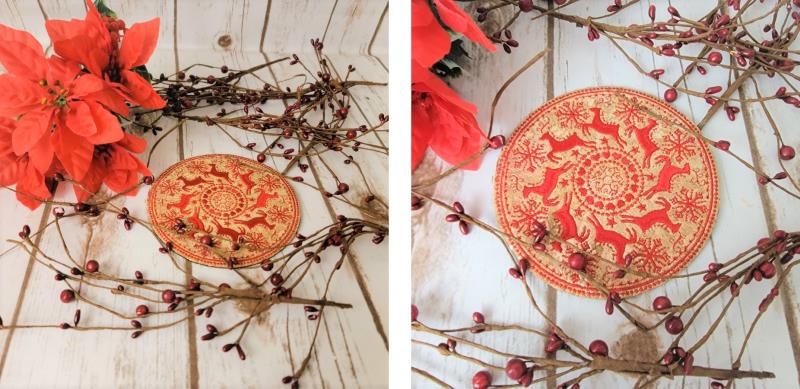
Create a stunning candle mat using cork and metallic accents to enhance your holiday table decor. This elegant piece is perfect for showcasing candles and adding a touch of festivity to any setting. Step-by-step instructions are included.
Step
of
Cork and Metallic Holiday Candle Mat
By Ramona Baird
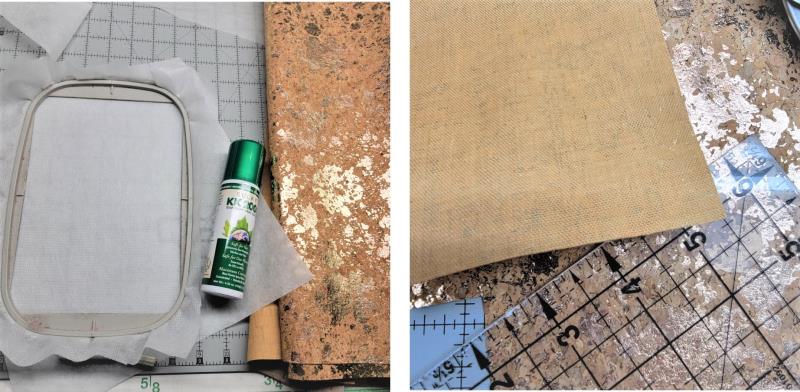
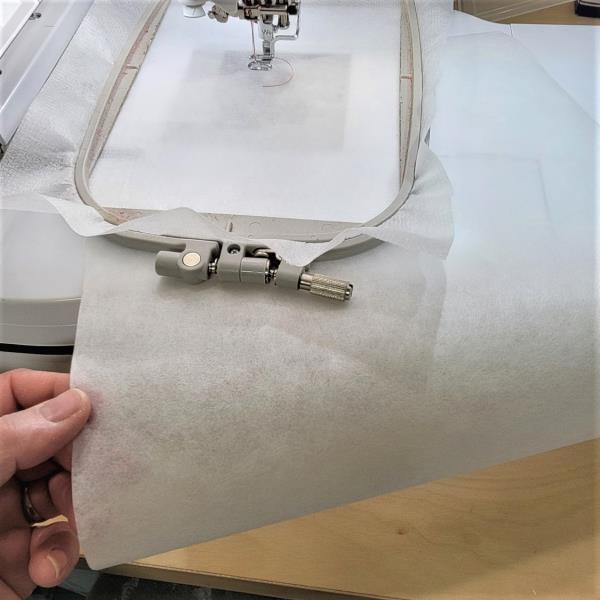
Read through the instructions thoroughly before beginning and assemble all the materials needed to complete the project. The cork should have a woven backing pressed onto it so that which will help hold the stitches in place on the cork. Hoop a layer of poly mesh stabilizer.
(Click Image to Enlarge)
Step 2:
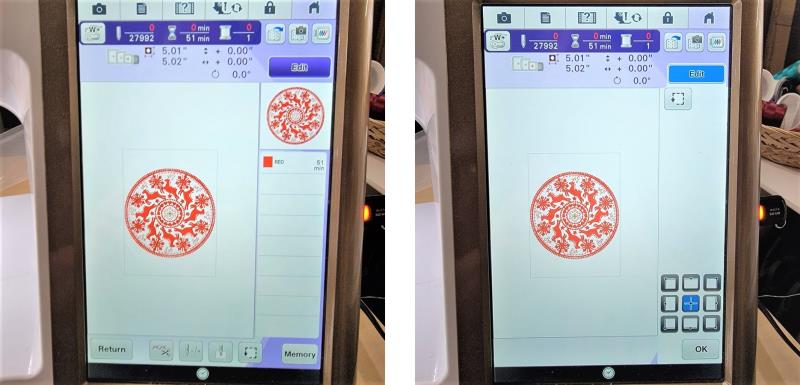
Load the design on the machine. Open up the feature on the machine which will check the bounding box area of the design in the hoop.
(Click Image to Enlarge)
Step 3:
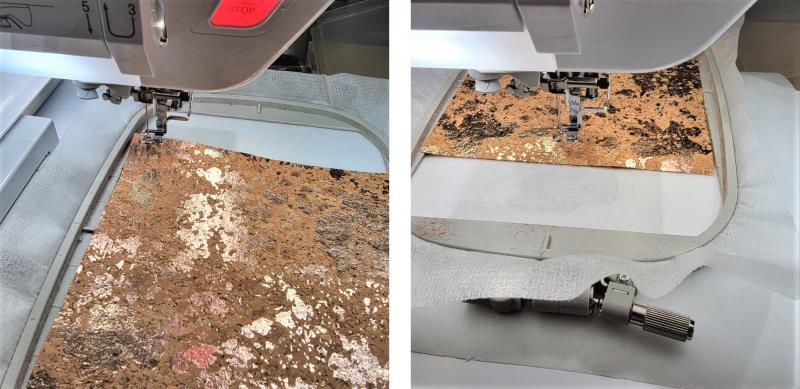
Place the hoop on the machine. Spray the back of the cork piece with a light mist of the temporary spray adhesive. Center the vinyl in the hoop. Using the bounding box feature, make sure the cork covers the area that will be stitched.
(Click Image to Enlarge)
Step 4:
Float the piece of tearaway stabilizer under the hoop. This will help to further stabilize the stitching in the cork.
(Click Image to Enlarge)
Step 5:
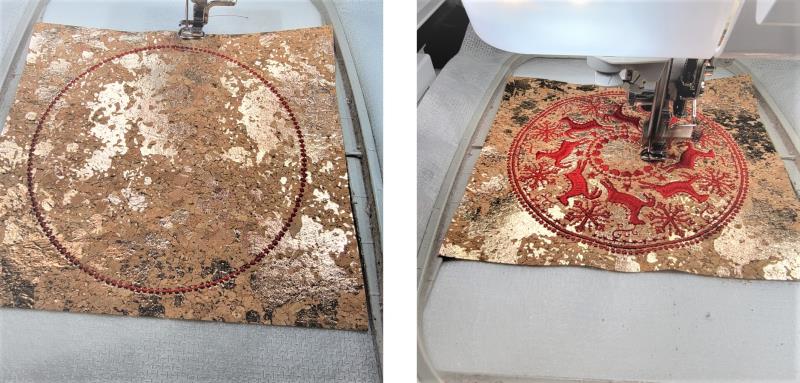
Stitch the design between 500 and 600 spm. The design is one color but it does take about 50 minutes to stitch. Make sure the cork remains in place while the machine stitches the first circle which is the outer edge of the design. Continue stitching the design.
(Click Image to Enlarge)
Step 6:
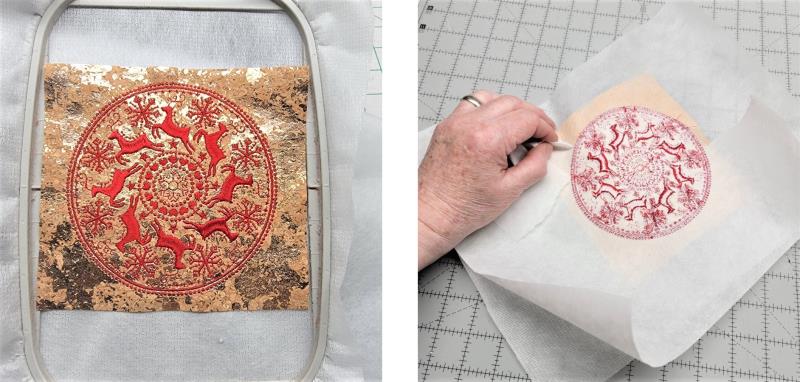
The design is very pretty on the metallic cork. Remove the piece from the hoop. Flip it over and carefully tear away the excess stabilizer form around the outer edges.
(Click Image to Enlarge)
Step 7:
Now use the small sharp scissors to trim the poly mesh stabilizer close to the outer line of stitching.
(Click Image to Enlarge)
Step 8:
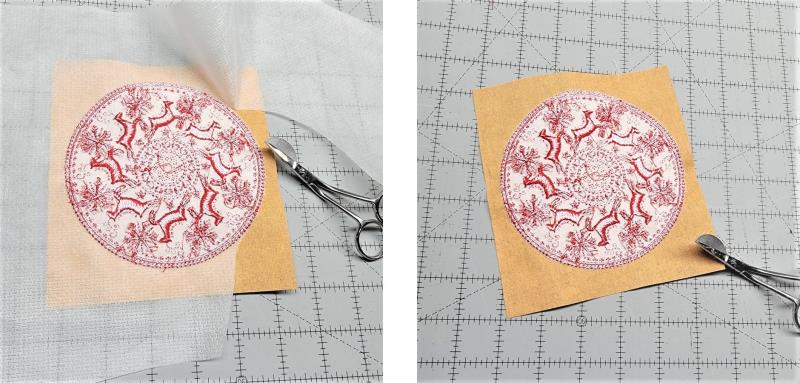
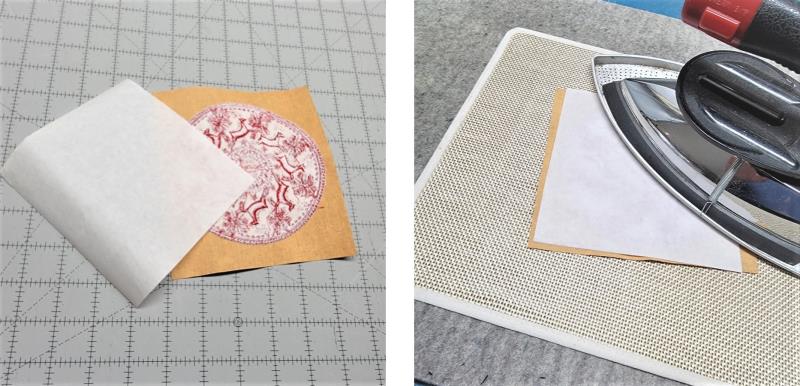
Heat the iron. Place the piece of Heat ‘n Bond Lite, paper side up, on the back of the stitched cork piece. Press lightly; let the adhesive cool.
(Click Image to Enlarge)
Step 9:
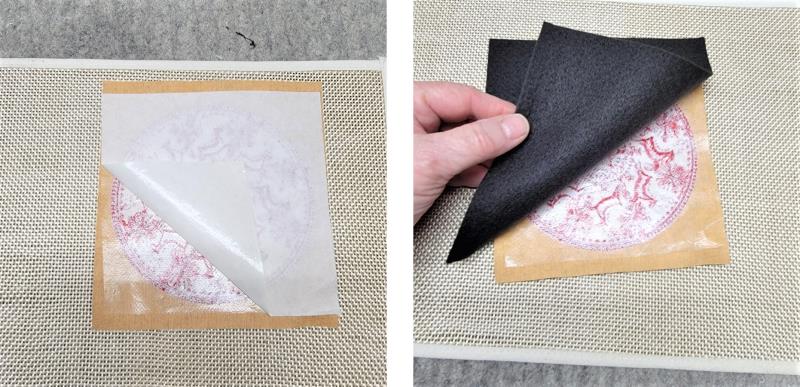
Remove the protective paper. Place the piece of black felt over the adhesive.
(Click Image to Enlarge)
Step 10:
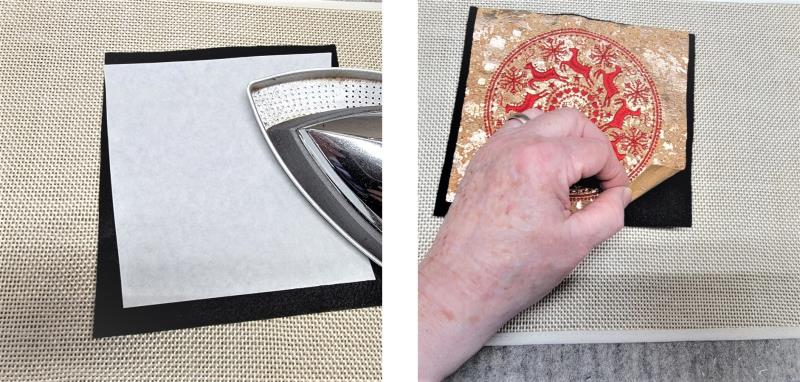
Use a press cloth or the paper from the Heat ‘n Bond Lite over the felt. Press the felt in place. Test to make sure the adhesive is well bonded to the cork. If it is not, just press again.
(Click Image to Enlarge)
Step 11:
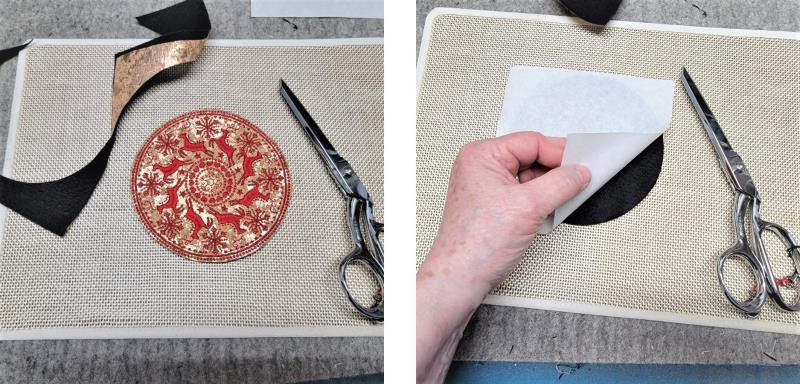
Using a sharp scissors, trim through all layers about 1/8” away from the outer stitching line. Place the cloth or paper over the back of the felt once again, and give the piece a final pressing to make sure the felt is adhered to the back of the cork.
(Click Image to Enlarge)
Step 12:
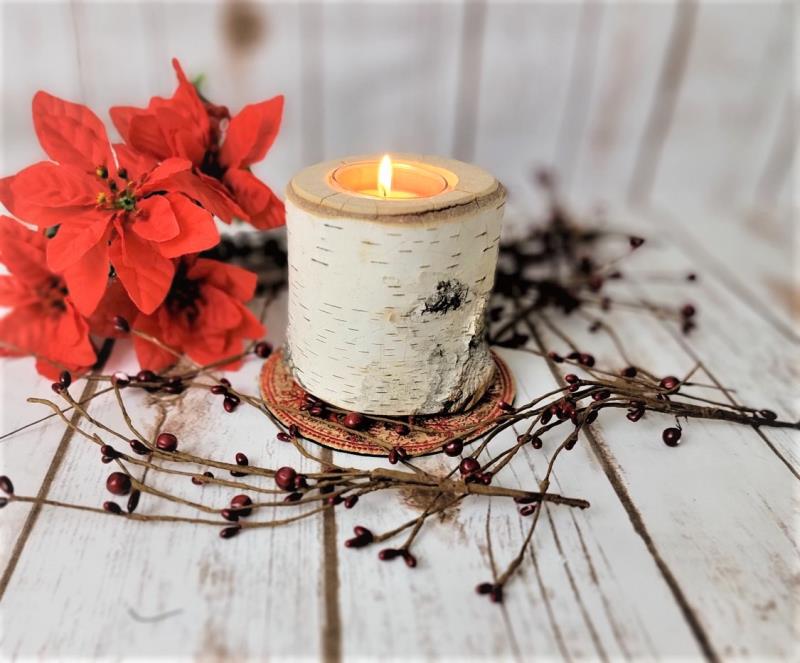
The Mandala is a wonderful addition for winter and holiday decorating. Add Poinsettias and winter berries around the mat which can be used as coaster, candle mats, or other uses.
(Click Image to Enlarge)
Step 13:
Congratulations on completing a beautiful project!
Ramona Baird has been in the embroidery industry for over 23 years. She and her husband owned a commercial and retail embroidery store in Arizona for many years. She is an experienced digitizer having been mentored by award-winners Pat Williams and Lindee Goodall. Ramona is a contributor to “Creative Machine Embroidery” magazine having 5 covers to her credit. Ramona has worked for Wilcom America and served many years as Education Director for the American Sewing Guild. With a degree in fashion design, she is able to design and execute patterns which Pat Williams says are “out of the box” in creativity and application. Ramona likes to challenge the boundaries of embroidery and bring new and exciting designs, ideas, and projects to EmbroideryDesigns.com. She wants embroiderers of all levels to increase their skills and enjoyment in using their embroidery machine for gift-making and personal pleasure.