Border OptionsHugging border, circle, square, or rectangle — with a 3mm satin stitch.
Backing OptionsAvailable with iron-on, sew-on, or velcro backing.
Fast ShippingShipped quickly from the USA.
Free Online Tools
Powerful embroidery utilities that save time and prevent costly mistakes.
Stitch AssistantRECOMMENDED
Get the exact stabilizer, machine settings, needle, and thread color sequence for every embroidery design you purchase — based on that design's stitch density, dimensions, and color count.
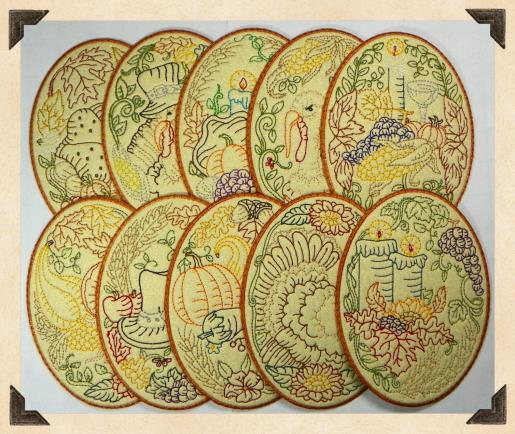
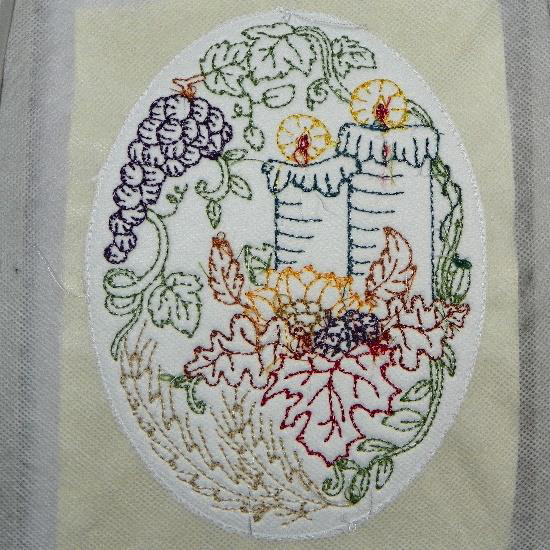
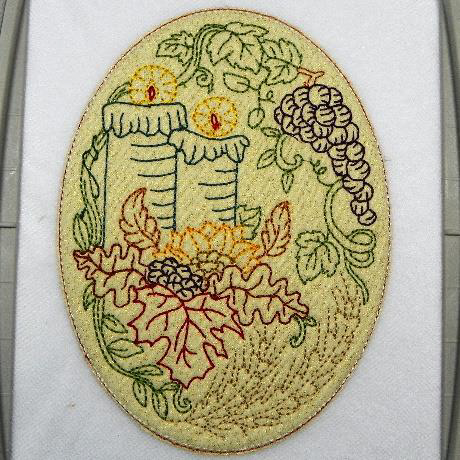
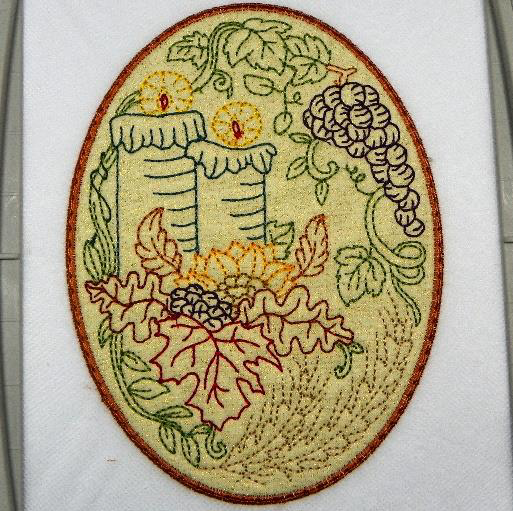
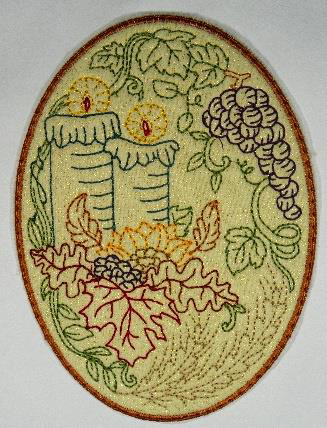
Create charming Thanksgiving oval decorations featuring classic autumn motifs in redwork style. Perfect for adding a festive touch to your holiday decor. Easily crafted in under 30 minutes, these pieces are ideal for seasonal displays. Step-by-step instructions are included.
This is a collaboration between Artsy Knots and Holly. The copyrights to digitizing belongs to Holly.
Step 1:
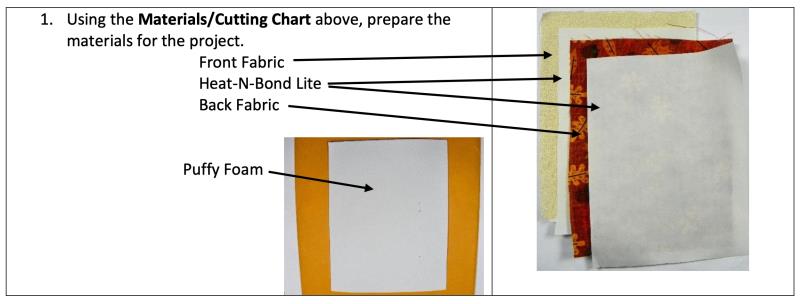
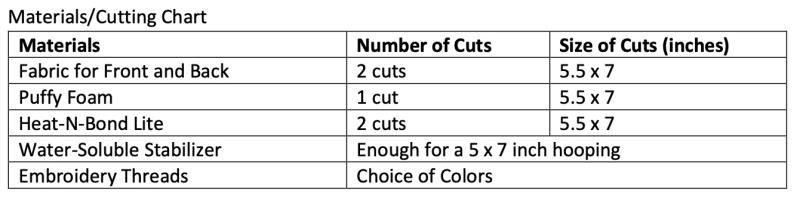
Using the Materials/Cutting Chart given at bottom, prepare the materials for the project.
(Click Image to Enlarge)
Step 2:
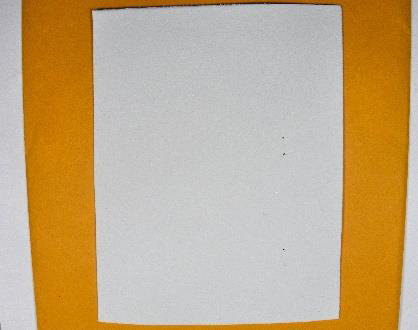
Puffy Foam
Step 3:
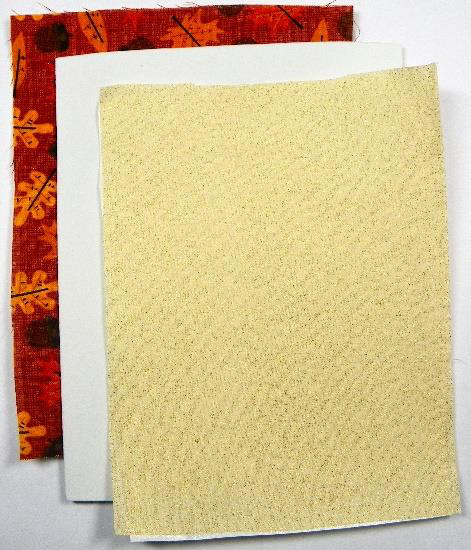
Fuse the Heat-N-Bond Lite pieces to the backs of the front and back fabric pieces. You should now have two fabric pieces with Heat-N-Bond backing and the one piece of puffy foam.
(Click Image to Enlarge)
Step 4:
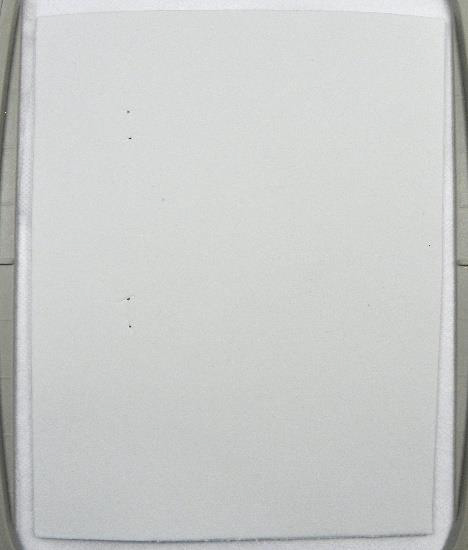
Hoop one layer of water-soluble stabilizer in a 5 x 7 inch hoop.
Step 5:
Transfer the design you wish to sew to your embroidery machine and attach hoop.
Step 6:
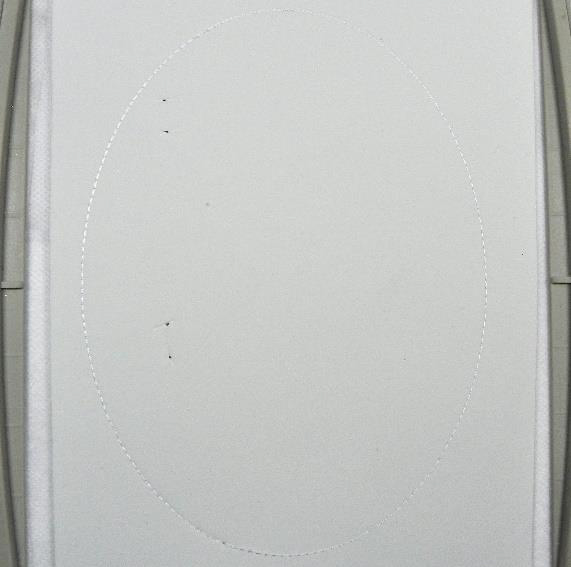
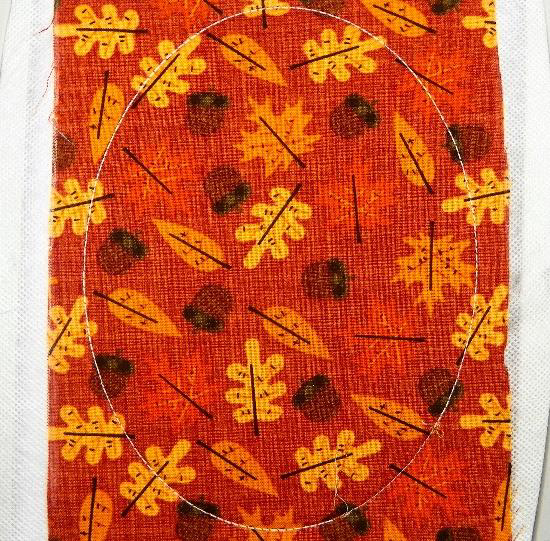
These stitches will create placement stitches for the oval applique.
Step 7:
Place the Puffy Foam over the placement stitches.
(Click Image to Enlarge)
Step 8:
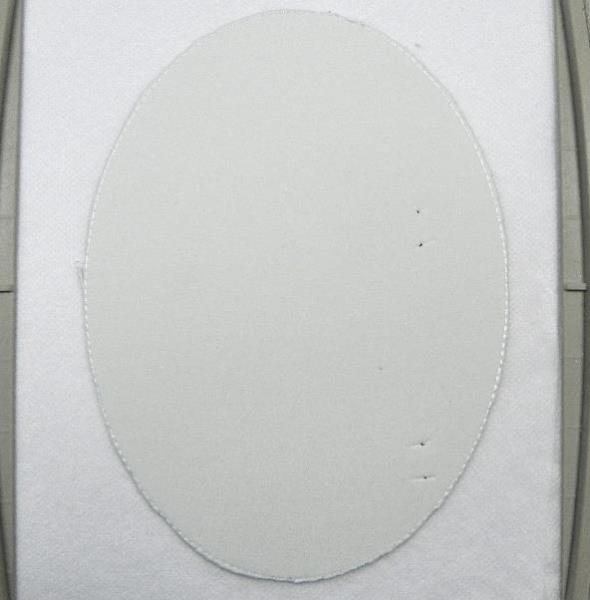
These stitches will attach the Puffy Foam to the stabilizer.
(Click Image to Enlarge)
Step 9:
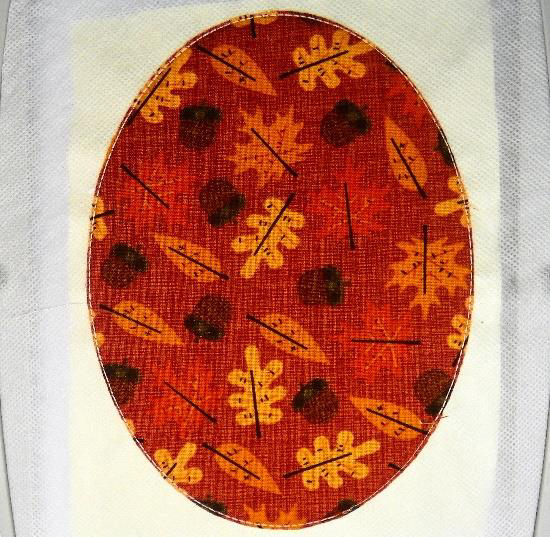
Remove hoop from machine and carefully cut away excess Puffy Foam from around the oval.
(Click Image to Enlarge)
Step 10:
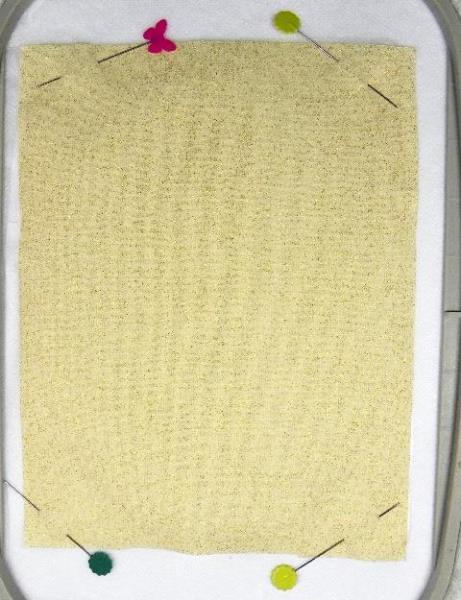
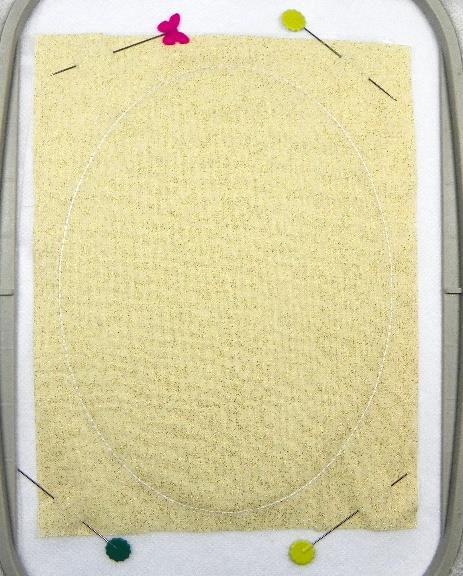
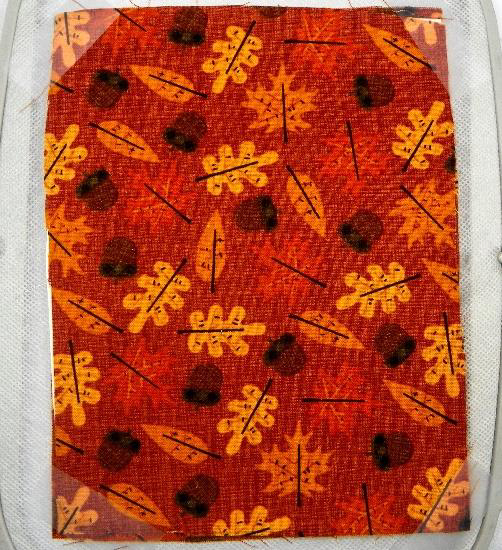
Place the front fabric piece over the Puffy Foam and secure with pins in the corners-away from the sewing area. (Tape can be used instead of pins if desired.)
(Click Image to Enlarge)
Step 11:
Return hoop to machine and sew. These stitches will attach the fabric front to the Puffy Foam and stabilizer.
(Click Image to Enlarge)
Step 12:
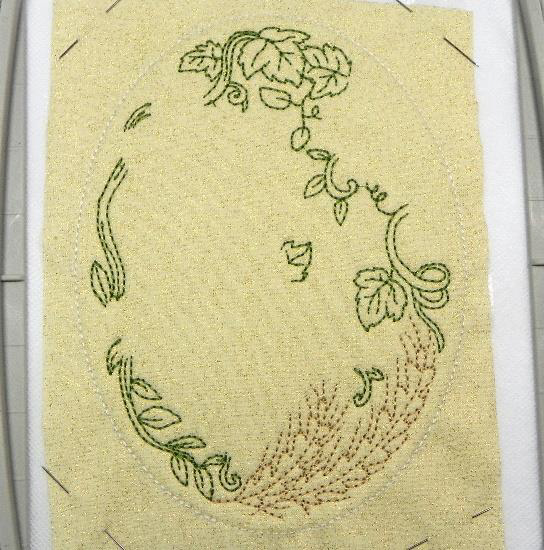
These stitches will create the wheat and the greenery of the design.
(Click Image to Enlarge)
Step 13:
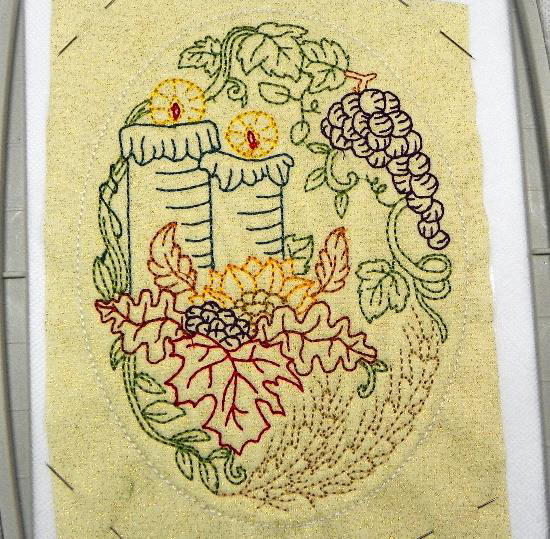
Continue sewing. These stitches will create the remainder of the design.
(Click Image to Enlarge)
Step 14:
Remove the hoop from the machine and turn upside- down on a flat surface. Cut any thread tails.
(Click Image to Enlarge)
Step 15:
Place the back, fabric piece over the back of the hoop- lining it up with the front fabric piece. Secure with tape at the four corners.
(Click Image to Enlarge)
Step 16:
Return hoop to machine and sew. These stitches will attach the back fabric to the rest of the project.
(Click Image to Enlarge)
Step 17:
Remove hoop from machine, turn upside-down and cut away excess fabric from the back of the hoop.
(Click Image to Enlarge)
Step 18:
Turn hoop to right side and cut away excess fabric from the front of the hoop.
Step 19:
Return hoop to machine and sew. These stitches will create the satin border and a decorative top stitch around the ova.
Step 20:
Remove hoop from machine and project from hoop. Cut away stabilizer from around the oval-leave about 1⁄4 inch or so to prevent cutting satin border.
Step 21:
(Click Image to Enlarge)
Remove the 1⁄4 inch of stabilizer from around the oval using a wet paper towel or Q-Tip.
Let dry and your project is complete.