Border OptionsHugging border, circle, square, or rectangle — with a 3mm satin stitch.
Backing OptionsAvailable with iron-on, sew-on, or velcro backing.
Fast ShippingShipped quickly from the USA.
Free Online Tools
Powerful embroidery utilities that save time and prevent costly mistakes.
Stitch AssistantRECOMMENDED
Get the exact stabilizer, machine settings, needle, and thread color sequence for every embroidery design you purchase — based on that design's stitch density, dimensions, and color count.
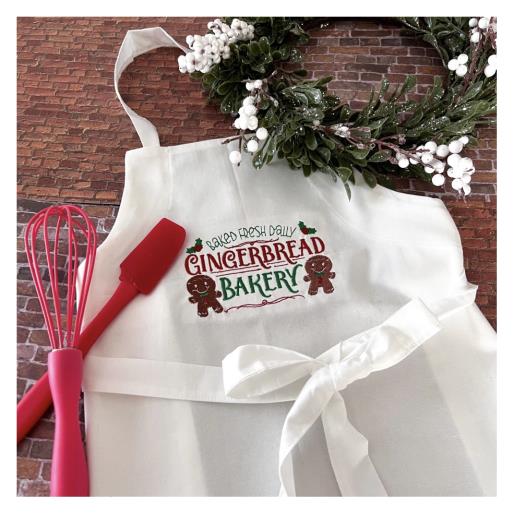
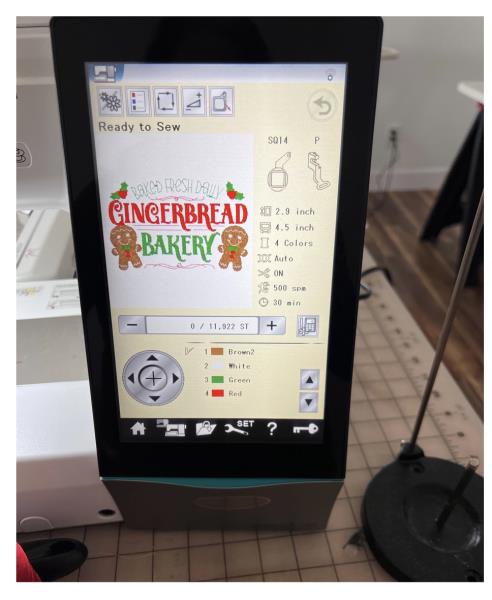
Easy tutorial with the beginner machine embroiderer in mind. Create a holiday memory with your lil baker and stitch up a store purchased child’s apron with this fun design. Approximately a 30 minute stitch out time @ 500 SPM (Stitches Per Minute) Refer to your machine's instruction manual on adjusting speed) A safe bet speed for standard fabrics in a typical machine embroidery situation is 500 - 700 SPM. Design file size used in this tutorial 4.50" x 2.93"
Step 1:
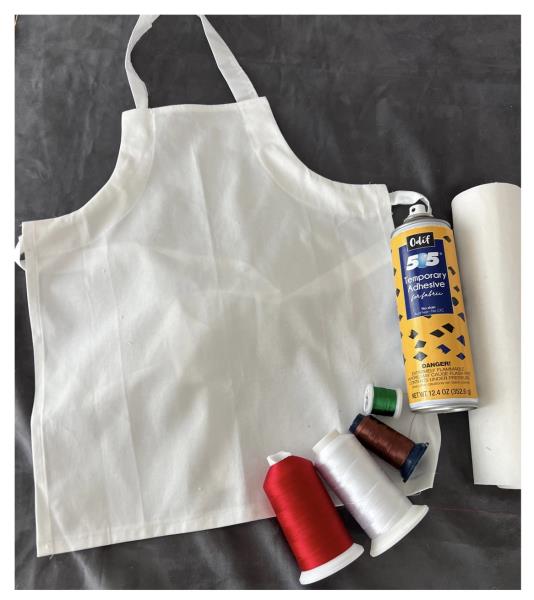
Gather all supplies and review instructions before beginning.
(Click Image to Enlarge)
Step 2:
Load design file into your machine.
(Click Image to Enlarge)
Step 3:
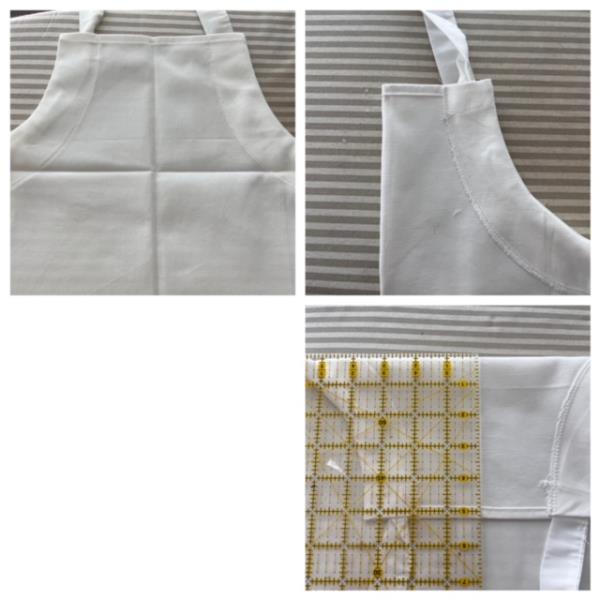
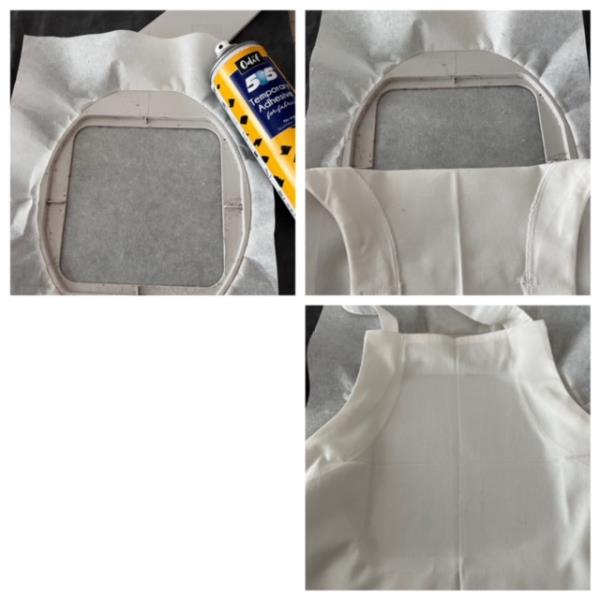
Fold apron to create a creased center crosshair and axis line markings on the bib of your apron.( Fold apron in half lengthwise and iron press. Fold bib down 5” and iron press.) Optional: Print paper template of embroidery design and center template onto bib of apron using creased markings as your guide and mark axis points.
(Click Image to Enlarge)
Step 4:
Hoop stabilizer. Spray temporary adhesive spray directly only stabilizer. Center apron on top of stabilizer matching creased axis point line markings to your hoops built in markings. Finger press and smooth out fabric to secure and adhere to stabilizer. Ensure your straps are out of the embroidering stitch out area.
(Click Image to Enlarge)
Step 5:
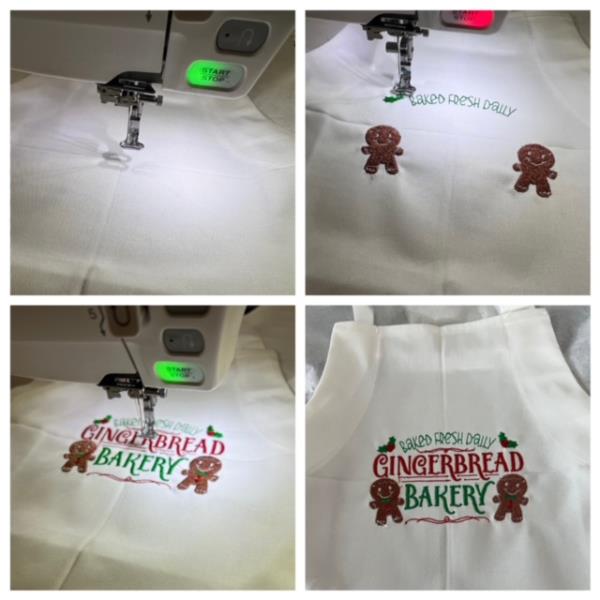
Attach hoop to machine. Confirm center needle placement to center of creased crosshair. If needed make any adjustments by referring to your machine’s instruction manual. Refer to design file for thread colors. Begin stitch out process. Design stitch out complete. Detach hoop from machine. Cut and trim all jump stitches and loose thread ends. Remove stabilizer. Iron press.
(Click Image to Enlarge)
Step 6:
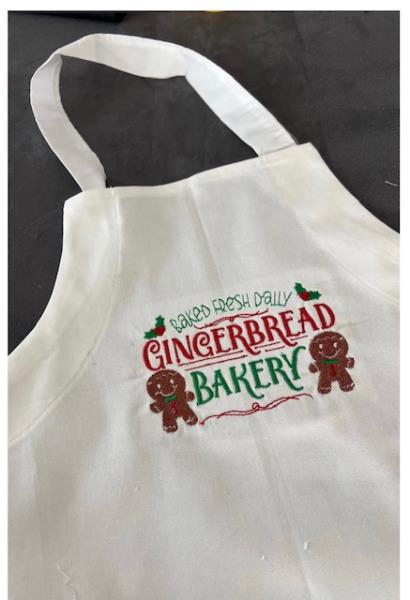
Your Gingerbread Bakery Apron is done! Way to go! Have fun baking with your lil baker while making memories that will last a lifetime