Border OptionsHugging border, circle, square, or rectangle — with a 3mm satin stitch.
Backing OptionsAvailable with iron-on, sew-on, or velcro backing.
Fast ShippingShipped quickly from the USA.
Free Online Tools
Powerful embroidery utilities that save time and prevent costly mistakes.
Stitch AssistantRECOMMENDED
Get the exact stabilizer, machine settings, needle, and thread color sequence for every embroidery design you purchase — based on that design's stitch density, dimensions, and color count.
All color stops can be stitched with same color thread. If you wish to match the top thread color with the border color purchase 60wt thread in the same color as you will use on top. The density in my designs is set for use of 60wt threads in the bobbin. Personally, I use white bobbin thread in the bobbin for these designs as no one should be lifting them to look at the back. It is recommended that you spray your fabric squares with spray starch and press a couple of times before you begin the project as it makes the trimming so close to the tack stitches easier and reduces fraying on the cut edges.
Step 1:
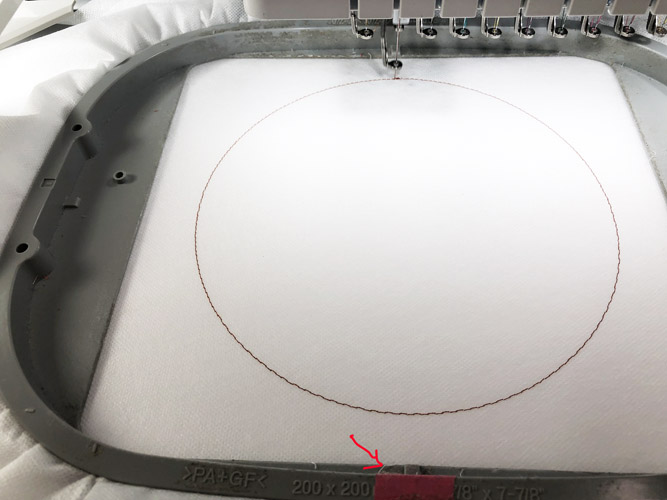
Cut fabric and batting to size per the materials list. Tautly hoop two layers of fibrous water-soluble stabilizer in your hoop. If using a multi-needle machine mark one side of your hoop with embroidery tape. Use the tape as a reference point so that you always have it facing towards you or towards the back of the machine, as most of these are circular designs so you do not get confused as to which side of the hoop to back into the machine. This is not an issue with single needle machines. Run the first color-stop (CS 1) as a placement line for the batting and fabric.
(Click Image to Enlarge)
Step 2:
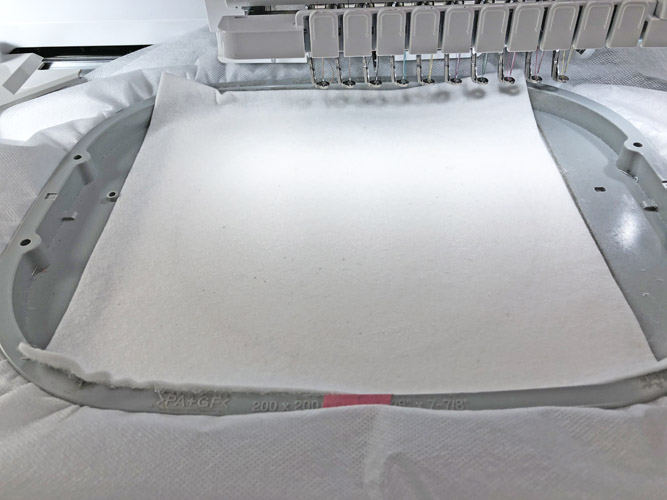
Spray adhesive on the Battilizer® square and position it over the placement line so that the batting exceeds the placement line by at least ½” on all sides.
(Click Image to Enlarge)
Step 3:
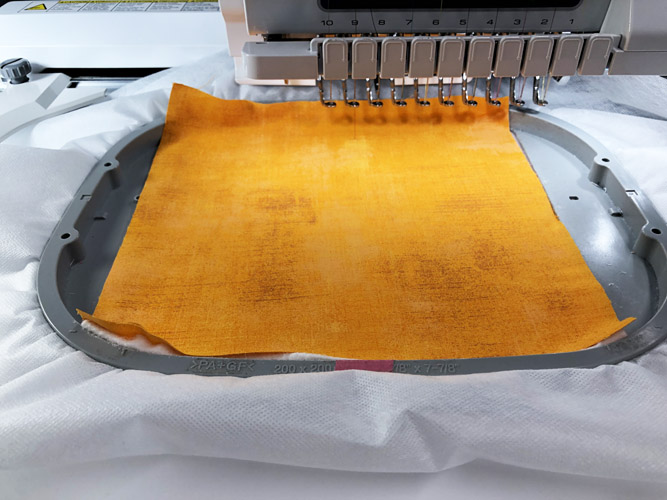
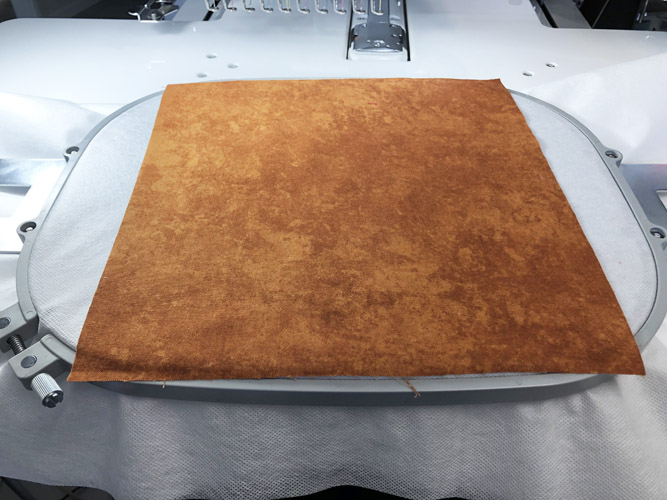
Spray adhesive on the back of one of the fabric squares and align it over the batting.
(Click Image to Enlarge)
Step 4:
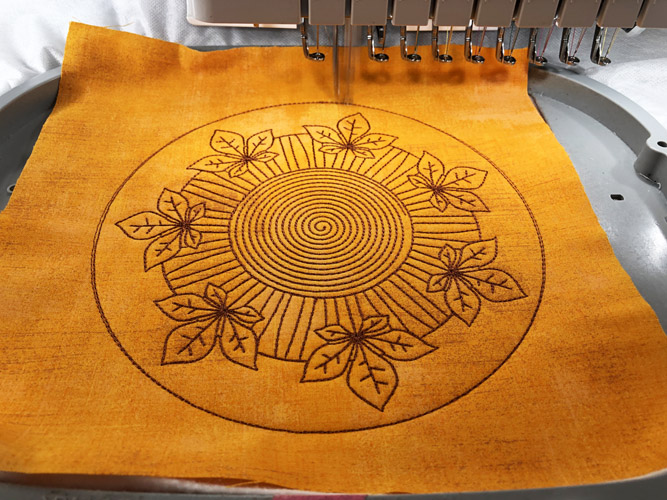
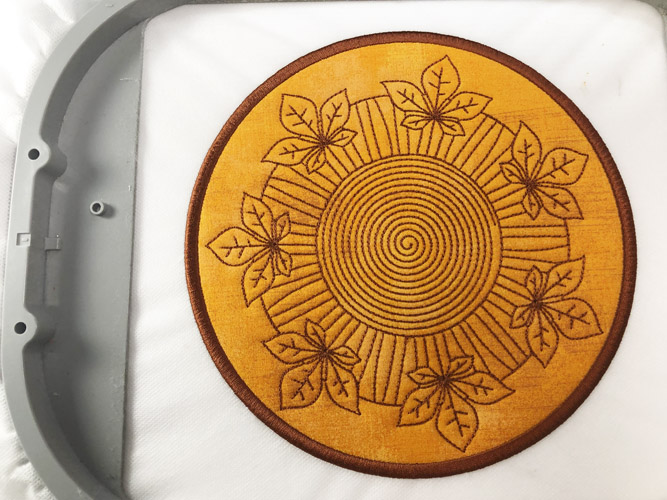
Run CS 2 to tack down the fabric and batting. Run CS 3 to embroider the inner design.
(Click Image to Enlarge)
Step 5:
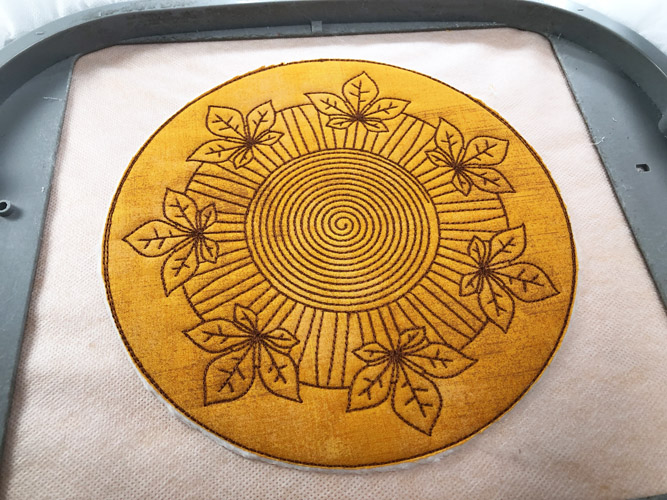
Remove the hoop from the machine, do not unhoop. Place the hoop face down on a flat surface. Spray adhesive on the remaining fabric square a position it over the tack down lines so that the fabric exceeds the tack down stitches on all sides by at least ½”. Return the hoop to the machine and run CS 4 to tack down the back fabric.
(Click Image to Enlarge)
Step 6:
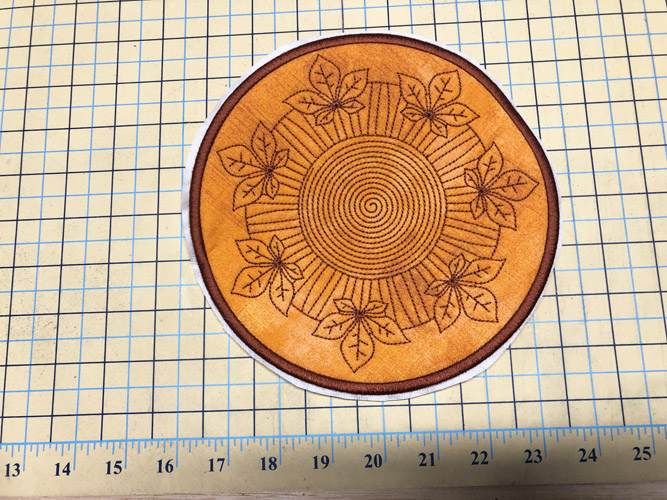
Remove the hoop from the machine. Trim the fabric and batting right up next to the tack down stitches.
(Click Image to Enlarge)
Step 7:
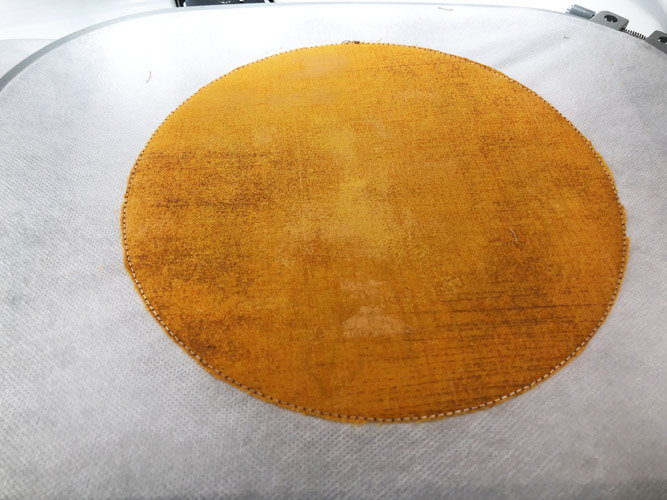
Trim the fabric on the back of the hoop right up next to the tack down stitches.
(Click Image to Enlarge)
Step 8:
Return the hoop to the machine and run the last CS to border the mat.
(Click Image to Enlarge)
Step 9:
Being careful not to cut the satin border, trim the excess stabilizer away about ¼” from the border.
(Click Image to Enlarge)
Step 10:
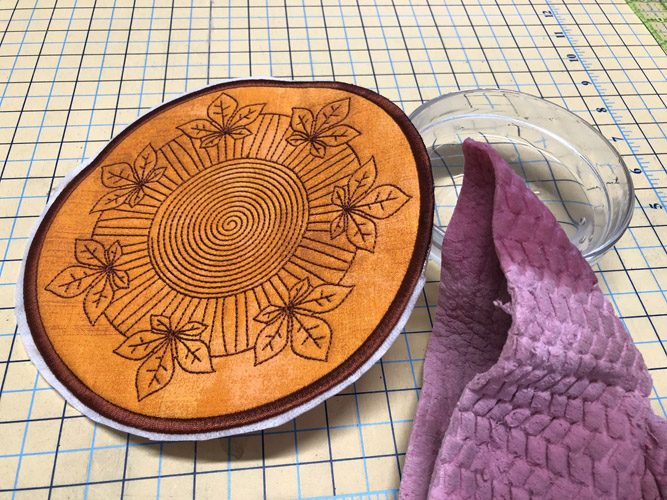
Fill a small bowl with hot water. Dip a rag or sponge in the hot water and rub along the satin border to remove the remaining stabilizer.
(Click Image to Enlarge)
Step 11:
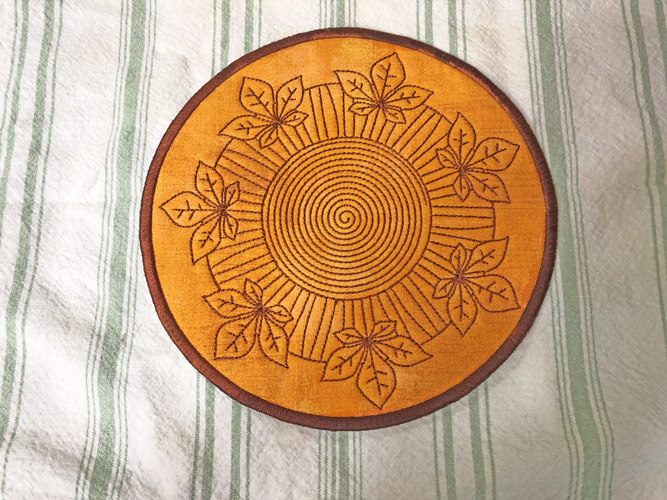
Lay the mat on a smooth, loop free, kitchen towel to dry.
(Click Image to Enlarge)
Step 12:
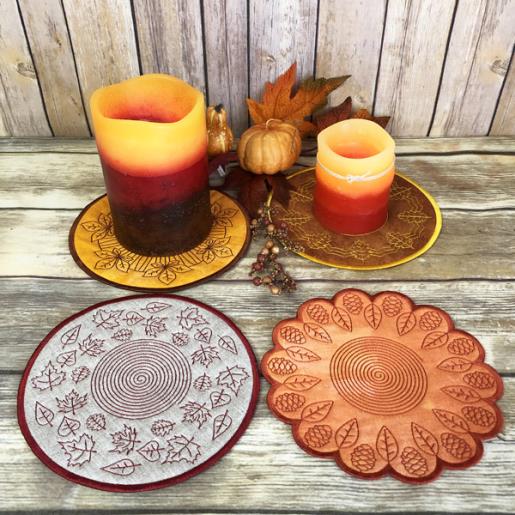
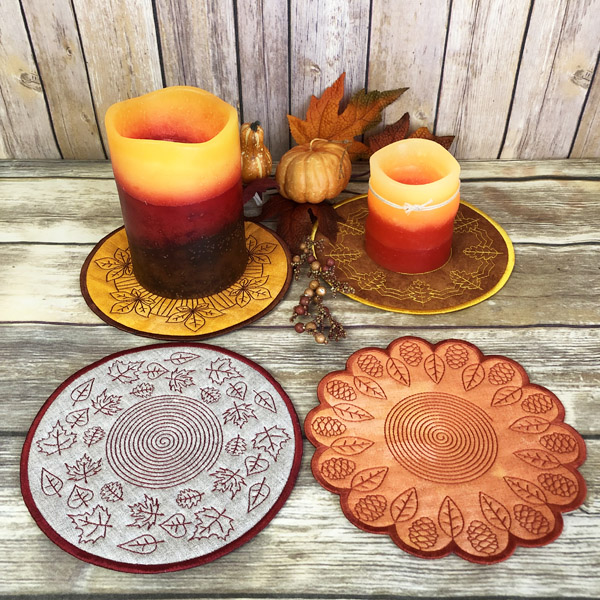
Congratulations your ITH Autumn Candle Mat is complete! Arrange your electric candle and Autumn leaves to complete your décor!
Award winning Digitizer, Embroidery Educator, Author and a Consultant to the Industry, Pat Williams has 30 years of experience in the embroidery industry. Pat has won multiple awards for her digitizing expertise including the 2007 Impressions Awards Grand Championship, Best of Show as well as the 1st and 2nd Place Awards. Pat’s love of digitizing has afforded her the opportunity to write numerous articles for Impressions magazine in the United States and Images Magazine in Europe. In 2001 Pat was named “Embroidery Educator of the Year.” For many years Pat taught digitizing seminars at the ISS Shows in Long Beach, CA and for Compucon software. She now resides in Tucson, AZ.