Border OptionsHugging border, circle, square, or rectangle — with a 3mm satin stitch.
Backing OptionsAvailable with iron-on, sew-on, or velcro backing.
Fast ShippingShipped quickly from the USA.
Free Online Tools
Powerful embroidery utilities that save time and prevent costly mistakes.
Stitch AssistantRECOMMENDED
Get the exact stabilizer, machine settings, needle, and thread color sequence for every embroidery design you purchase — based on that design's stitch density, dimensions, and color count.
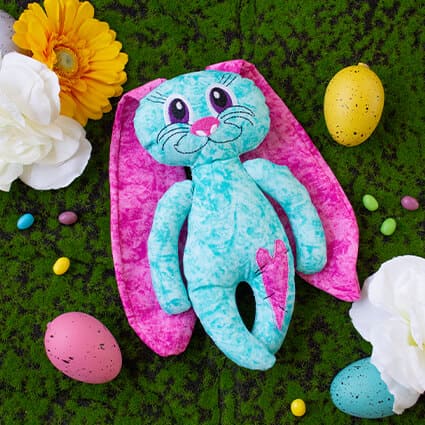
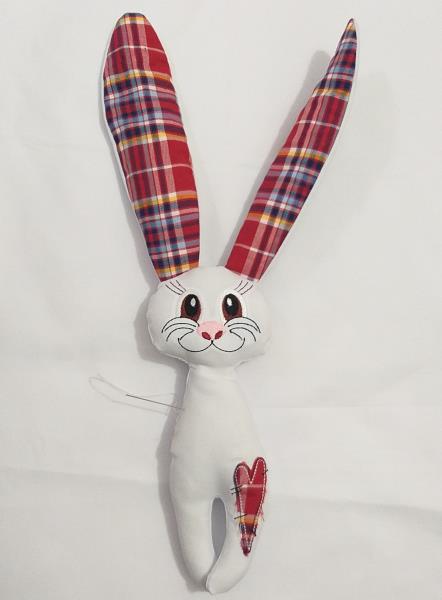
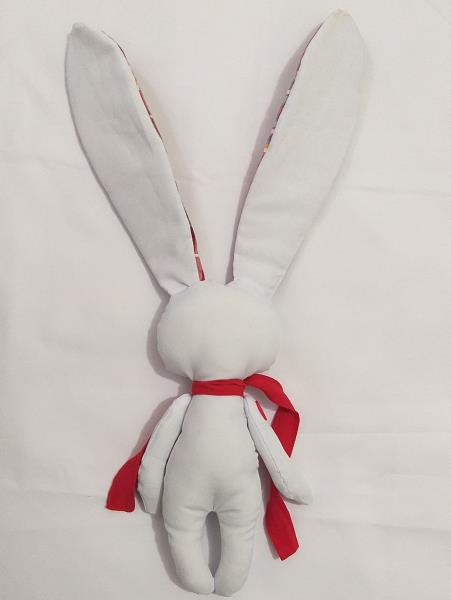
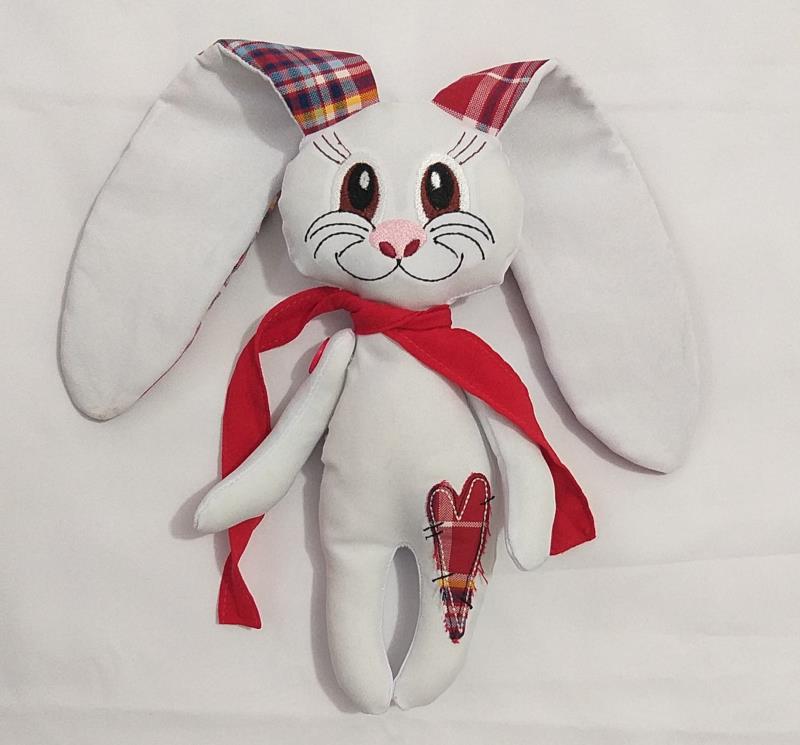
Create an adorable ITH bunny stuffed toy with bright fabric colors. Perfect for seasonal decorations or as a delightful plush companion. Easily crafted in under 30 minutes, this project is ideal for quick and fun crafting sessions. Step-by-step instructions are included.
This is a collaboration between ITH Boutique and Laura. The copyrights to digitizing and project instructions belongs to Laura
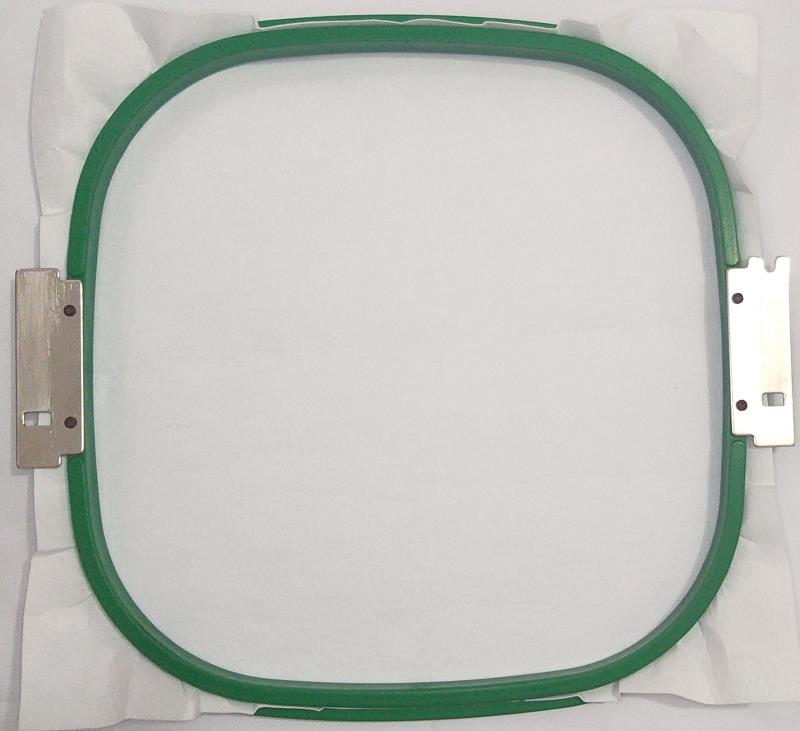
Step 1:
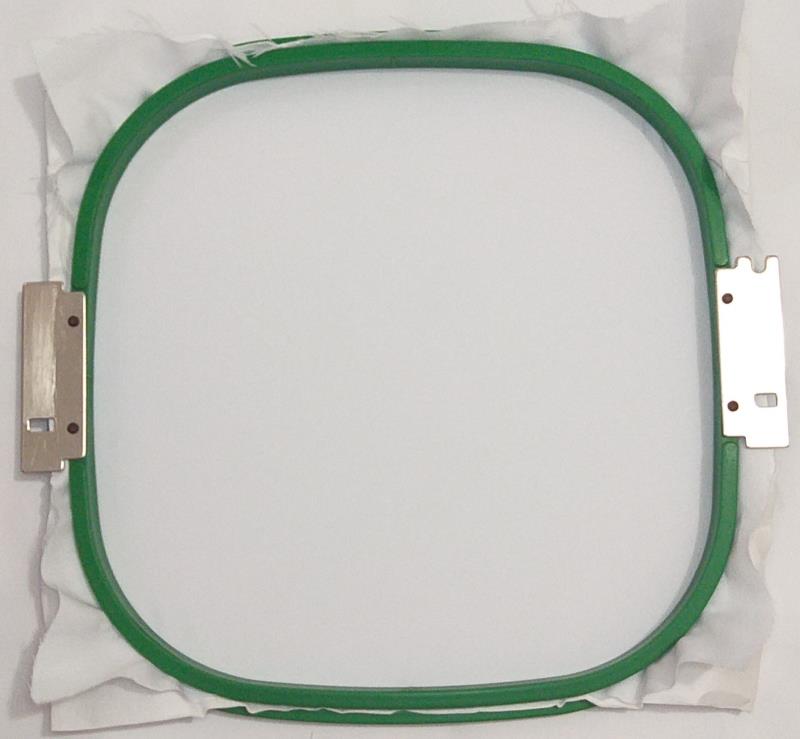
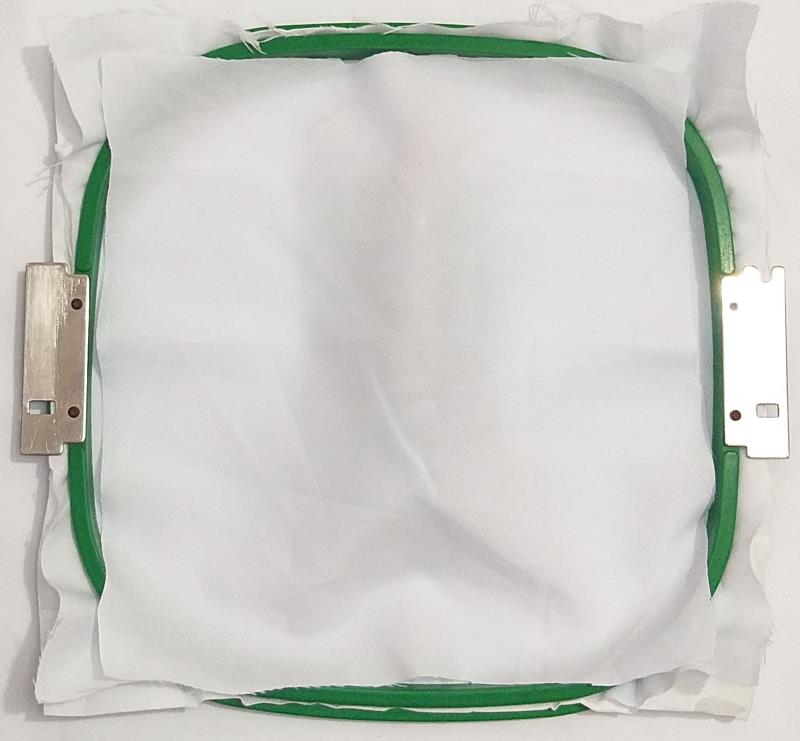
For the Bunny ears tautly hoop 2.5-ounce cutaway stabilizer in your embroidery hoop.
(Click Image to Enlarge)
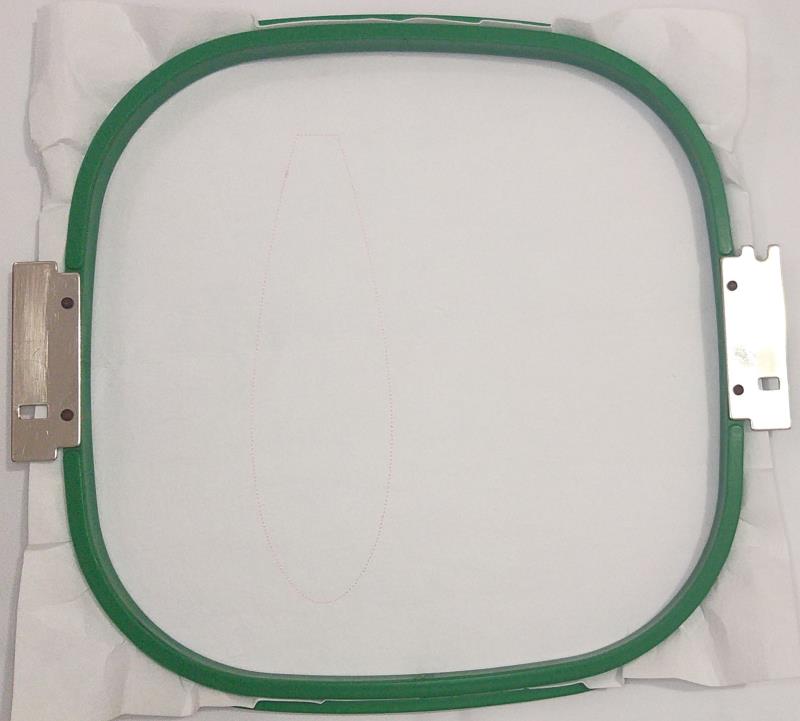
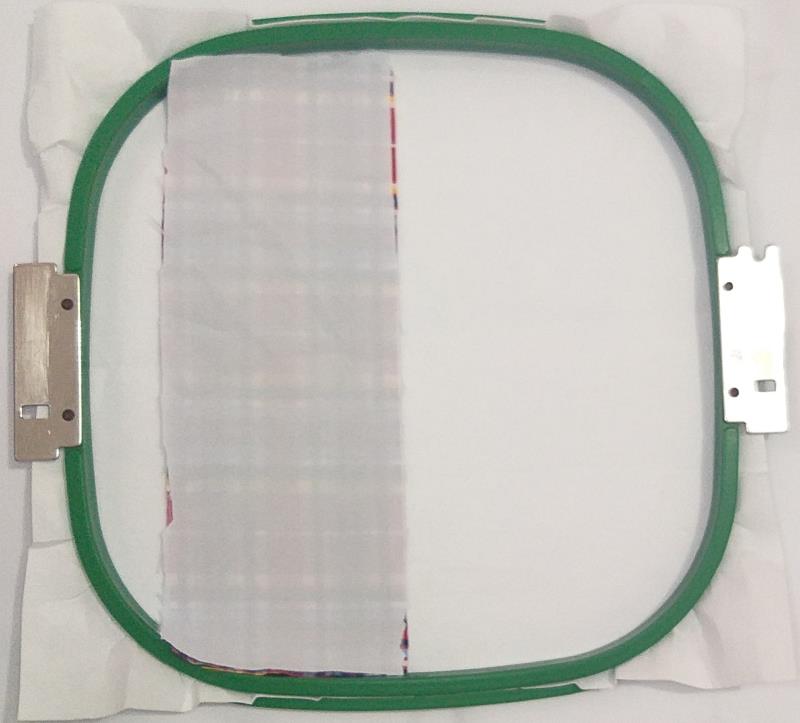
Step 2:
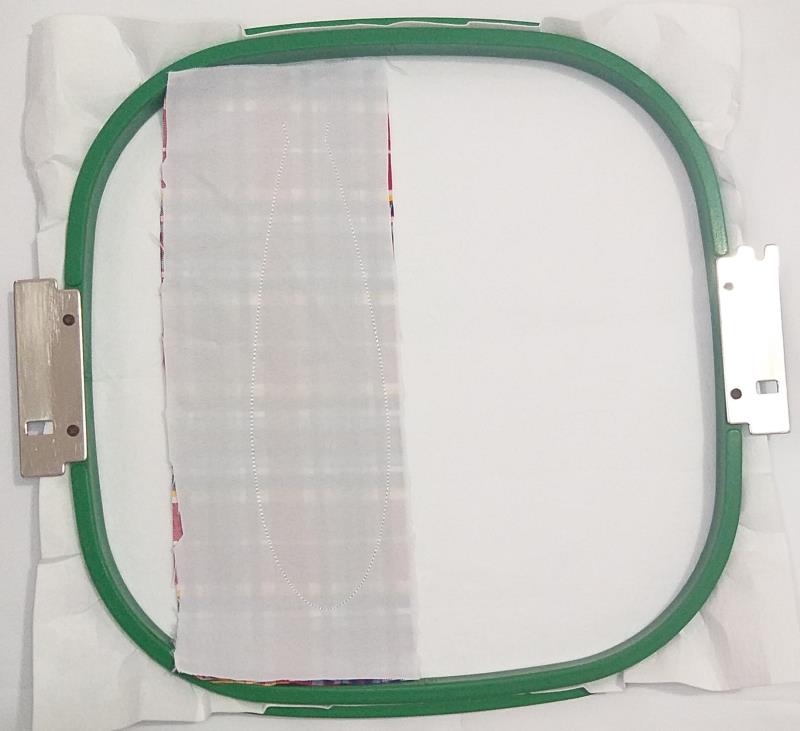
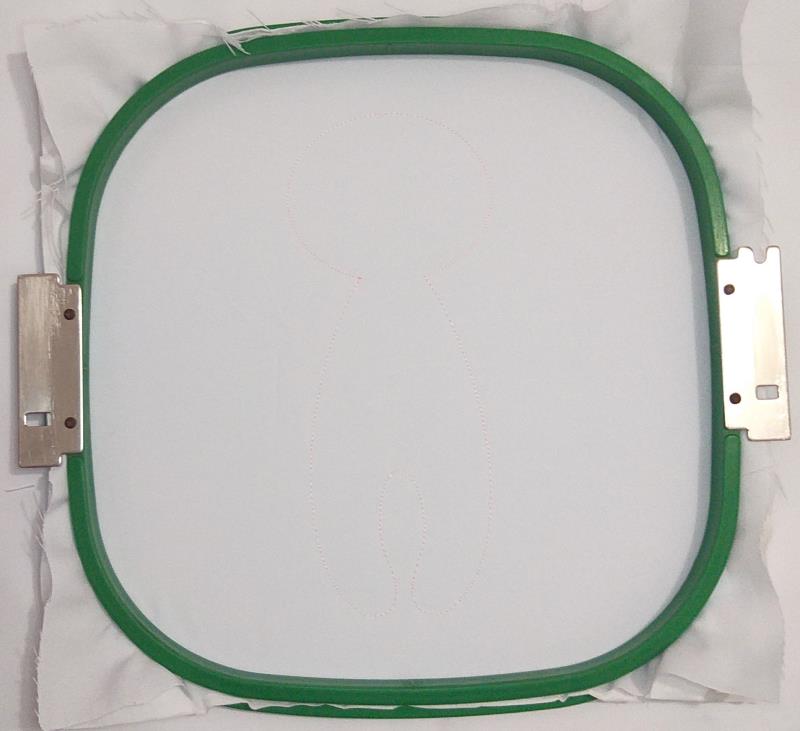
Run the 1st color-stop as a placement line.
(Click Image to Enlarge)
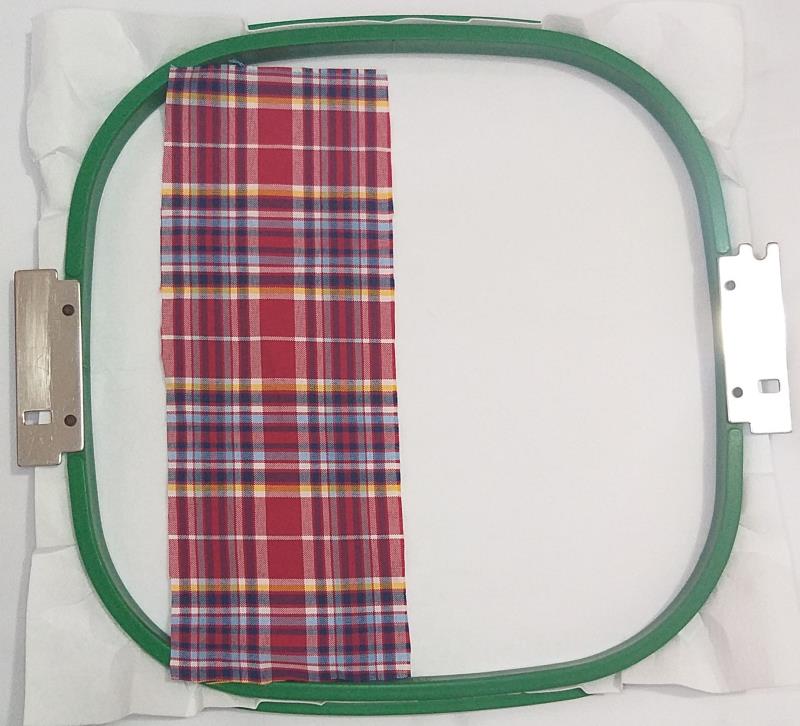
Step 3:
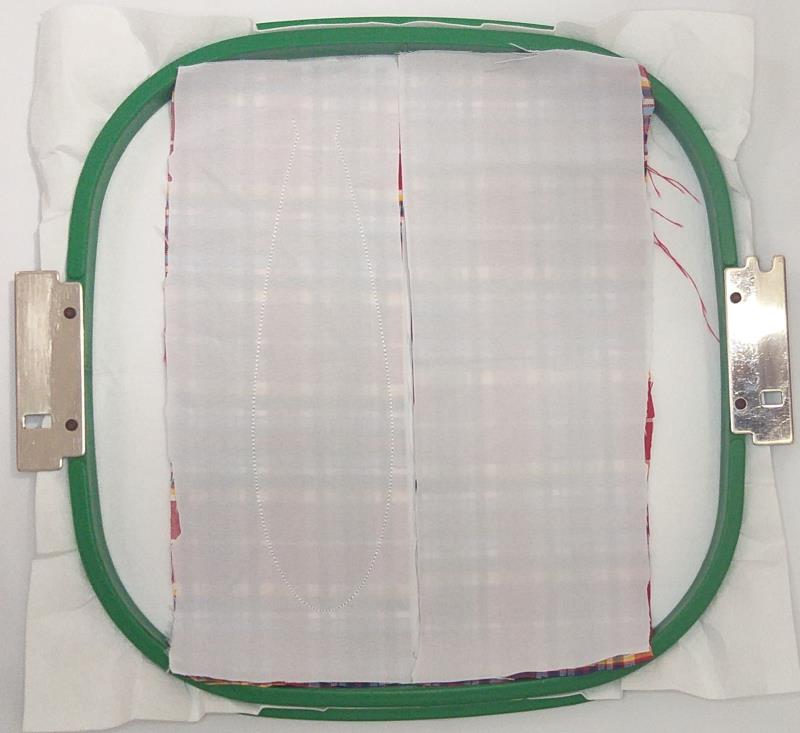
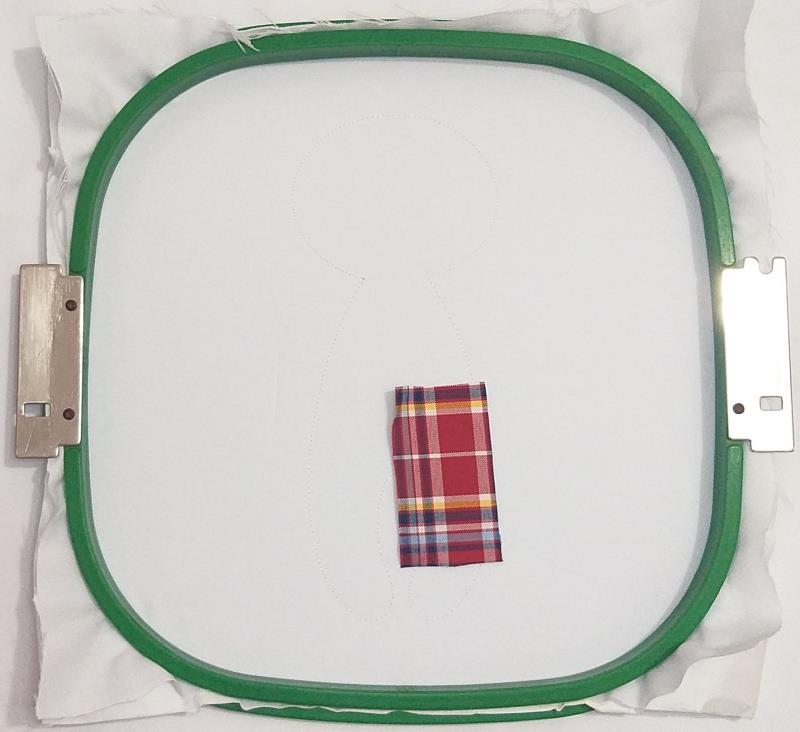
Remove the hoop from the machine, do not unhoop. Spray Repositionable adhesive on a rectangle of printed cloth fabric and cover the placement line with it.
(Click Image to Enlarge)
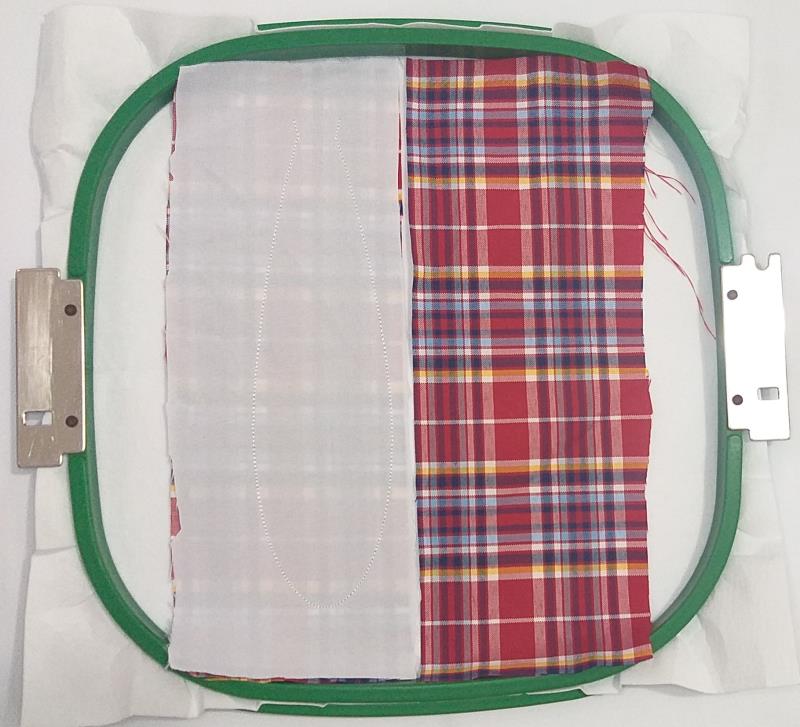
Step 4:
Spray Repositionable adhesive on a rectangle of printed cloth fabric and cover the rectangle of printed cloth fabric with it.
(Click Image to Enlarge)
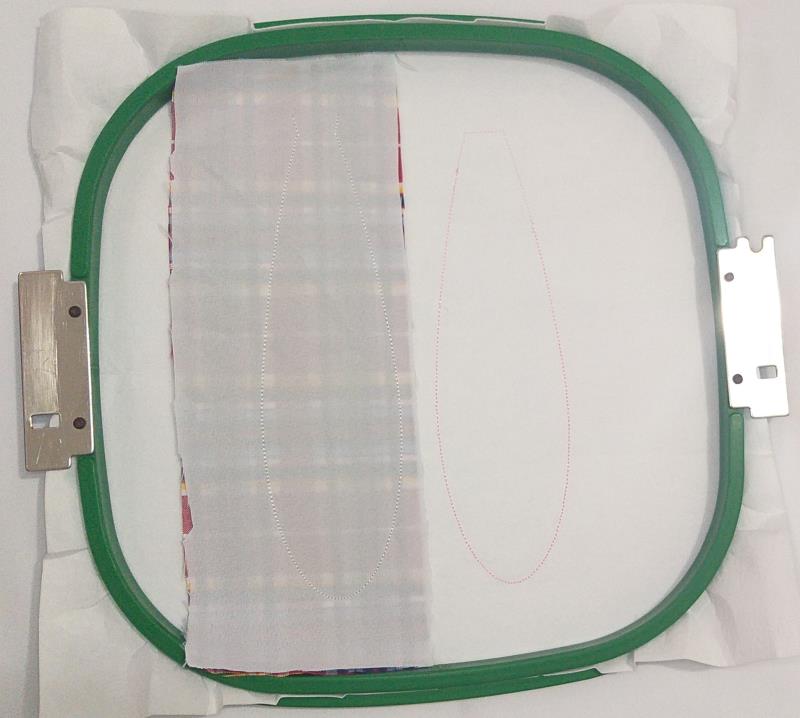
Step 5:
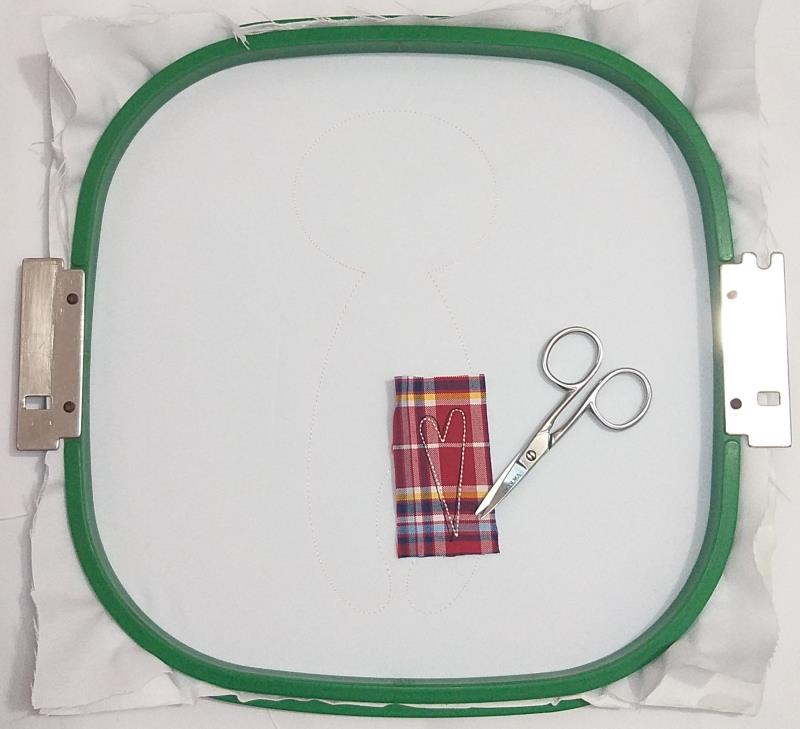
Run color-stop 2 to fix the fabric.
(Click Image to Enlarge)
Step 6:
Run the color-stop 3 as a placement line.
(Click Image to Enlarge)
Step 7:
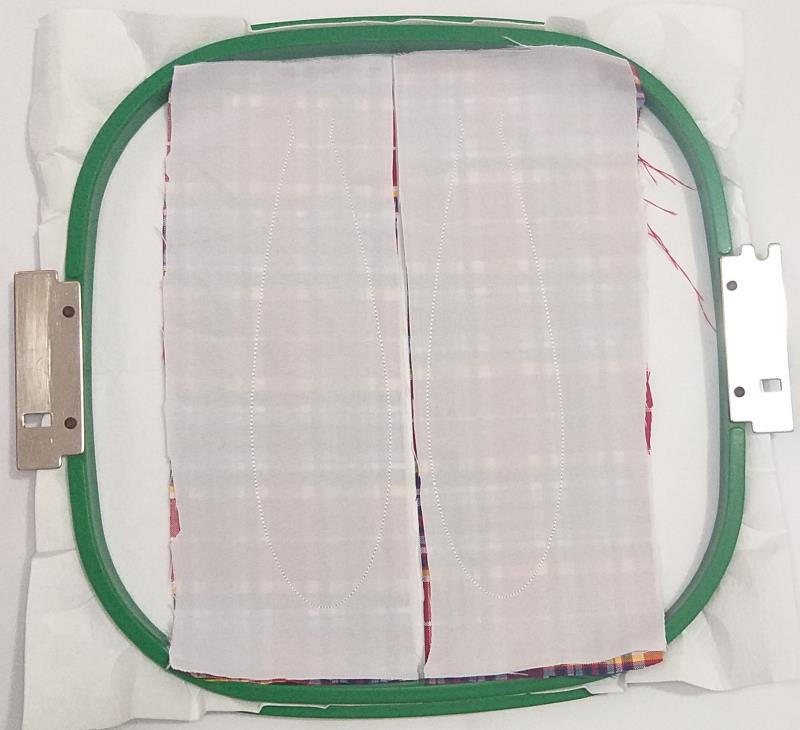
Remove the hoop from the machine, do not unhoop. Spray Repositionable adhesive on a rectangle of printed cloth fabric and cover the placement line with it.
(Click Image to Enlarge)
Step 8:
Spray Repositionable adhesive on a rectangle of printed cloth fabric and cover the rectangle of printed cloth fabric with it.
(Click Image to Enlarge)
Step 9:
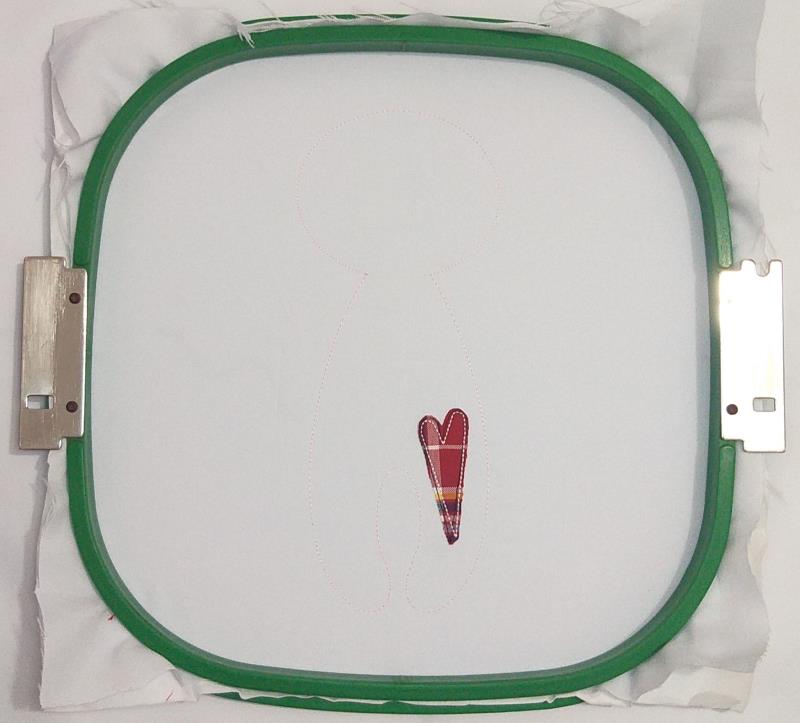
Run color-stop 4 to fix the fabric.
(Click Image to Enlarge)
Step 10:
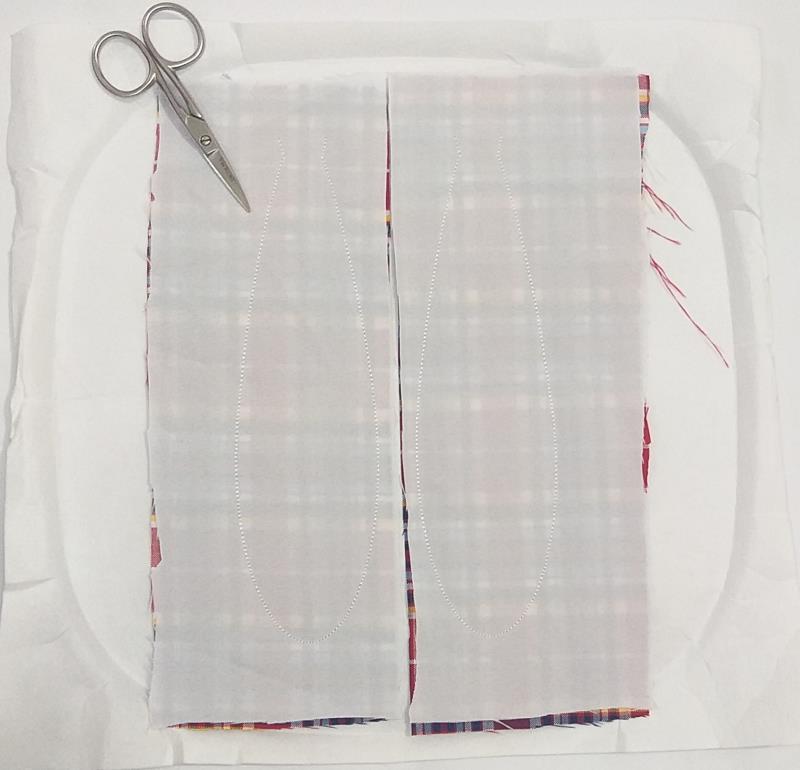
Remove the project from the hoop.
(Click Image to Enlarge)
Step 11:
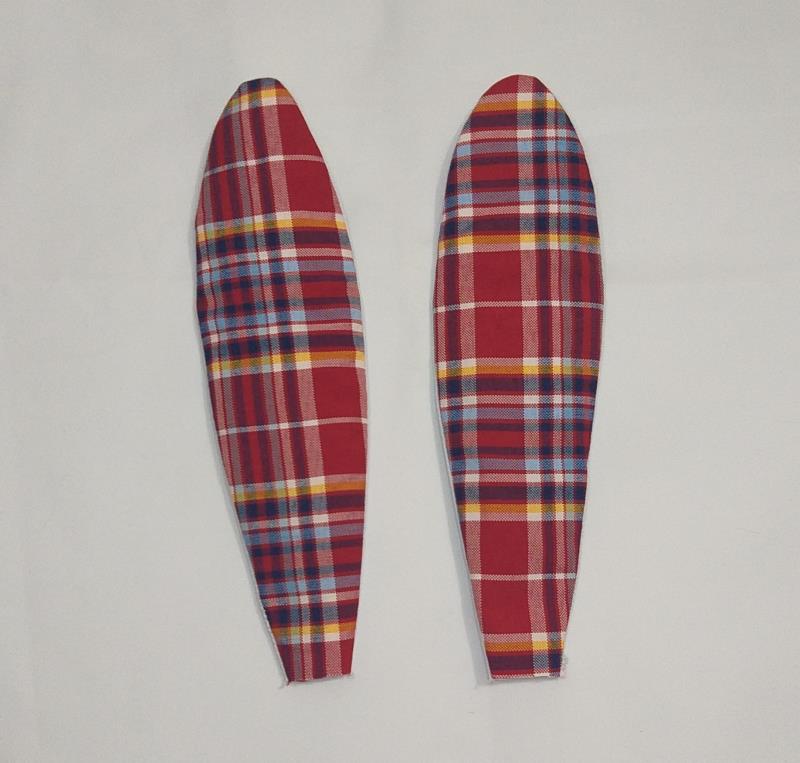
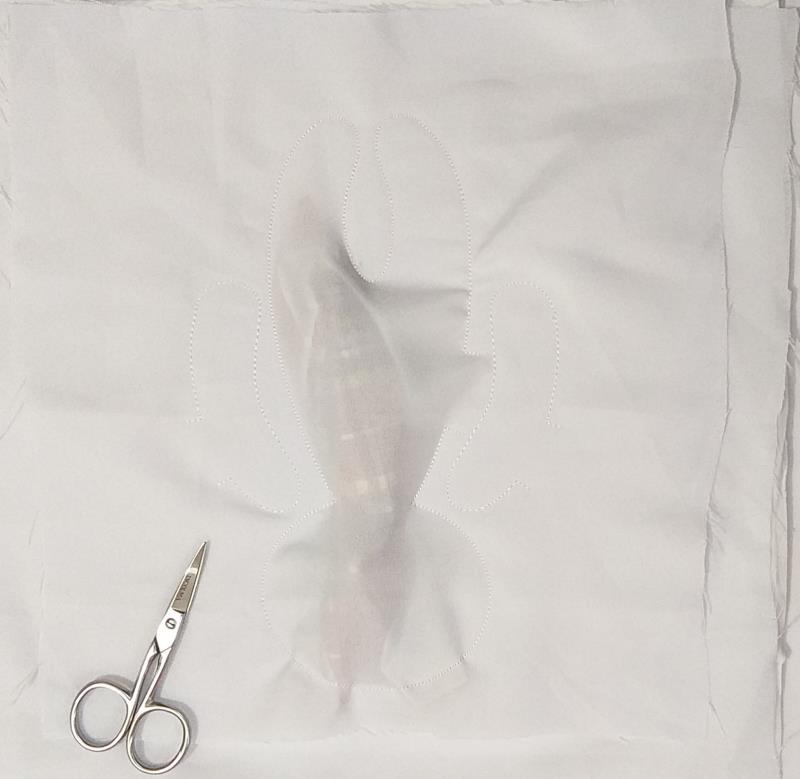
Cut out the outline of the design with sharp scissors, leaving a homogeneous margin.
(Click Image to Enlarge)
Step 12:
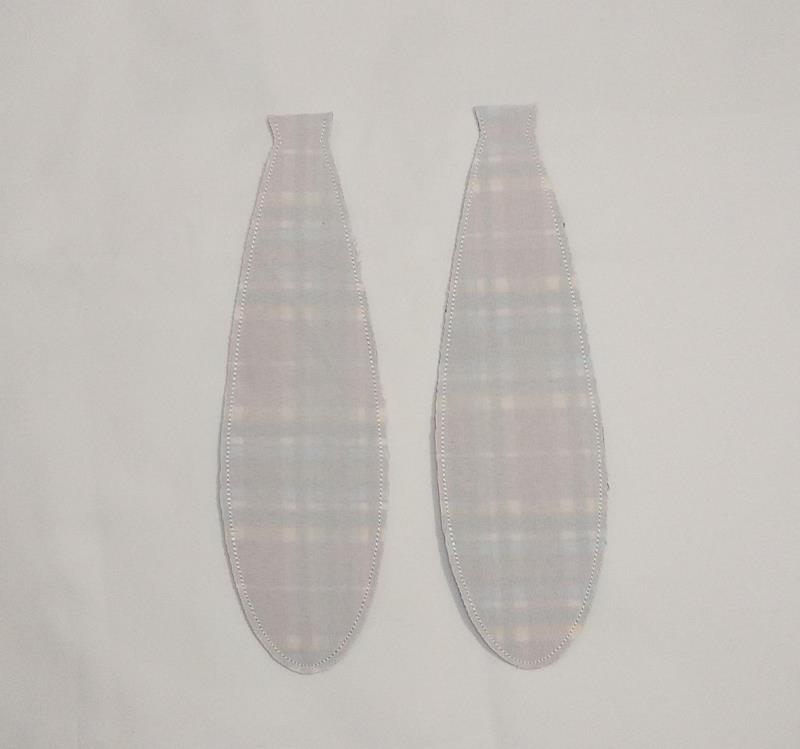
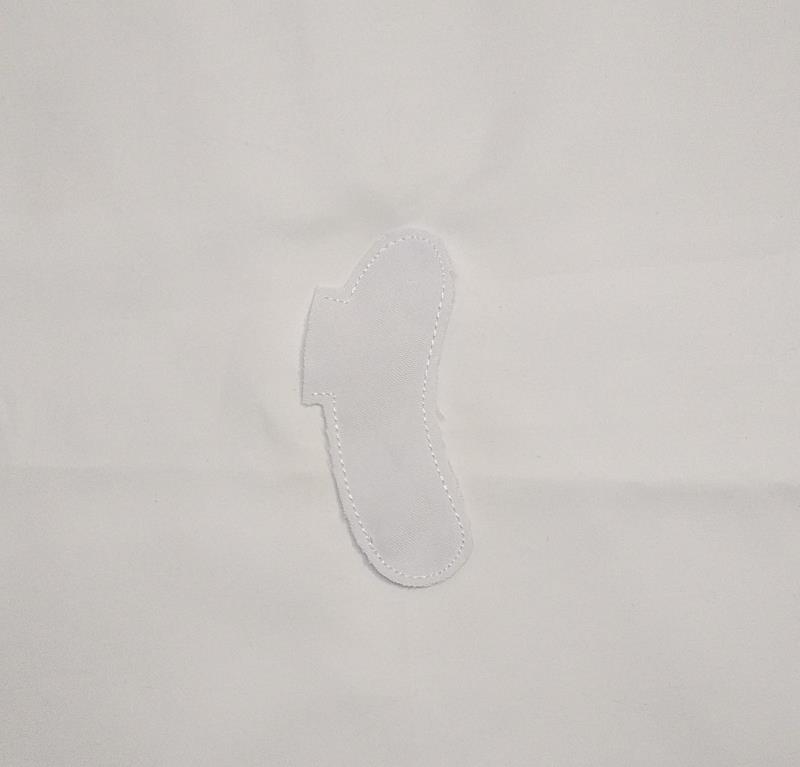
Flip it over like socks and save it for later.
(Click Image to Enlarge)
Step 13:
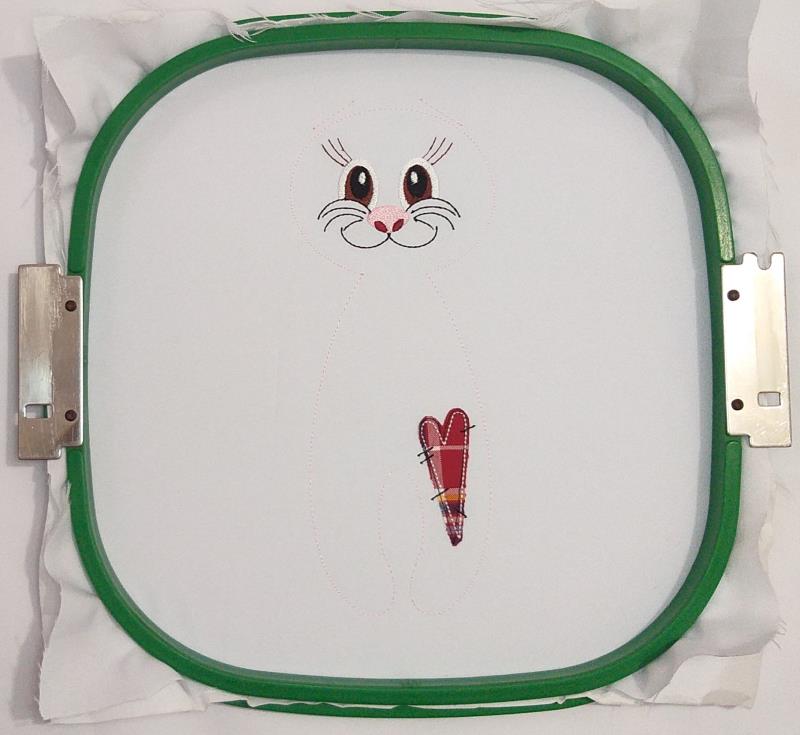
For the Bunny version tautly hoop 2.5-ounce cutaway stabilizer and white fabric in your embroidery hoop.
(Click Image to Enlarge)
Step 14:
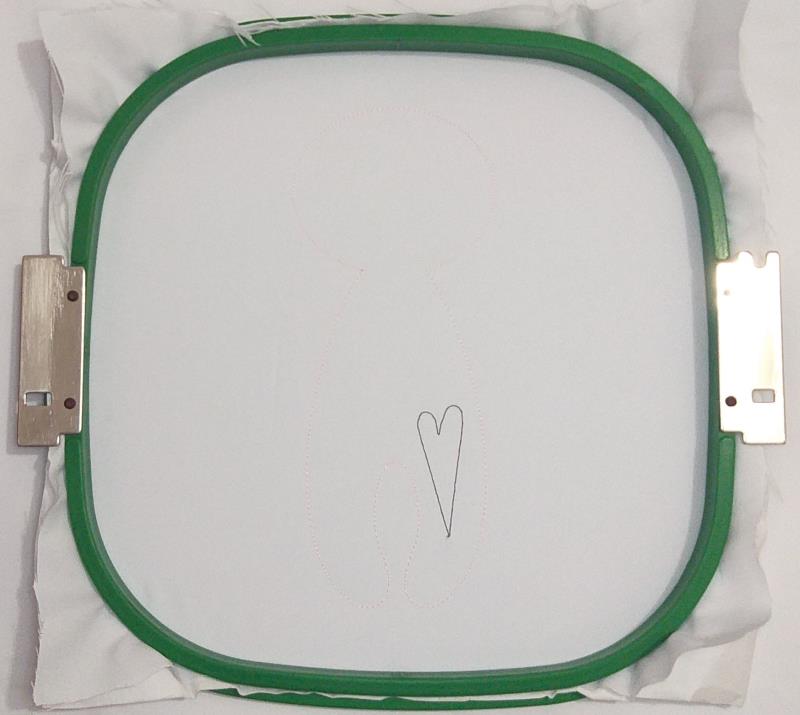
Run the 1st color-stop.
(Click Image to Enlarge)
Step 15:
Run the color-stop 2 as a placement line.
(Click Image to Enlarge)
Step 16:
Remove the hoop from the machine, do not unhoop. Spray Repositionable adhesive on a rectangle of printed cloth fabric and cover the placement line with it.
(Click Image to Enlarge)
Step 17:
Repeat color-stop 2 and run color-stop 2 to fix the fabric.
(Click Image to Enlarge)
Step 18:
Remove the hoop from the machine, do not unhoop. Cut off the excess fabric.
(Click Image to Enlarge)
Step 19:
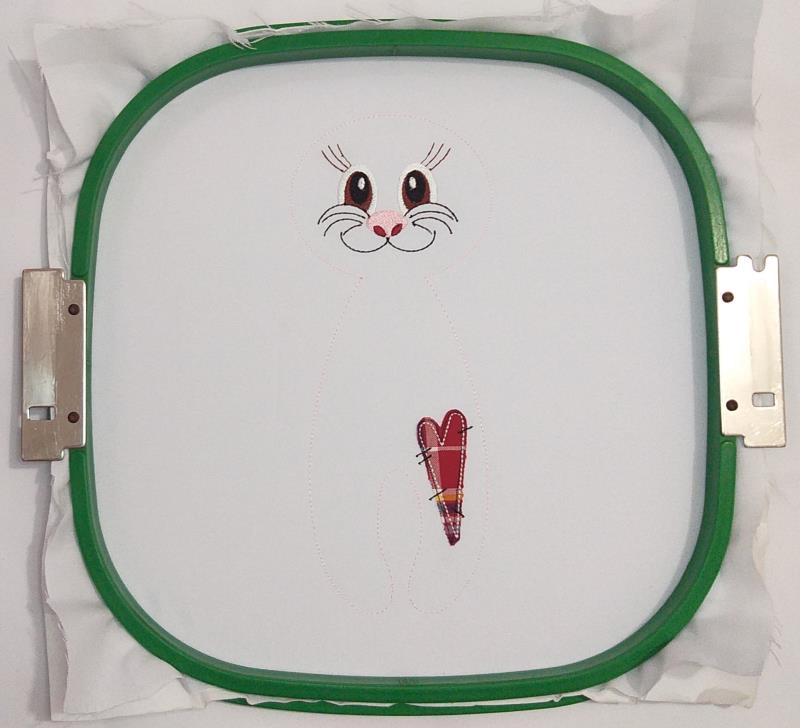
Run color-stop 4 through color-stop 10.
(Click Image to Enlarge)
Step 20:
Run the color-stop 11 as a placement line.
(Click Image to Enlarge)
Step 21:
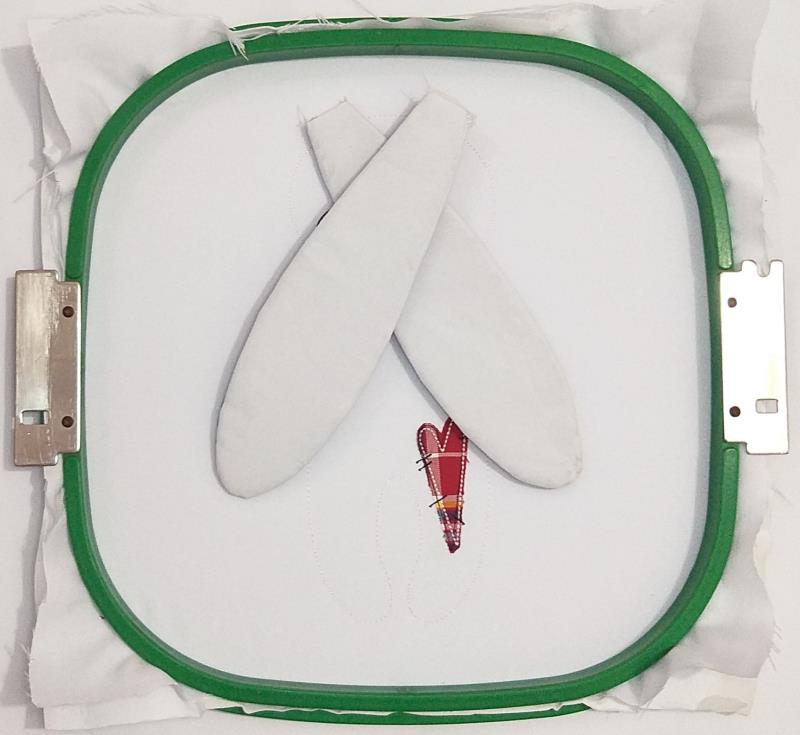
Align the ears with the placement lines as indicated in the image.
(Click Image to Enlarge)
Step 22:
run color-stop 12 to fix the ears.
(Click Image to Enlarge)
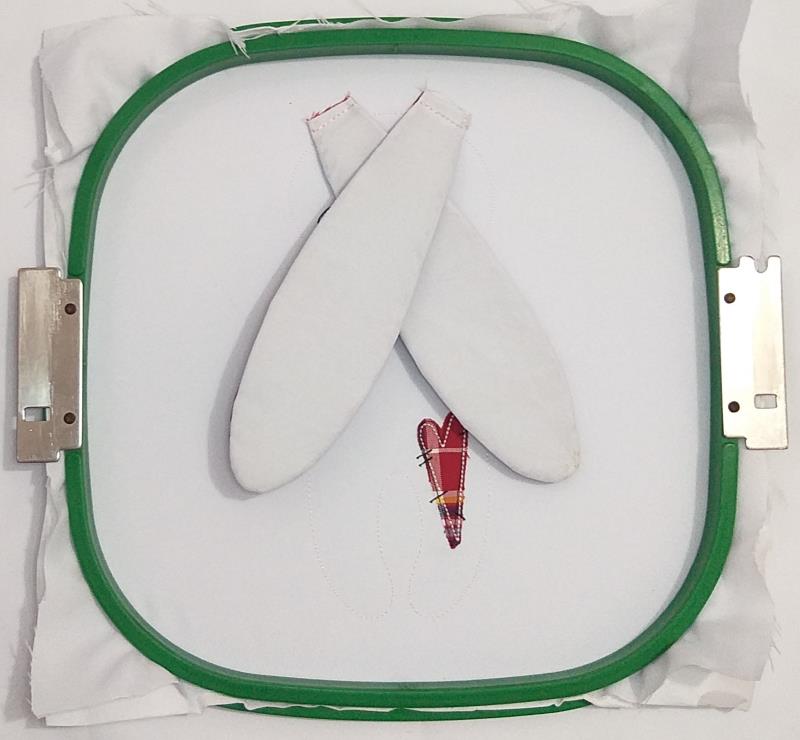
Step 23:
Secure the ears with a pin as indicated in the image, and make sure they do not exceed the placement line left by the 1st color-stop.
(Click Image to Enlarge)
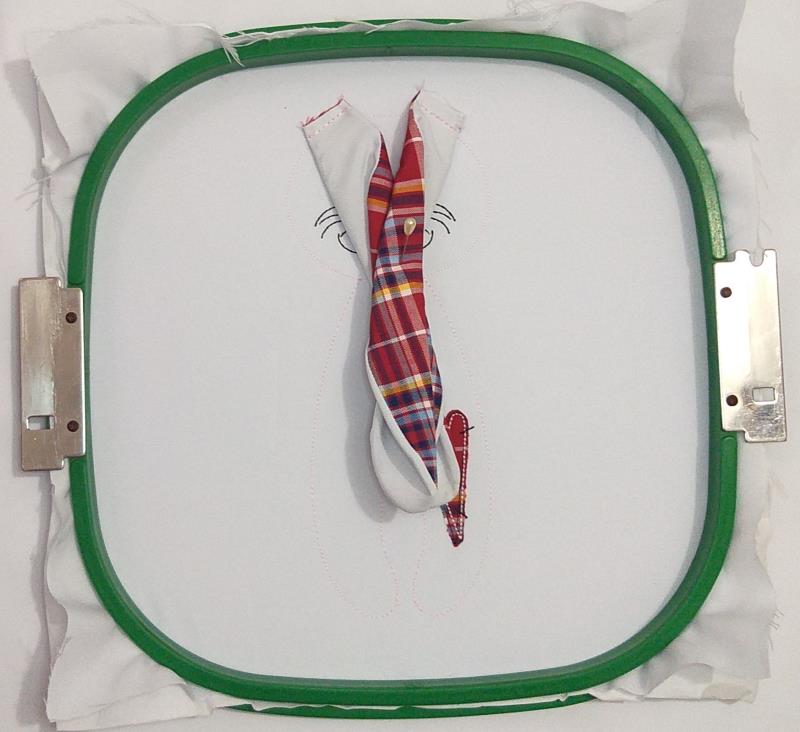
Step 24:
Spray Repositionable adhesive on a square of white fabric and cover almost the whole hoop with it.
(Click Image to Enlarge)
Step 25:
Run color-stop 13 and color-stop 14 to fix the fabric.
(Click Image to Enlarge)
Step 26:
Remove the project from the hoop.
(Click Image to Enlarge)
Step 27:
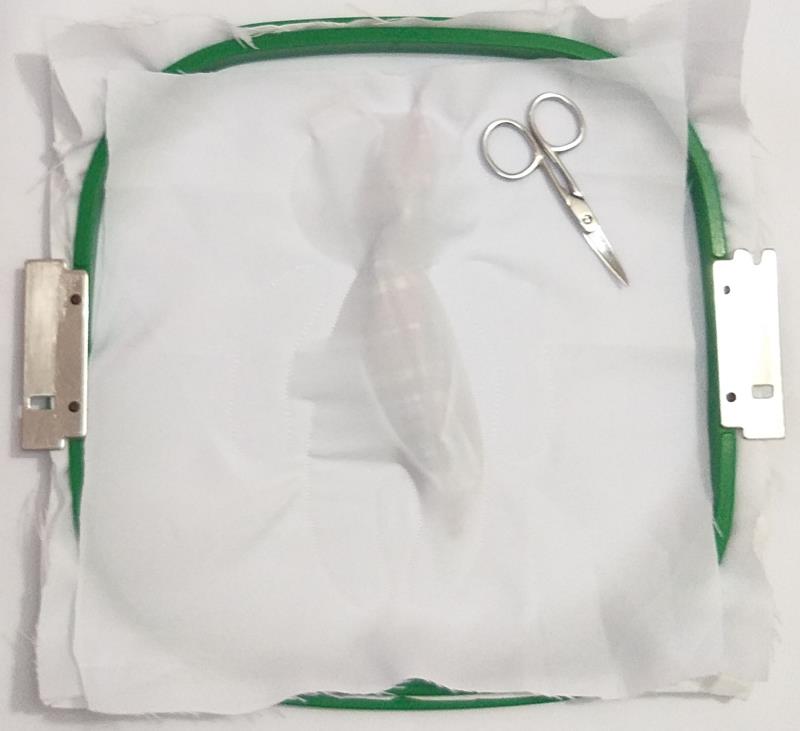
Cut out the outline of the design with sharp scissors, leaving a homogeneous margin.
(Click Image to Enlarge)
Step 28:
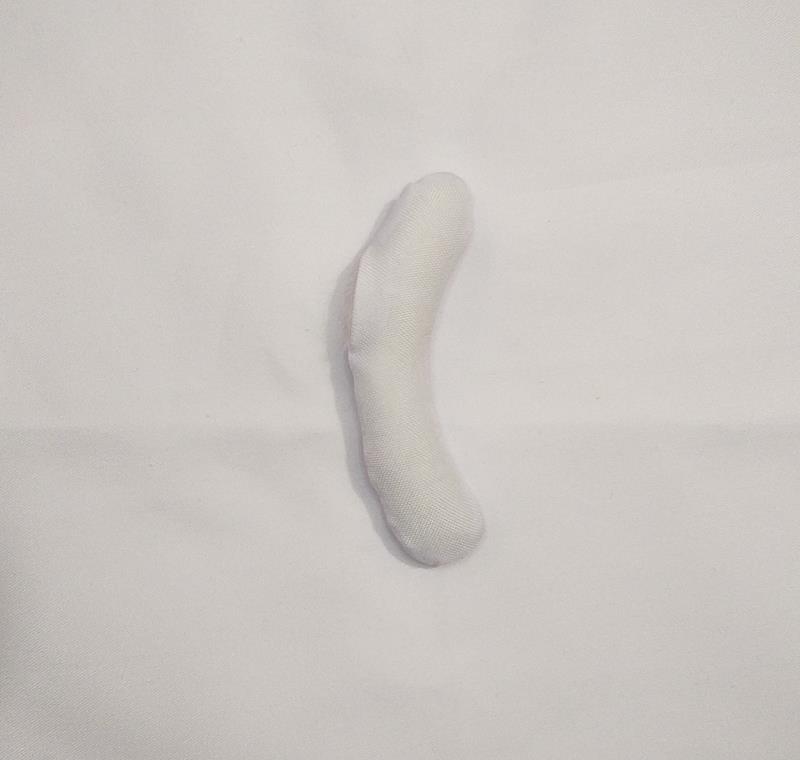
Just like you did with the ears, flip it over like socks and stuff with wadding.
(Click Image to Enlarge)
Step 29:
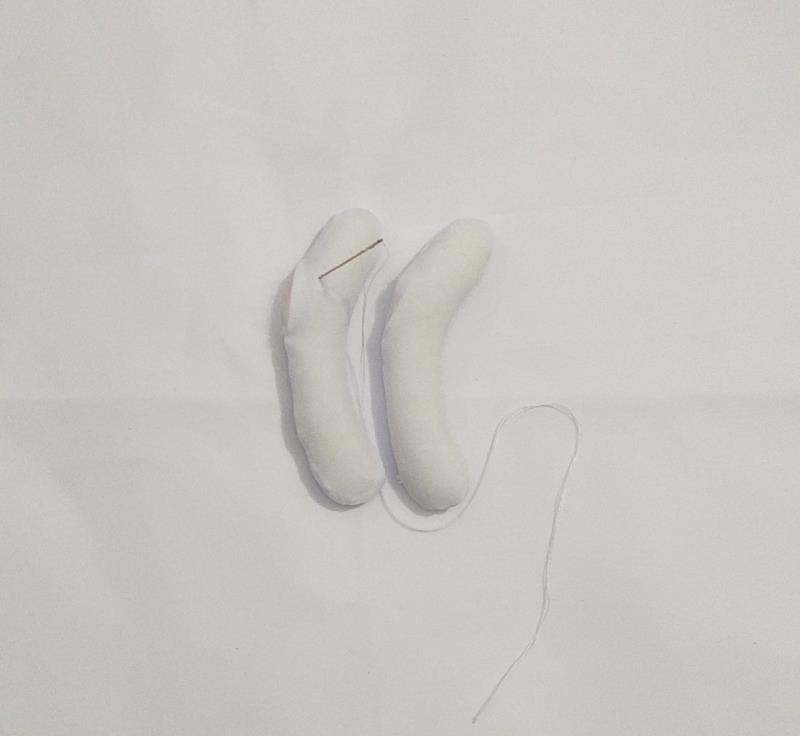
Do the same with the other arm and then close with the needle and white thread.
(Click Image to Enlarge)
Step 30:
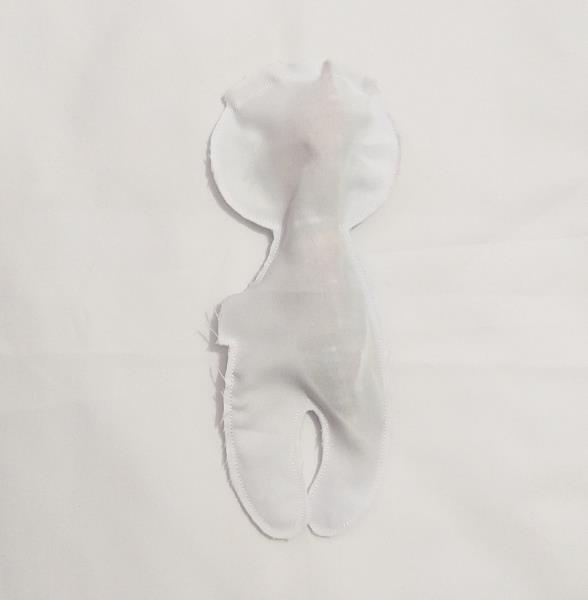
Cut out the outline of the design with sharp scissors, leaving a homogeneous margin as you did with the arms.
(Click Image to Enlarge)
Step 31:
Follow the same instructions given in steps 28 and step 29.
(Click Image to Enlarge)
Step 32:
Make a scarf or neck ornament out of fabric or ribbon. and fix the arms to the body with the help of a needle and thread. You can also place some buttons on the side of the arm to decorate..